Replacing the bushings on your control arm will tighten up the front end and give you more positive traction, among other handling improvements. It's just one place on the control arm, but it's a world of a difference. Polyurethane bushings designed for S13 front control arms are a direct fit for S12 control arms.
Energy Suspension S13 front control arm bushing, part# 7.3114R
Prothane S13 front control arm bushing, part# 14-206
Changing it isn't too hard. You're going to need the following tools:
- 14mm DEEP socket
- 17mm socket
- 22mm socket
- 14mm wrench
- 17mm wrench
- 22mm wrench
- 3/8" ratchet
- 1/2" ratchet'
- Rubber mallet
- Steel mallet
- Fork tool
- Lock Pliers
- Torch
- Vise
This is the front suspension, untouched: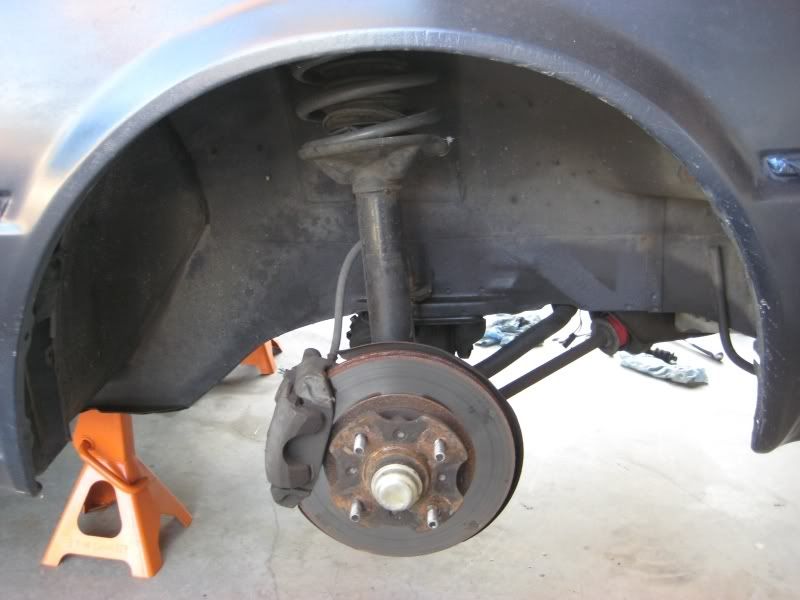
1. There are TWO bolts that hold the knuckle to the spindle. Turn the assembly to find the front bolt.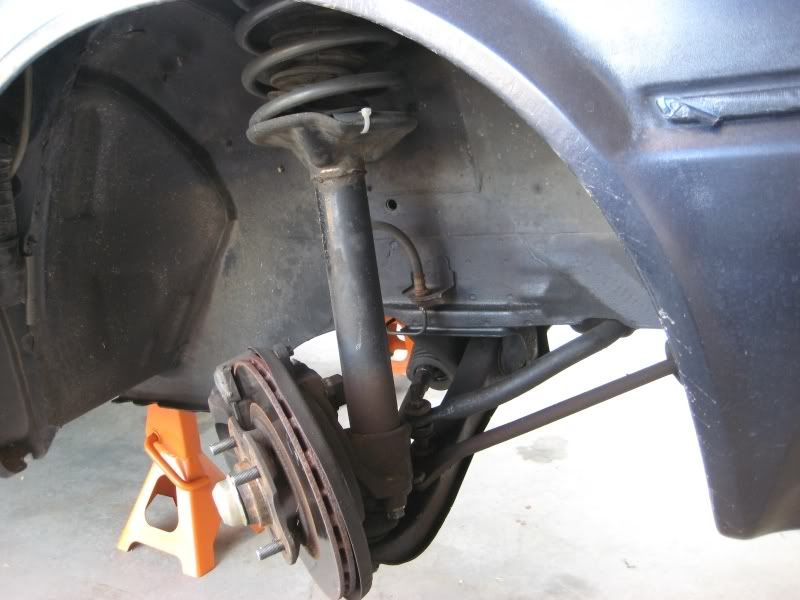
2. Use your 17mm wrench to get the front bolt off. A socket won't clear the knuckle. make sure to keep the lock washer with the bolt after you remove it.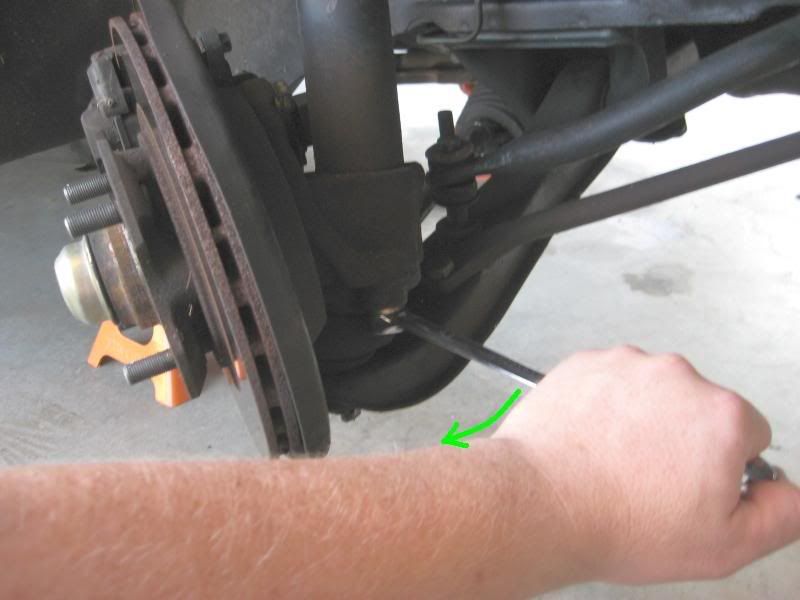
3. Turn the assembly the other direction, so you can access the other bold that holds the spindle to the knuckle, also 17mm: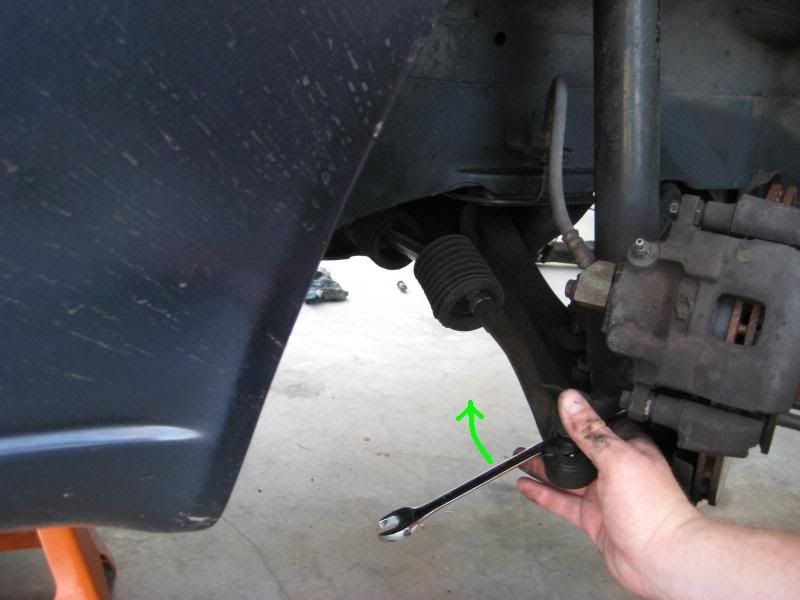
4. Remove the cotter pin from the castle nut that connects the steering arm to the knuckle, then remove the castle nut with a 19mm wrench: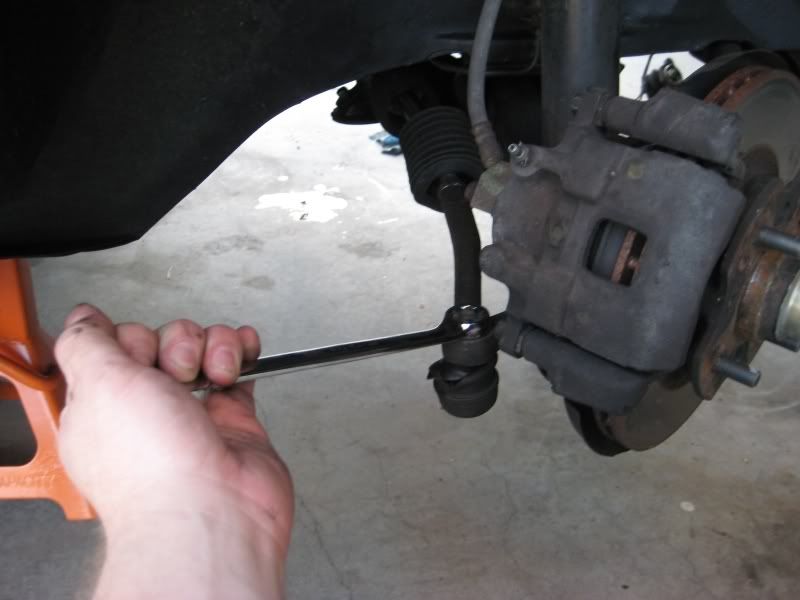
5. Use the rubber mallet to *gently* tap out the threaded part of the steering arm.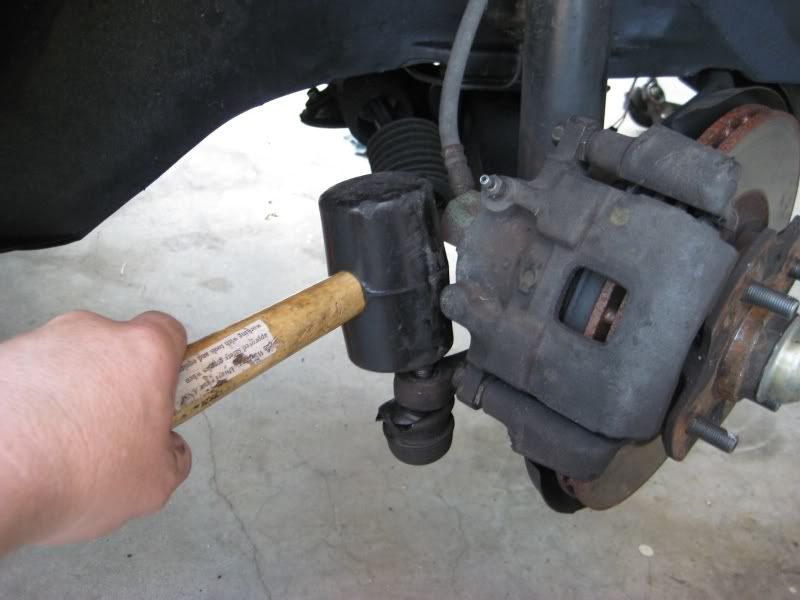
If the mallet doesn't work, DO NOT force it, as you may damage the threads. You can use a fork tool to wiggle it free, but this will probably damage your rubber boot on the arm...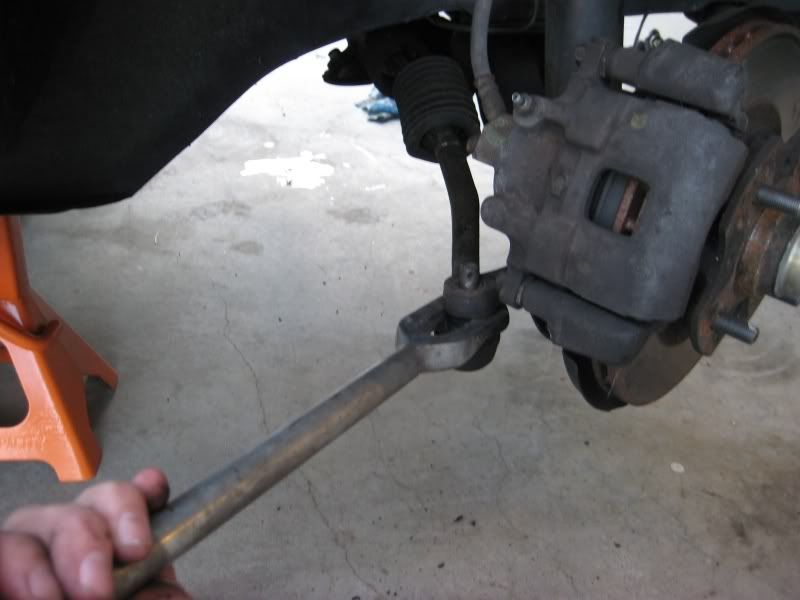
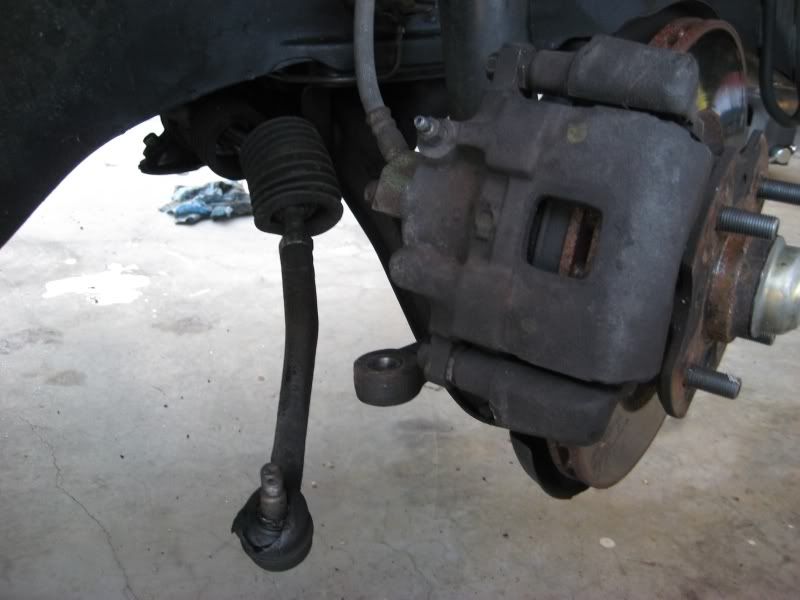
6. Next remove the two 17mm bolts from the tension rod, using a 17mm wrench. You may need to use the 17mm socket on the bottom to keep it from spinning in the control arm. Be sure to keep the nuts and washers with these bolts so they don't go missing: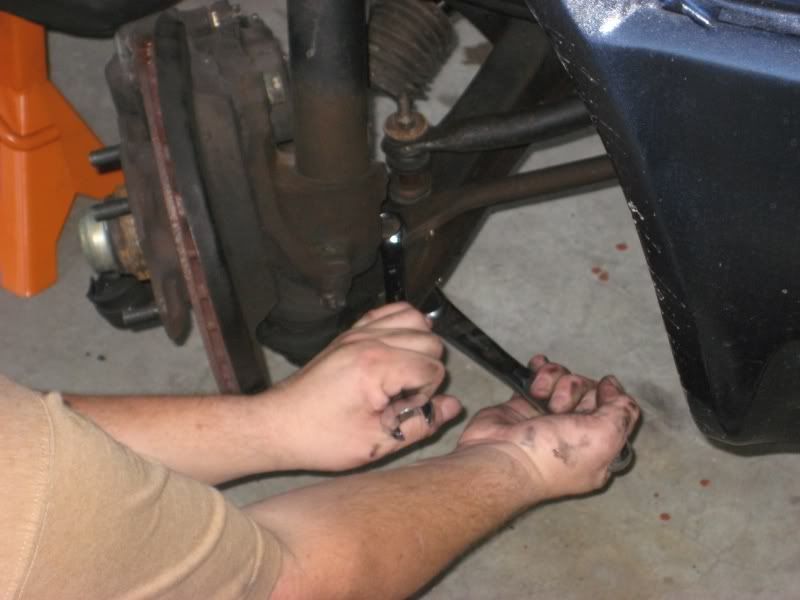
Note: This is an EXCELLENT time to replace the tension rod bushings with a fresh, new rubber bushing set, or even a good urethane upgrade. A 17mm bolt holds the assembly together at the tension rod bracket. *BE SURE* to keep the bushing sections together in the right order, so you can use them to figure out which parts go in what order when you put the new ones on.
7. Remove the sway bar endlink with a 14mm wrench on top, and a 14mm DEEP socket on the bottom. Remember to keep the sway bar bushings in the exact order -- remove the bolt, then slide the sections back onto the bolt, off of the car, in the order they are supposed to go. This helps you when reinstalling it later. Use the nut to keep it all together.
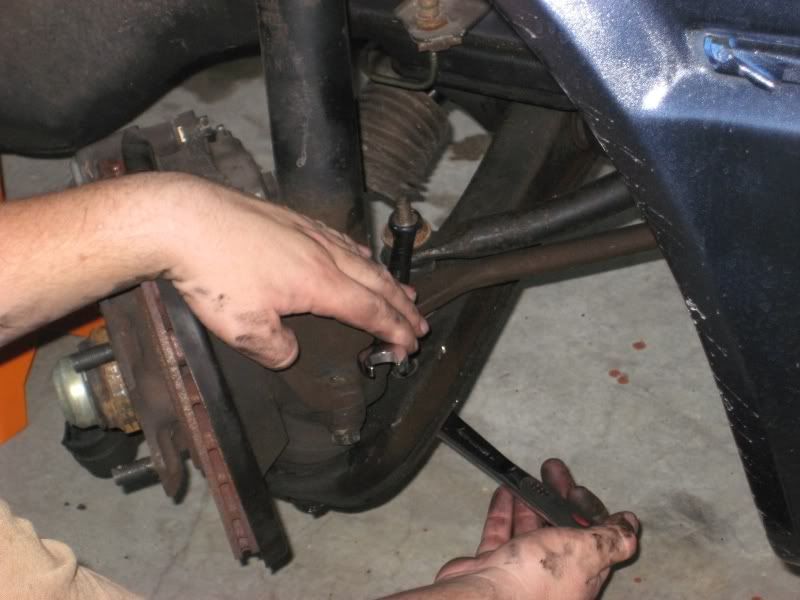
Note: As with the tension rod bushing, this is a great opportunity to replace or upgrade the sway bar endlink bushings.
8. Now comes time to remove the control arm at the engine crossmember. Place a 22mm socket on the front side...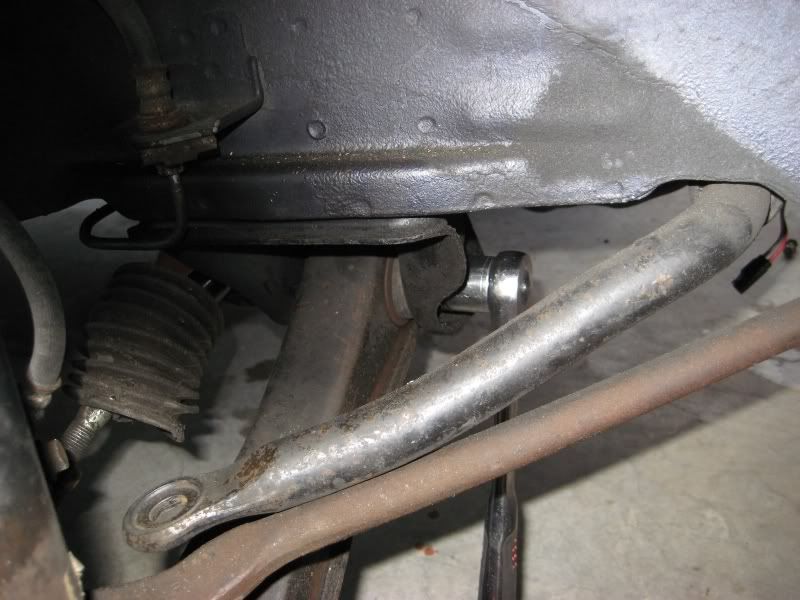
... and a 22mm wrench on the back side: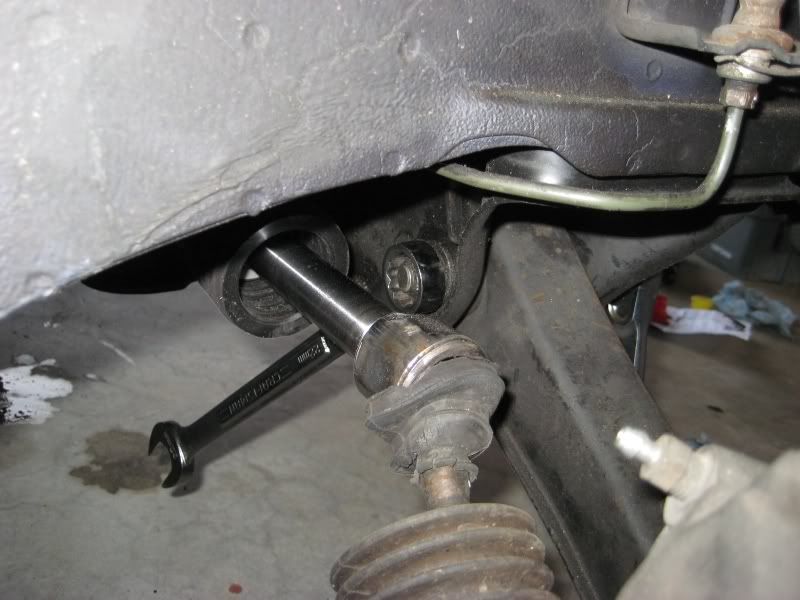
You'll need to be sitting down with both feet on either side of the crossmember. If you're on the driver side, you're going to want to press your right foot against the wrench at the backside, while pulling towards you on the socket/ratchet on the front side. On the passenger side, you'll want to push the socket/ratchet on the front with your foot, while holding firm the wrench on the back side.
Once you break it loose and run out the threads a bit, you can slide the bolt out. Put the washers and nut back on the bolt so you don't lose them.
Now you can wiggle out the control arm until it comes free of the crossmember: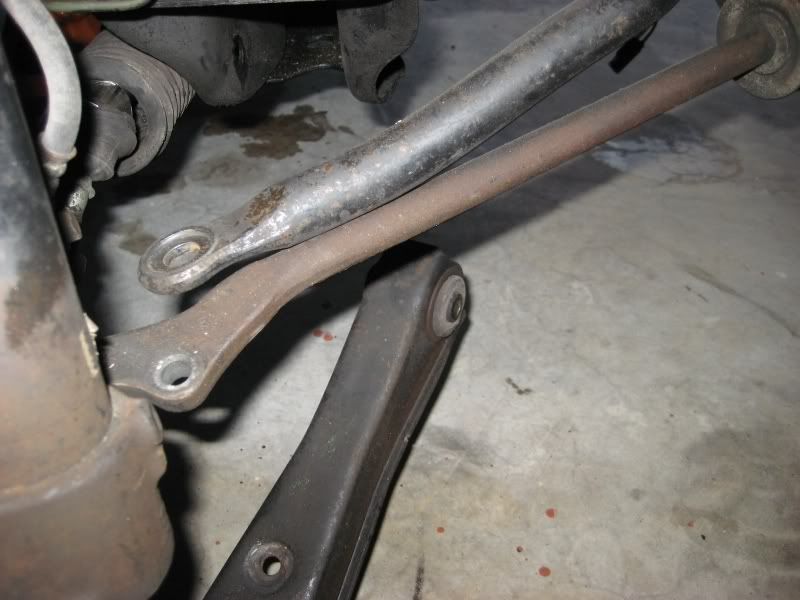
Now comes the fun part!
Time to remove the old bushing. You'll need these things: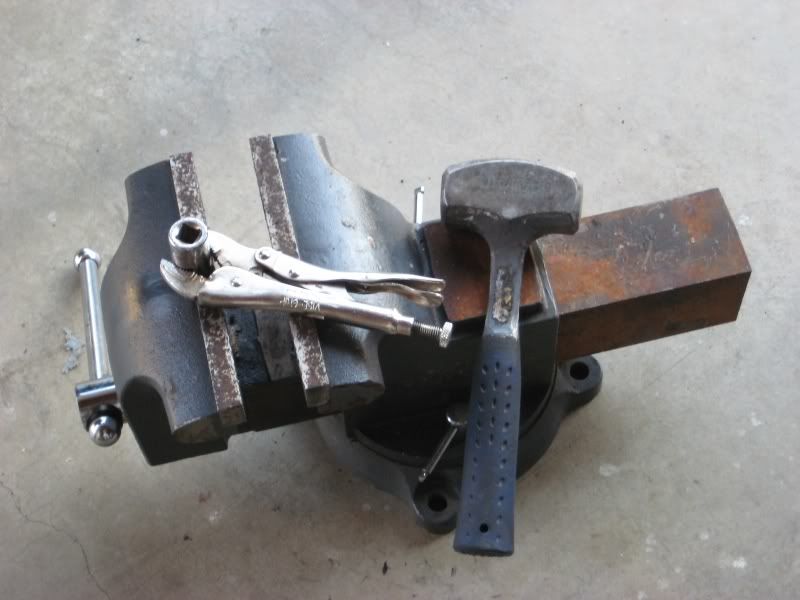
Old bushings are in there good. You can't just push them out easily. Torch the outside sheath around the old bushing to expand the metal around it, and to loosen up the rubber. Get it really hot! We waited until we could smell and hear the rubber cooking.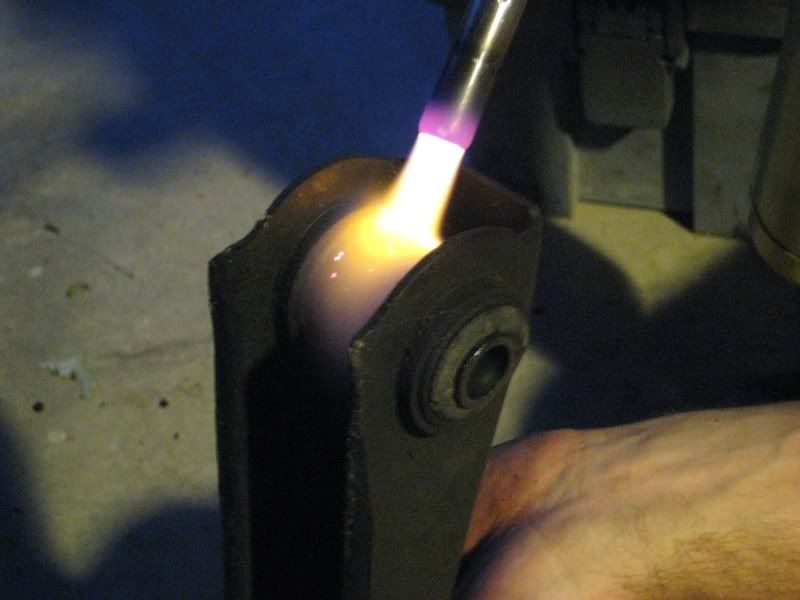
Have a friend quickly set it up on the vise so that the wider end of the busing is facing down between the vise ends. Then take a socket and the vice grip pliers, and hold the socket on top of the other end. Hammer with the metal mallet until it pops out. Hammer hard!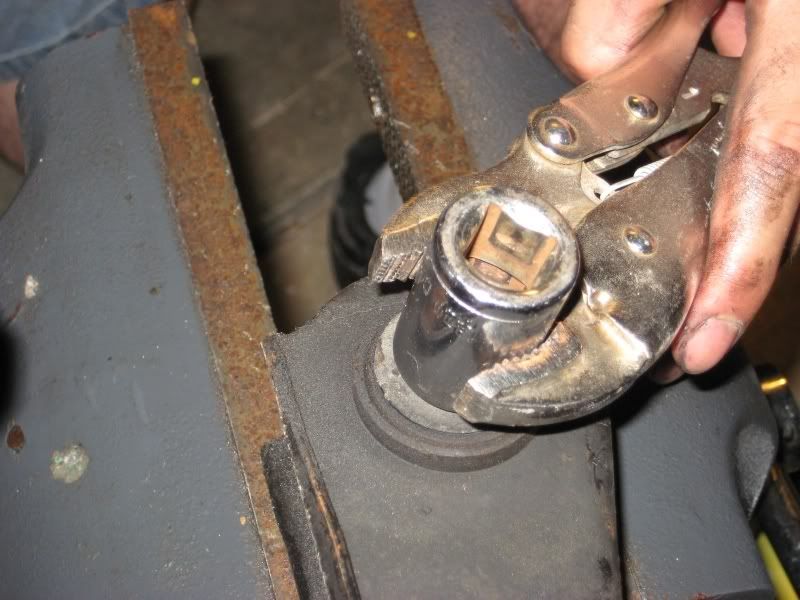
If it doesn't come free, you aren't heating it up enough. Keep torching and hammering until the old bushing pops free.
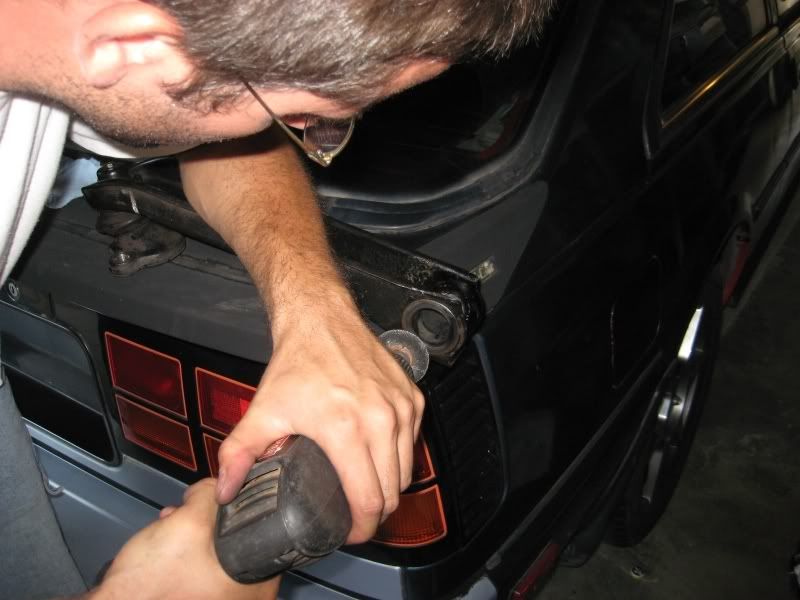
Now comes time to clean out the control arm where the bushing was. Rinse off the end of the control arm with a hose to cool it down. This will help when you go to remove the rest of the rubber inside. Use grind tools or wire tools or whatever, to remove the rubber bits from inside the sheath...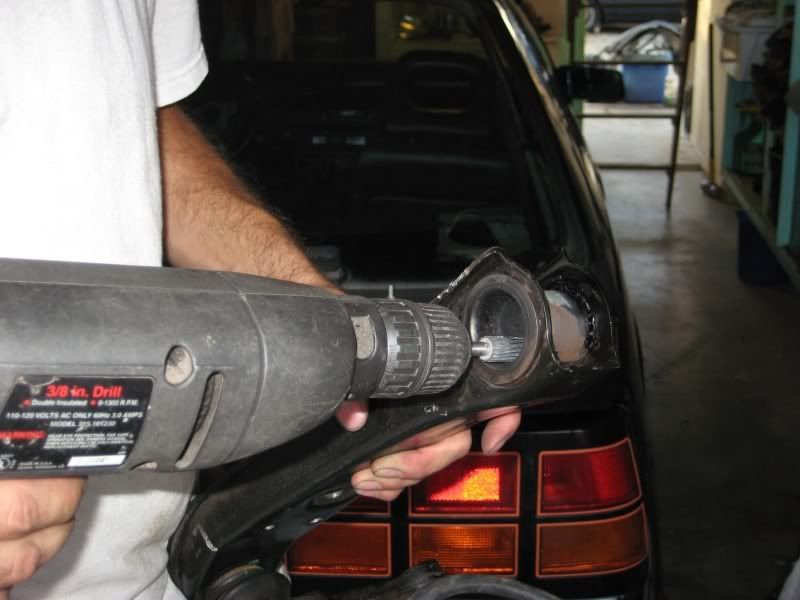
Energy Suspension urethane bushings: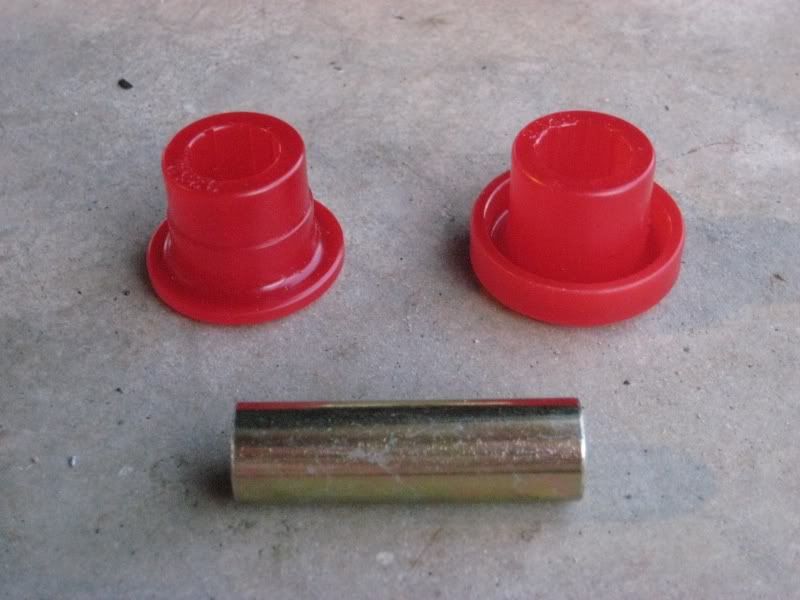
Prothane also makes these. They all come the same way -- two halves, and a metal sleeve.
The Energy Suspension set comes with grease. PLENTY of it. You only need a little bit. It's silicone grease, and a little goes a long ways. Lube up the inside of the control arm sheath, the sleeve, and the outside of the bushings: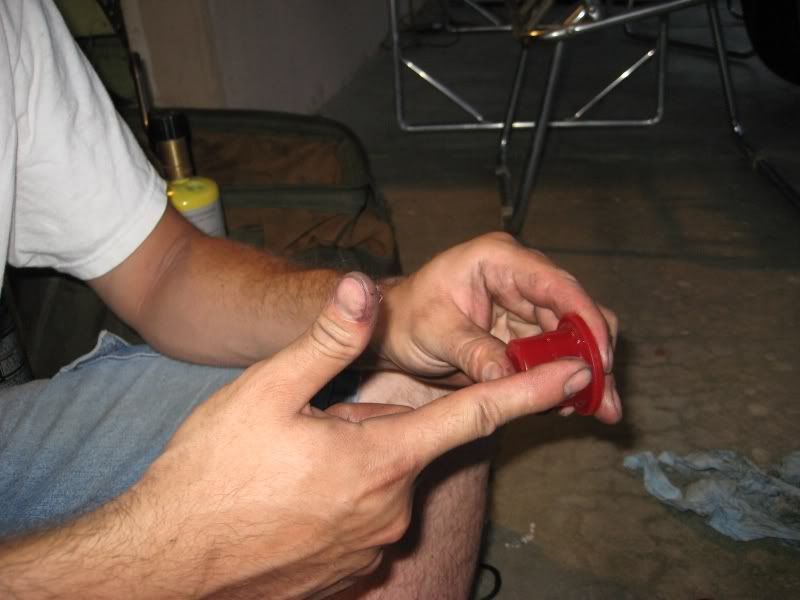
Press the bushing halves into the sheath: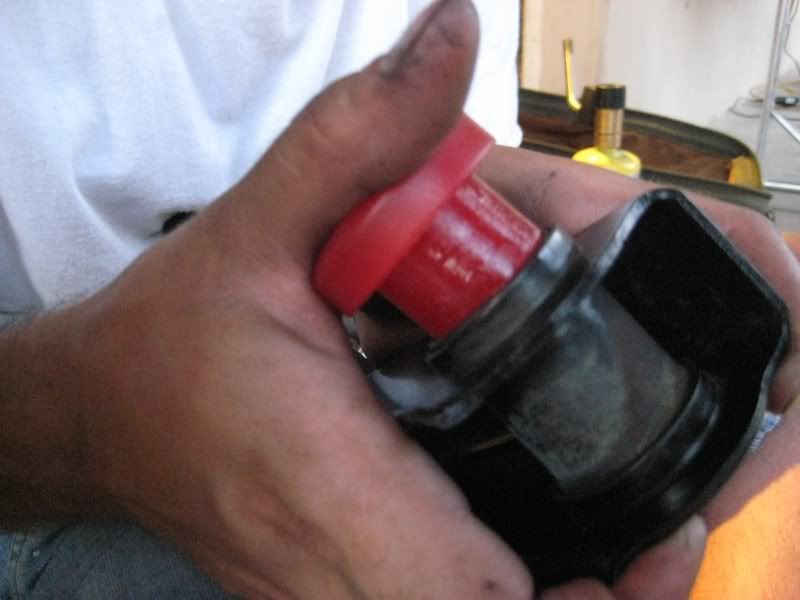
The instructions show you which bushing on which side, but it should be apparent. One side of the control arm has a lip that fits into one of the bushings.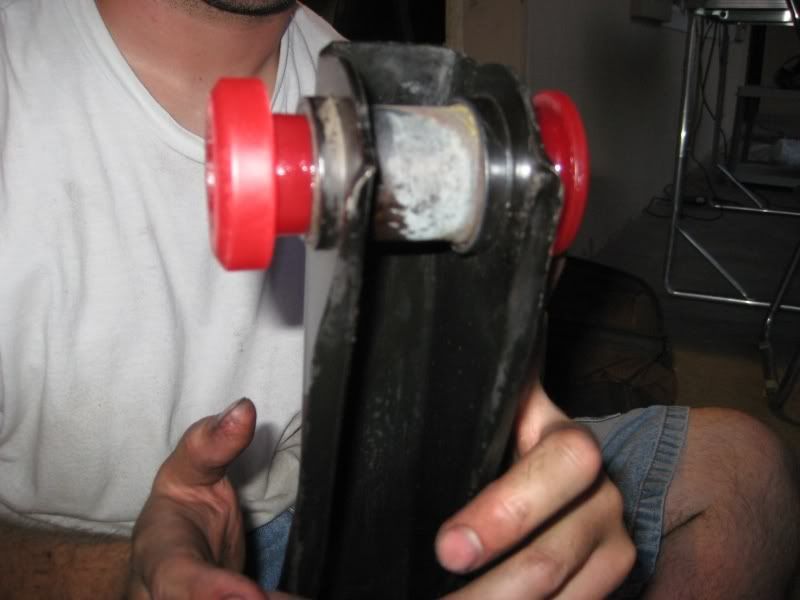
Press in the metal sleeve into the bushing halves. You can start with your hand, but the vice is helpful to compress everything together...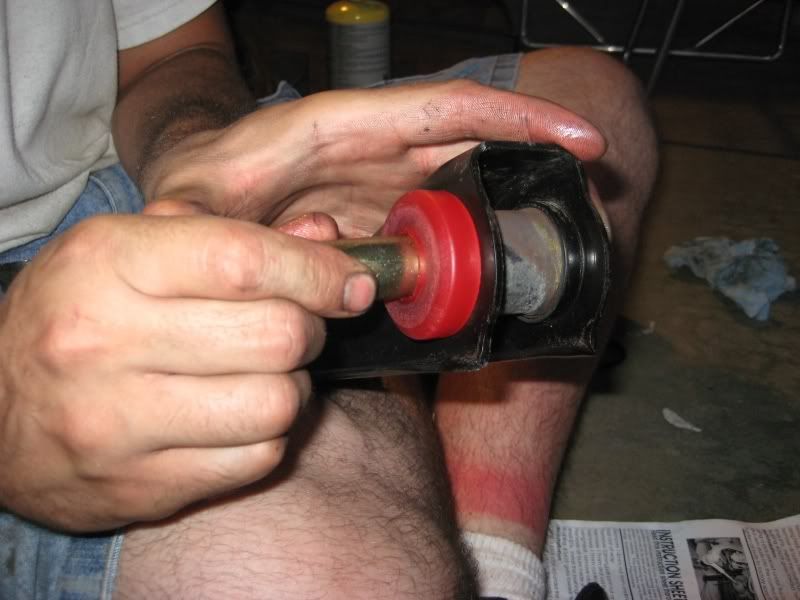
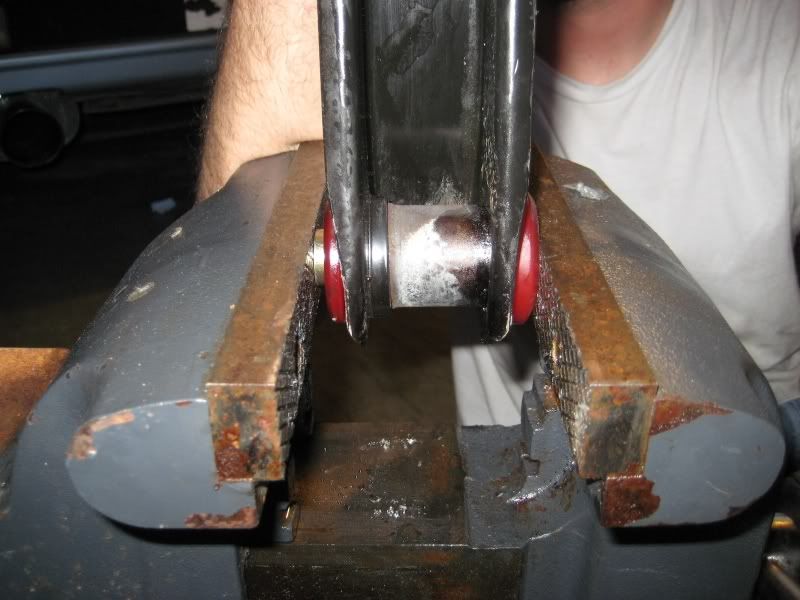
Now your control arm is complete, and you need to reinstall everything. Just follow the directions above in reverse, and you should be fine.
Good luck :thumbsup:
Jul 28, 2009, 3:06 pm · #1