Hey, I just finished installing some Green LED's for some mood lighting in my S12. I figured I would do a simple walk through on how to do it.
First off I used a switch which is a little more complicated, but really not all that much.
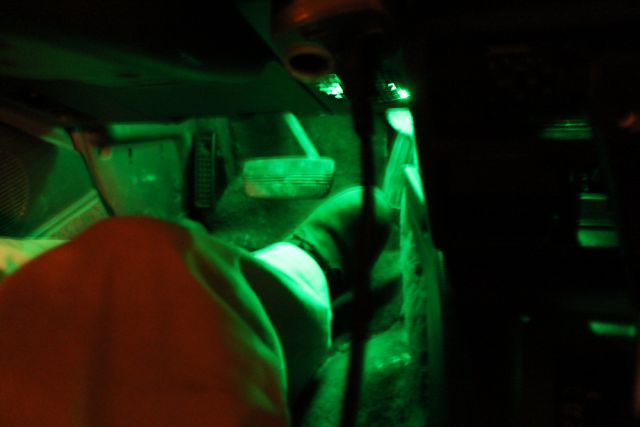
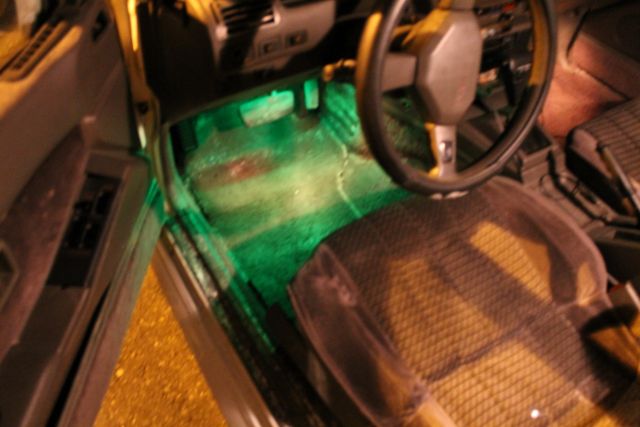
The approach I took was to steal power from the existing wires on my radio harness. I got some Green LEDs off of ebay. Two "cloves" and one strip. eventually I put the strip above the peddles and the cloves under my seats, facing to illuminate the back seats by the floor. Eventually I will get another strip to put under the glove box.
The first thing to do is remove power from where ever you decide you are going to do your wiring from. I like using the wiring harness because you can pull the fuse out and know you aren't going to electrocute yourself or anything else. For my Fuse Box 1987 S12 SE, it is the third from the top in the left column. (Fuse box is next to the glove box by the door, just pull off the panel.)
Once you know the lines are dead you can pull out your radio. Since my car has an aftermarket it was really easy, I just removed the trim panel, undid one screw and it came right out. I knew it was easy from doing some speaker wiring earlier this week.
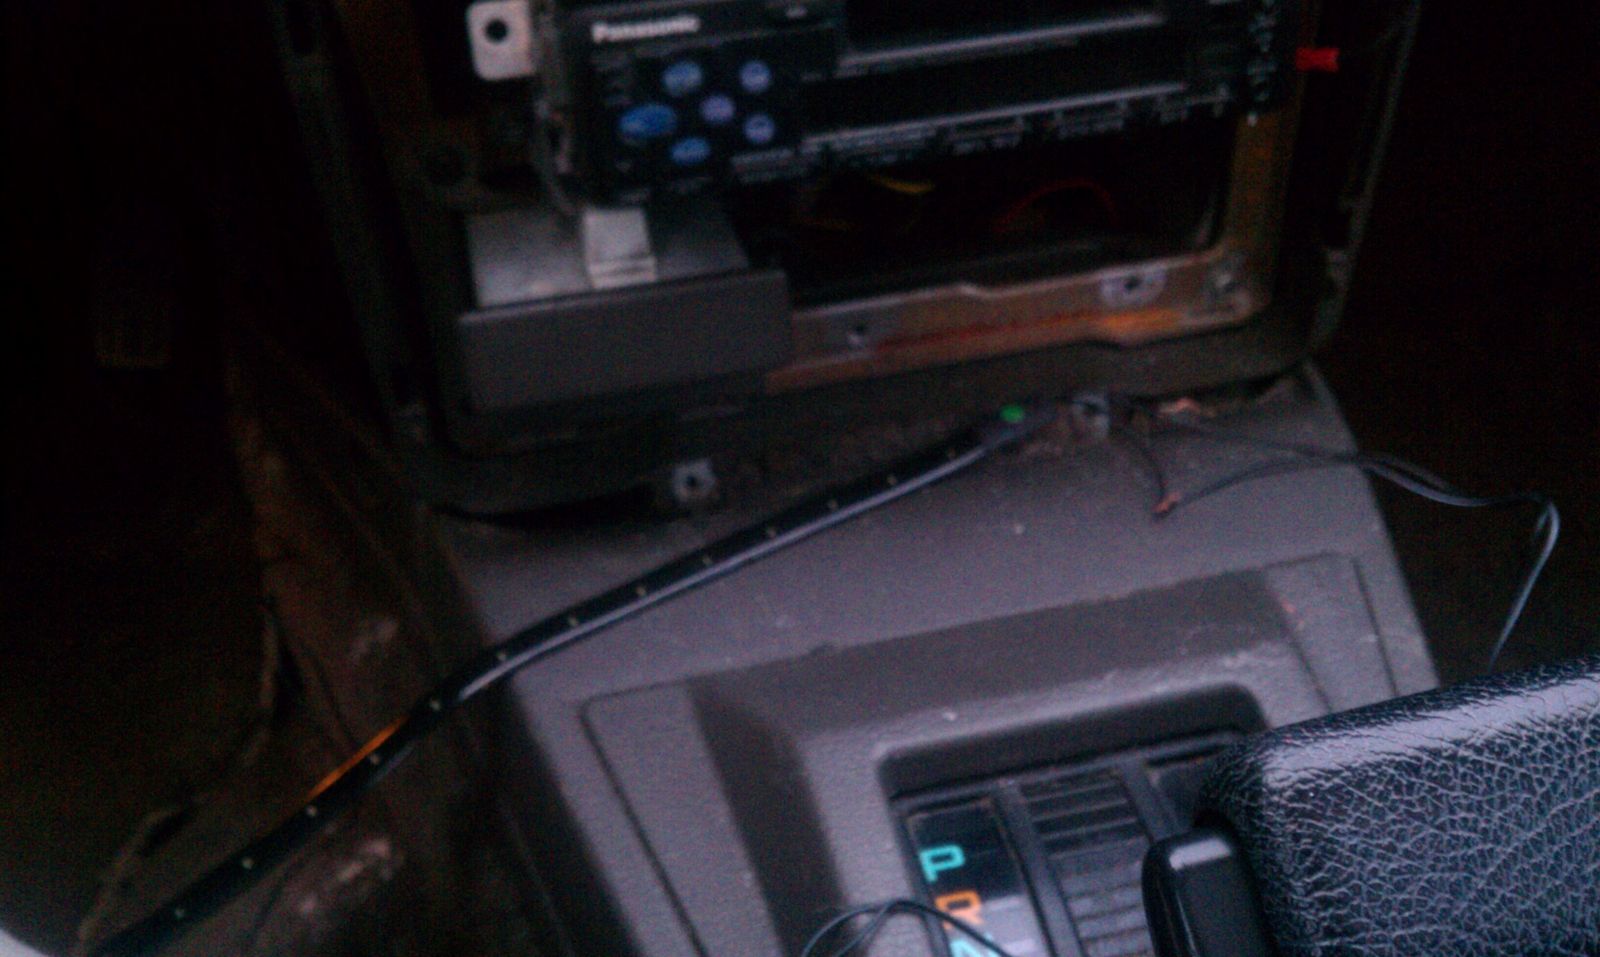
Panel off, radio still attached
Most switches have a red wire to the left a red wire in the middle and a black wire to the right. l R - R - B l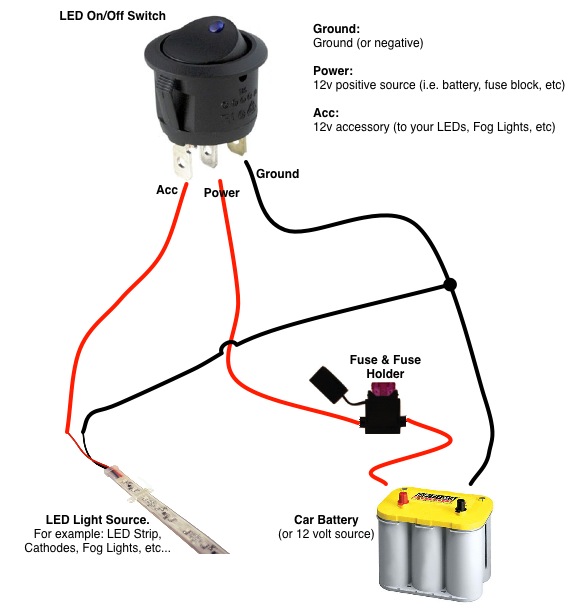
The Red wire that is on the end, (left) is usually the "Accessory" wire. This means that when the switch is flip on power is fed through this wire to the "accessory" of choice, in our case the LED lights.
The Red wire that is in the middle, is usually the powered wire. This wire is going to be plugged directly to the + end "red wire" of your battery (going through a fuse or the fuse box first of course), or + wire from the radio wiring harness. You will have to figure out which wire is the live one from your radio. It's usually red or says something like "powered" on it, since in any grounded car, it is the only wire with a direct current from the battery.
The Black wire on the right is a ground to the - side of the battery. In most cars the ground is just the frame of the car, since the - end of the battery is bolted right to the frame, the current can circle back to the battery from most visible frame areas on your car. The radio needs a grounded wire to work, so you should be able to steal a connection through there without bolting any more wires to your frame. It was really obvious which one it was on my car because it was bolted right to the frame next to where the radio mounts in.
So once you have all your wires sorted out you need to:
1. connect the switch's black wire to the Grounded wire. (Or ground it separately by finding visible frame metal that it can then be screwed down to.)
2. Do the same with the - end of your LED wires, I suggest wiring it together with the switch's black wire and just ground them at the same time by wiring it to your radio's grounding wire. (For most LED's it wont matter which wire you designate as the - and +.)
3. Wire together the LED wire that you have designated as your + end to the "Accessory" wire on your switch. Usually the Red wire that is not in the center.
4. Wire the Powered + wire from your switch, usually the Red Wire in the center, to the Powered wire connected to the + end of your battery, in our case the one connected from our radio. (Again, make sure there is a fuse between you and the + end of the battery!!)
If you have wired this all correctly then both your switch and your LED will be grounded to the negative end of your battery. When you reinsert your fuse and the switch is flipped on the powered wire will connect with the "accessory" wire, finishing the loop so that power is going into and back out of your LED's and switch. If your fuse pops, you have crossed wiring somewhere. The best method is to solder all the wires connections and get some solder covers. But I know not everyone has soldering tools. I crimped the wires together as strongly and tightly as possible, then wrapped them really tightly in electrical tape. 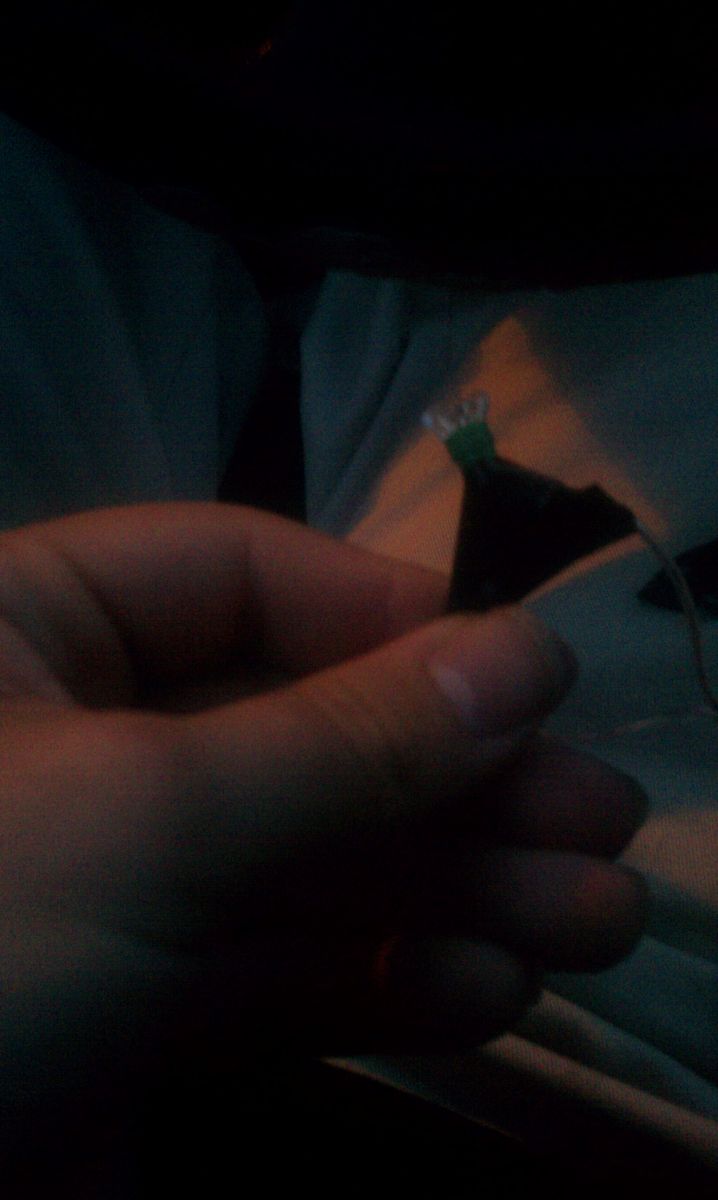
I still don't suggest it as things tend to come loose or short your fuse out. I needed to get a new fuse by the time I finished packing everything up and tested all the LED's. The best way to do it I've noticed, is not to wrap the tape straight, but by doing it at an angle or off balance so that is sticks together outward from the wire itself it traps the wire better. What you need to achieve is a mold over the wire so that it can't just slide around inside of the tape.
If you want to wire more than one LED strip that is easy, and since LED's use such a small power supply you can do it many times. Just connect all the designated + ends of your LED's to the "Accessory" wire of your switch and all the designated - end of your LED's to the Grounded wire, or grounded frame work of your car.
It is also possible to wire LED's directly to your battery line without a switch. You definitely still want to do it with a fuse on route. Again, I suggest using the wires from your radio. Just do on end of the LED to the powered line, and the other to the ground. Since LED's use such a small amount of power, you can leave it like this for months without it draining the battery. "IN THEORY" Don't blame me if you drain your battery. I did this in my Subaru for almost a year to light up my Speedo and such when the dash light went out. I didn't have a switch and the LED's were always on and it never drained my battery.
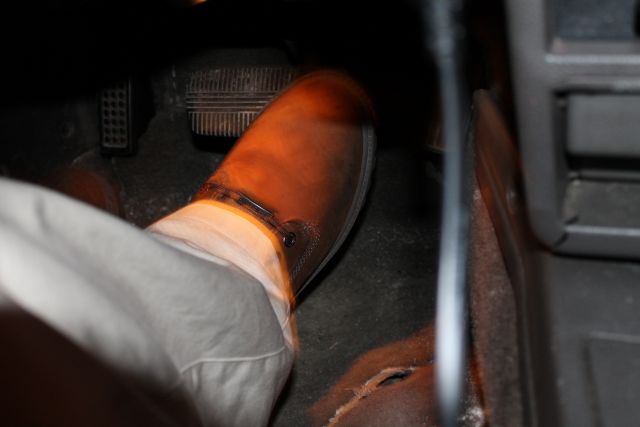
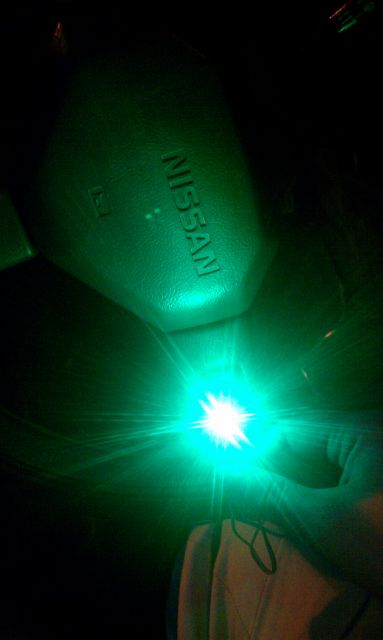
Other pics! Or look at them here: http://s12silvia.com/community/index.php?/gallery/album/10-interior-lighting-led/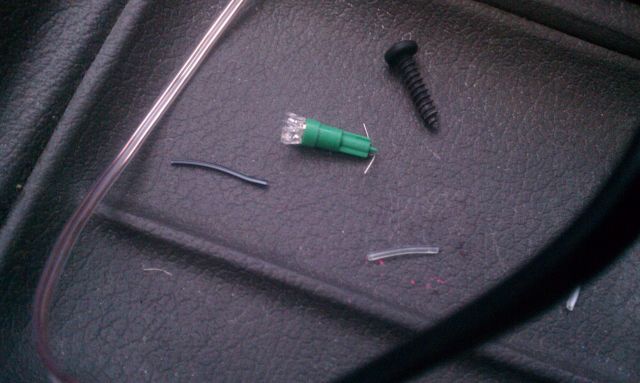

Post Merge: [time]05:33:36 AM / 30-Apr-12 [/time]
Note: I used a very powerful Canon DSLR to take the night shots, with a long bleed shutter time. In reality these LEDs aren't quite as bright as they appear in the images. Just enough to illuminate the floor. :-)
Post Merge: [time]06:10:44 AM / 30-Apr-12 [/time]
And if you're looking for a cheap way to solder, look no further.
http://www.autobarn.net/solder-it-mini-torch.html