Browse › Builds & Media ›Build projects

777S12

Started by Van_Denton · Jun 21, 2014 · 29postsSMF 2010–26

Van_DentonJun 21, 2014, 11:24 am · #1

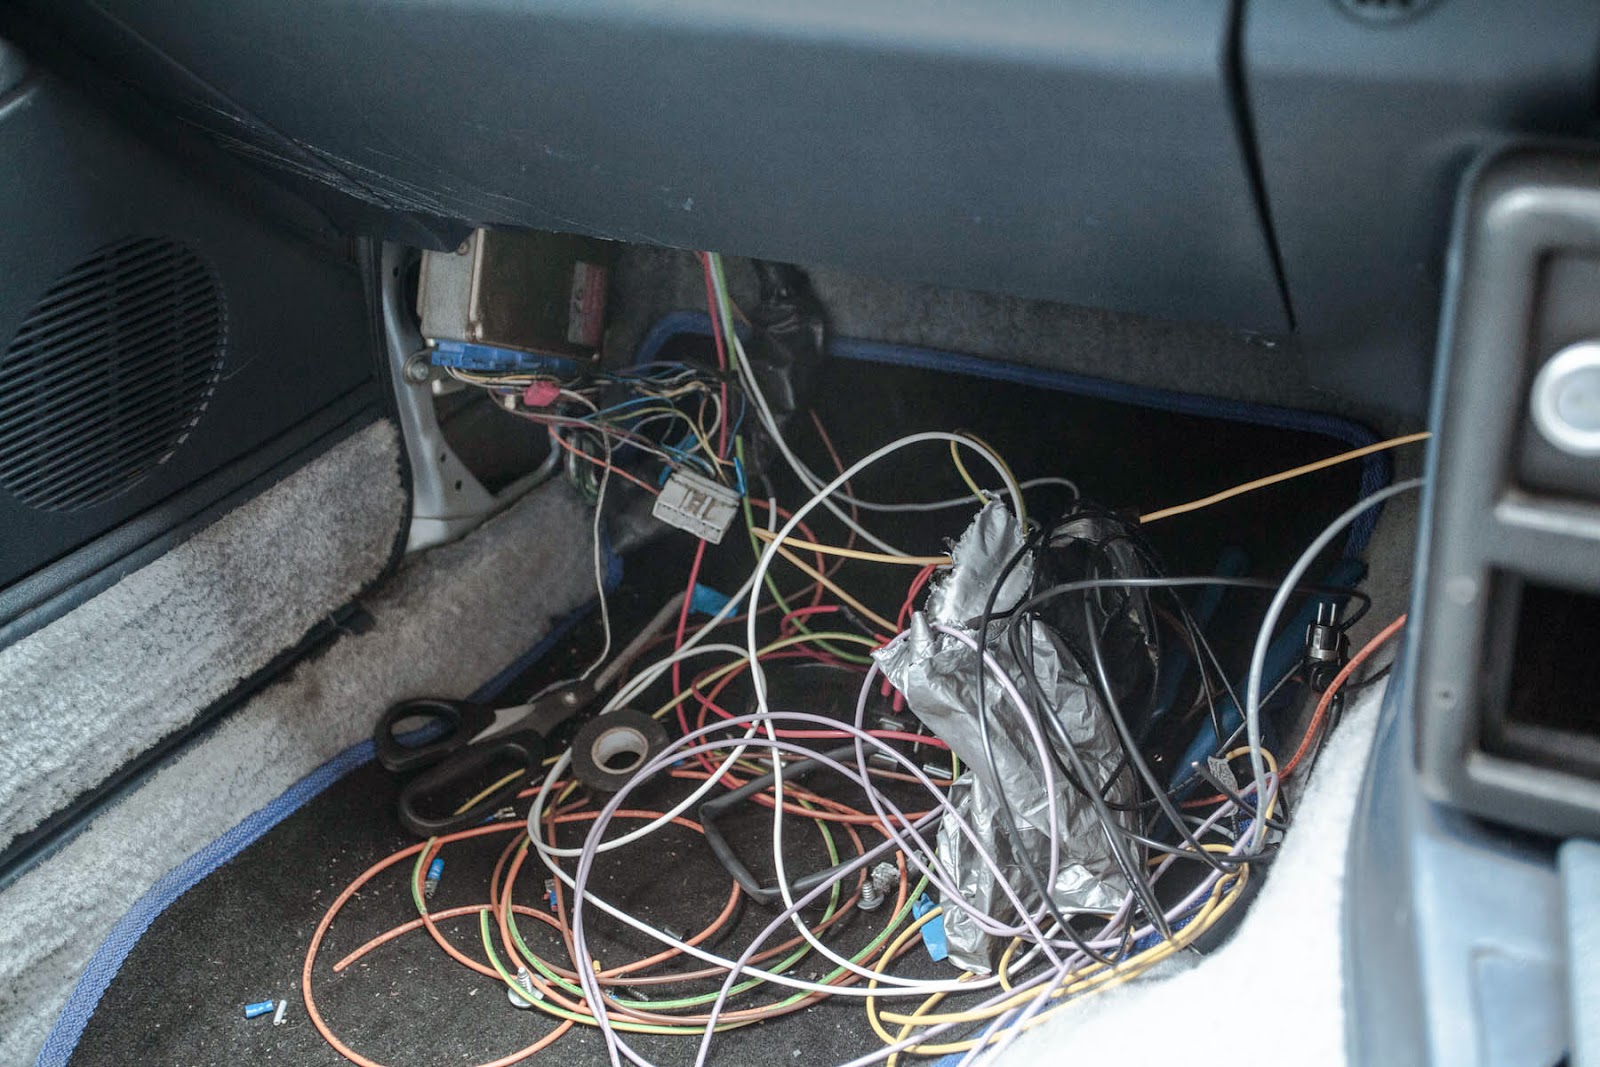
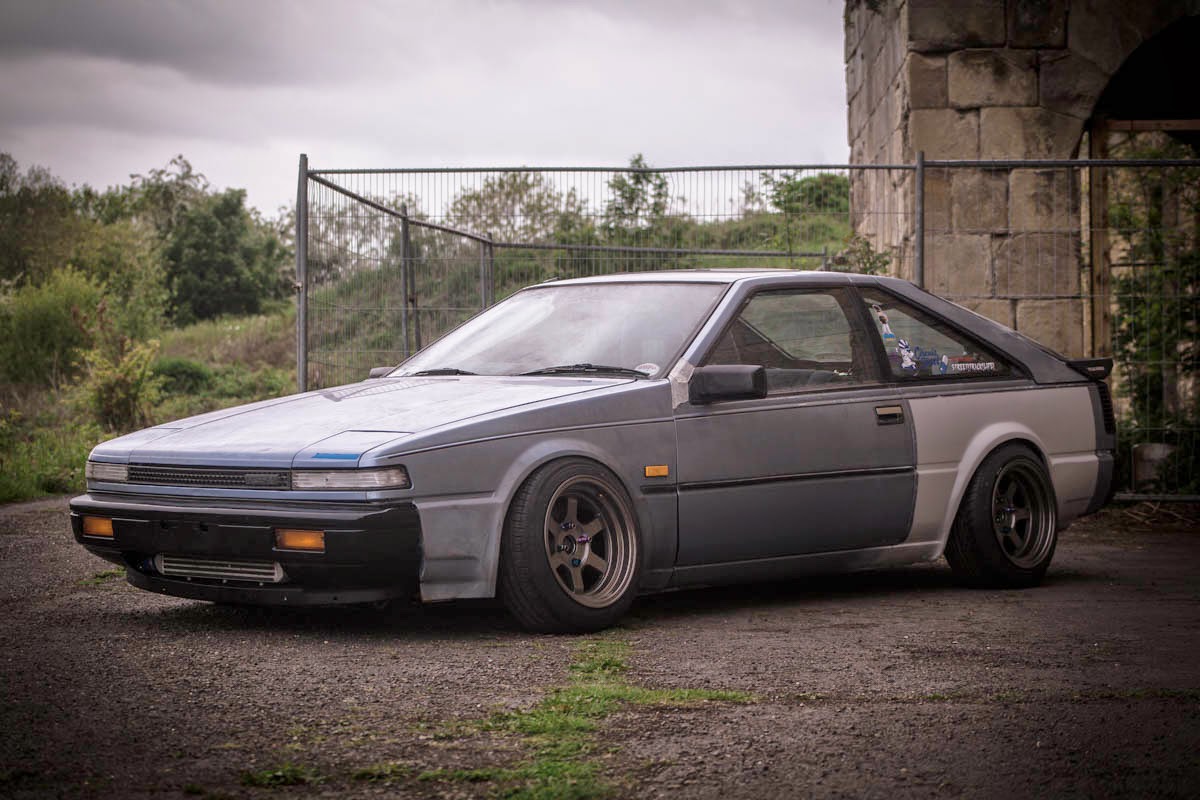
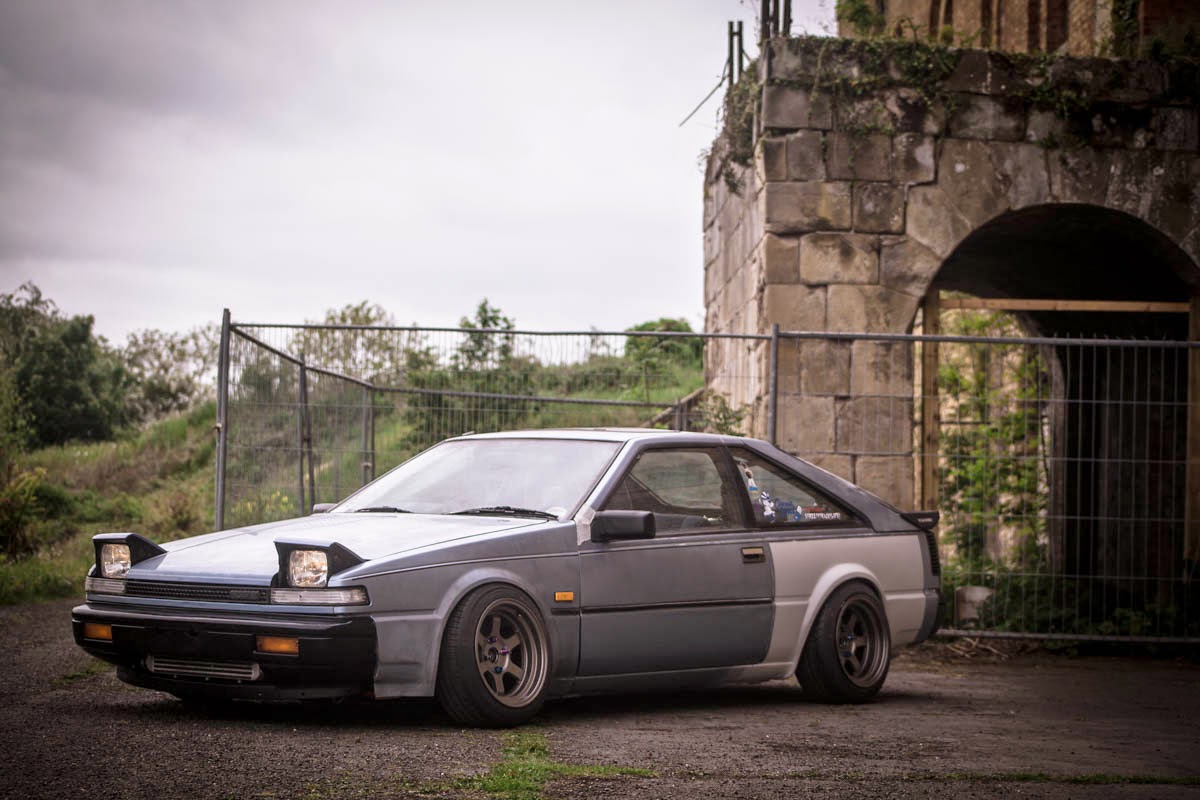
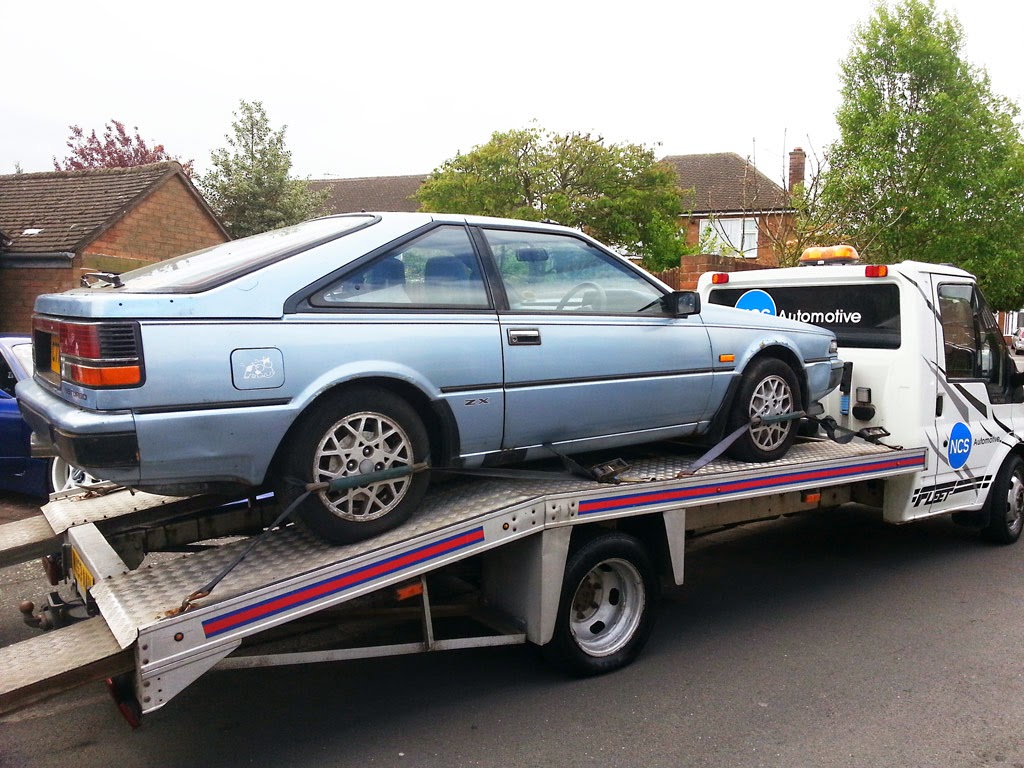
I recently got this, a nice unfinished project, totally standard except it has a DET mounted in but hasnt been wired up or plummed in etc!

posted image

posted image

So first thing first was the wiring! Ive wired the relays in except for the fuel pump which im having trouble with, when  attach the black/pink wire to the relay it doesn't work, but if I attach a ground it does come on but stays on.

posted image

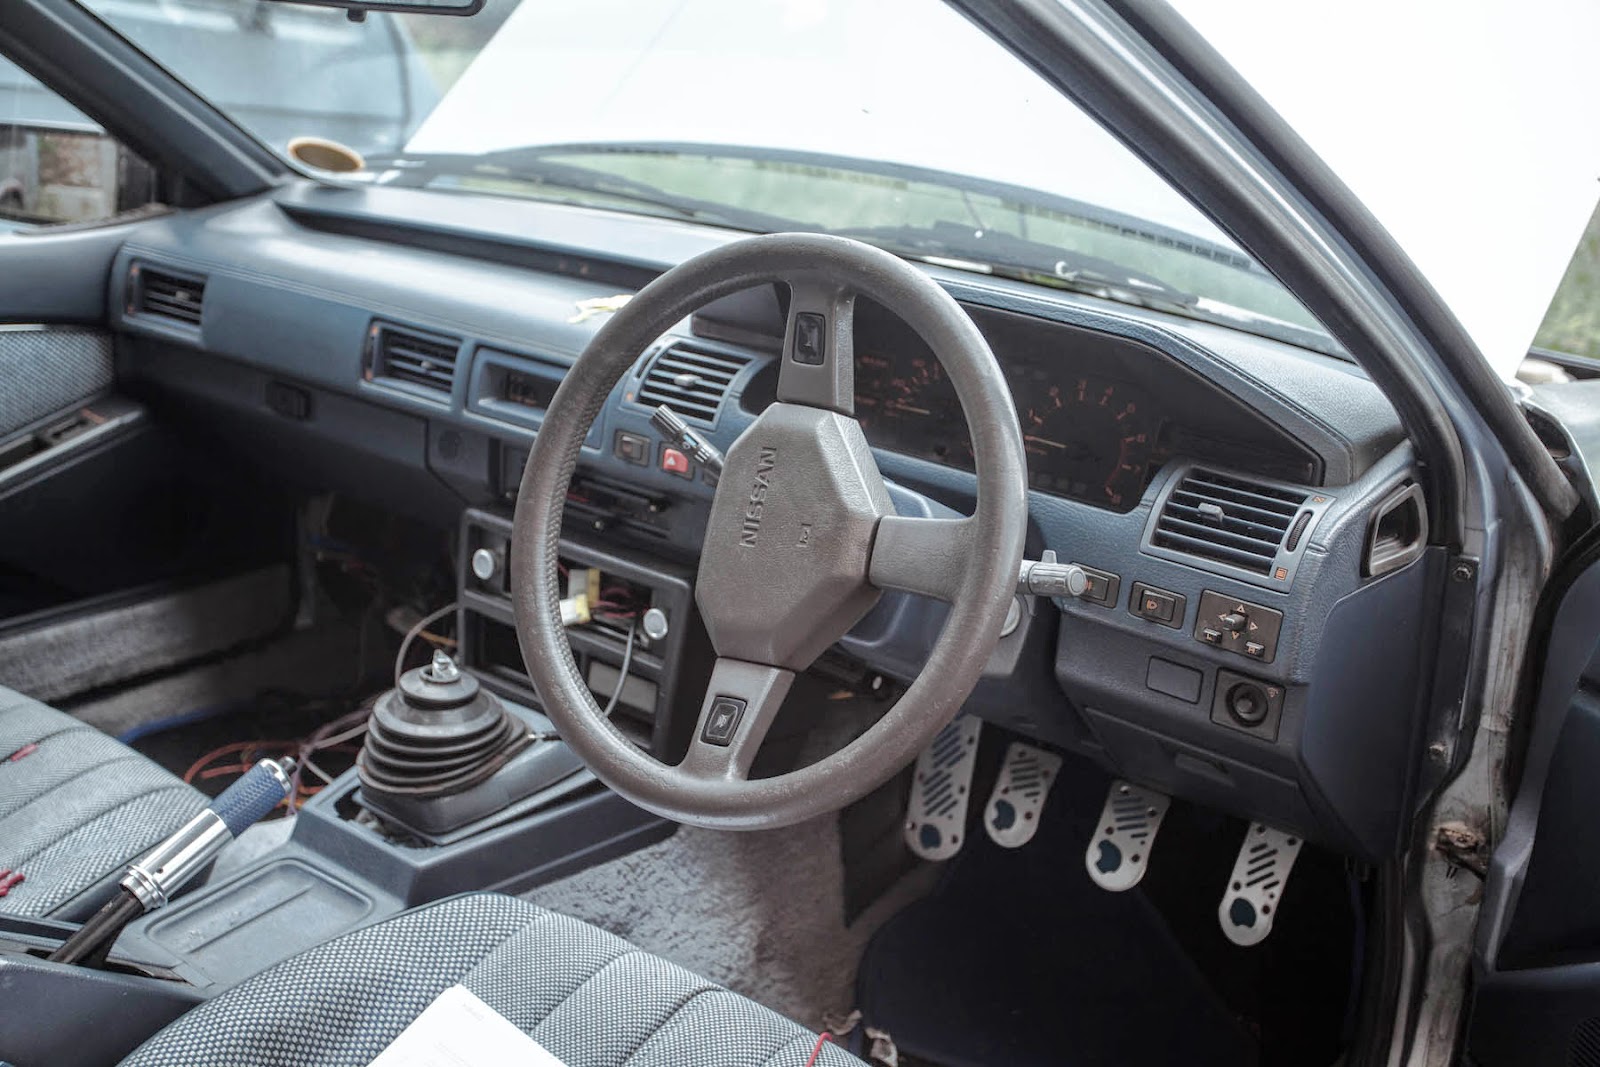
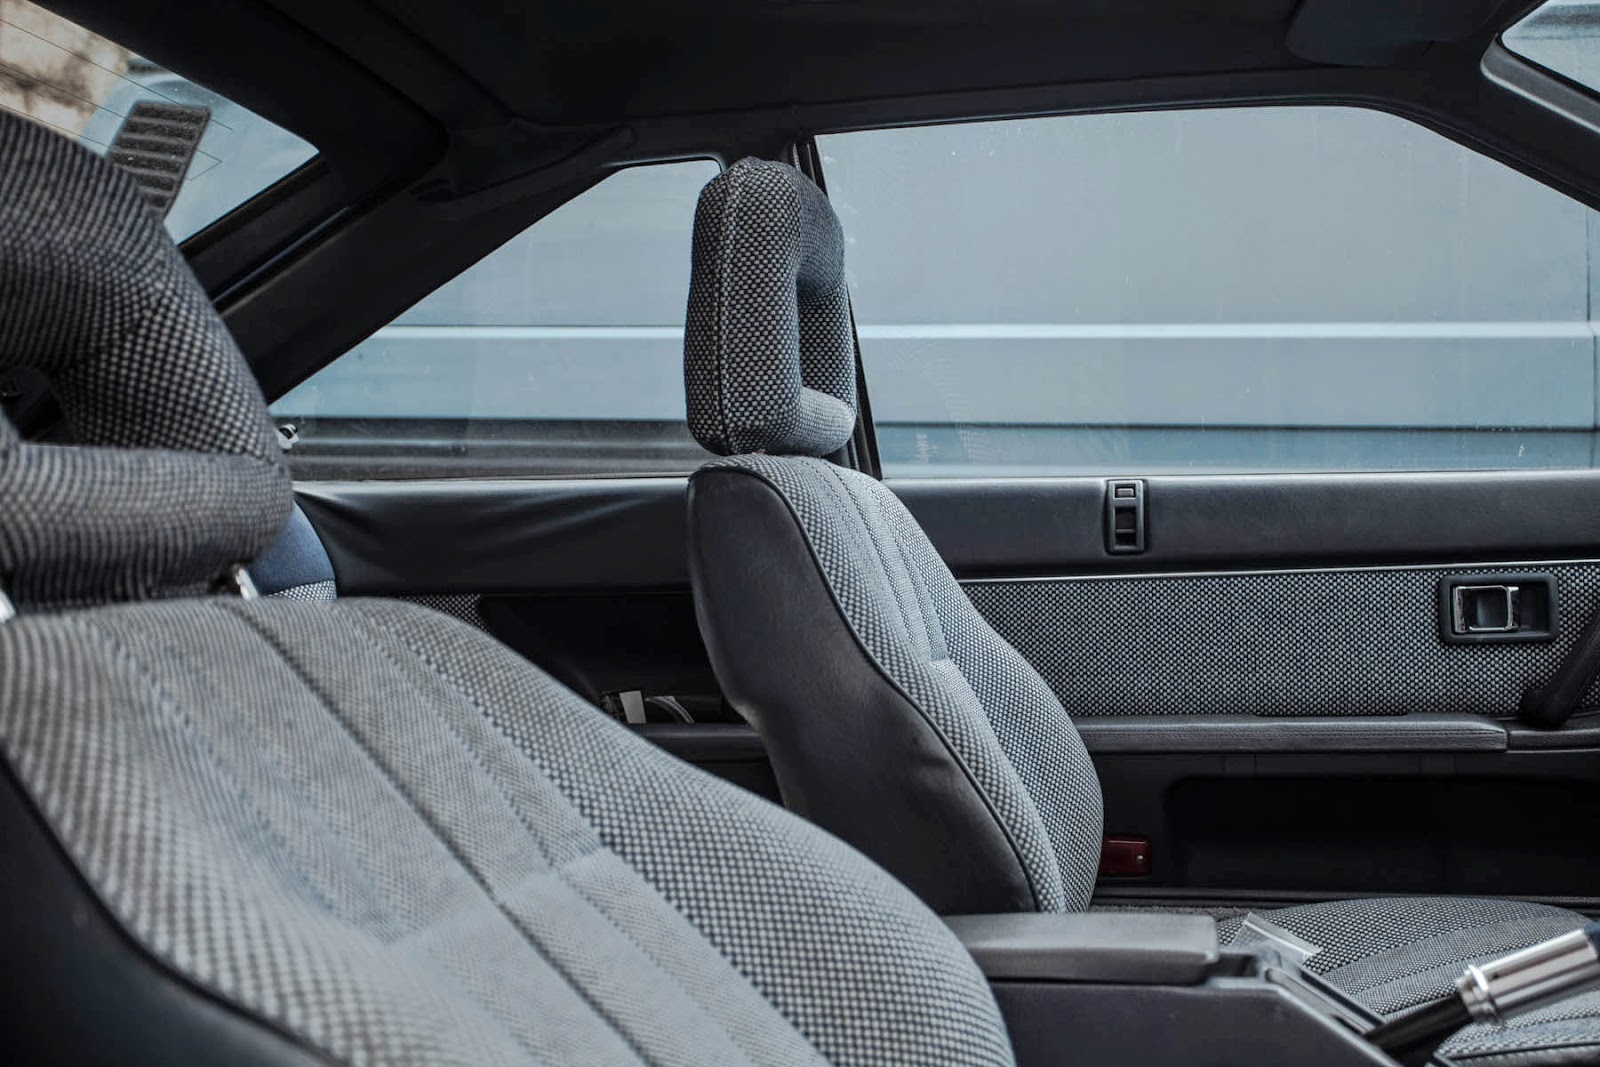
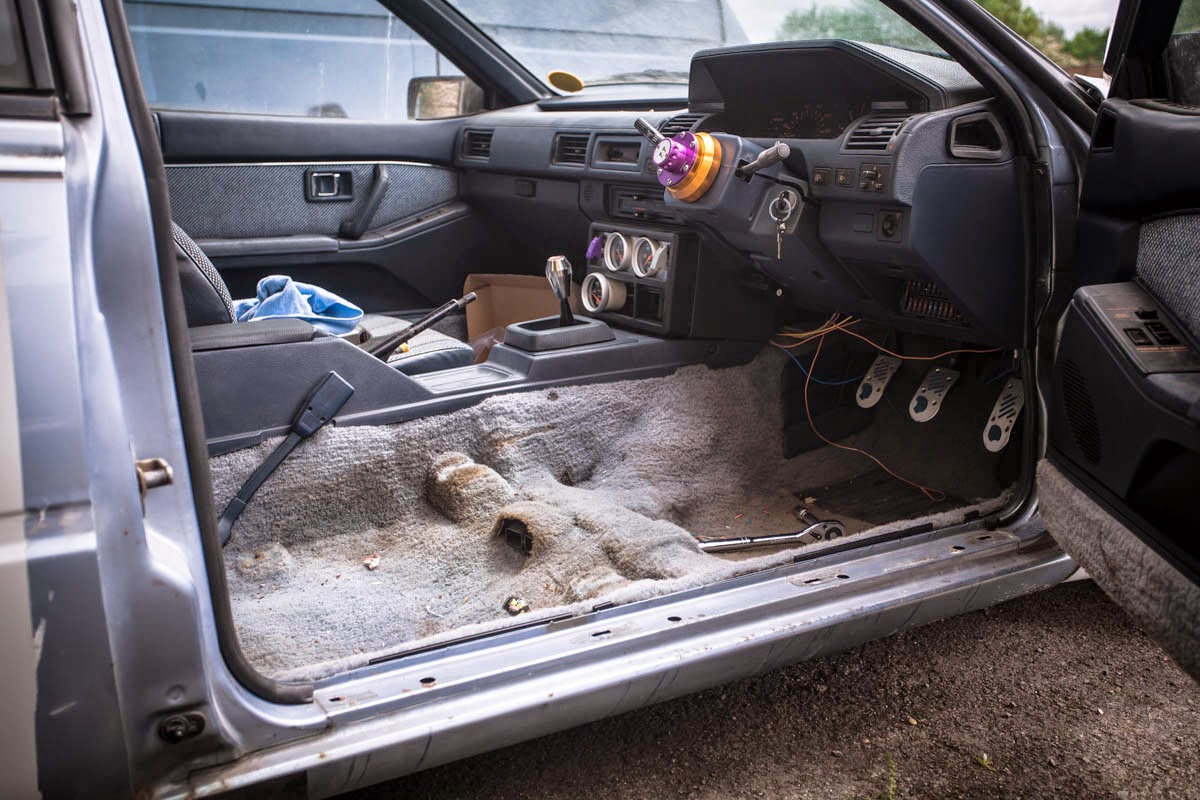
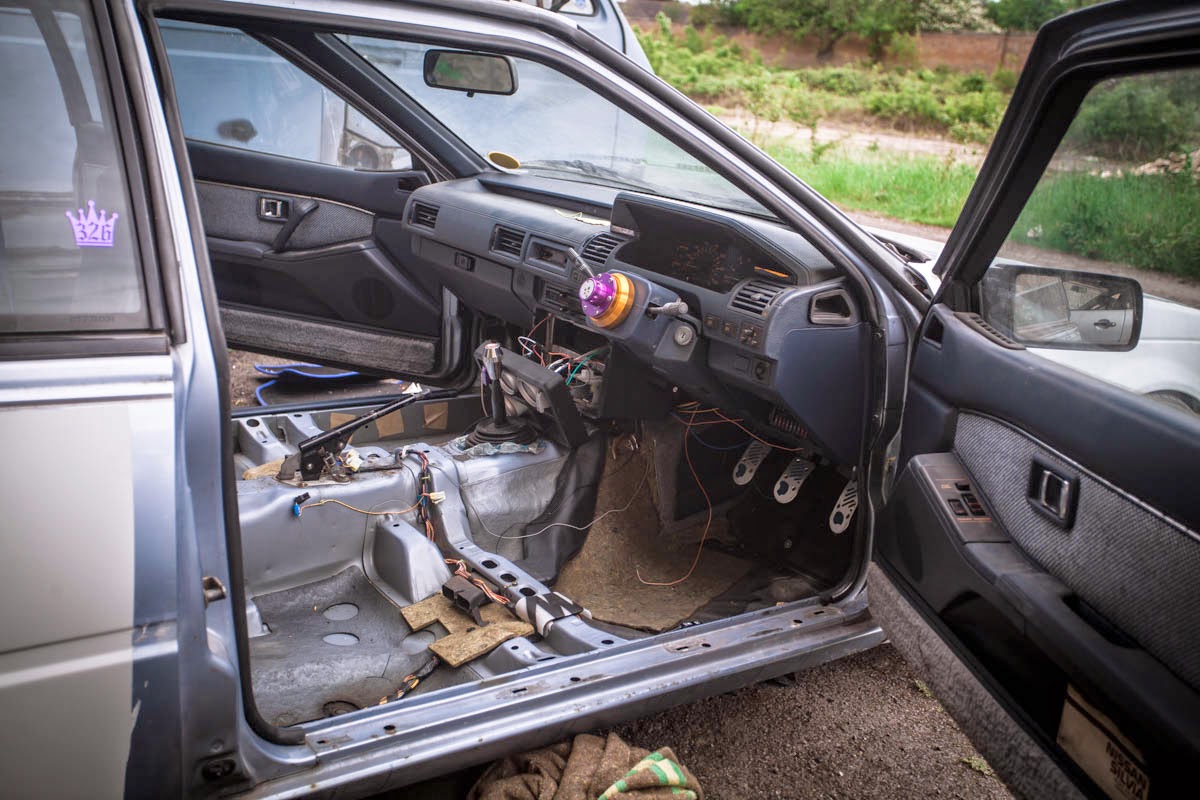
The interior is pretty mint!

posted image

Just needs a clean.

posted image

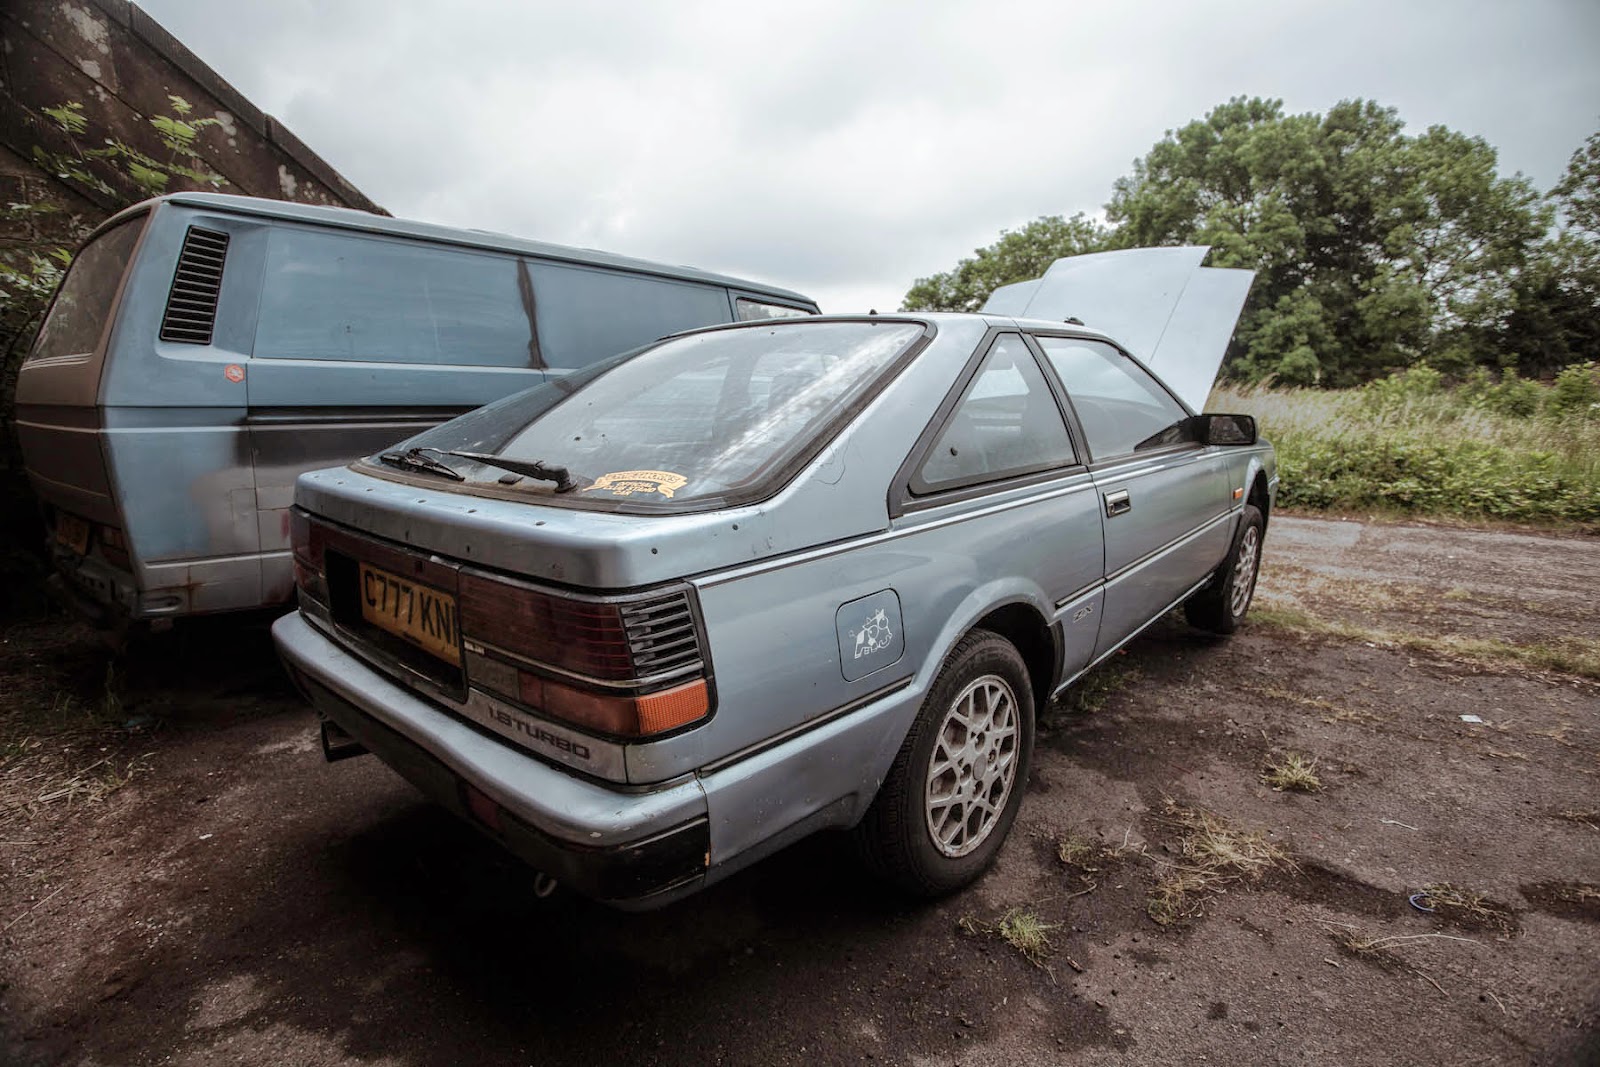
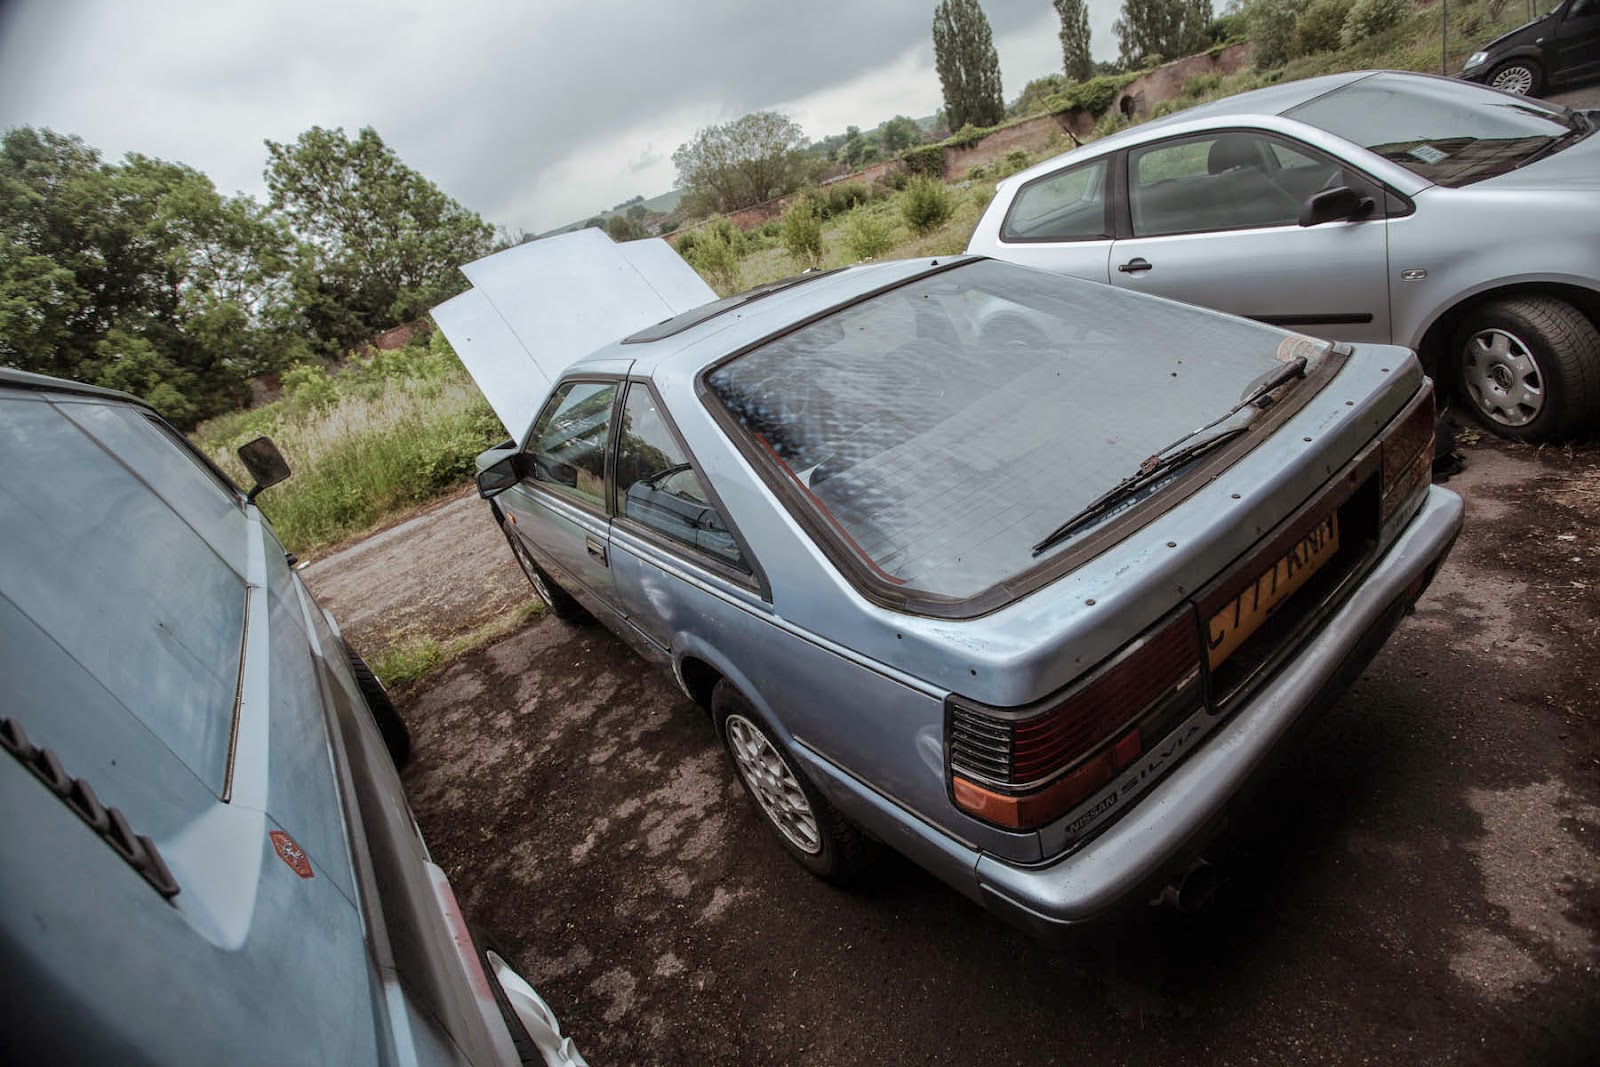
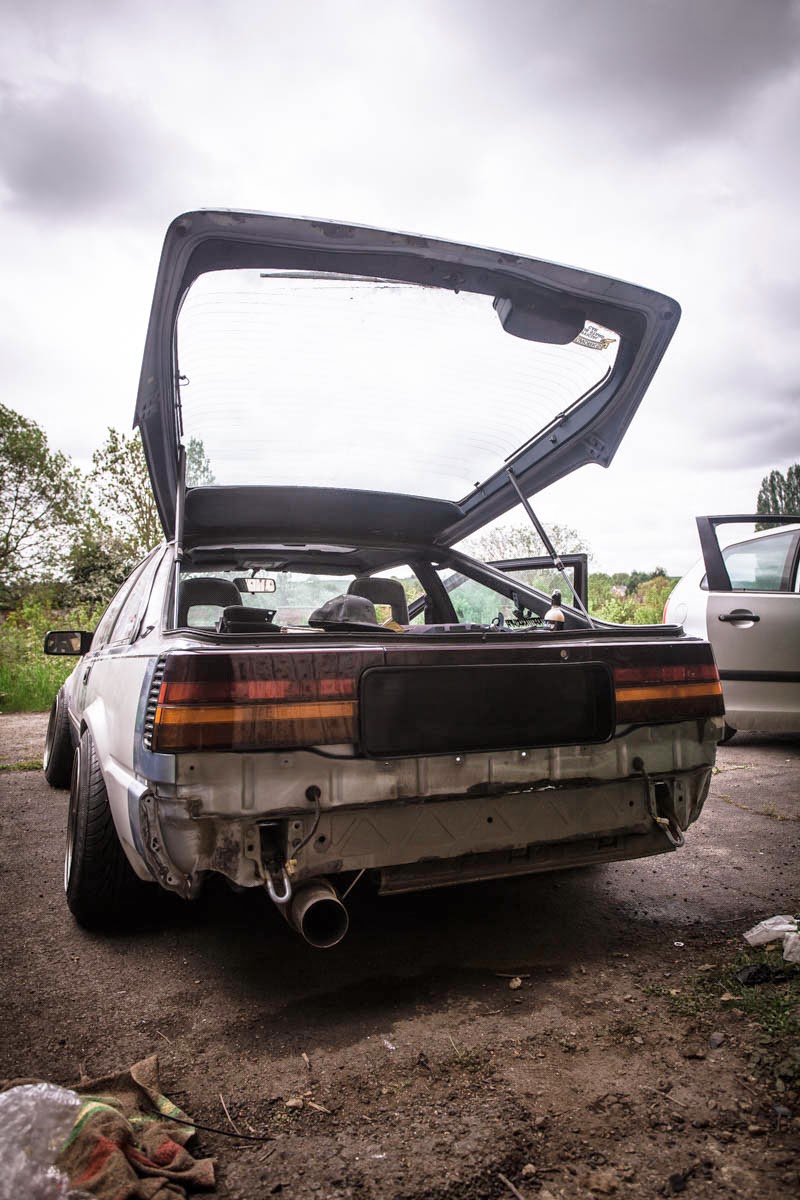
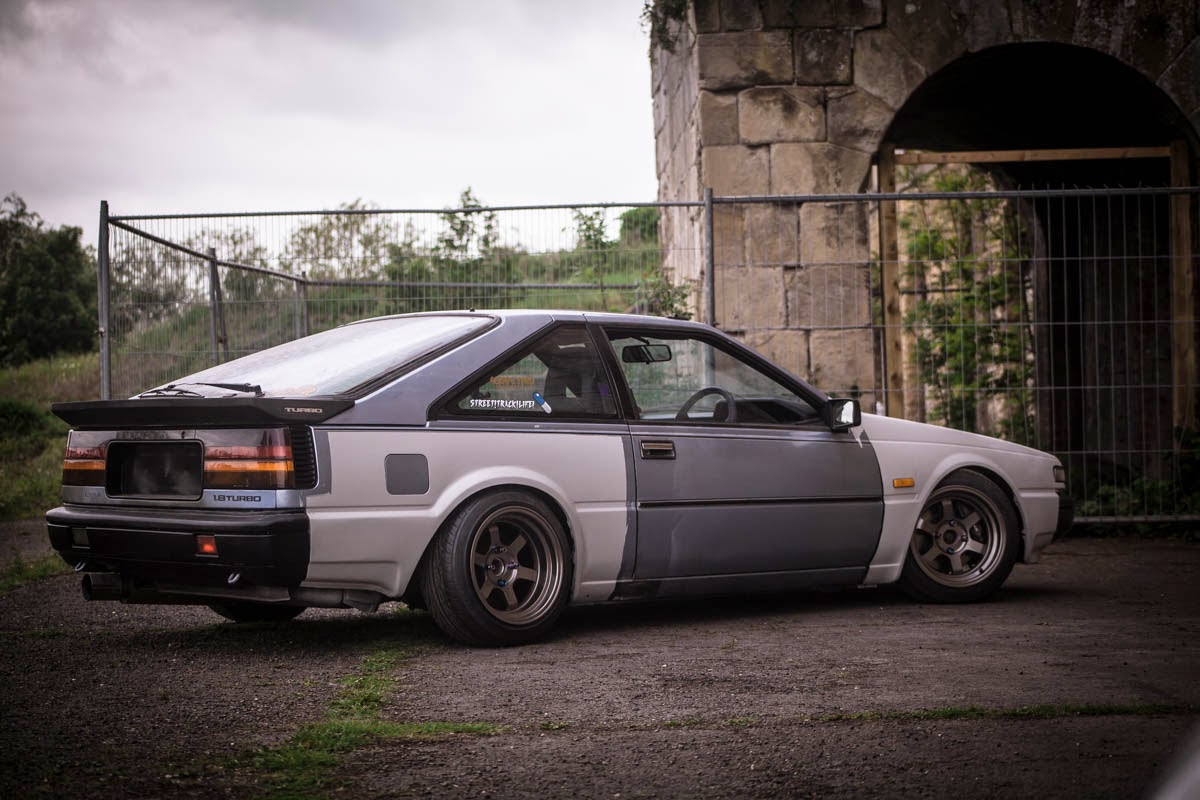
Exterior is pretty scrappy though!

posted image

posted image

Missing the rear wing :(

And has a dented rear bumper!

posted image

Post Merge


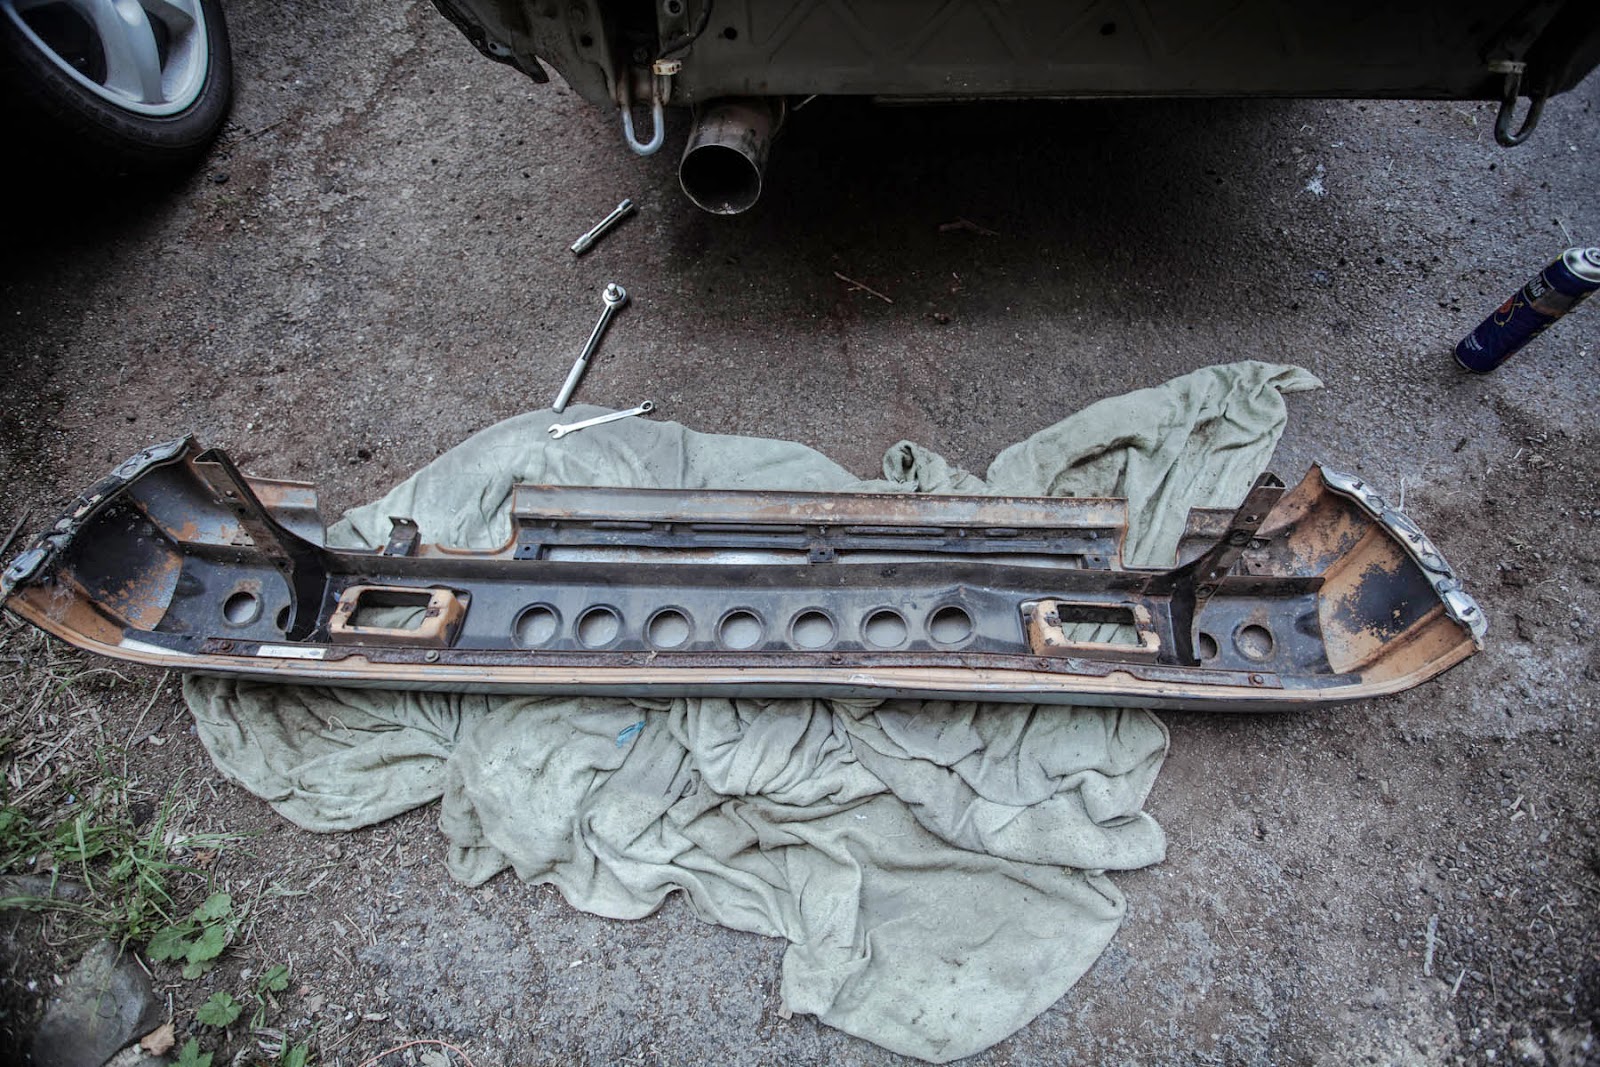
So taking a break from the wiring/head scratching I took a look at the rear bumper. Dont have a manual so working out how to get it off was pretty fun!

posted image

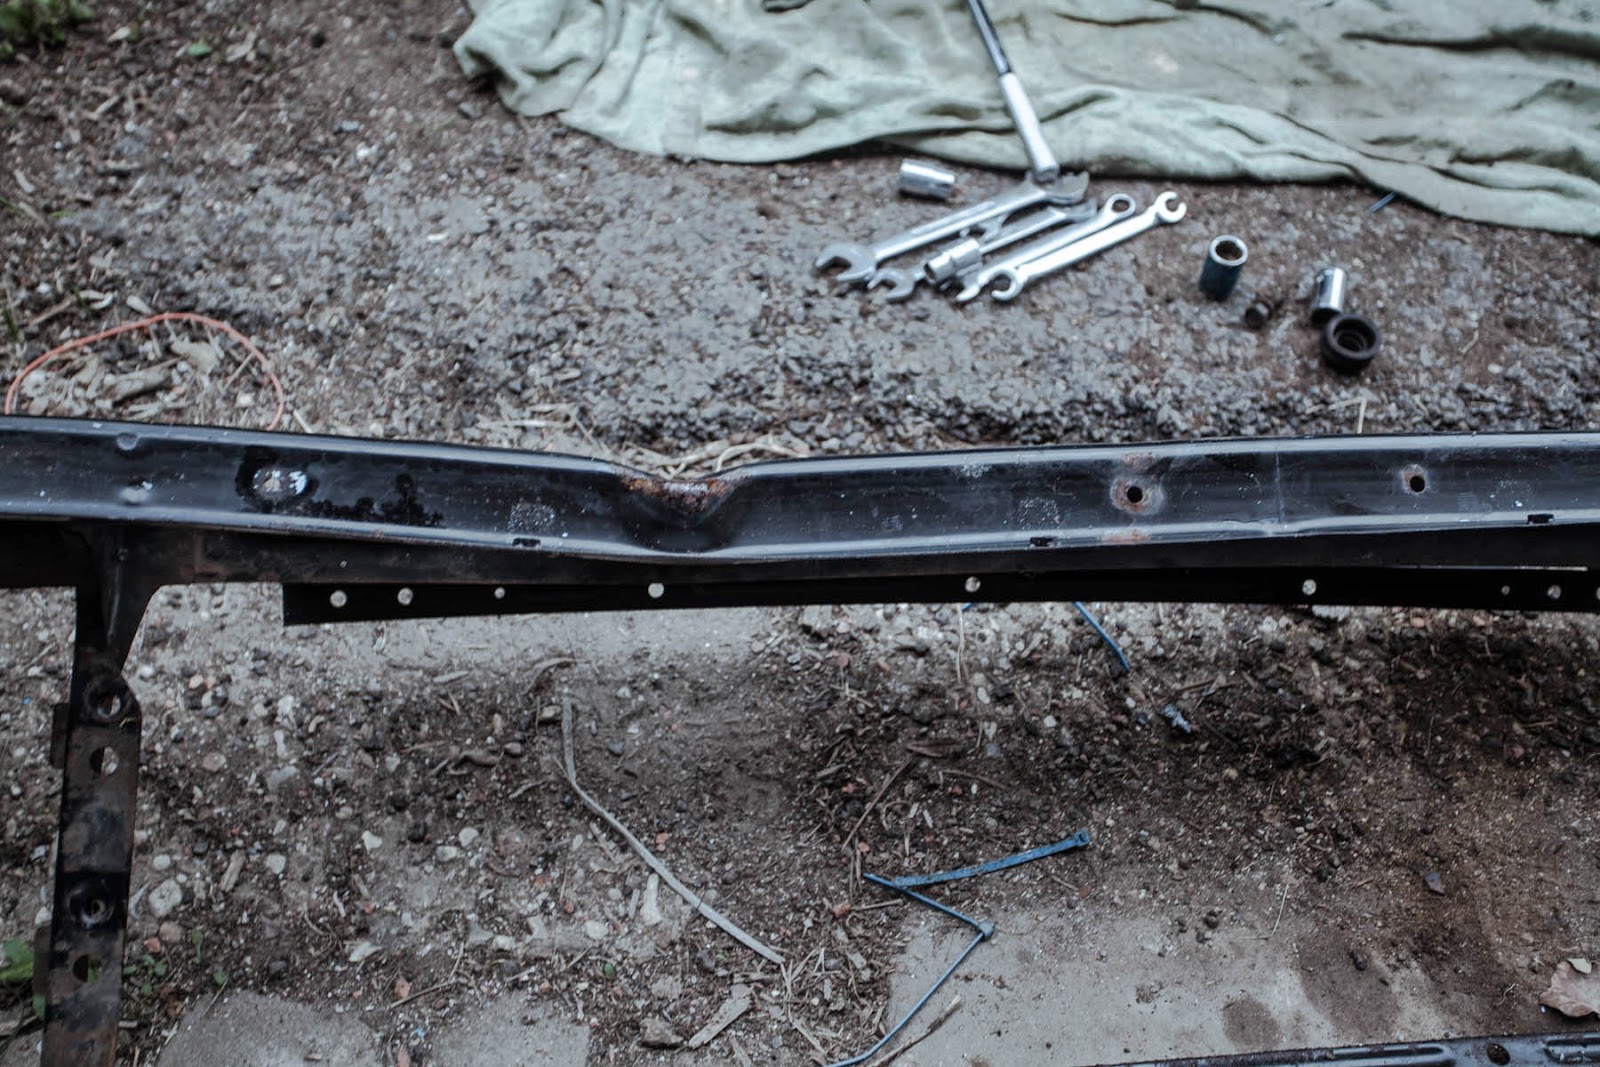
I guess this is why its bent.

posted image

I hoping a heat gun will make it straight!

posted image

Should be able to straighten this bracket out.

posted image

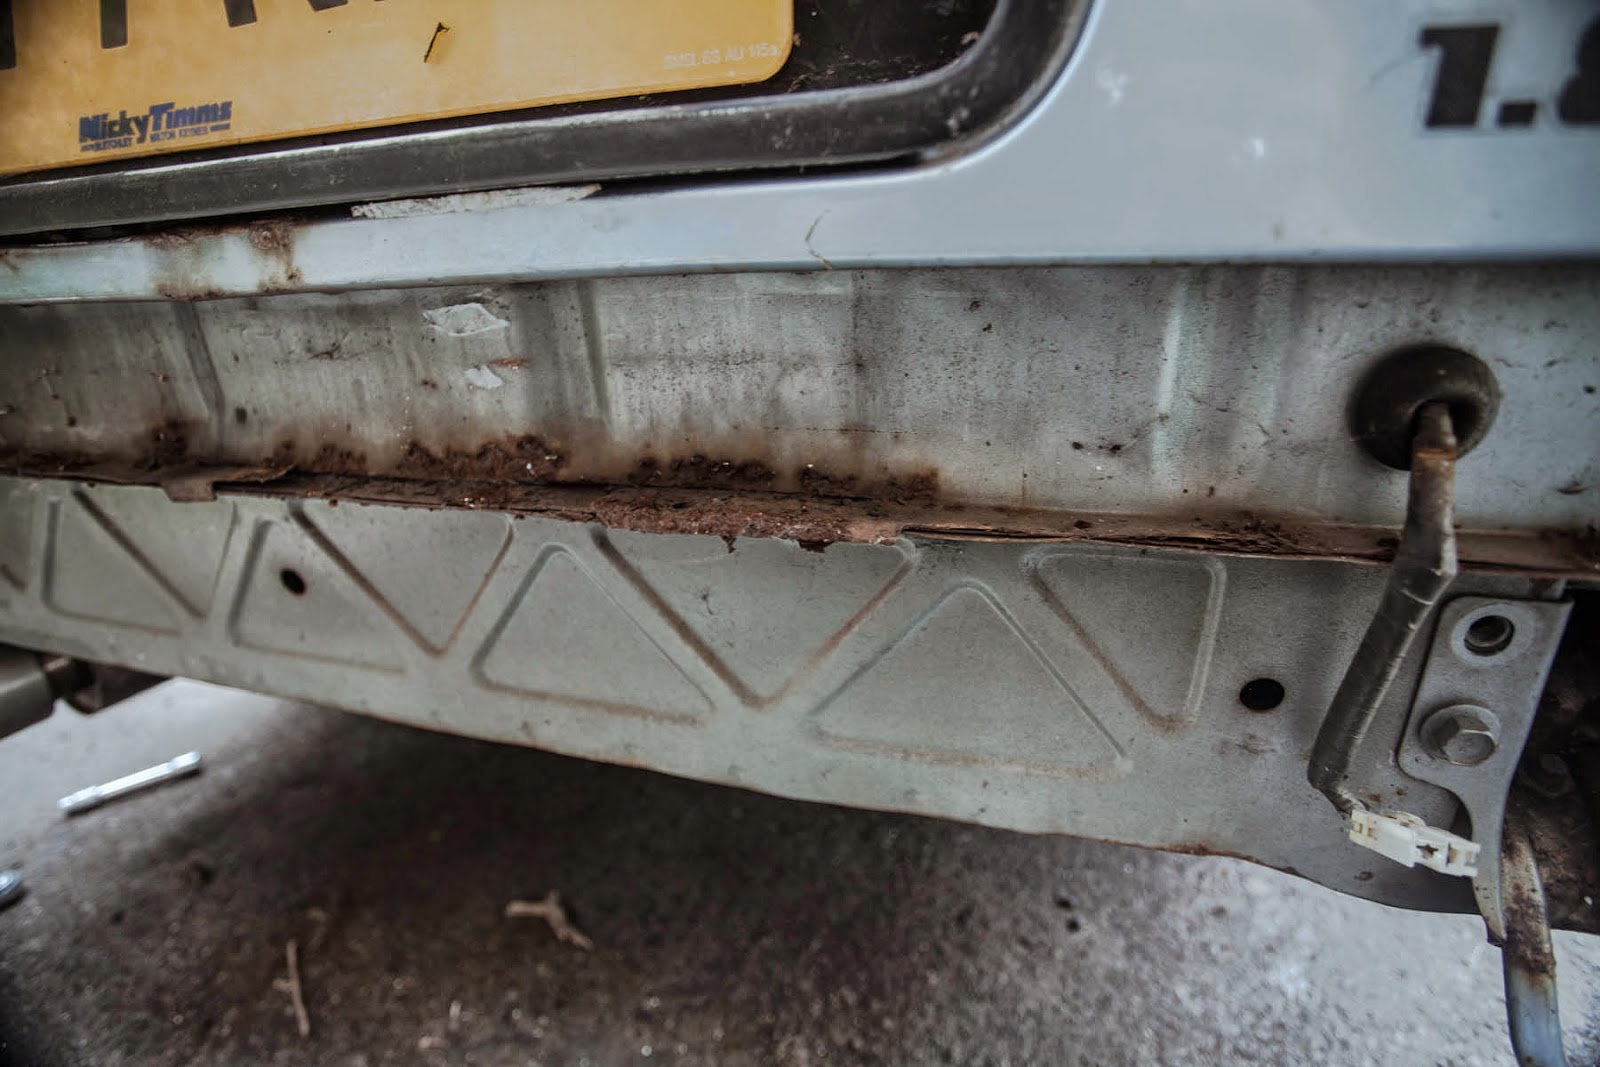
Theres a bit of rust that needs to be sorted before the bumper goes back on!

posted image

Put on a new hopefully correct slave cylinder? was a 3/4.

posted image

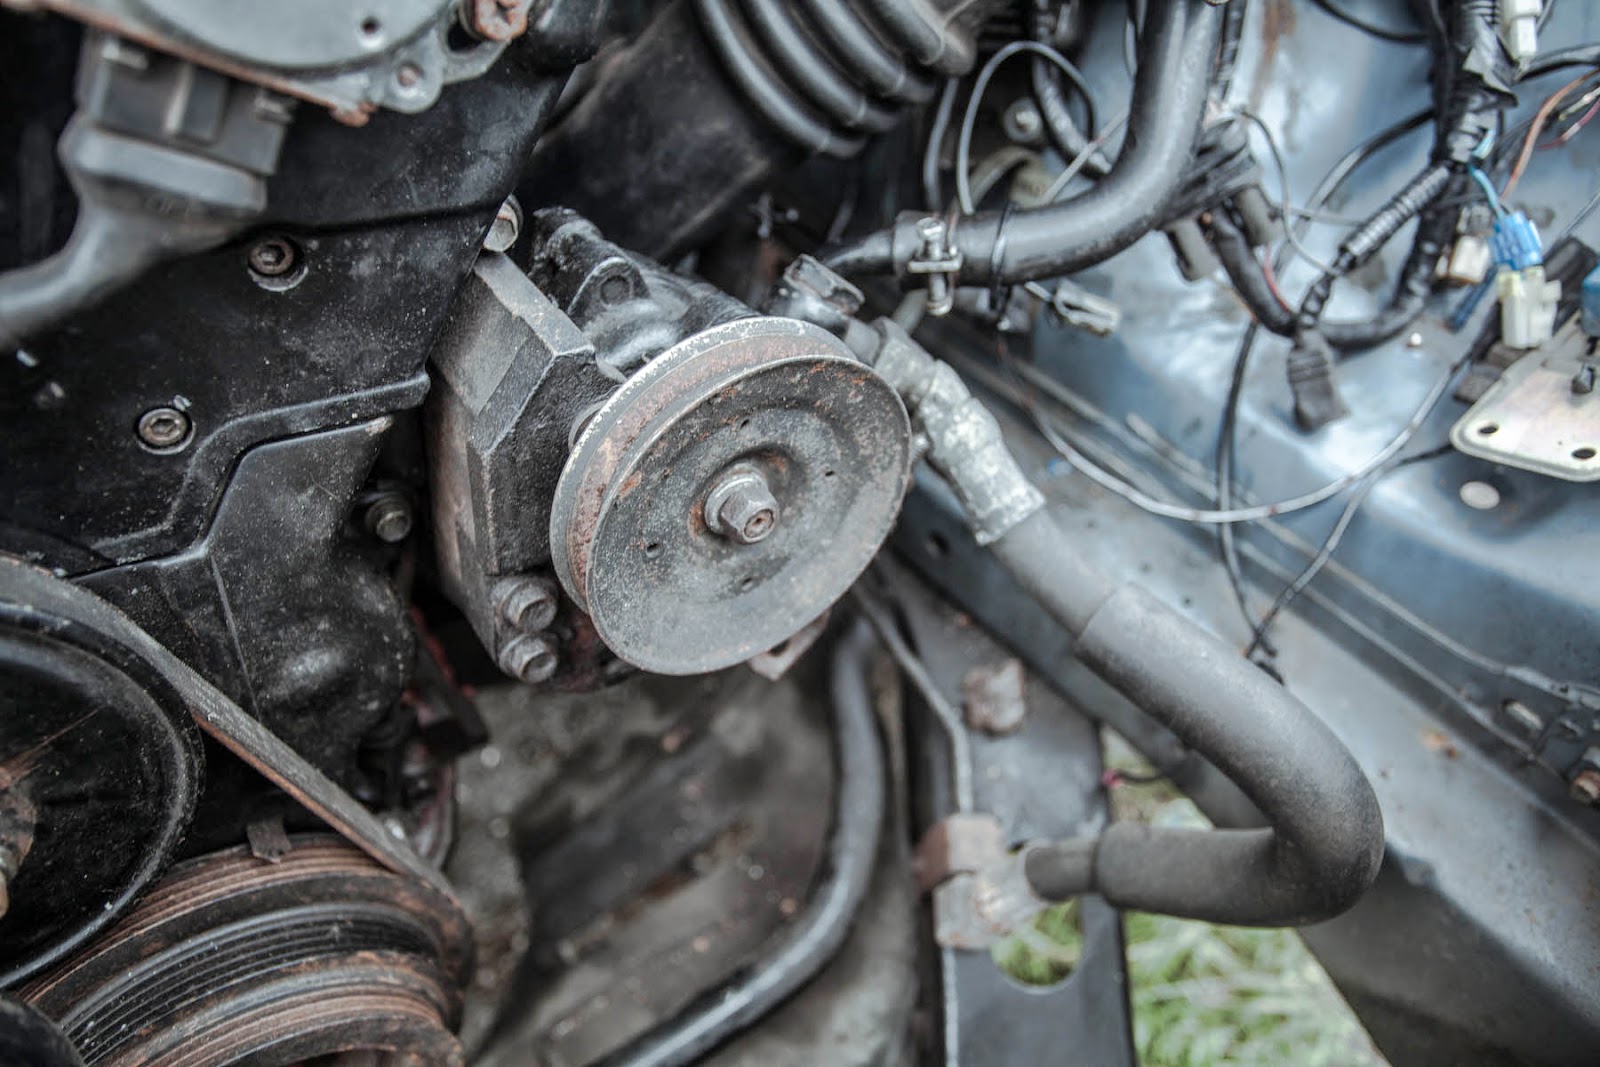
Need a new Power steering pulley as this is a v belt one.

posted image

My plan is to get it running and then legal for the road, then just muck around in it for the summer, might even lower it ;) Then I will pull the motor and sort the bay out and go through the loom properly eliminating all the spare wires as its a total mess in their right now!

Paul

Van_DentonJun 24, 2014, 3:20 pm · #2
posted image

Got a bit of a brake upgrade planned. Some cheap z32 26mm calipers.

Someone had previously painted them with brush! So put some paint stripper on.

posted image

Gonna need one more coat.

posted image

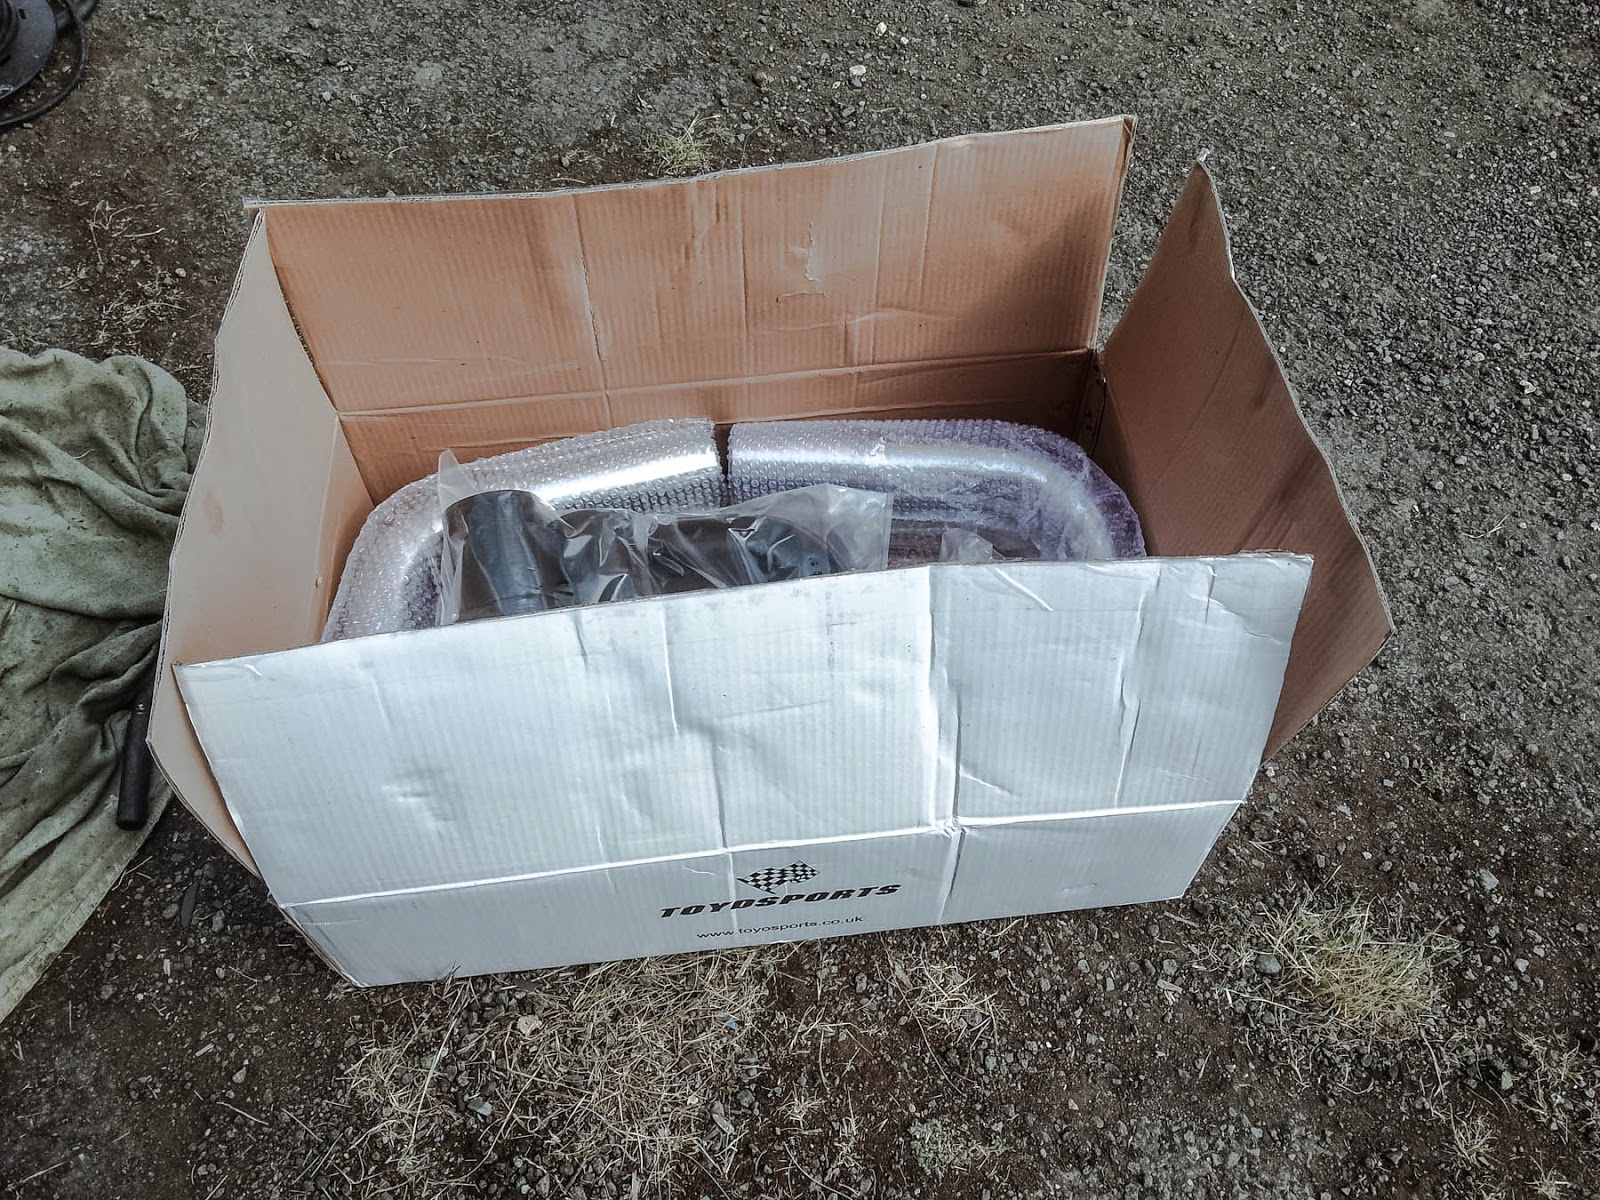
Bought some cheap intercooler piping.

posted image

posted image

posted image

LOL@90 Degrees

posted image

posted image

Starting to clean up the lower arms.

posted image

That's it so far.

Van_DentonJun 26, 2014, 4:32 pm · #3

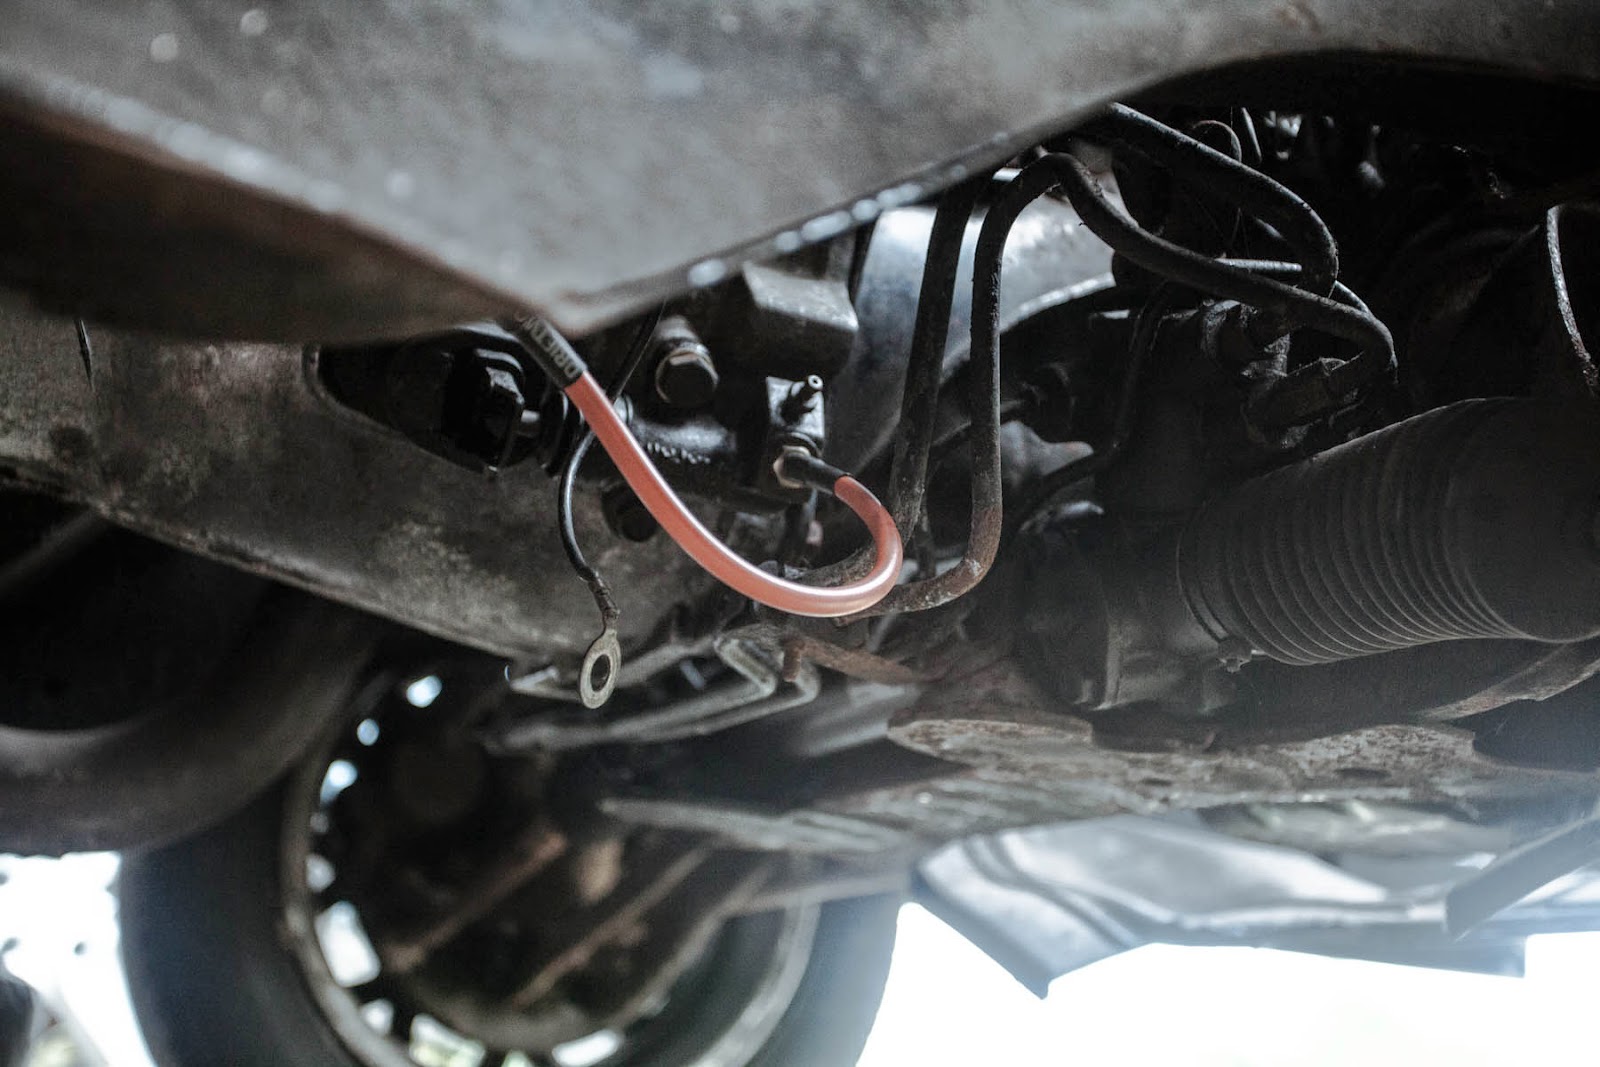
Am a bit confused about some of the vac lines.

posted image

is this right?
Post Merge


Started to make a bracket for the intercooler, here you can see the previous owners top intercooler bracket!!
posted image

posted image

posted image

so made a top mount bracket.

posted image

posted image

posted image

I mounted it like this so I can get another bumper that hasn't been cut!! If only I could find one :( Otherwise I could mount it so more of the intercooler is visible but I would worry abut ground clearance.

EternalSwapJun 29, 2014, 2:06 am · #4

Looking real good man! I'm envious of the euro short bumpers.

sideways_s12Jun 29, 2014, 2:25 am · #5

Nice!

OrangeS12Jun 29, 2014, 4:01 am · #6

Tht vacuum line is ok. I'm pretty sure it's for bumping your idle speed when u start up.  That little valve thing it goes to closes up as your engine warms up or on a timer or something

Van_DentonJun 29, 2014, 2:44 pm · #7

How do you tell with these engines how much oil is in it?

posted image

sorry for total noob question :)

Just need one more bend which i will have to order!! to complete pipe work.

posted image

Had a poke around the body!

Which led to this!

posted image

Which led to this!

posted image

Which led to this!

posted image

So needs a bit of work there.

Hi Mr Swap You like the euro bumpers but I love the USDM spec lights!!! If anyone is reading this and wants to sell their turbo rear wing/spoiler I will pay good money for it plus shipping to the uk!! let me know!

Van_DentonJul 21, 2014, 8:07 am · #8

Still cracking on with this.

posted image

Is this the reverse light switch?

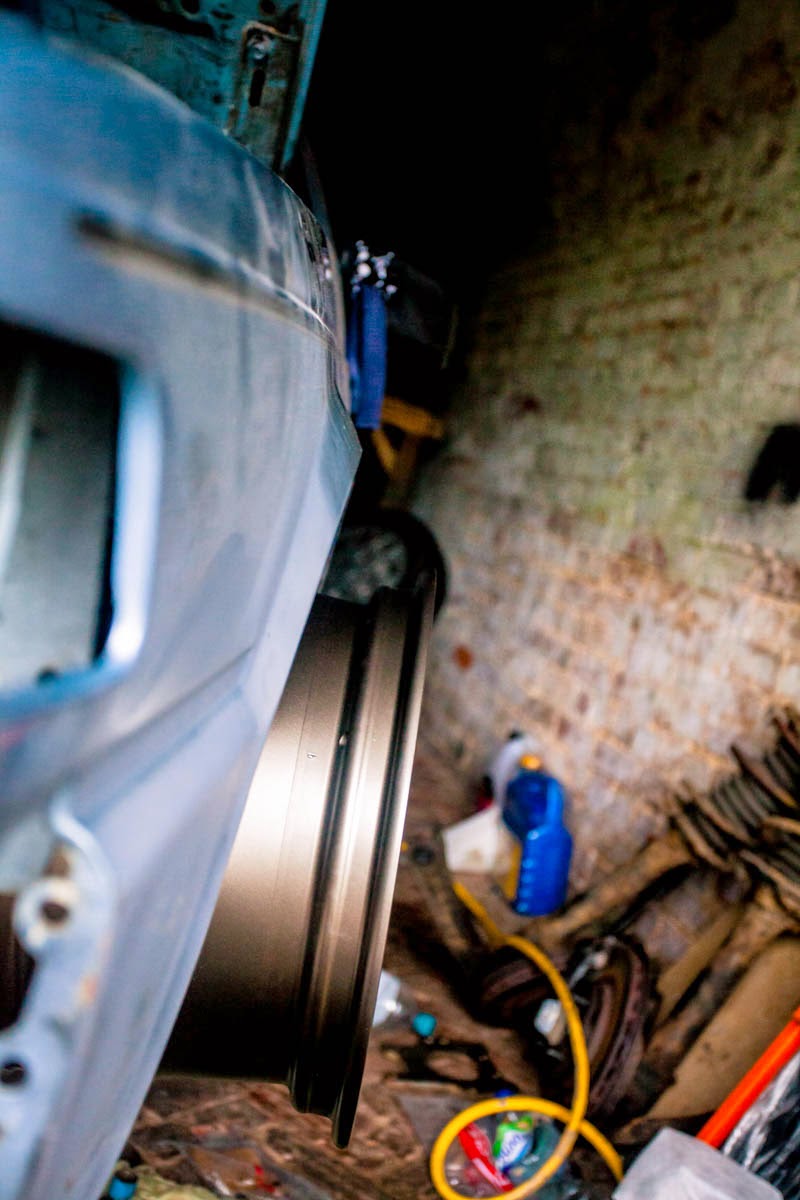
Also testing what wheels might fit with the z32 brakes, here is the z32 caliper inside a 15" Nissan Primera steel wheel. Theres no disc and there are 2 x20mm nut im using as a spacer and it fits!/ so that's why it wobbles a bit!

So I was getting some wheels banded but now im thinking of getting some diamond racing wheels as the exchange rate is in my favour so it works out cheaper. I need custom offsets, only thing is looking at the diamond wheel, it might have a smaller diameter inside the wheel than the steel wheel I just tested?

Anyone have a 15 or 16 inch DRW they can measure the inside diameter for me?


vegasS12Jul 29, 2014, 1:37 pm · #9

PLEASE SALE ME YOUR HEAD REST!!!!! LOL

Van_DentonAug 2, 2014, 4:32 pm · #10

those head rests are brilliant.
Well I got the engine plumbed in, intercooler pipes all welded up. So go to start and nothing, just turns over. Theres fuel so the fuel pump relay is working. Ive triple triple checked all the wiring. Couldnt check the spark as I didn't have a spare plug or a 16mm deep socket. So will check spark tomo after I buy socket. Will check the cam posistion sensor as well.

Also will see if the diagnostics on the ecu will work.

Does this behaviour look right, the lights go out while cranking then flicker back on.


Will swap the relays around in case 1 is broke. cant think of what else.

sideways_s12Aug 2, 2014, 10:09 pm · #11

Where are you located?

Van_DentonAug 3, 2014, 3:35 am · #12

I'm in northampton, uk. Or noho  as I call it or nohope.

sideways_s12Aug 3, 2014, 4:27 am · #13

Lol How close is that to norfolk?

Van_DentonAug 3, 2014, 1:10 pm · #14

Norfolk? its about 2 hours drive. Why Norfolk? that's where all the old people go to die!
Post Merge


ok, Got spark so that's good.

I can hear the injectors ticking, not sure if number 1 is though as I pulled the plugs and when turning over number 3 spark plug hole gets really wet, 2 and 4 don't get wet but you can really smell the fuel and 1 you get nothing not a whiff of fuel just air.

So im a bit confused, its getting spark and fuel in 2,3 and 4 but yet doesn't even try to fire, just turns over.

So for next weekend will get new plugs and a noid light to check if the injectors are firing.

Could there be anything else stopping it from firing?

sideways_s12Aug 3, 2014, 8:08 pm · #15

Lol because that's where my mother-in-law lives right now and where we will be staying once we get there.
Post Merge


If you pull the cas while plugged in and turn the car on (but not start) turn the shaft and you should hear all the injectors firing you may have a bad injector from the sound of it but it should run on 3 cyls if you have spark and fuel to the other 3.
Van_DentonAug 4, 2014, 2:43 am · #16

Yeah thats what i was doing in that video but it was dificult to identify which injectors were clicking. Should of put my finger on them or some thing. Will check with the noid light. I guess my wiring is ok in that i have spark and fuel!

As for norfolk you been there before? Theres nice country pubs and stuff but i imagine theres culture shock involved coming from vegas!

sideways_s12Aug 4, 2014, 3:11 am · #17

I've never been to the U.K. at all. My wife and her family are from there and live there and she wants to go home so we will be moving once we get the funds together. She wants to be there by xmas but I don't see that happening.

Van_DentonAug 6, 2014, 5:58 am · #18

^^ oh nice, we can go for a beer when u get here.

posted image

No. No it isn't!!!

Van_DentonAug 9, 2014, 2:59 pm · #19

Yes it is! It started!!!!!!

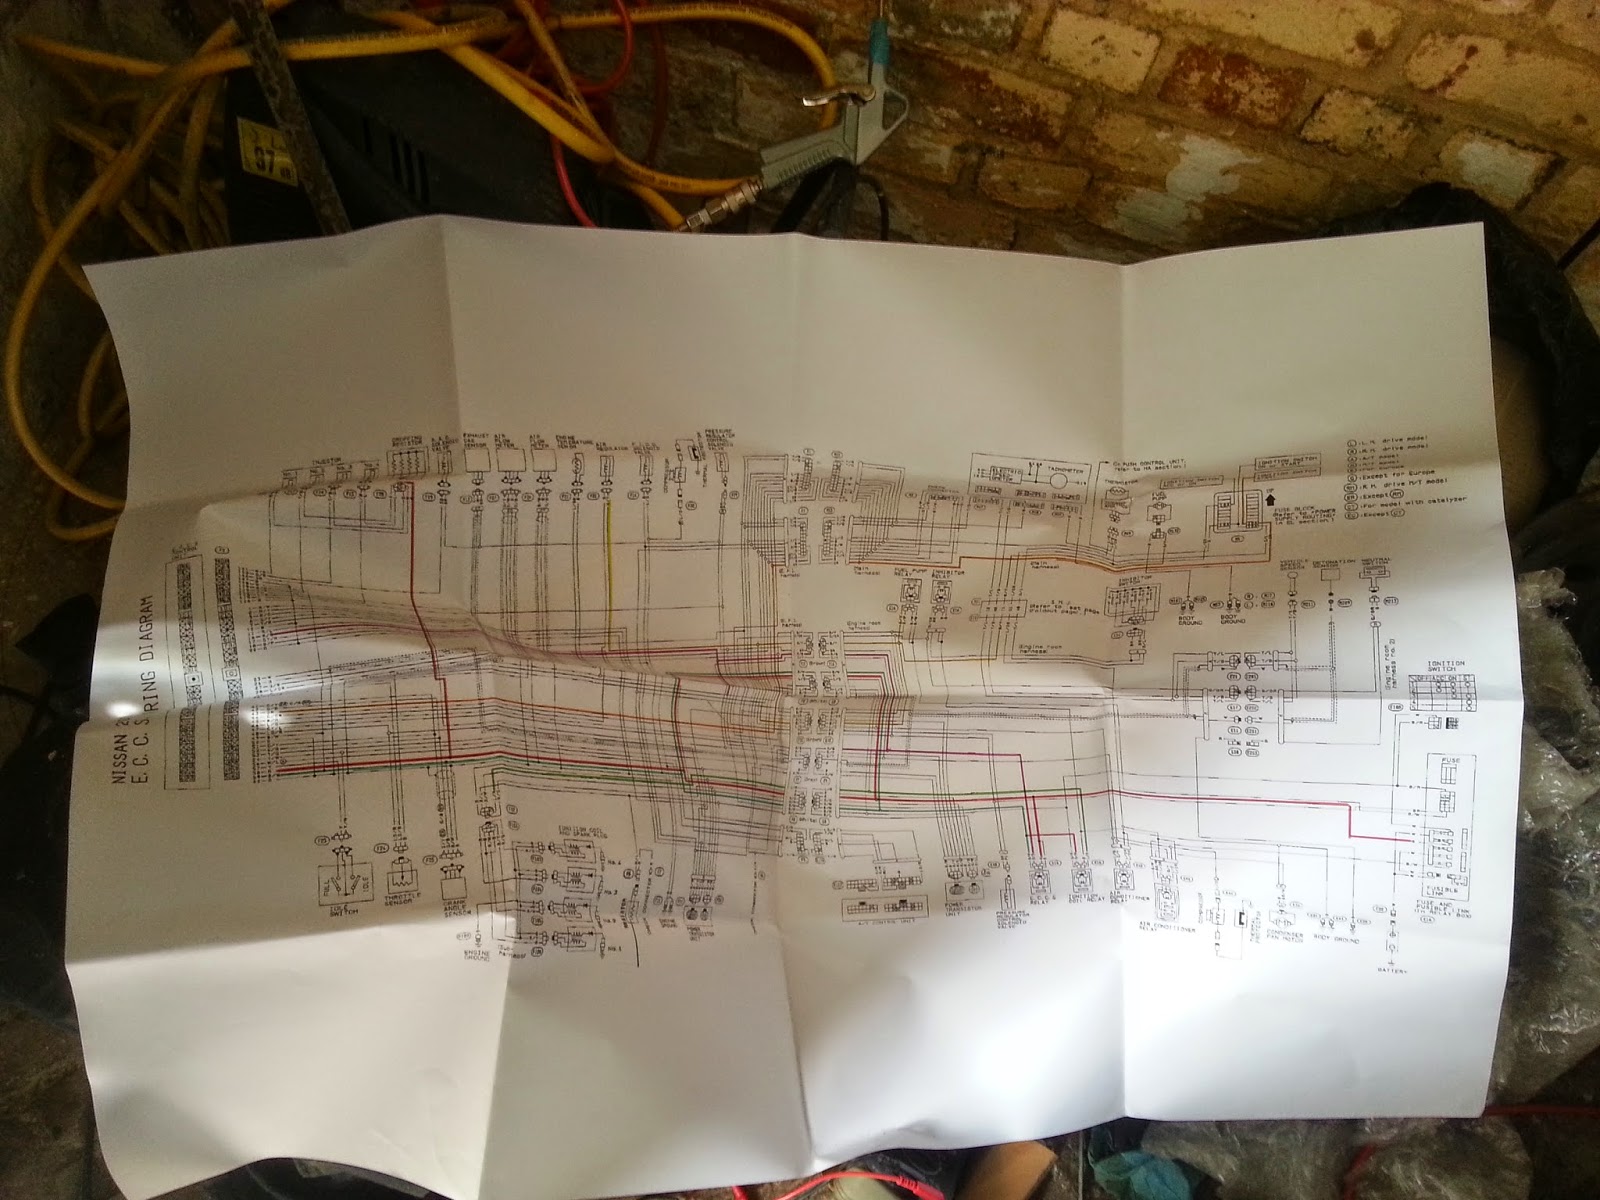
so put the noid light on number 1 injector plug and nothing, no light. Put it on the others and it worked on 1-3. So I printed the wire diagram A0 ! my eyes arnt what they used to be.

posted image

So checking all the wire colours  I realise that 1 - that's not an injector wire! and 2 - the injector plugs are on the wrong injectors! and 3! - every plug is broke!

Does anyone know if you can buy just the plugs?

The air regulator plug is chopped so need a lug for that.

posted image

Anyway my battery in my phone died so got my dad round to video it, Dads and phones though! he missed the actual starting of it, bless him.
Also I look really concerned about something - dunno what though lol.

So now need to time it properly and wire in the battery to the boot and tidy all the wiring up.

Also my dad was concerned that the actuator rod wasn't moving? when does it move?

[VIDEO]http://youtu.be/S9LY4ye_i_g[/VIDEO]

posted image

Anyone know what this plug is for? Im guessing it goes to the original relays?

MasterSpazezAug 9, 2014, 7:22 pm · #20

Transmission harness maybe? I deleted mine because racecar lol.

sideways_s12Aug 10, 2014, 7:25 pm · #21

Yeah I would love to go for a beer when we get there!

Nice you got it started!

Van_DentonSep 20, 2014, 3:34 pm · #22

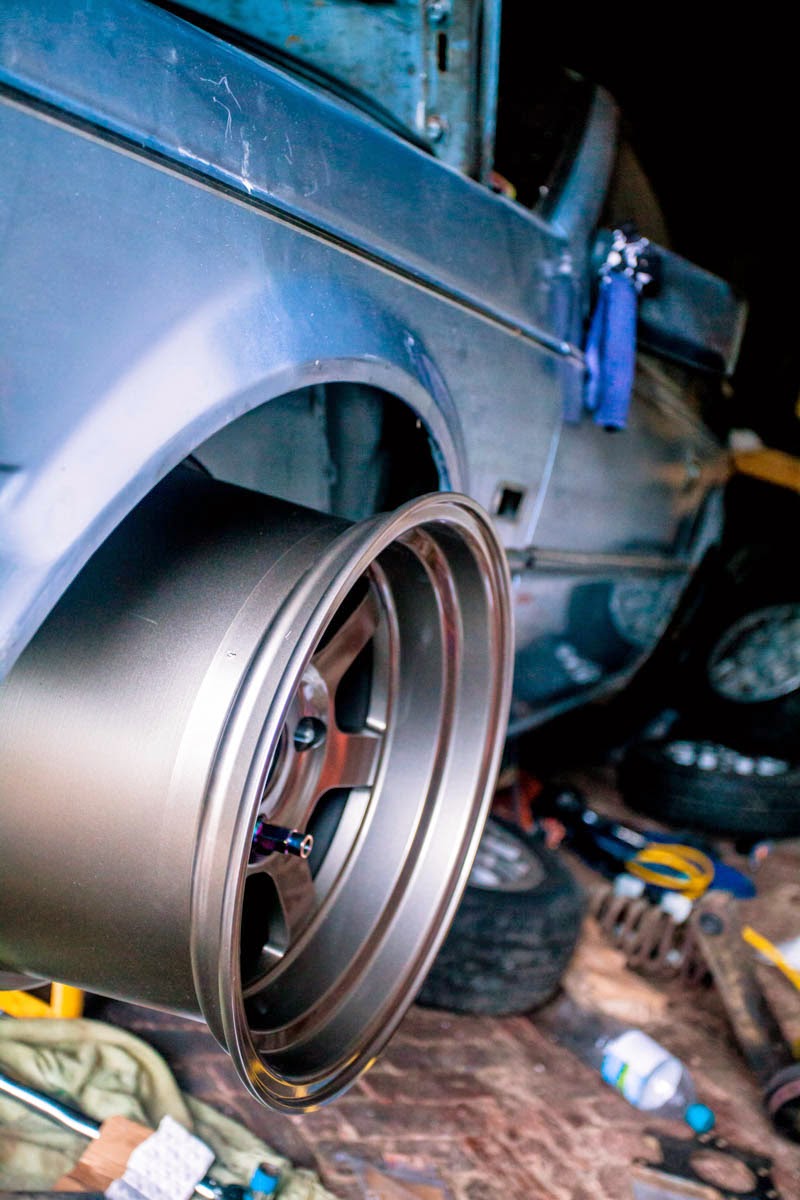
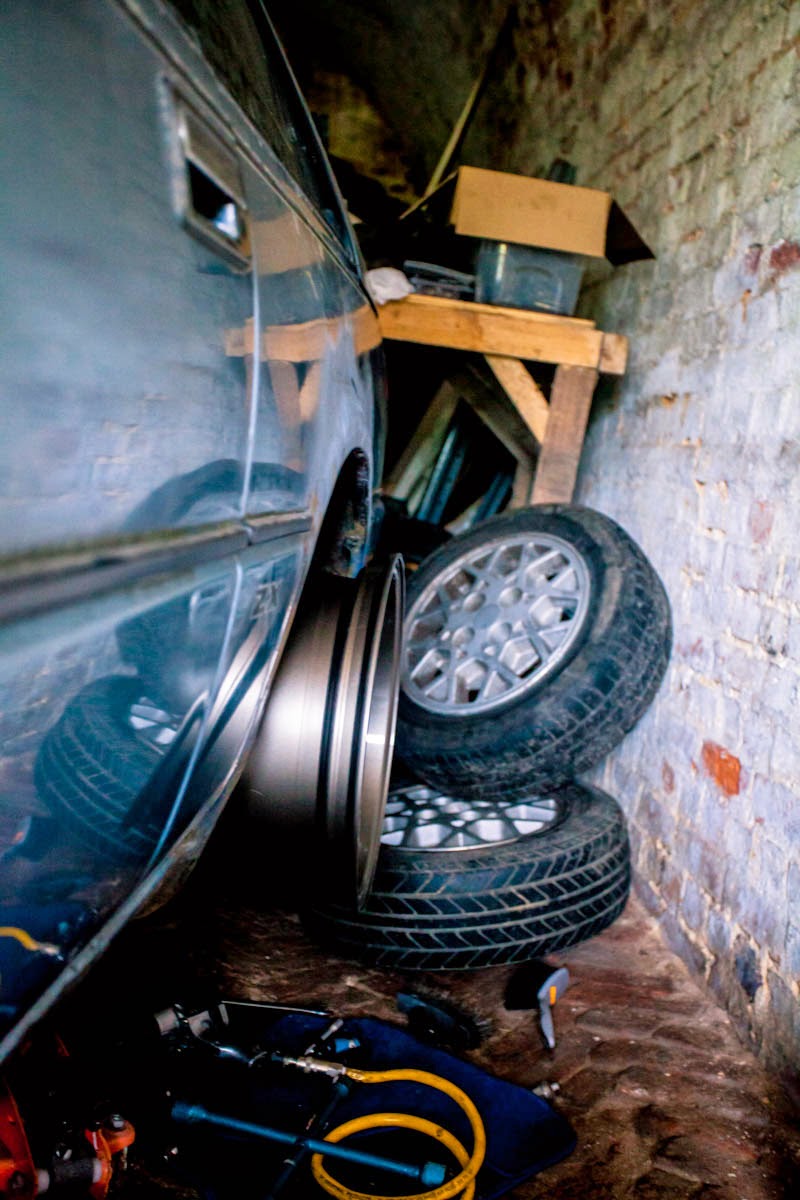
A few more hours spent on this, was a bit worried the wheels wouldnt fit round the brakes but they do!
posted image

LOL at the fitment

posted image

posted image

posted image

LOL.

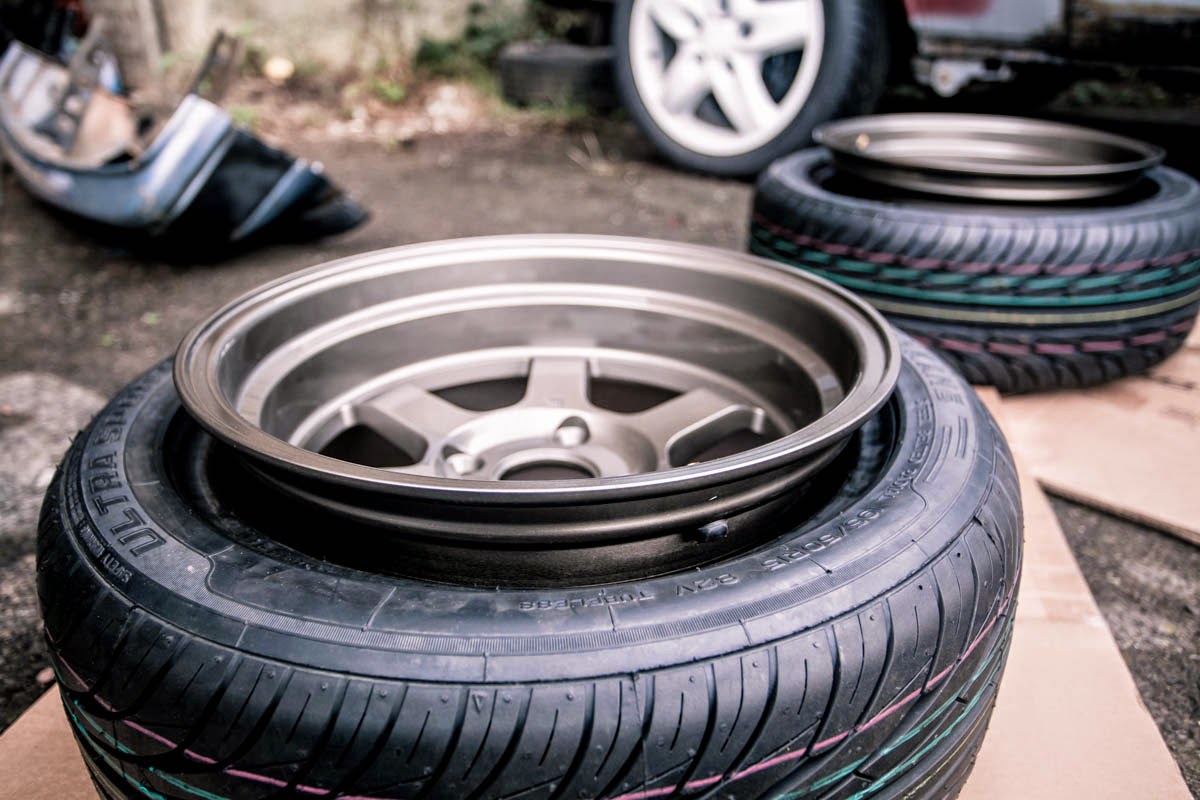
So went and got the tyres fitted, could only get 2 on, 2 just wouldnt go on.  tried a can of hairspray but didnt work, any tips?

posted image

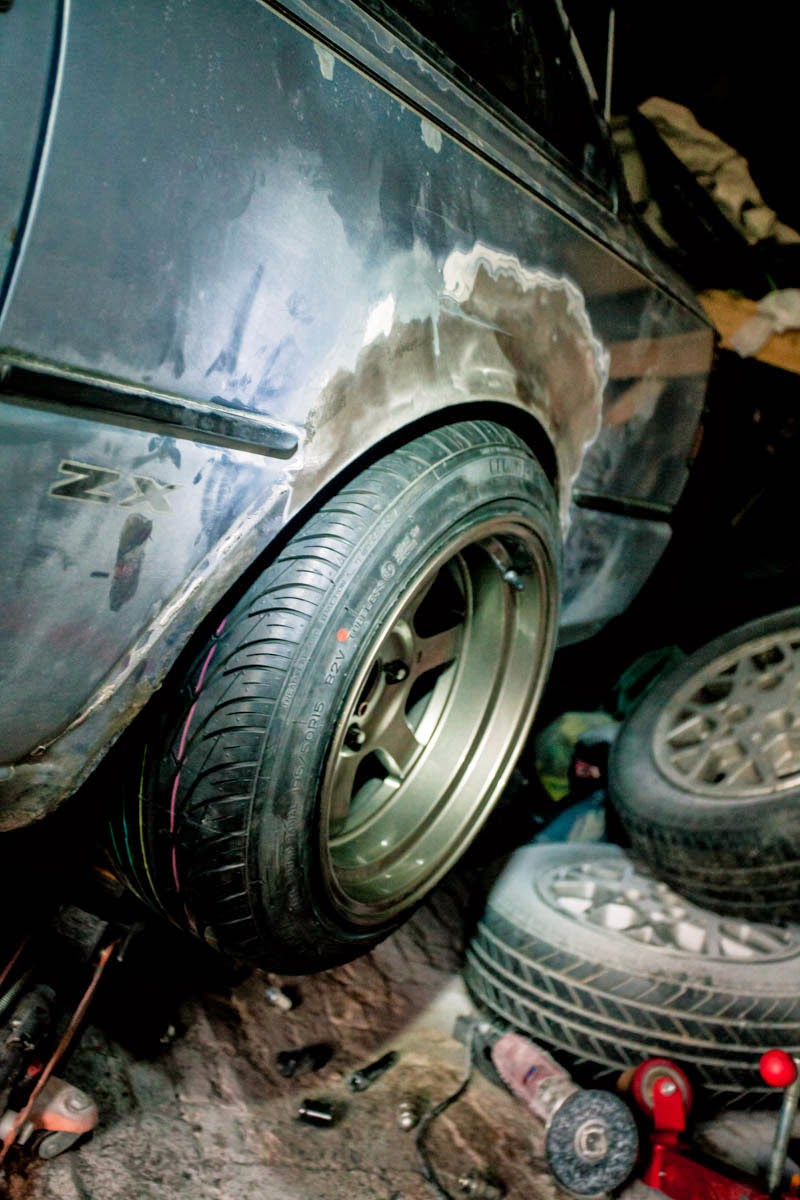
here you can see this arch, it was covered in like an inch of filler! this is after I inverstgated it and covered it wth a bit of primer

posted image

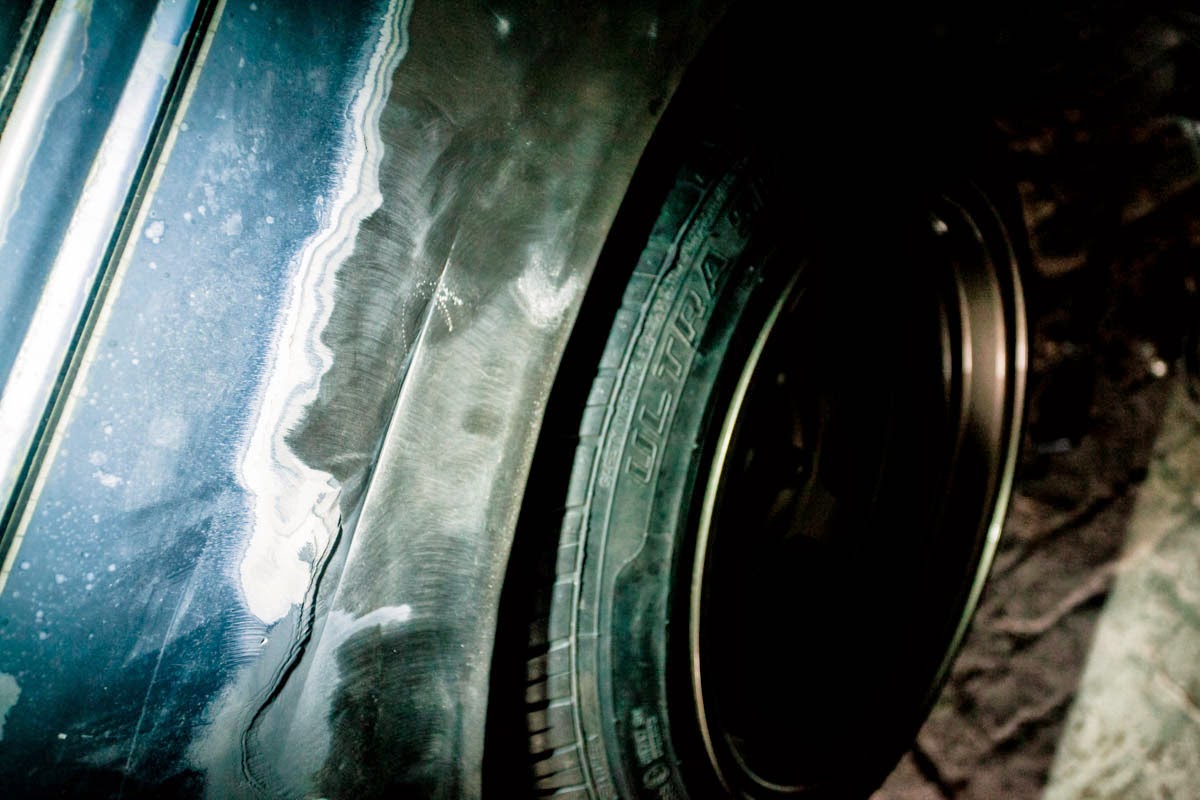
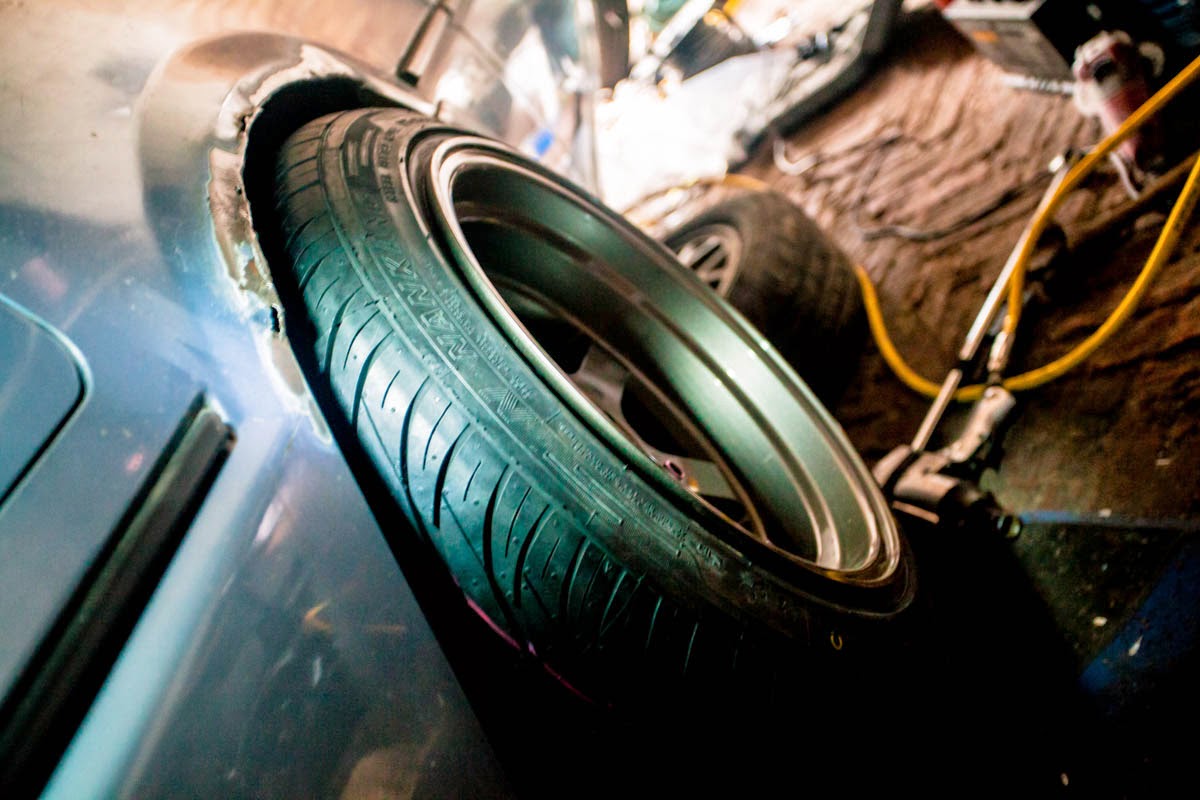
So took all the filler off and rolled the arch, a lot!

posted image

Here you can see the crease that was under the filler

posted image

The other side needs attention as its a little rusty.

posted image

Fronts will get some arch love too, not enough time today.

posted image

I need to tidy up!

posted image

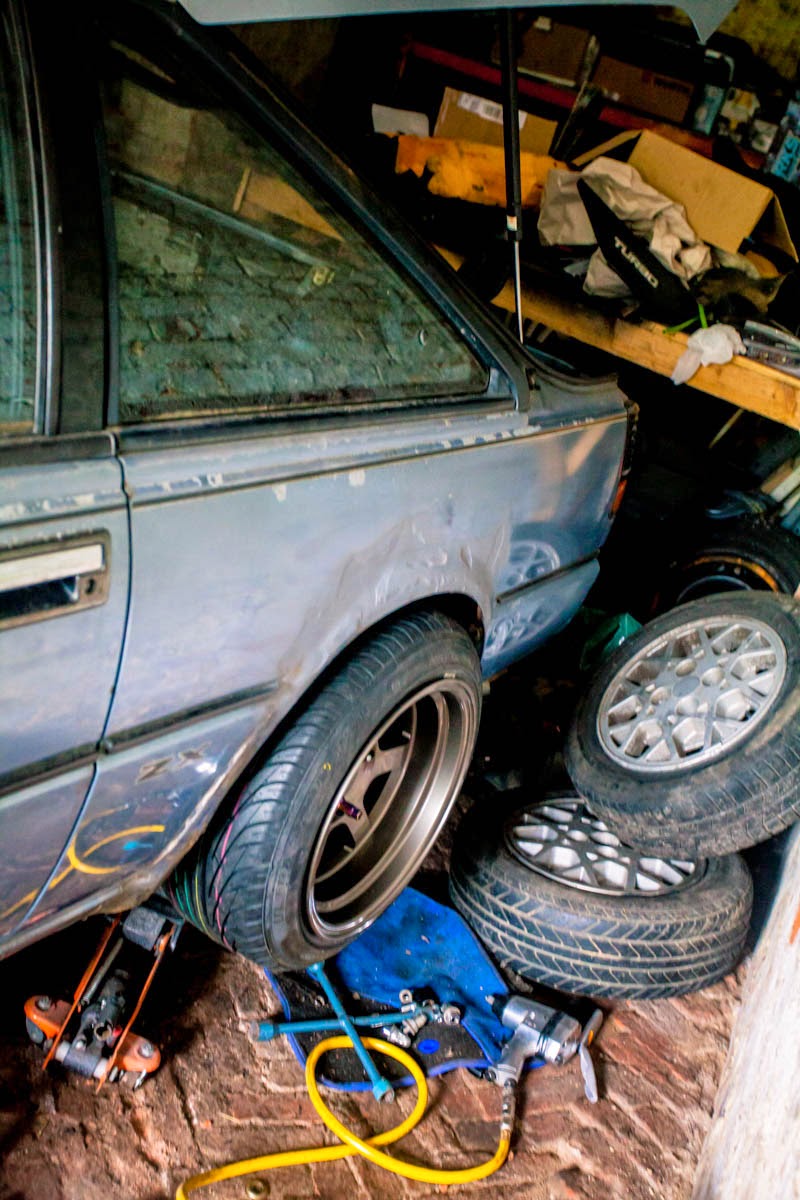
Cant wait to get it off the axle stands and see how it sits.

BasicSep 25, 2014, 1:26 pm · #23

try ether (starting fluid) for seating the bead on the tires. Dangerous but it does work.

Van_DentonMay 12, 2015, 4:34 am · #24

Right well ive still been cracking on with this.

heres whats been going on.

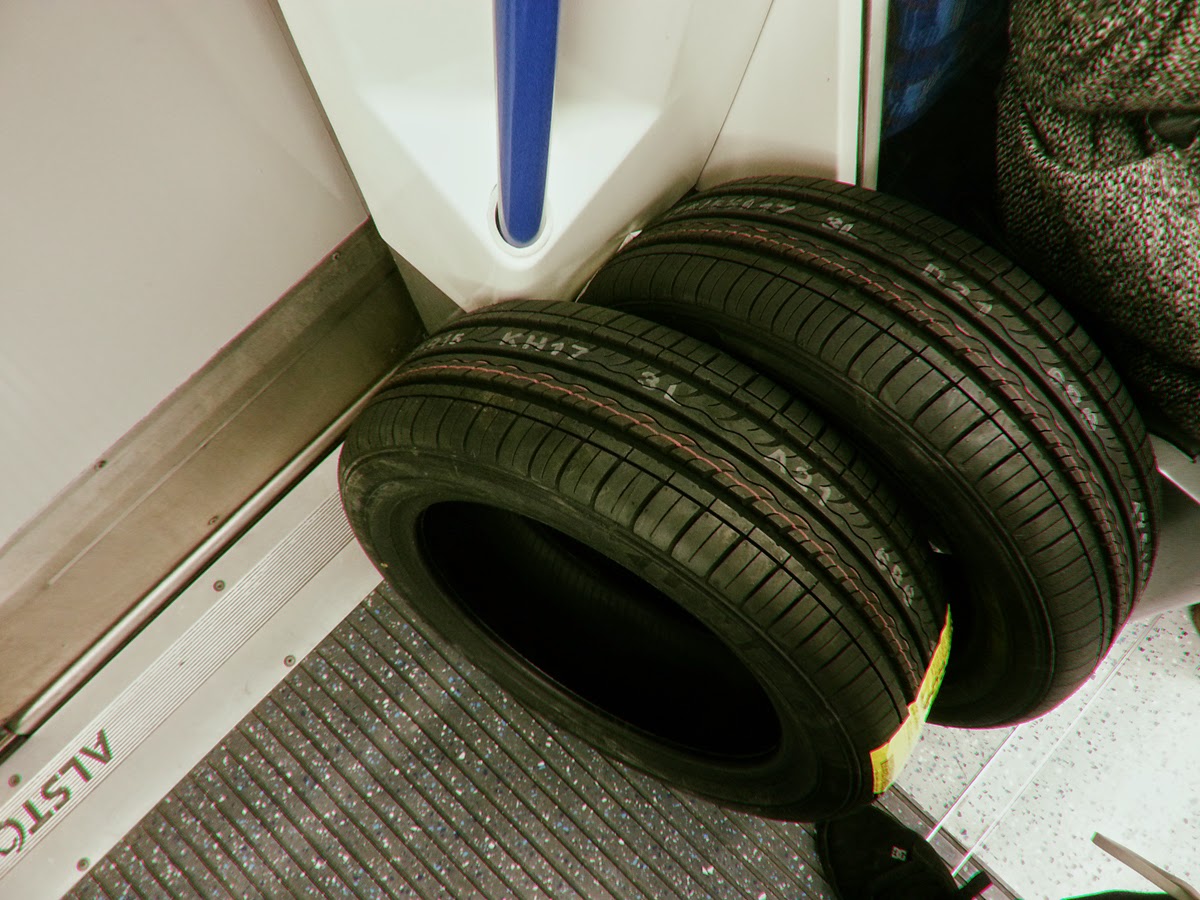
Got me some tyres! Had to get them delivered to work and I work in London, you don't see too many people with a pair of tyres on the tube!
posted image

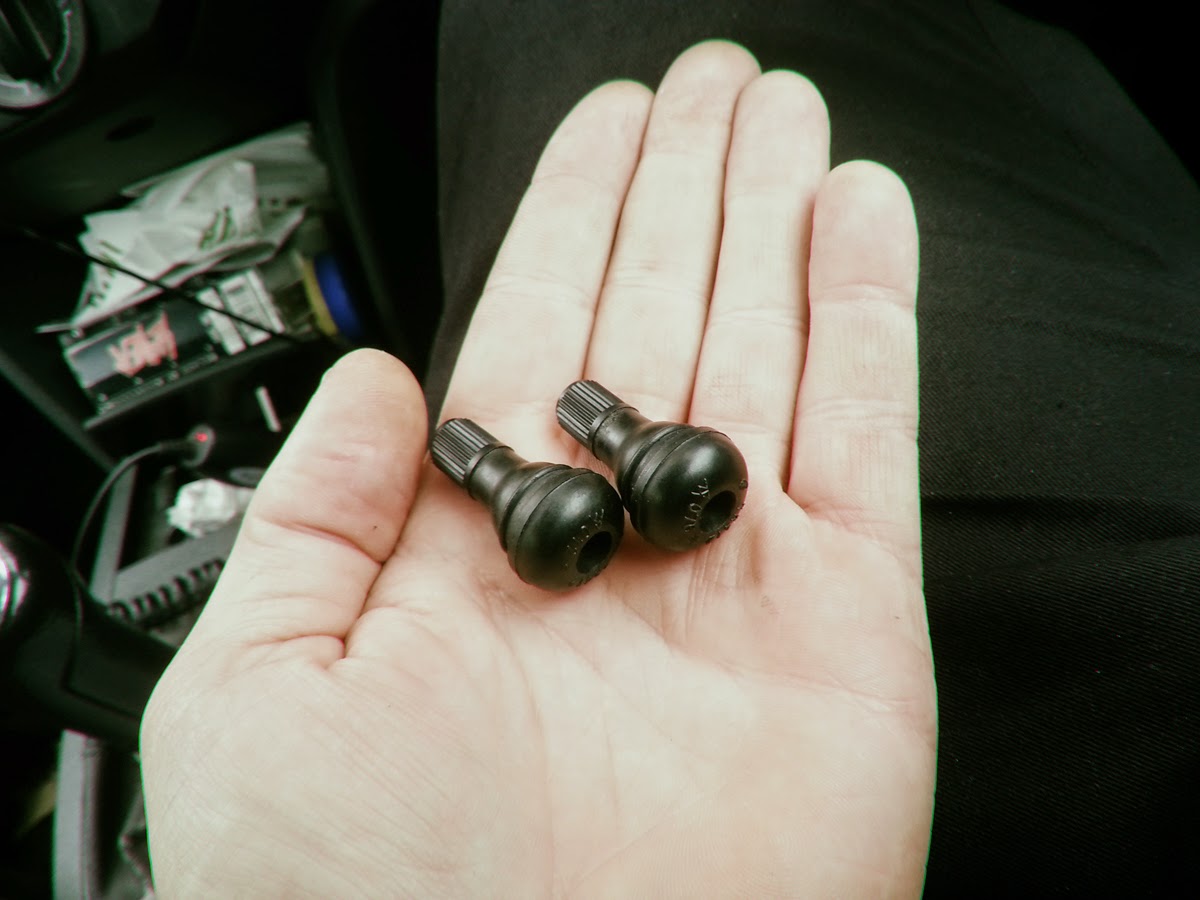
Got some motorbike valves, don't want no curb feelers!!
posted image

lol

[video=youtube_share;iJeq2bhDxdM]http://youtu.be/iJeq2bhDxdM[/video]

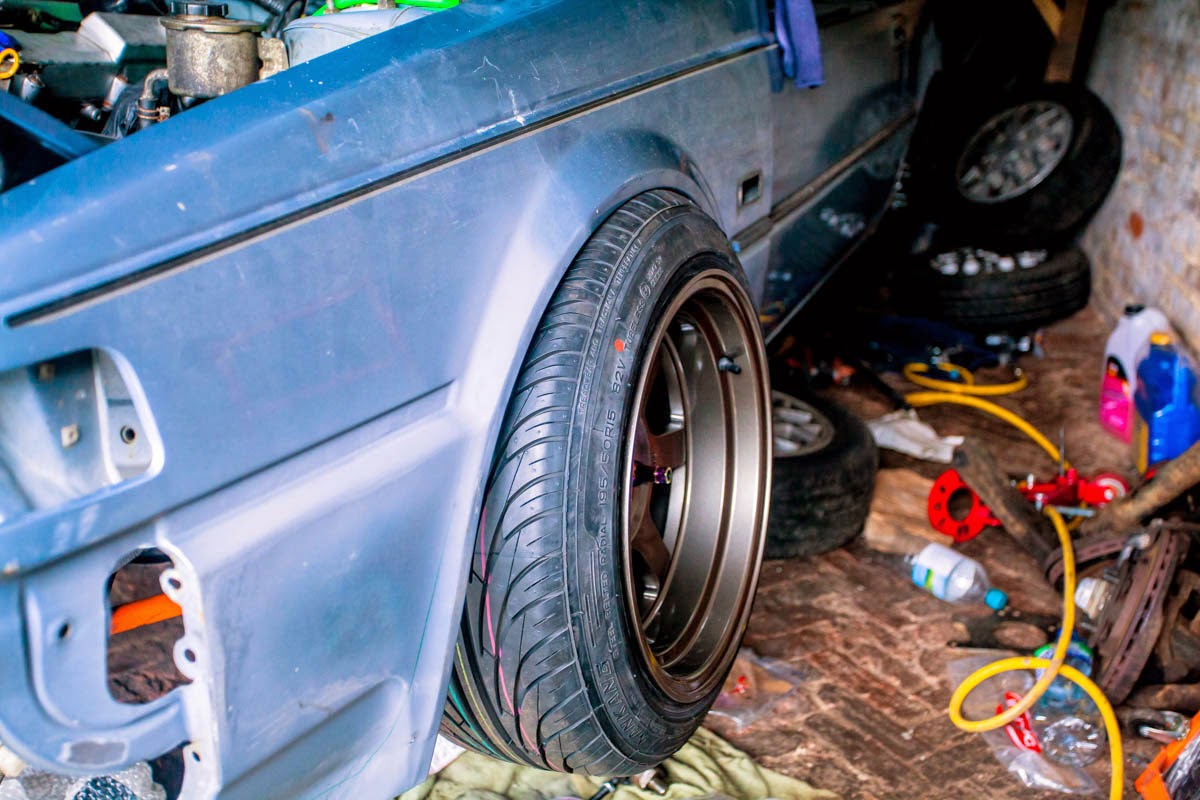
They fit much better than the 9's. Might have to raise it a little!
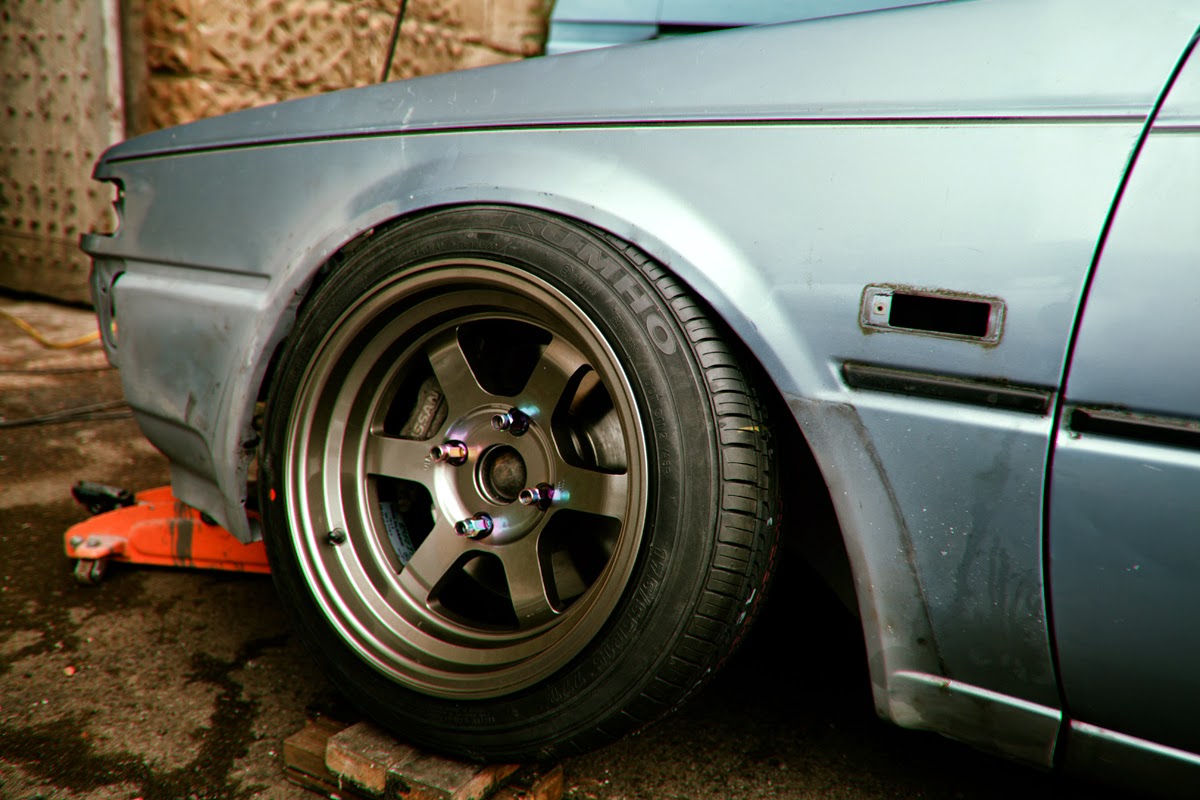
posted image

posted image

did a few other things too. Just need to finish the sill and sort the other rear arch out.

thanks a lot guys, appreciate your comments.

Only a small update.
posted image

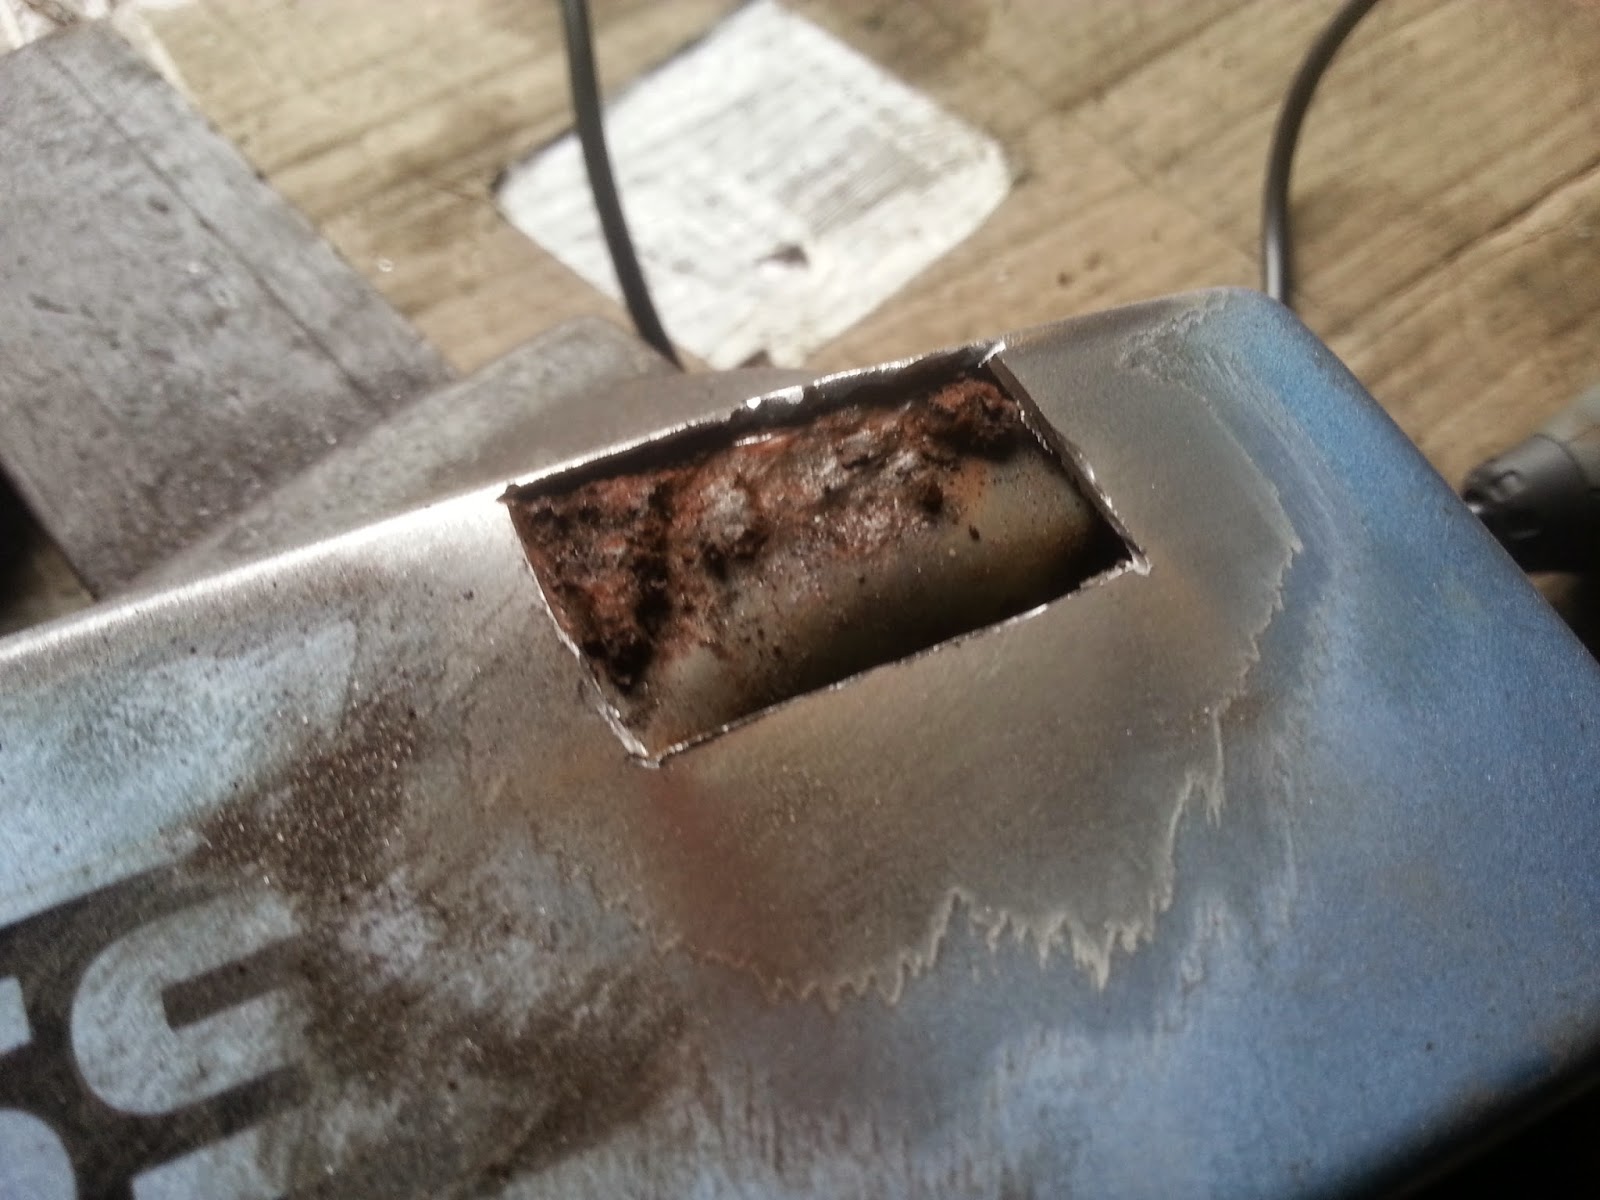
There was a little bit of rust on the rear panel below the lights.

posted image

Gone.

posted image

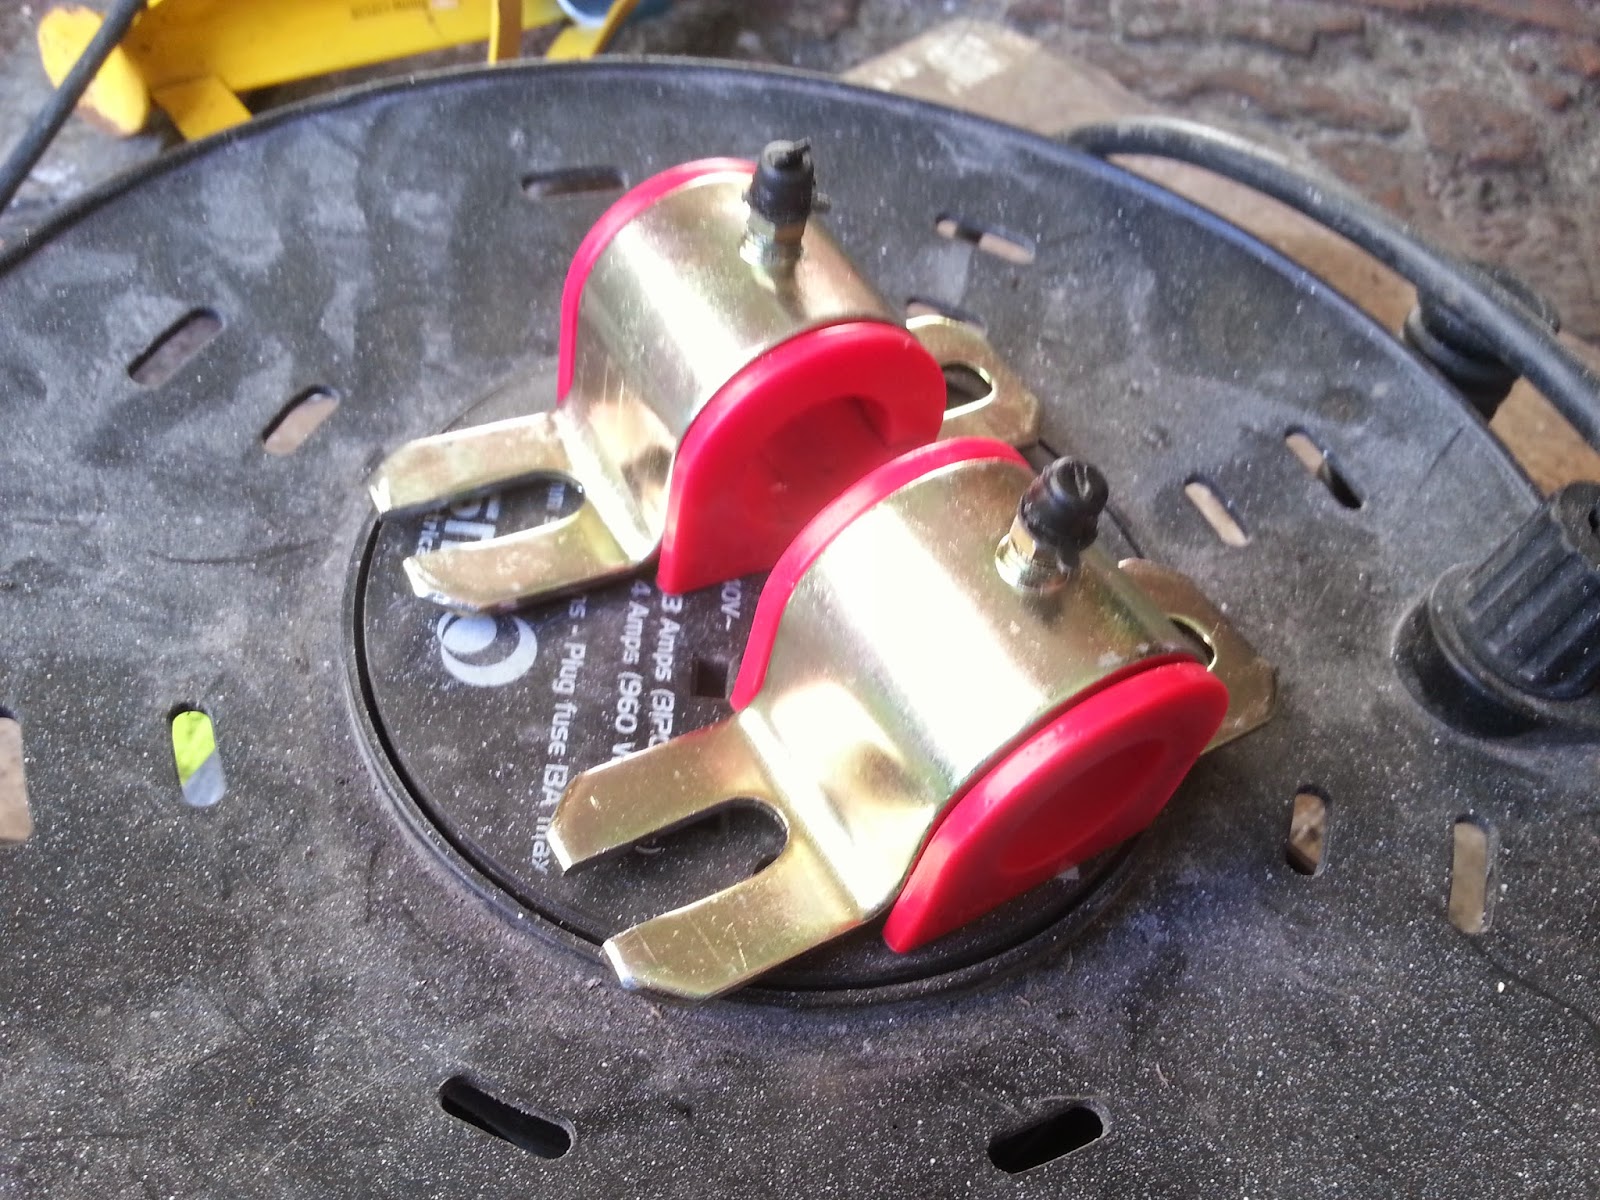
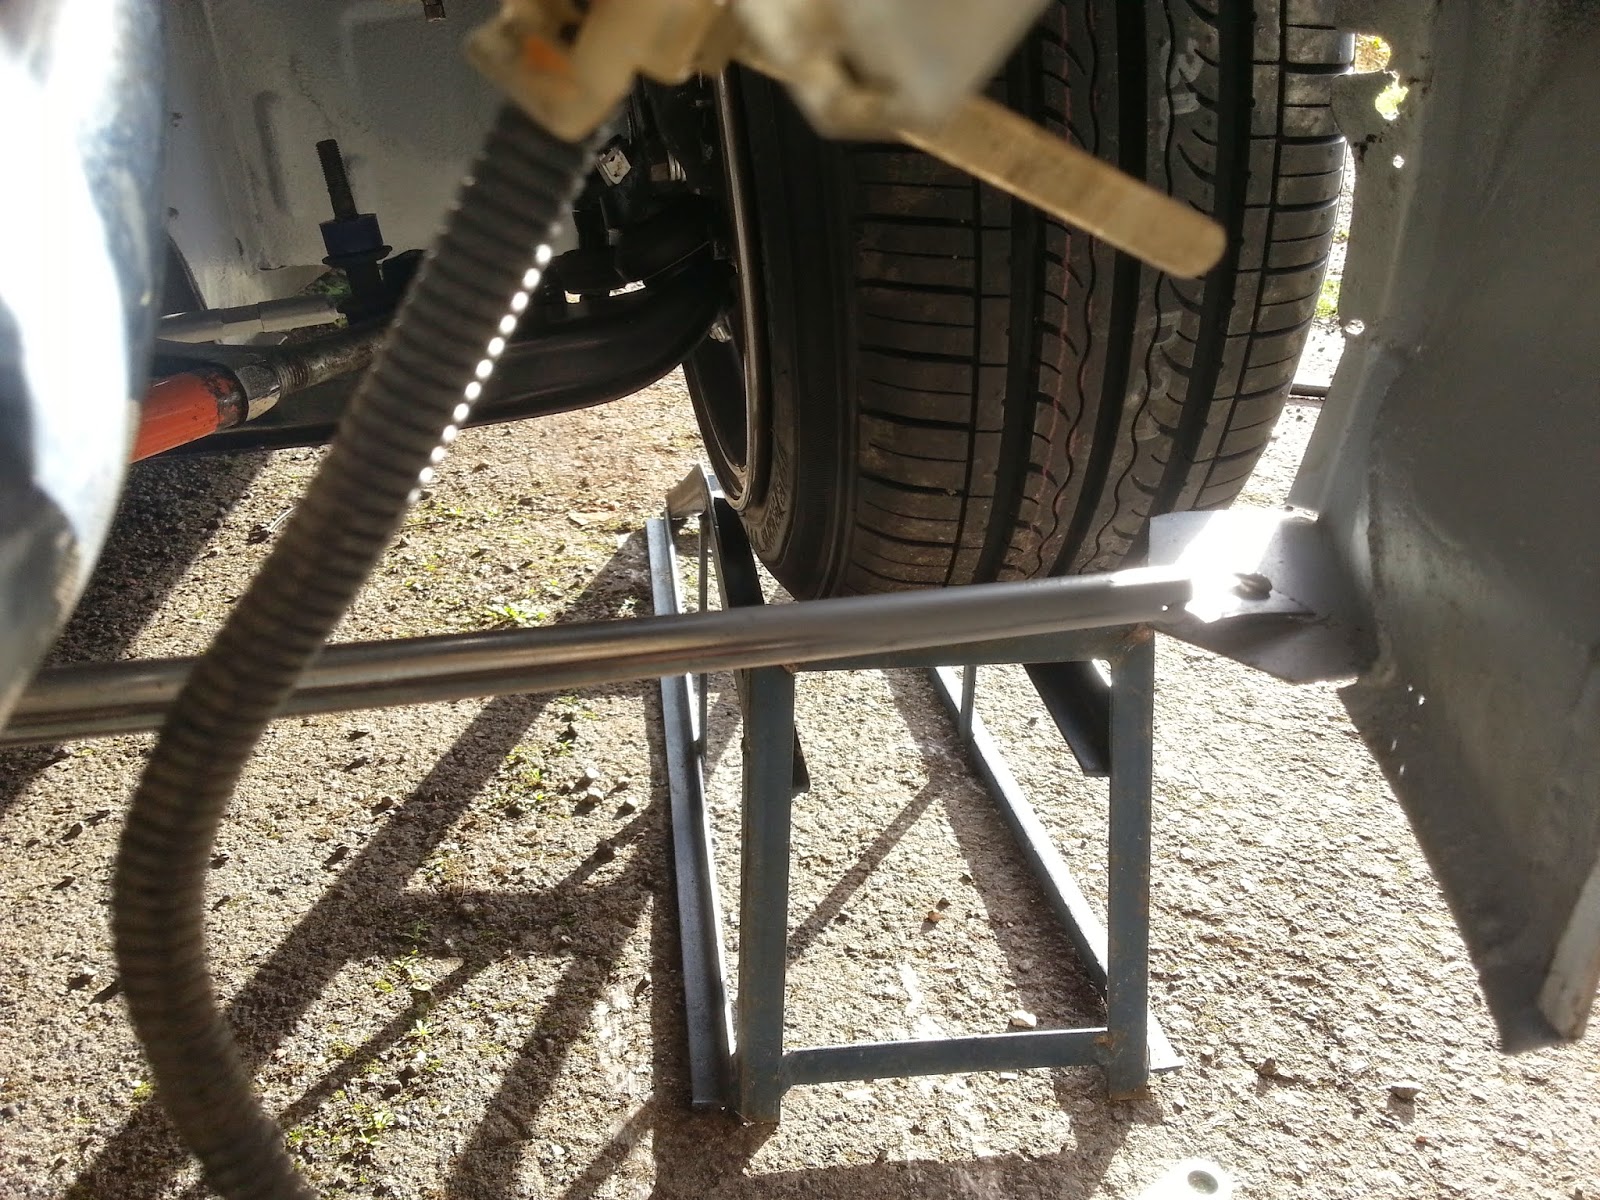
Needed some big ass anti roll bar brackets to make it fit.

Finally wheels done.
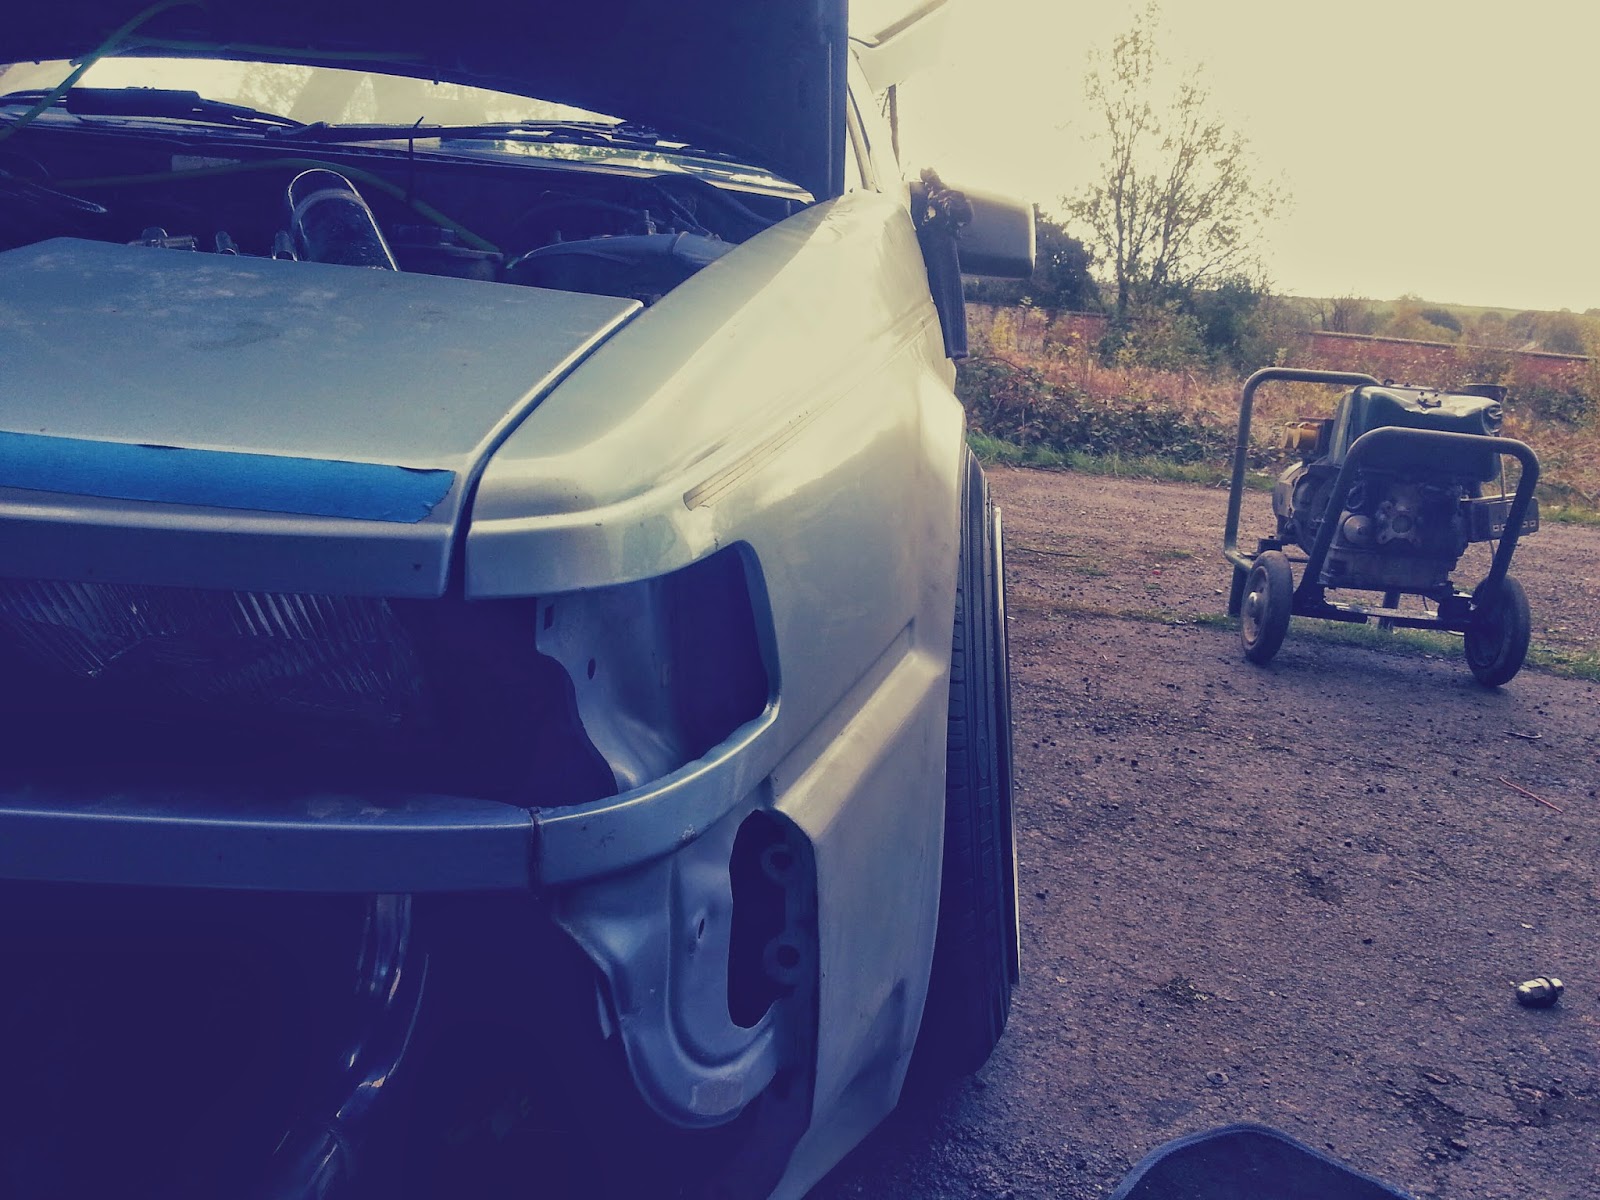
posted image

posted image

Needed to make the wing flare out abit and noticed that there used to be a bracket steadying the wing. So made a new one and extended it out abit.
posted image

Havnt done anything over Christmas been slammed with work, but I gathered some parts. Had half a day on it though. This is where I am.

posted image

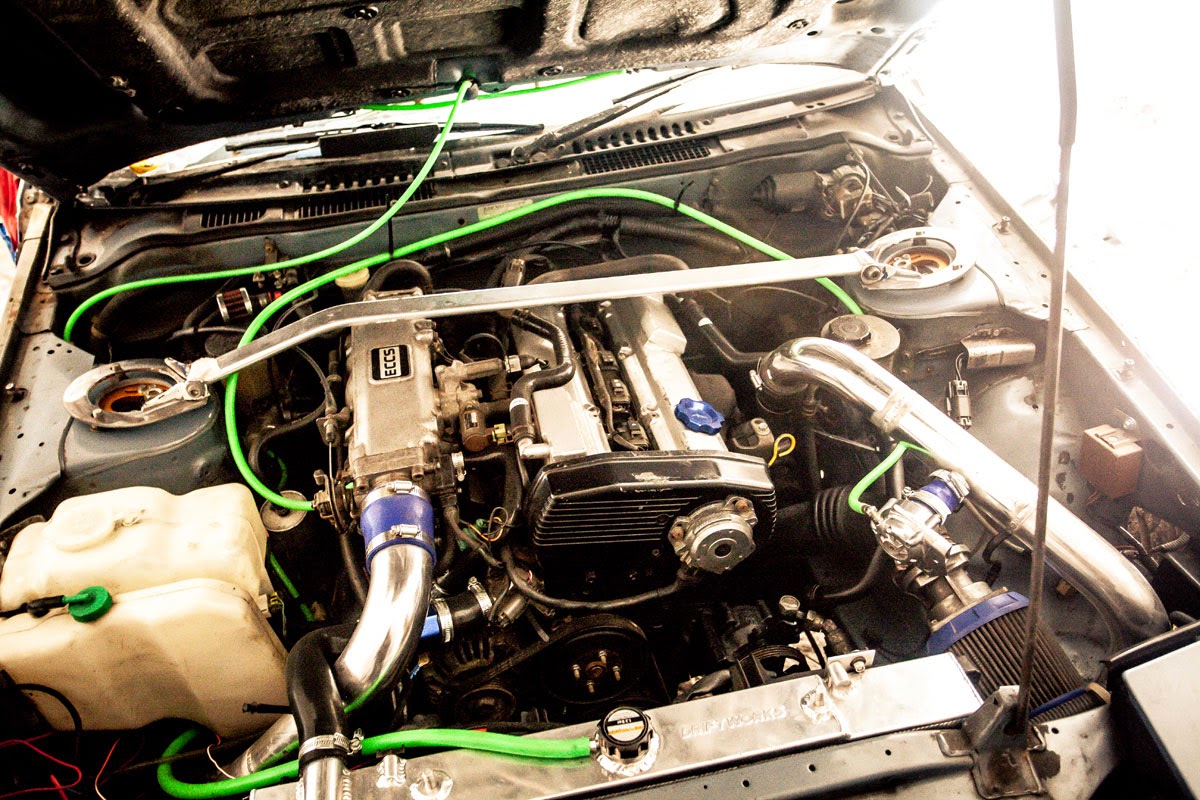
As the little T25 smokes I got myself a disco potato! a gt2860R hopefully this future proofs things for a while. I think It has quite a high psi actuator, I wanna be able to run low boost and slightly higher via the boost controller so I need to find a 12-14 actuator? would the t25 one fit? wonder what that is rated at? probably 5 or something.

Got a catch can to plumb in also.

posted image

A brace bar from a s13, saw that on the internets, these apparently fit if you cut off the mounting points and re-weld further in.

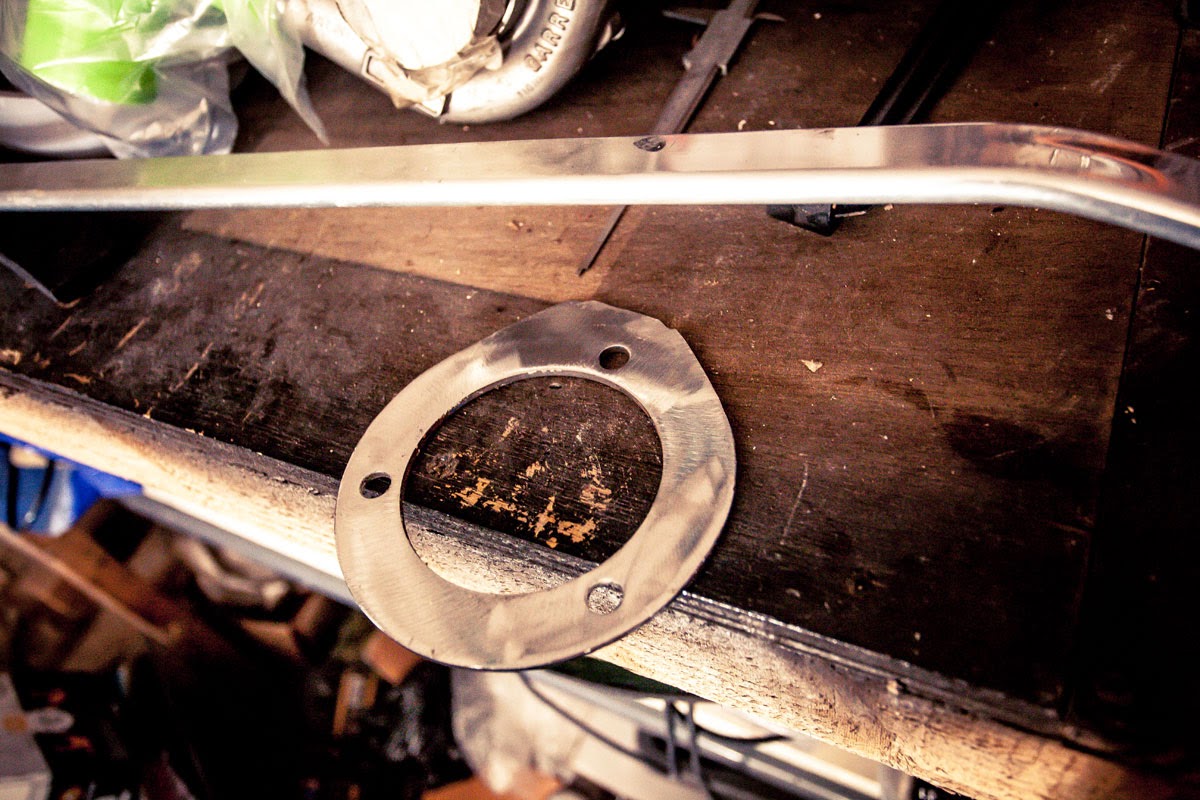
posted image

posted image

posted image

Although this one is still too long and I will have to cut the actual brace bar in half as the end of the bar sits over the inner strut mount bolt, guess I shoulda measured first!!.

So maybe I wil cut and re-weld it but am worried about the structural integrity of the bar although im not sure how much force these bars actually put up with so im guessing it will be OK?

One thing that makes me laugh is at the current ride height which is the frame rails sit about 2 inches form the ground im maxed out on the coilover, I cant go higher if I want to!!!

posted image

So took the old manifold and turbo off, hate doing this as its such a bastard, so difficult to get those nuts under the manifold, I think ive got the hang of it now though.

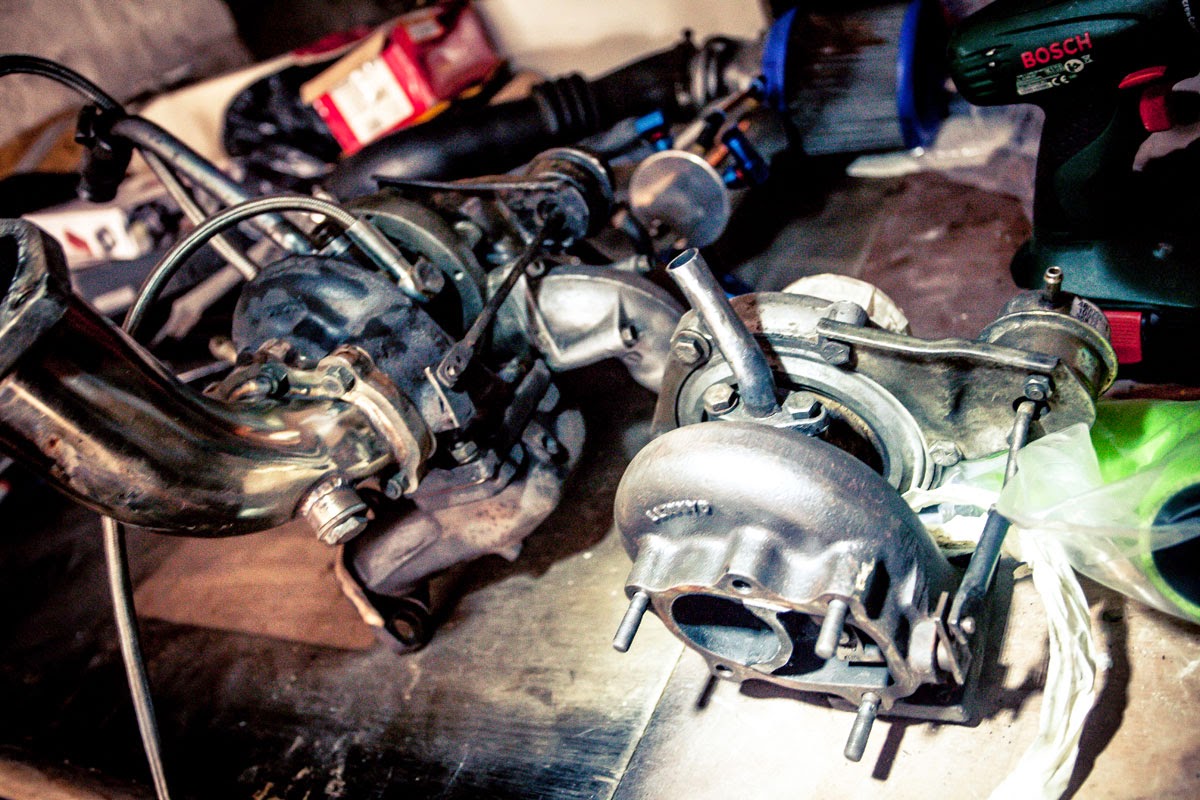
posted image

posted image

Need to sort out how the elephant trunk will fit to the bigger inlet and am hoping the intercooler pipes will line up as they are all completely solid so theres no wiggle room.

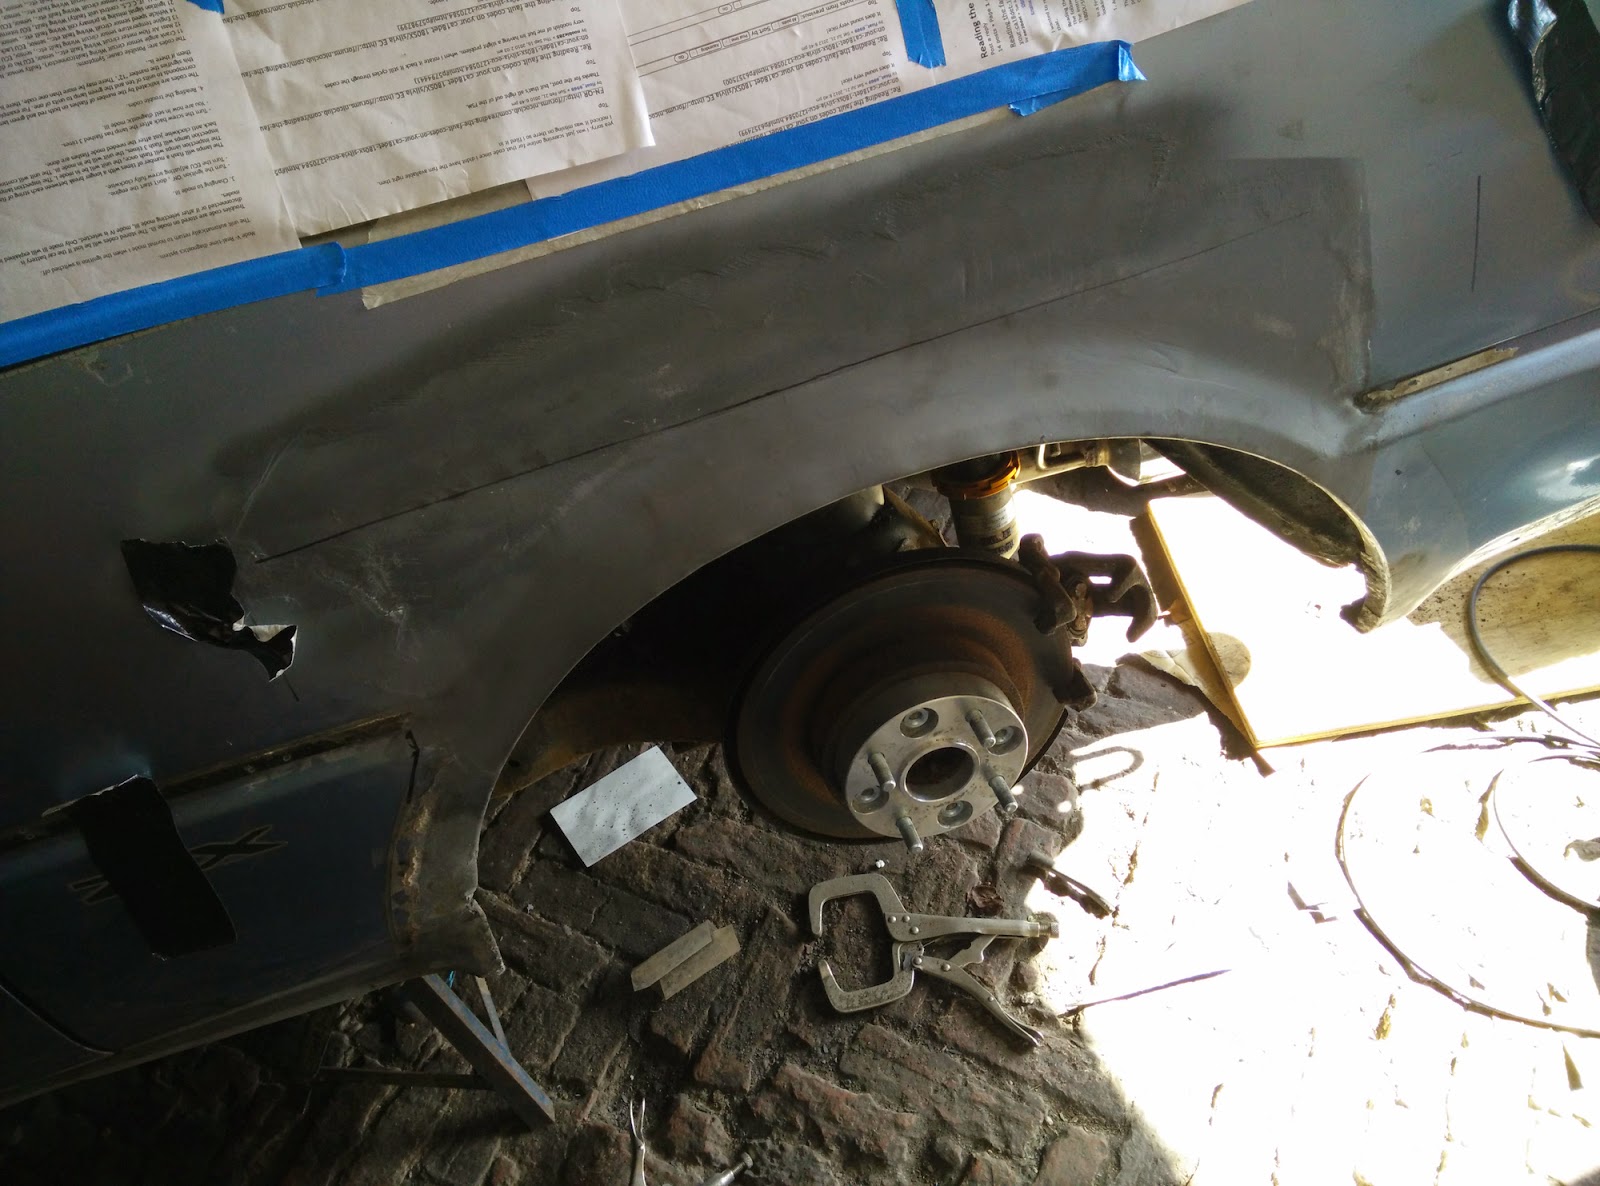
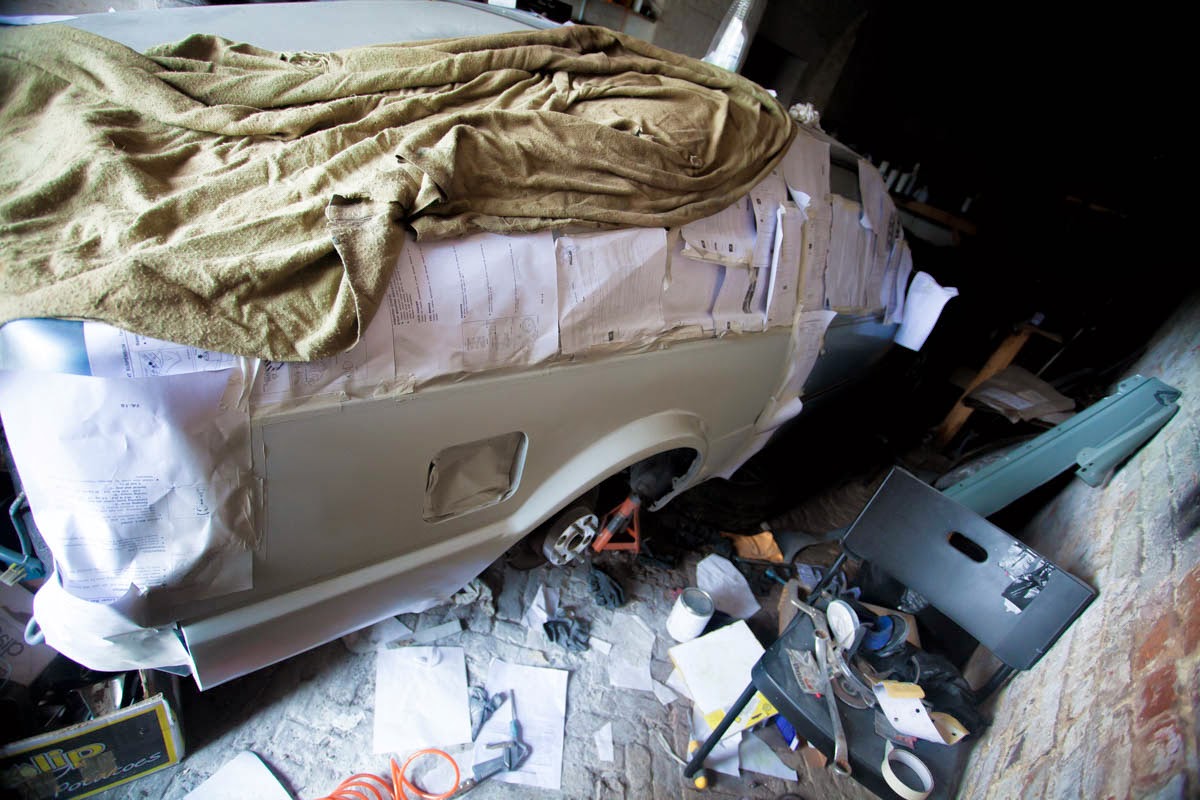
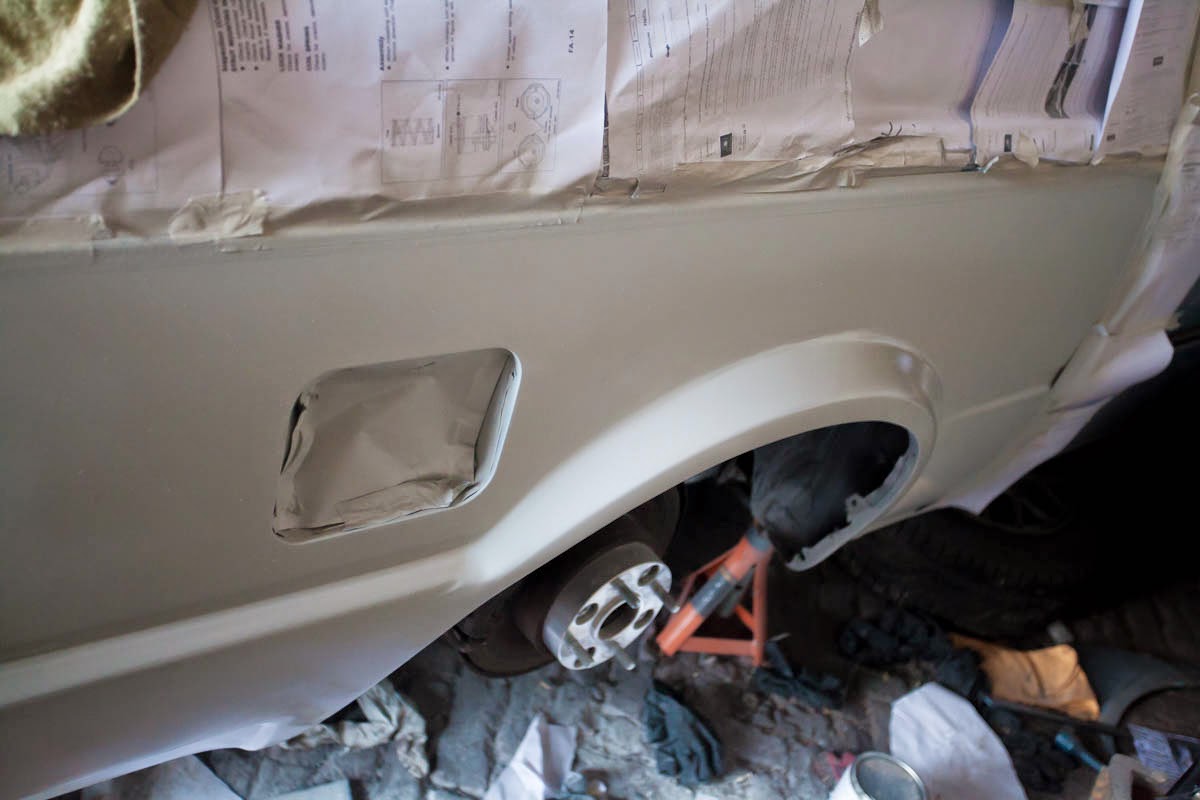
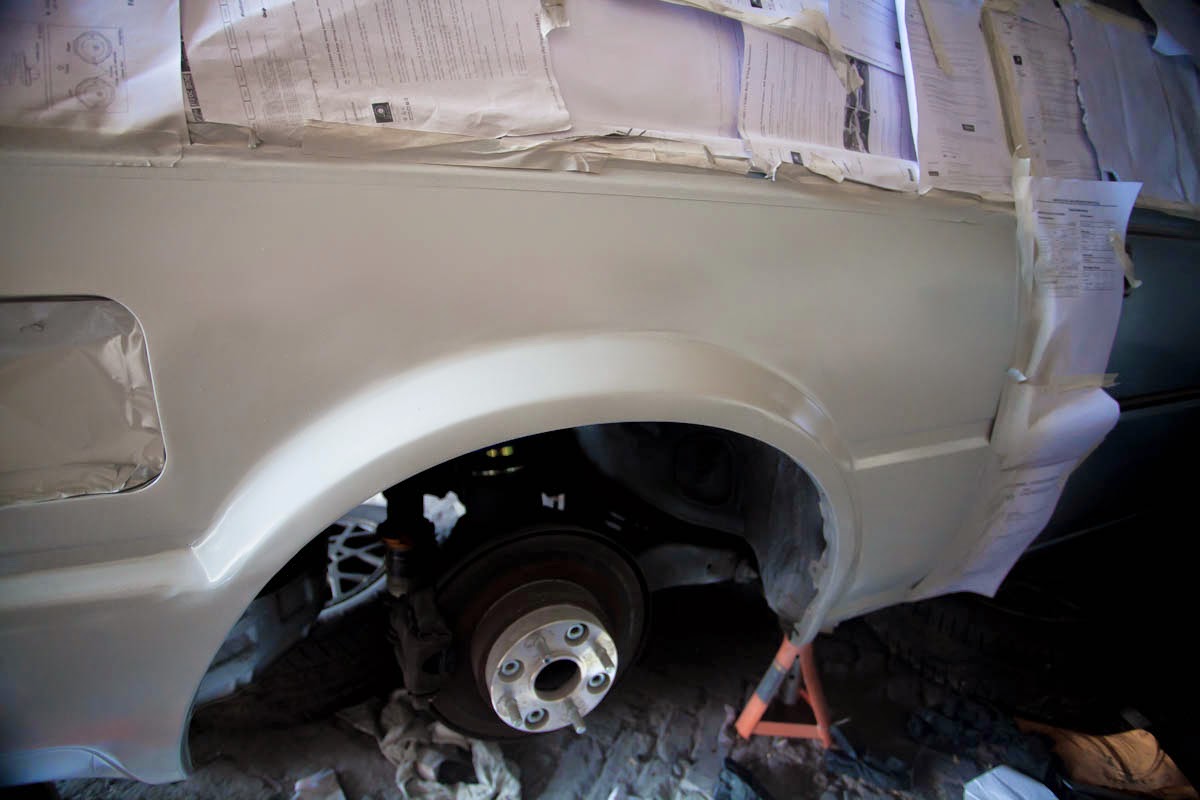
I hate the rear arches on this thing, one is mashed from an previous owner accident that has now been stretched and doesn't look that good and the other was pretty rusty that I repaired but its not good and the arch hole is now slightly flattened with the rolling so looks bad too. Sooooo.......
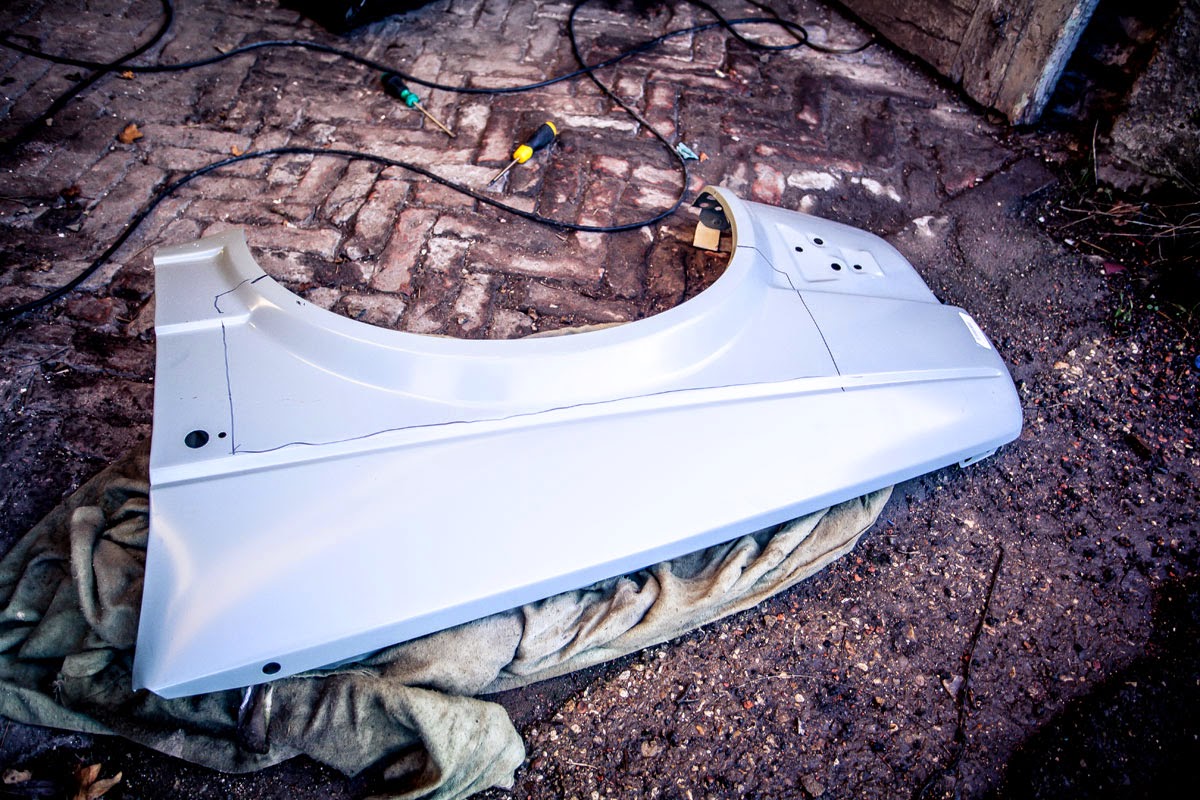
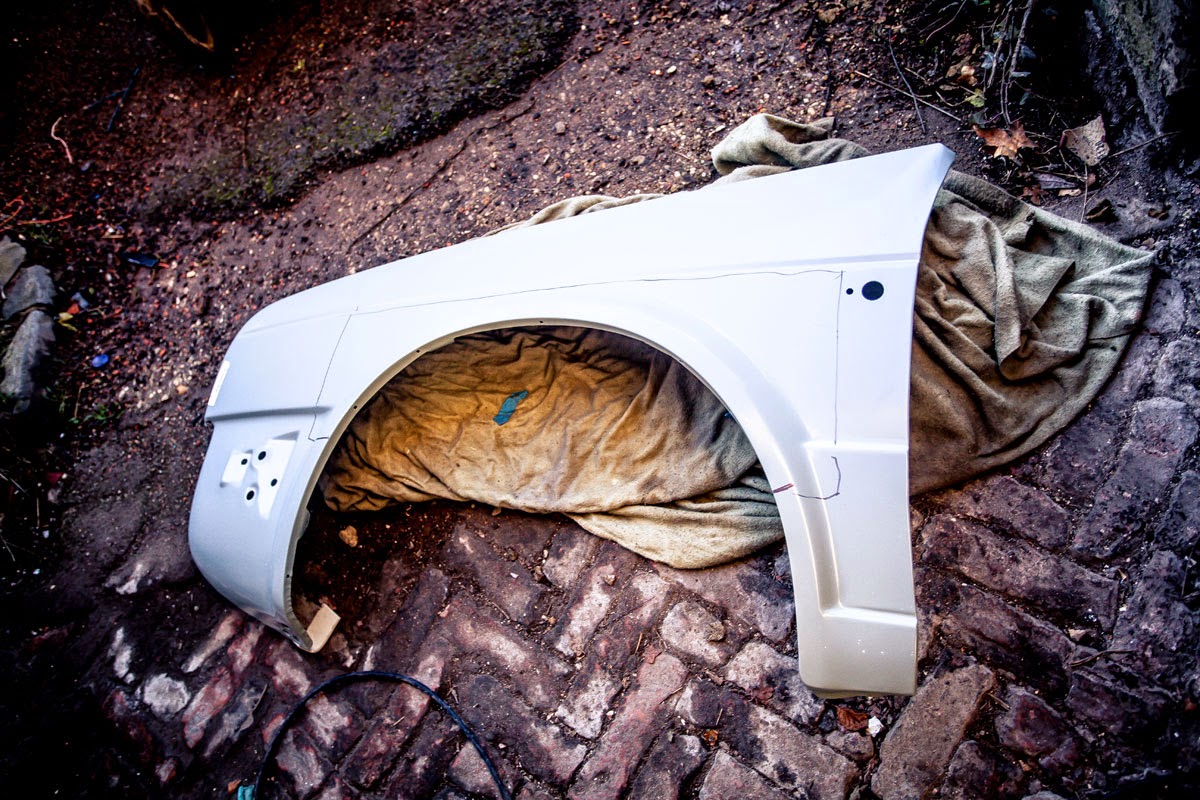
posted image

posted image

posted image

posted image

posted image

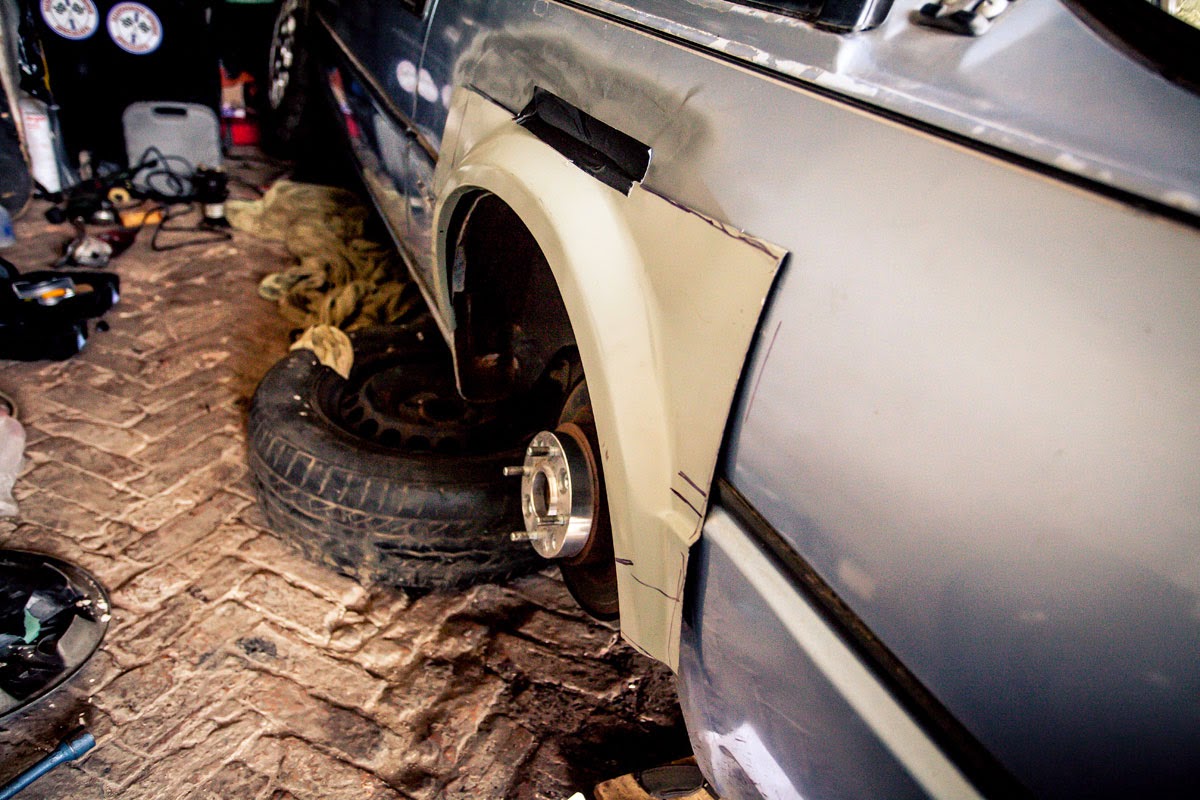
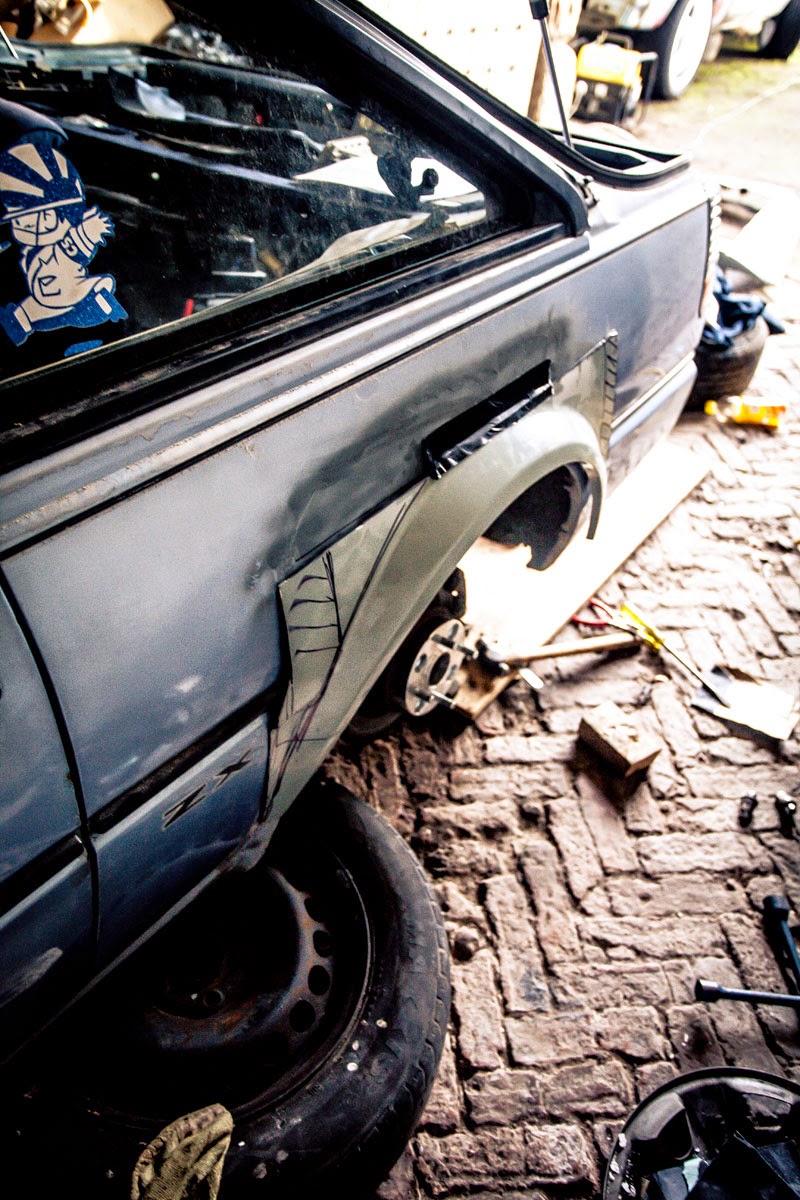
obviously have to trim it and think about how to best weld it in, need to check with the wheel too for that perfect fitment!!! ;)

Tried to find a metal arch with the same diameter and style but slightly wider, might not use the full wideness might cut it down a bit, need to see with the wheel on.

Also noticed the pads at the rear where low and that the rear nearside handbrake wasn't working, need to figure out why still but here was the pads!!

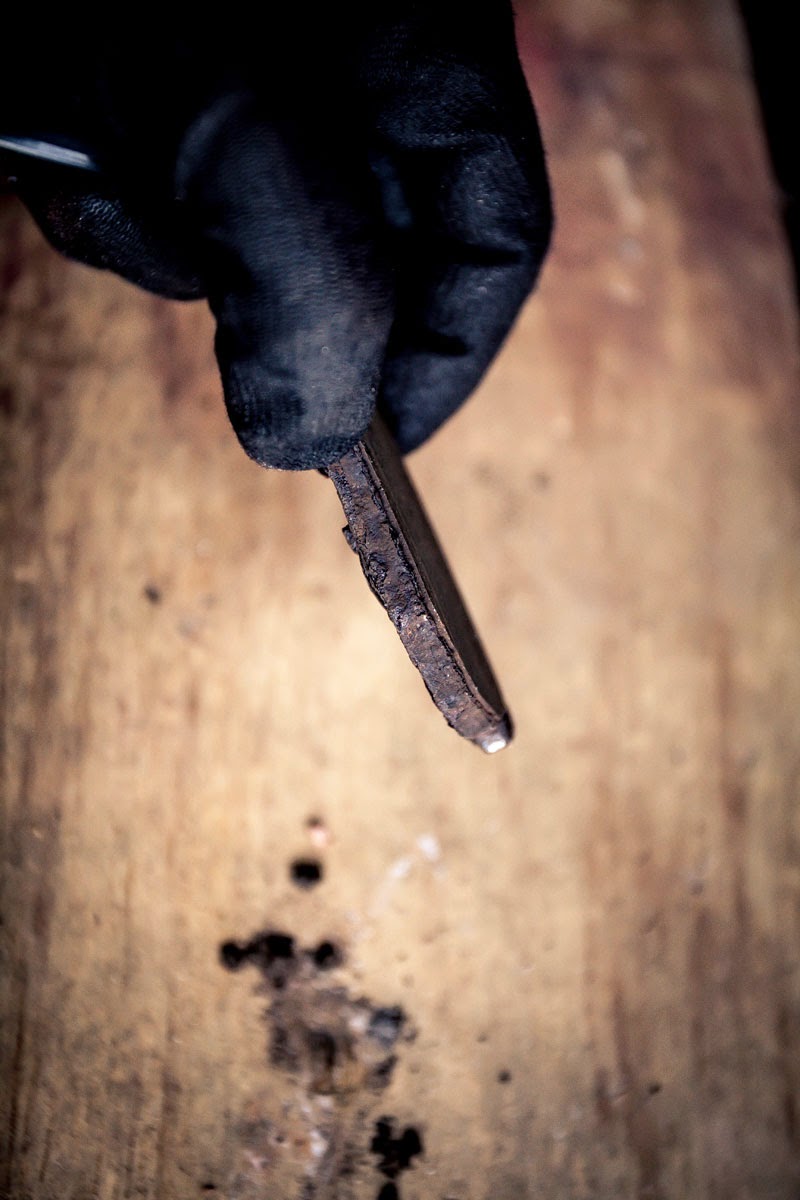
posted image

posted image

so that's where I am.

Still a million things to do!

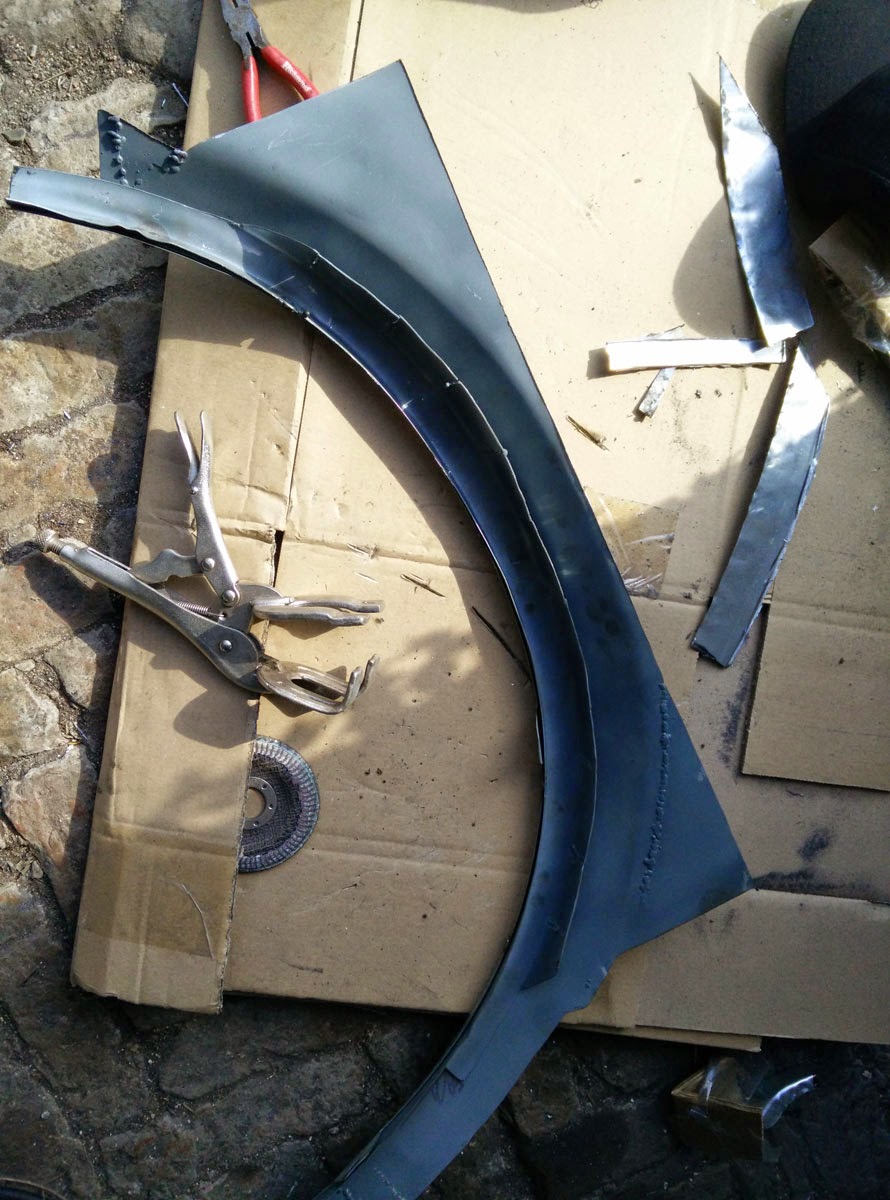
Managed to get the arch extension ready, made a bit of a mistake before so had to weld it up.
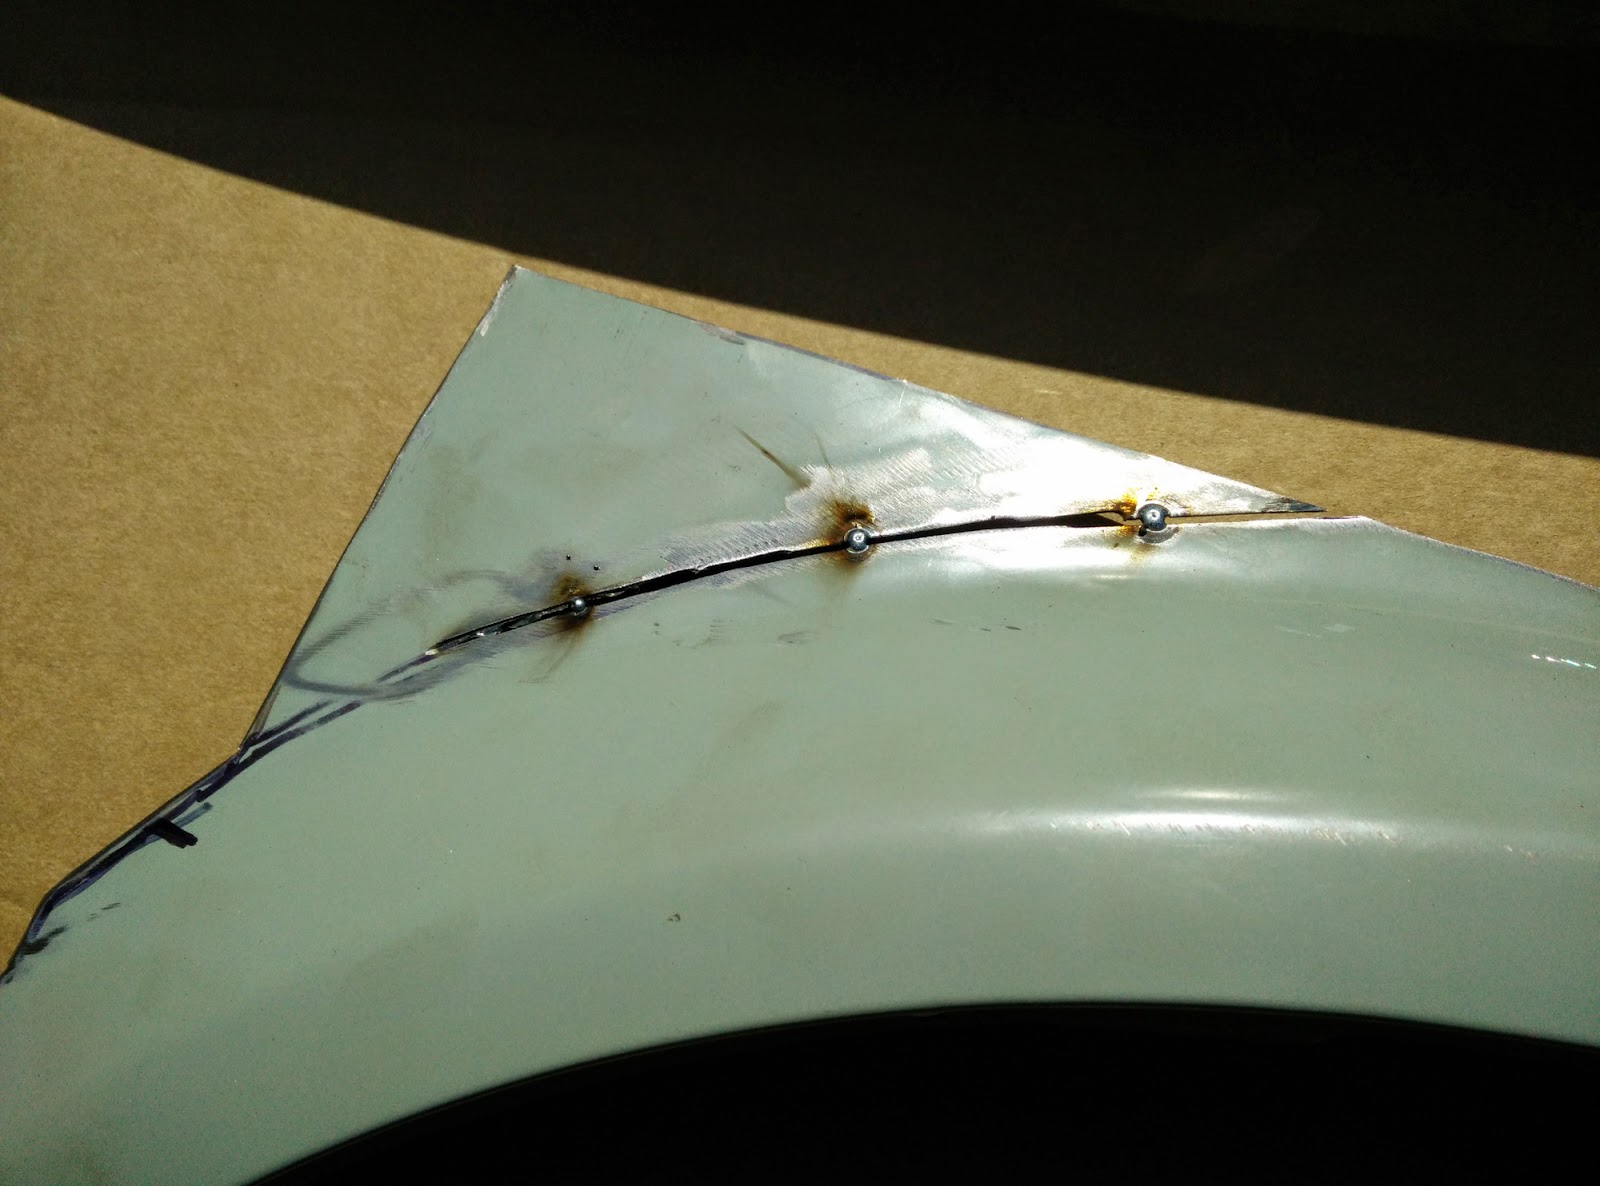
posted image

So used it as a template for the other side.
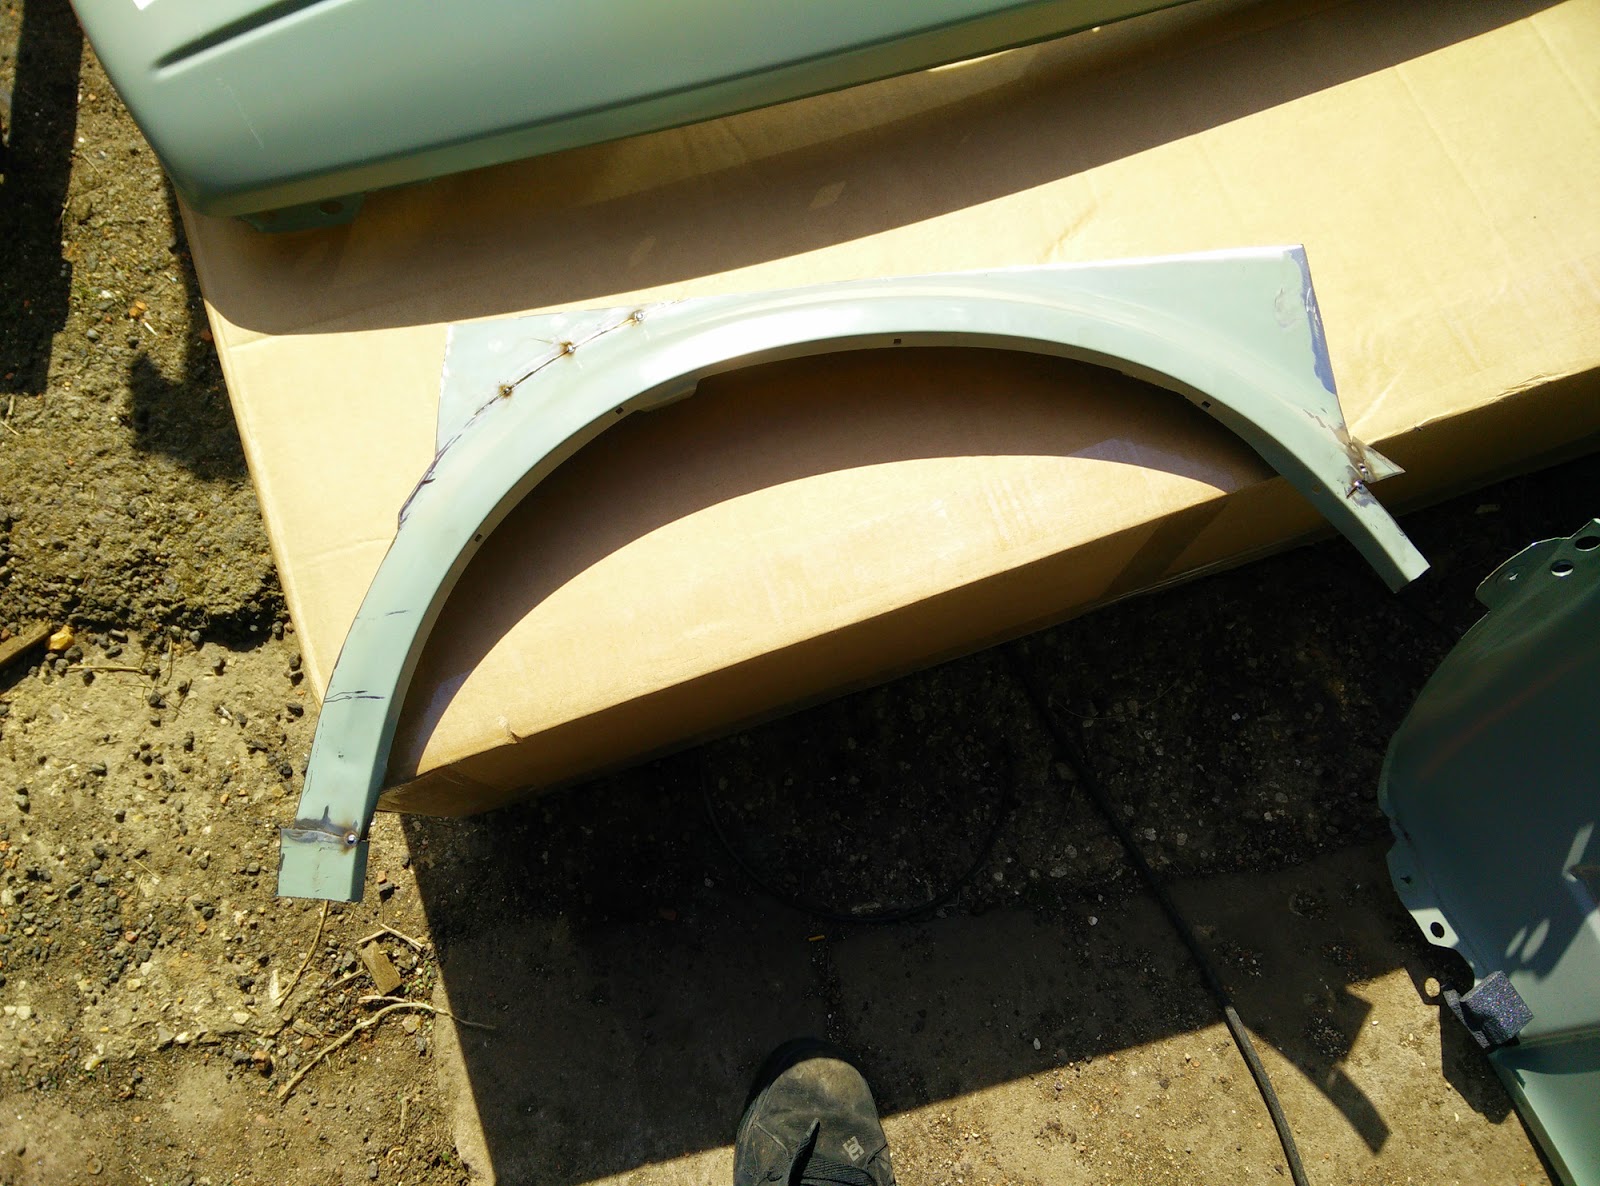
posted image

before...

posted image

after the wheel of death...

posted image

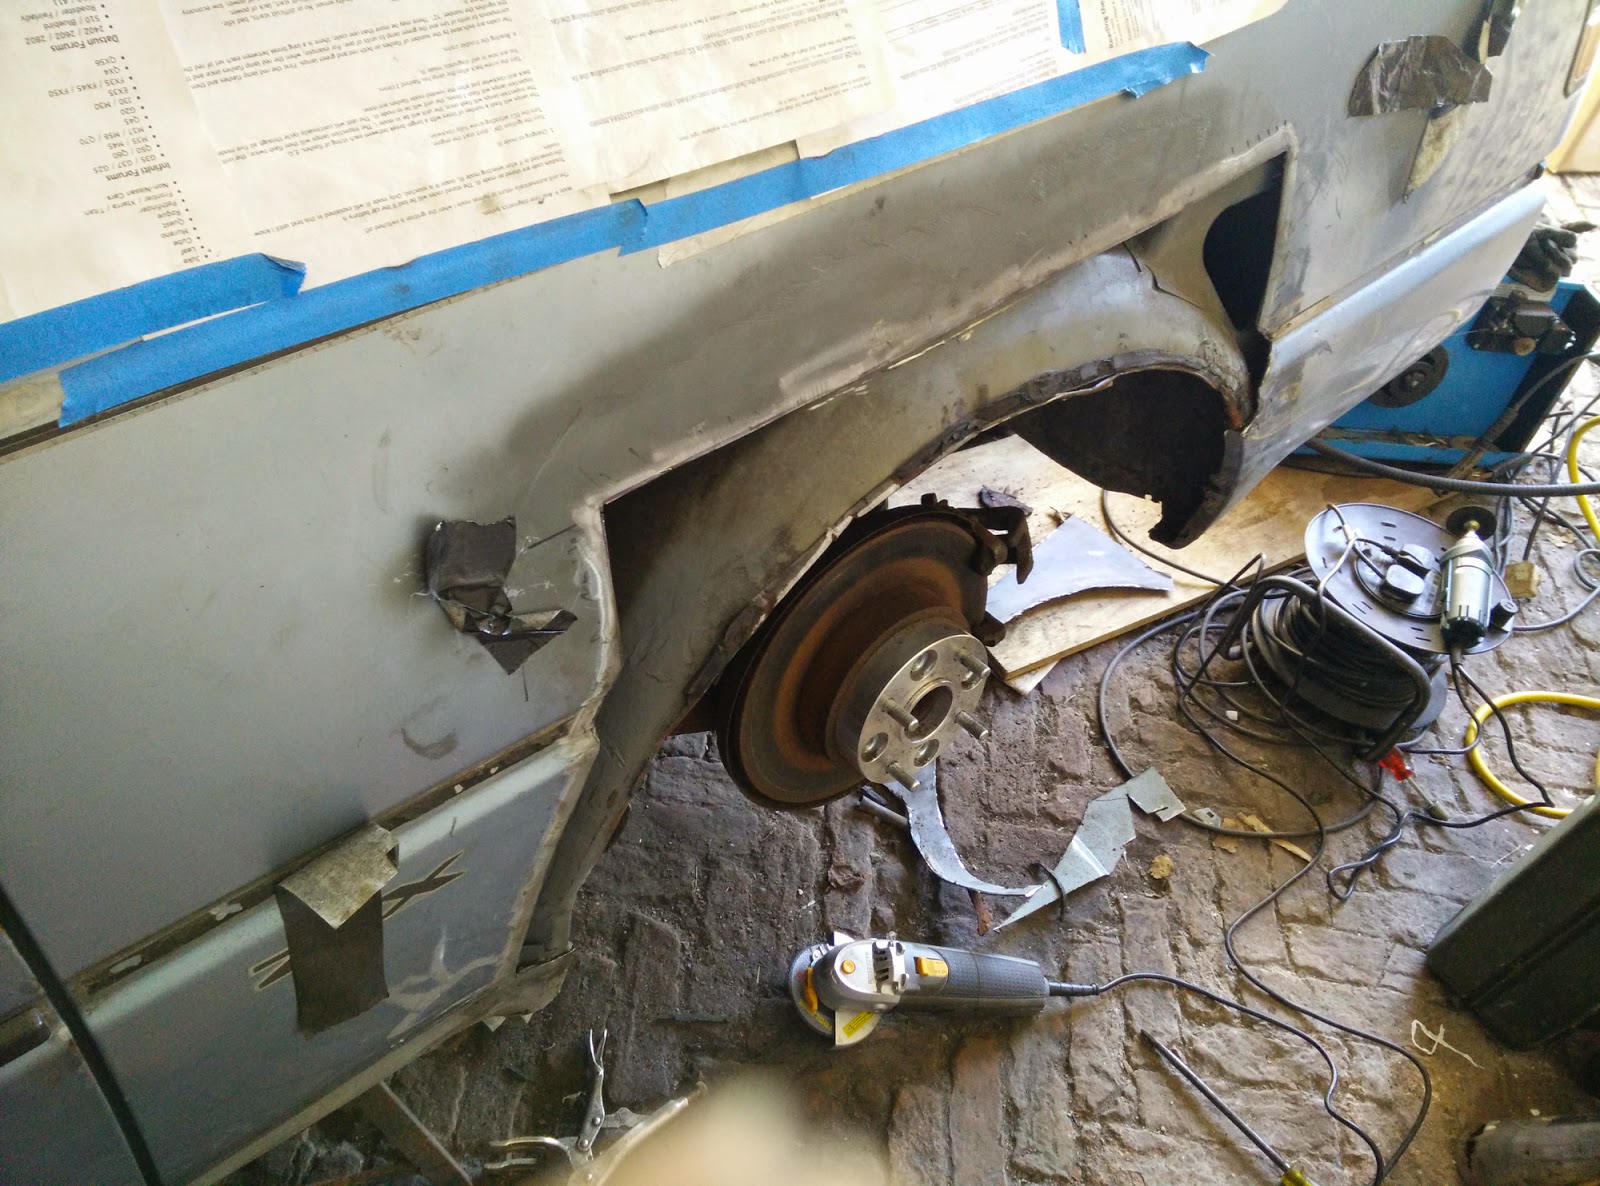
so its all trimmed up and ready just need to sort out how to extend the inner arch, then do it all again for the other side!

posted image

oh and had to order a handbrake cable from the states as I couldn't get one here, worked out cheaper too including tax and shipping so that's winging its way to the hamptons.

Post Merge


posted image

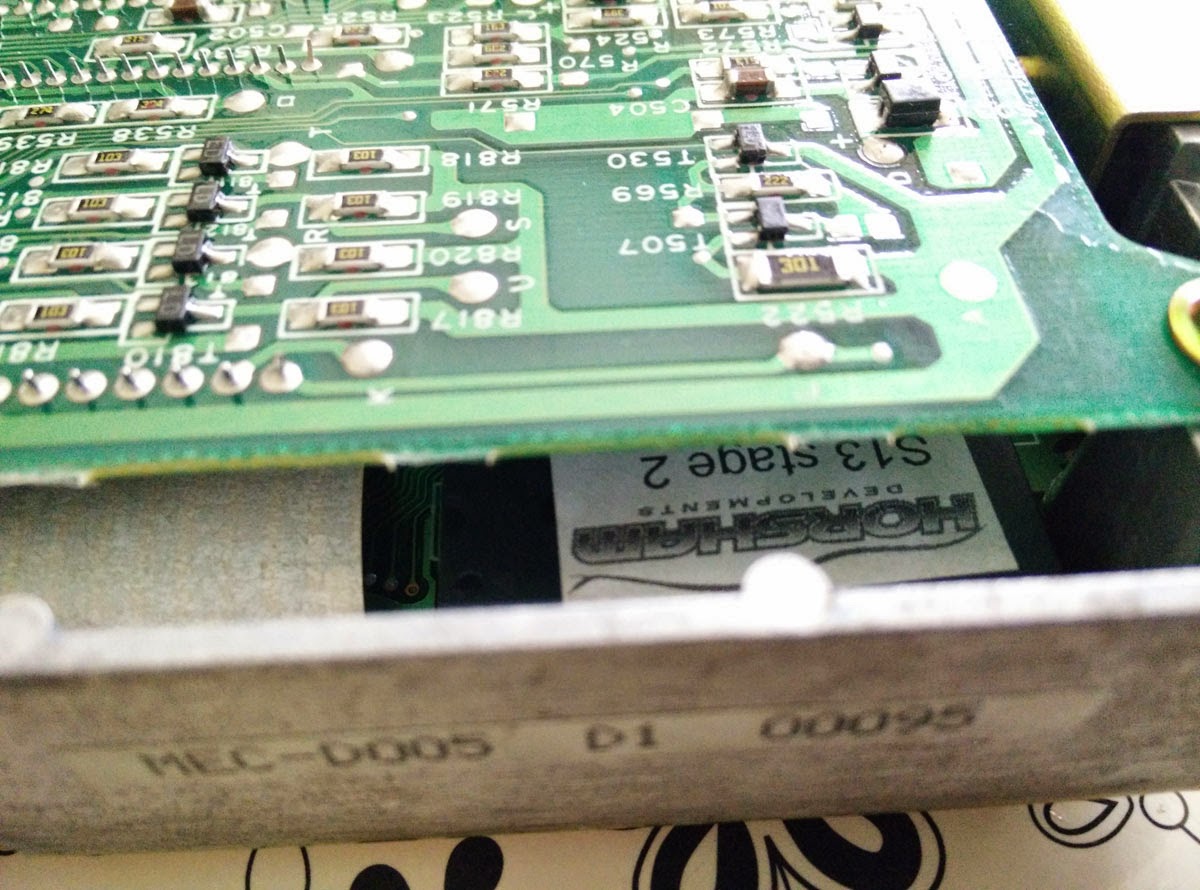
Sent off my ECU to Horsham Developments and got it chipped, least this way I know im getting the real deal as I bought an ECU before that was supposedly chipped but turns out it wasn't!! They were really quick in turning it around, just a few days and it was back.

Really impressed with them.

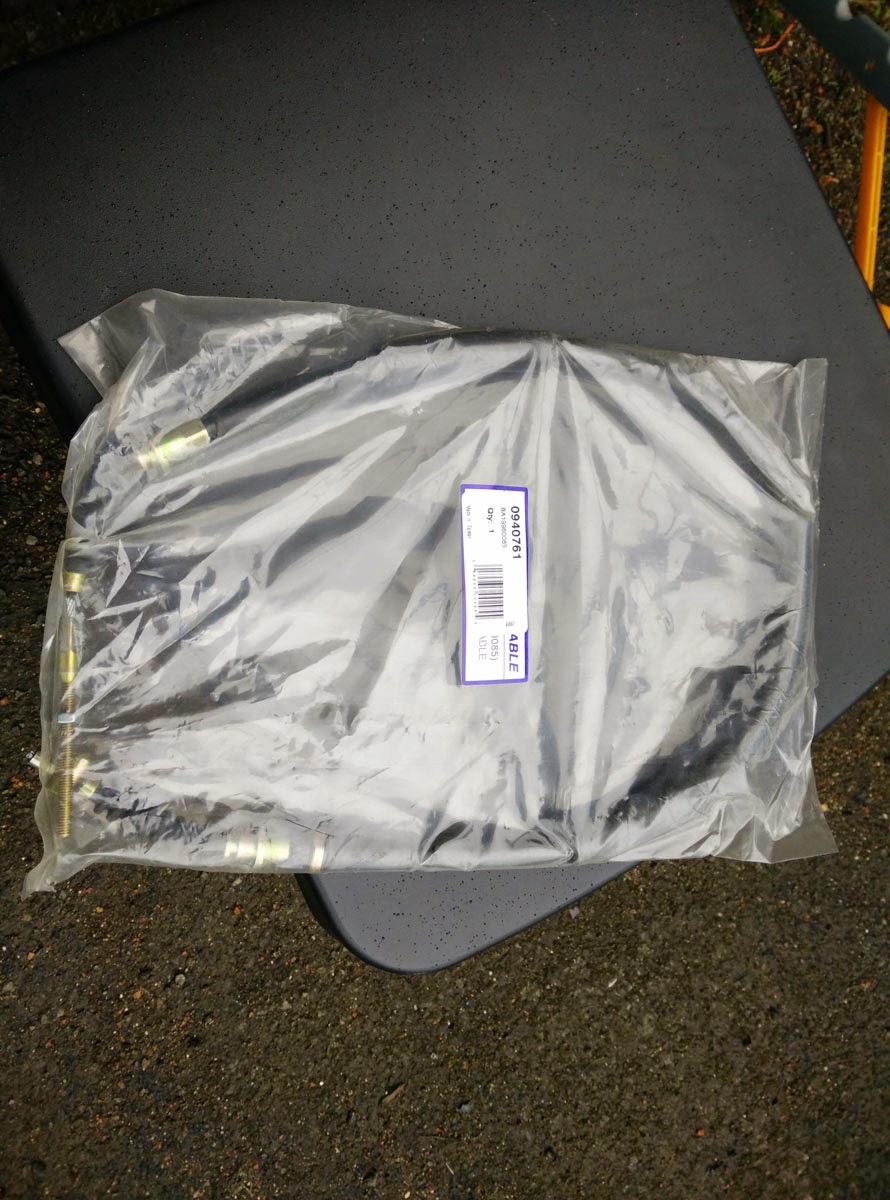
Got myself the handbrake cable from the states, worked out cheaper too! so need to fit that and hope the caliper isn't seized.
posted image

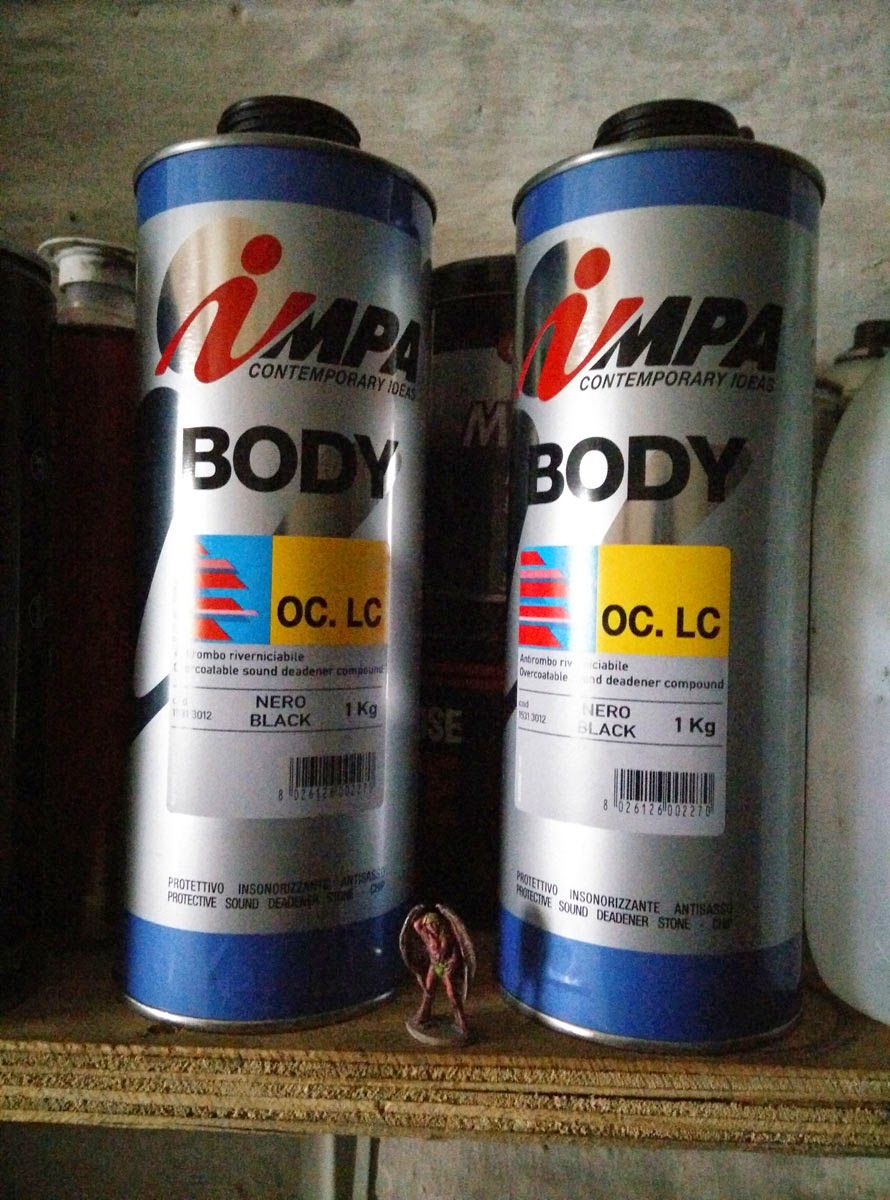
Got some stonechip for under the arch, never used this make before so hopefully good.
posted image

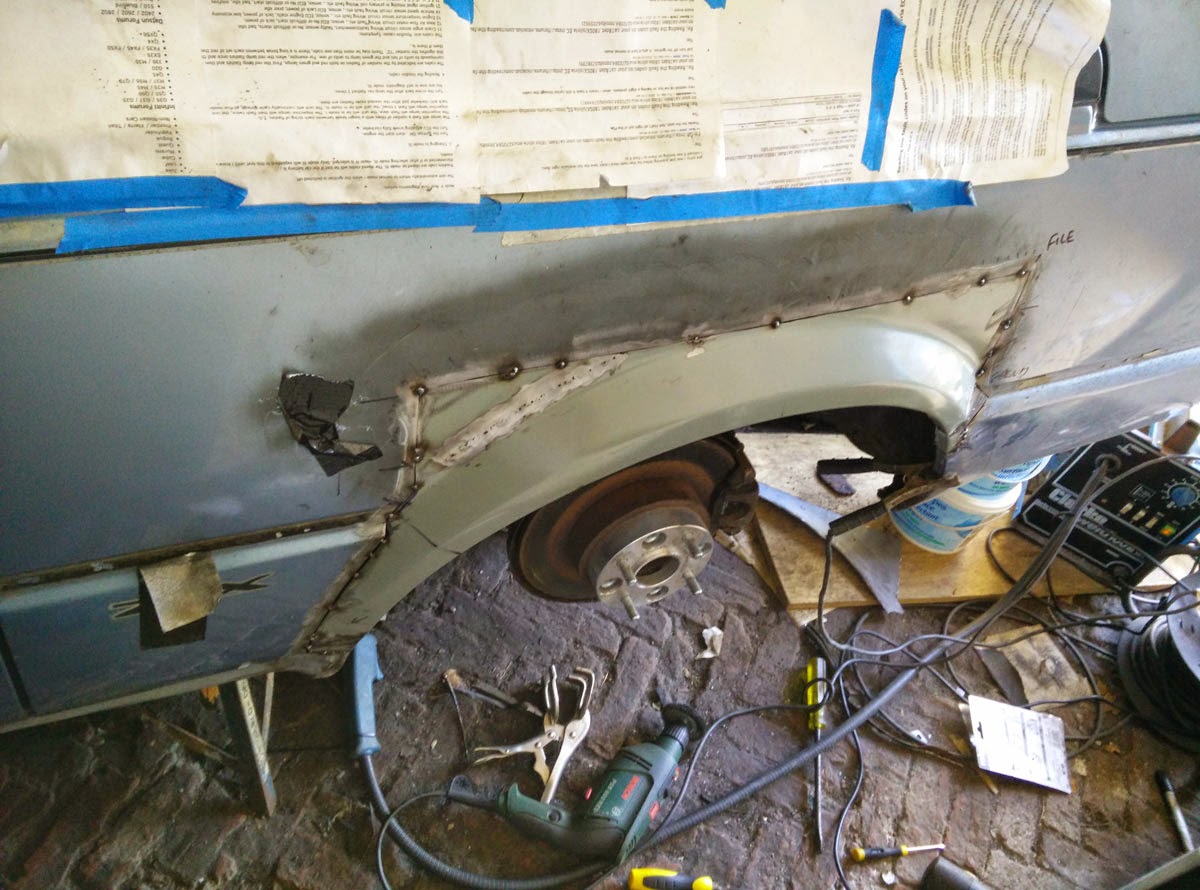
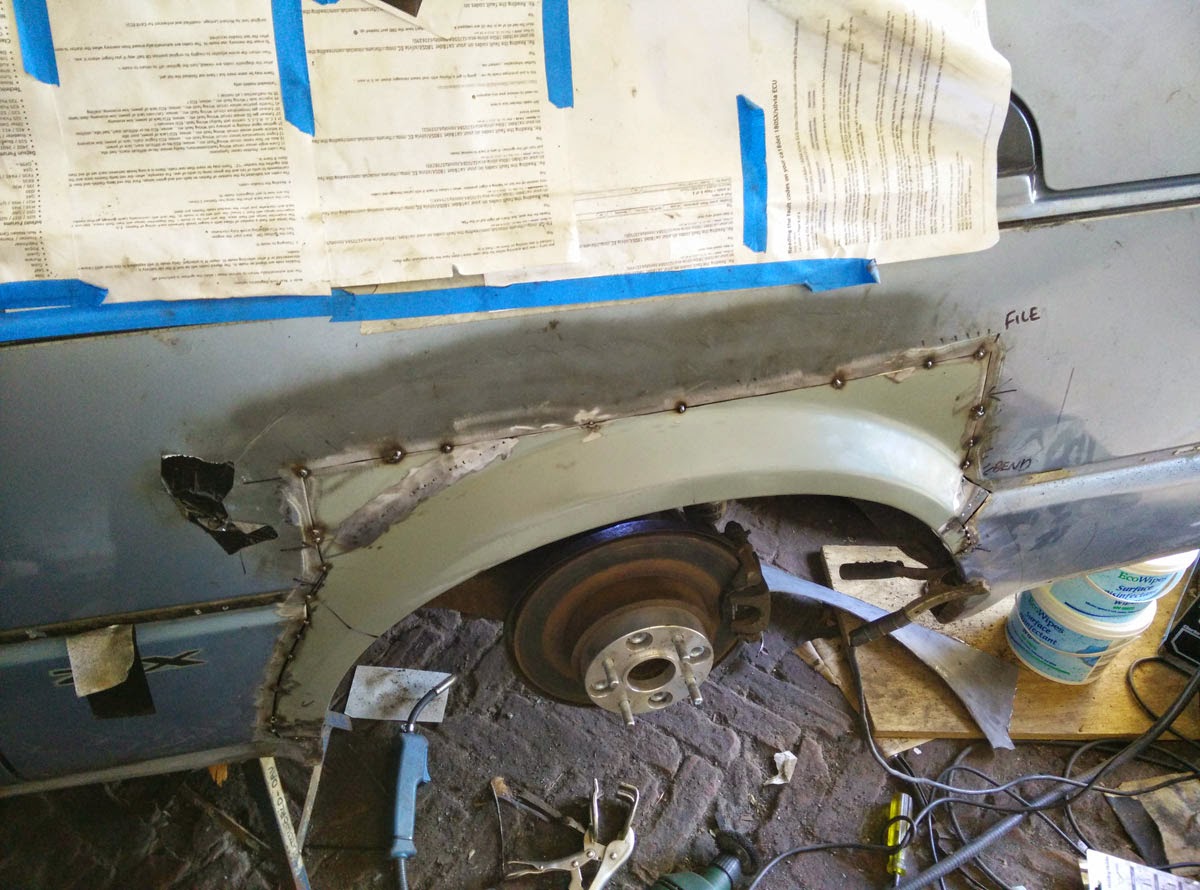
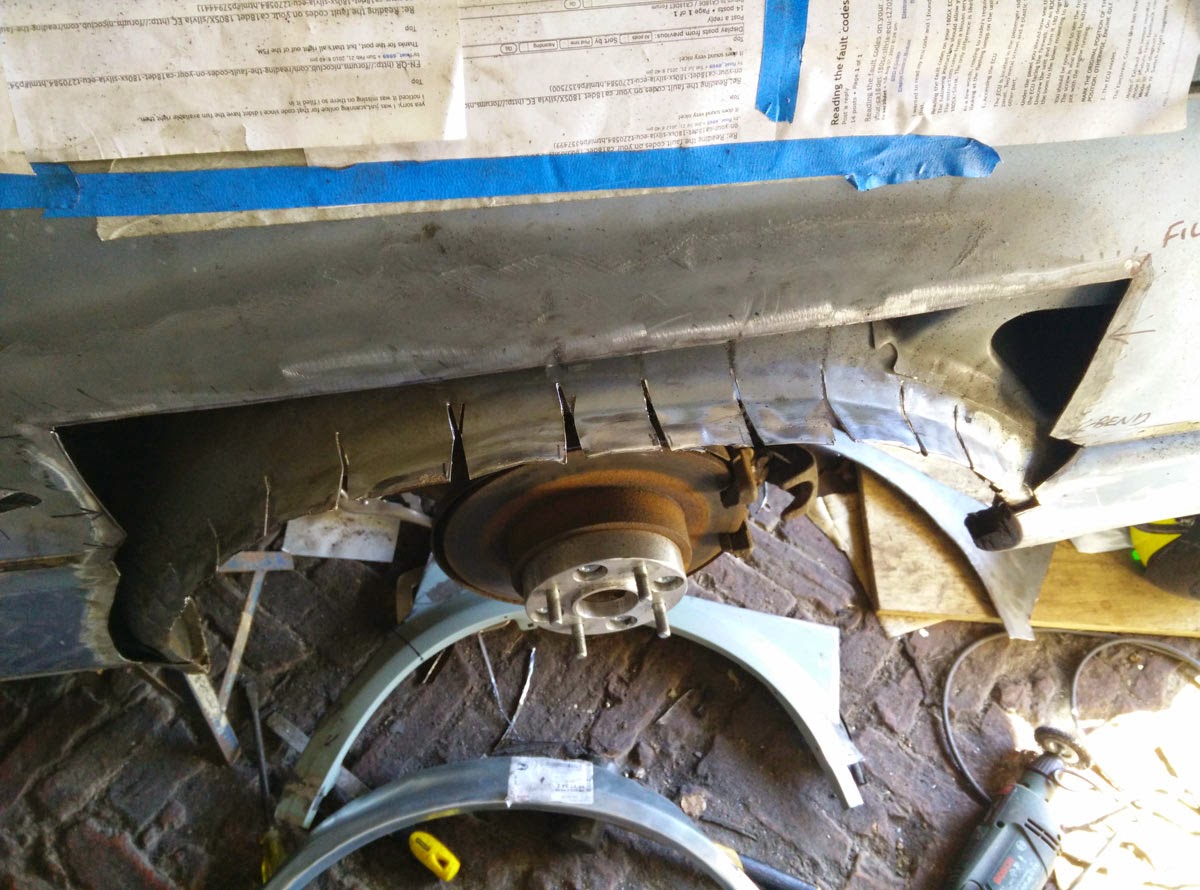
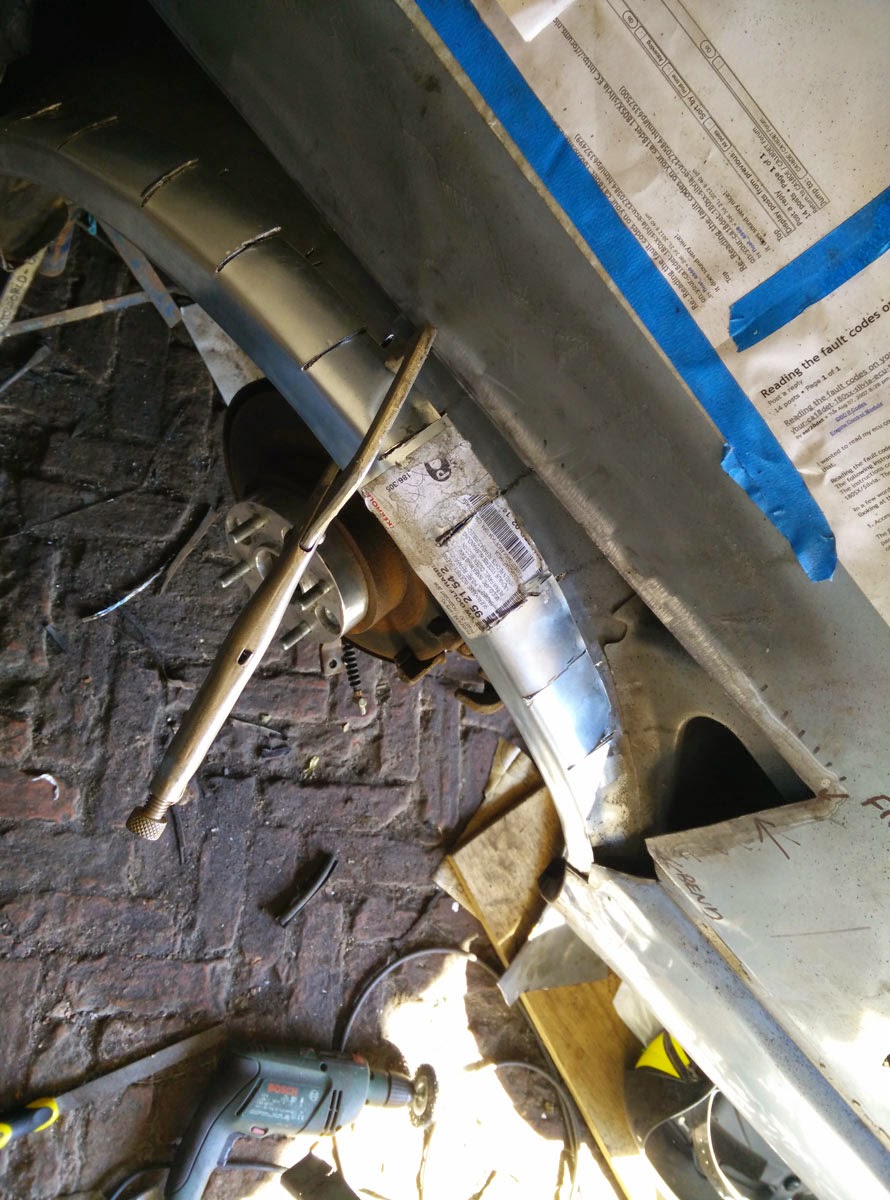
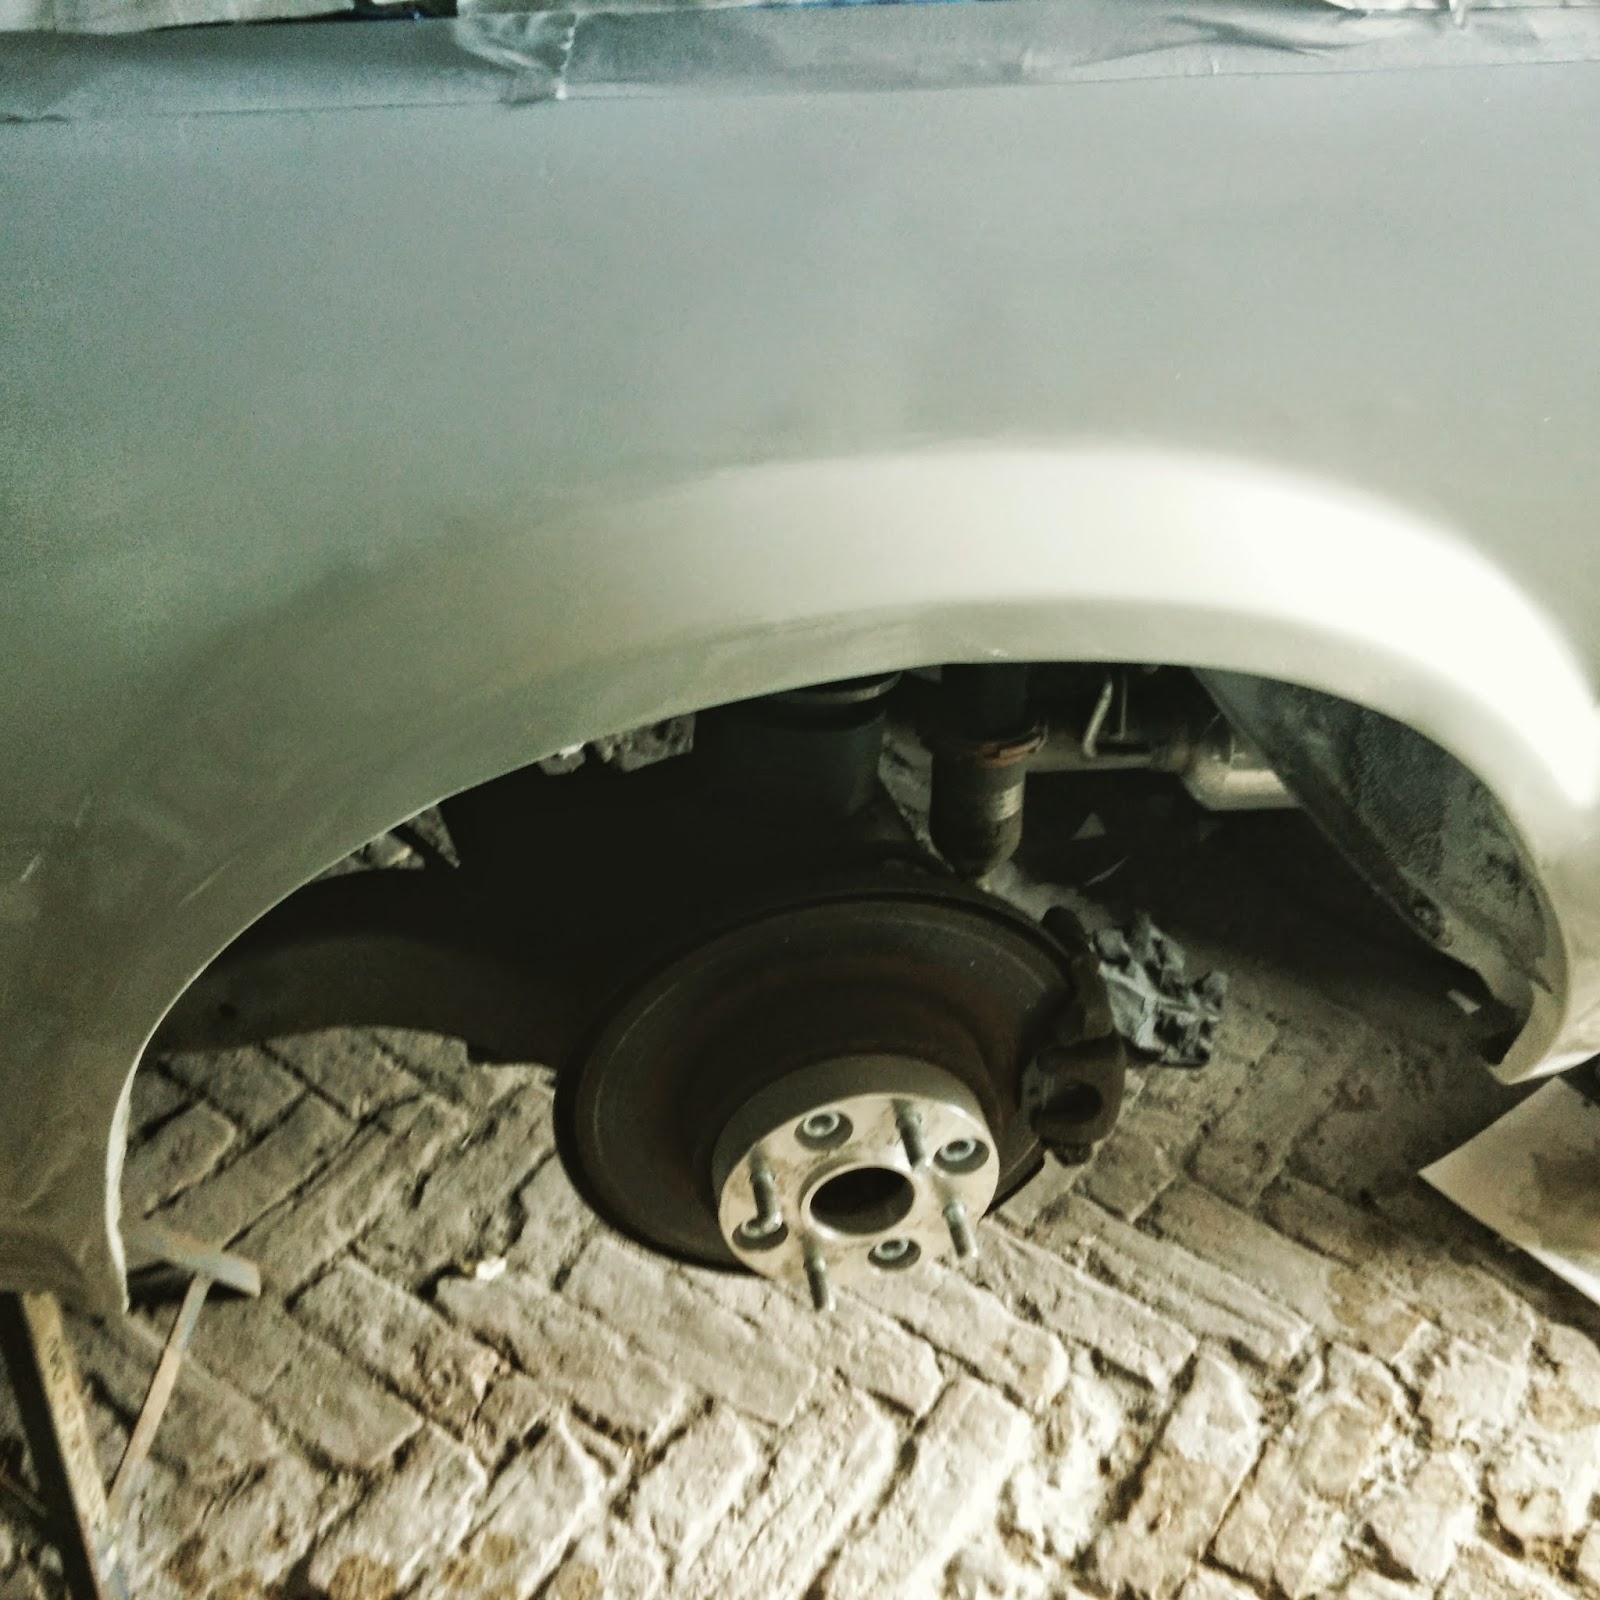
This is how I did the arch, just need to properly weld it in then seam seal the inside then on to the overside, took the whole day to do this and make the inner arch fir properly.
posted image

posted image

posted image

posted image

posted image

posted image

posted image

loved the nice weather today, need more of that! and some days off work to try and finish this dam thing!
posted image

posted image

posted image

posted image

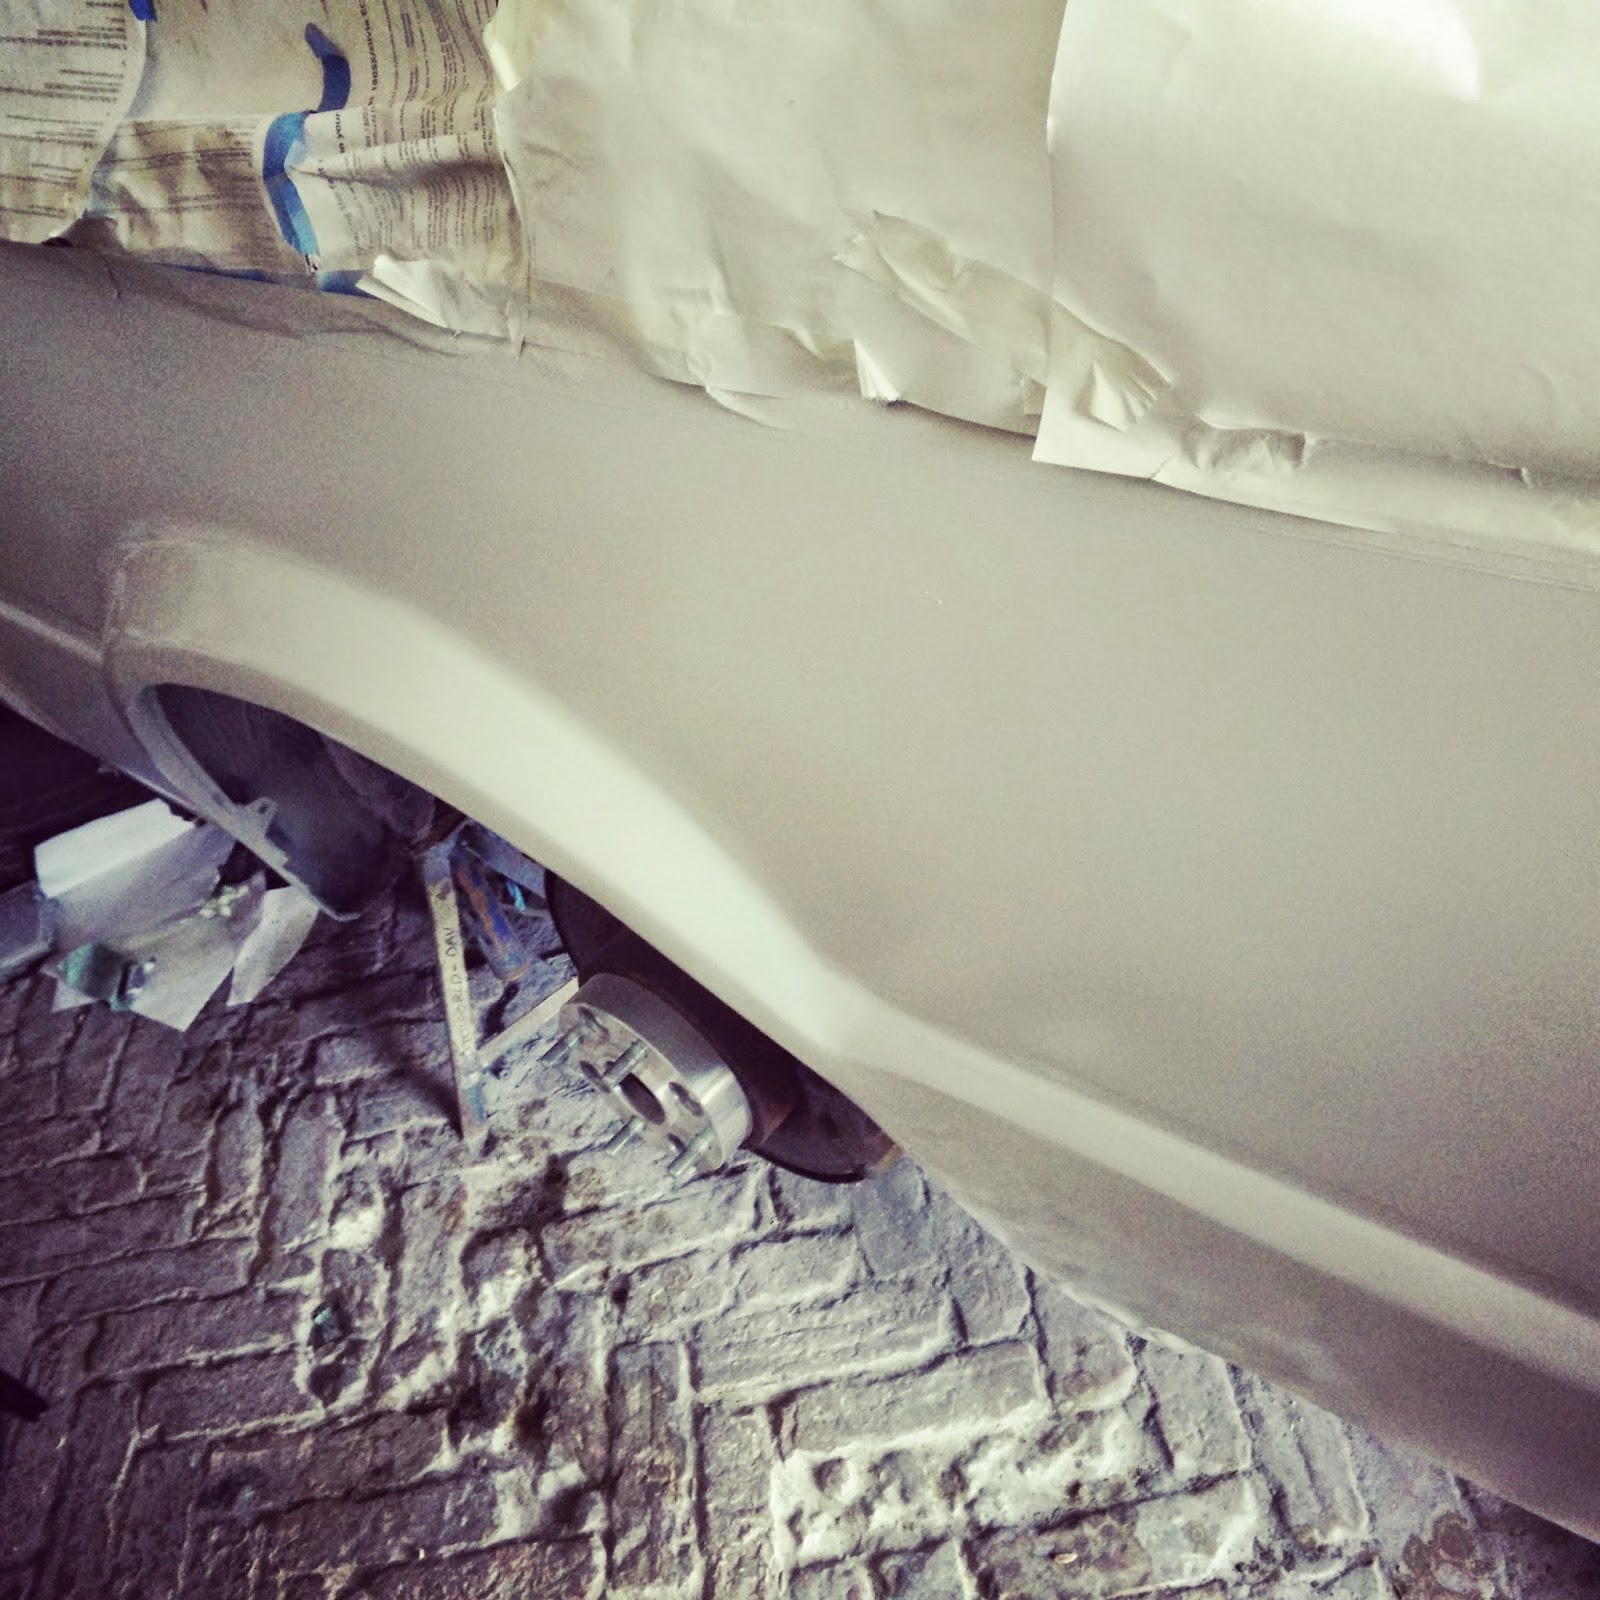
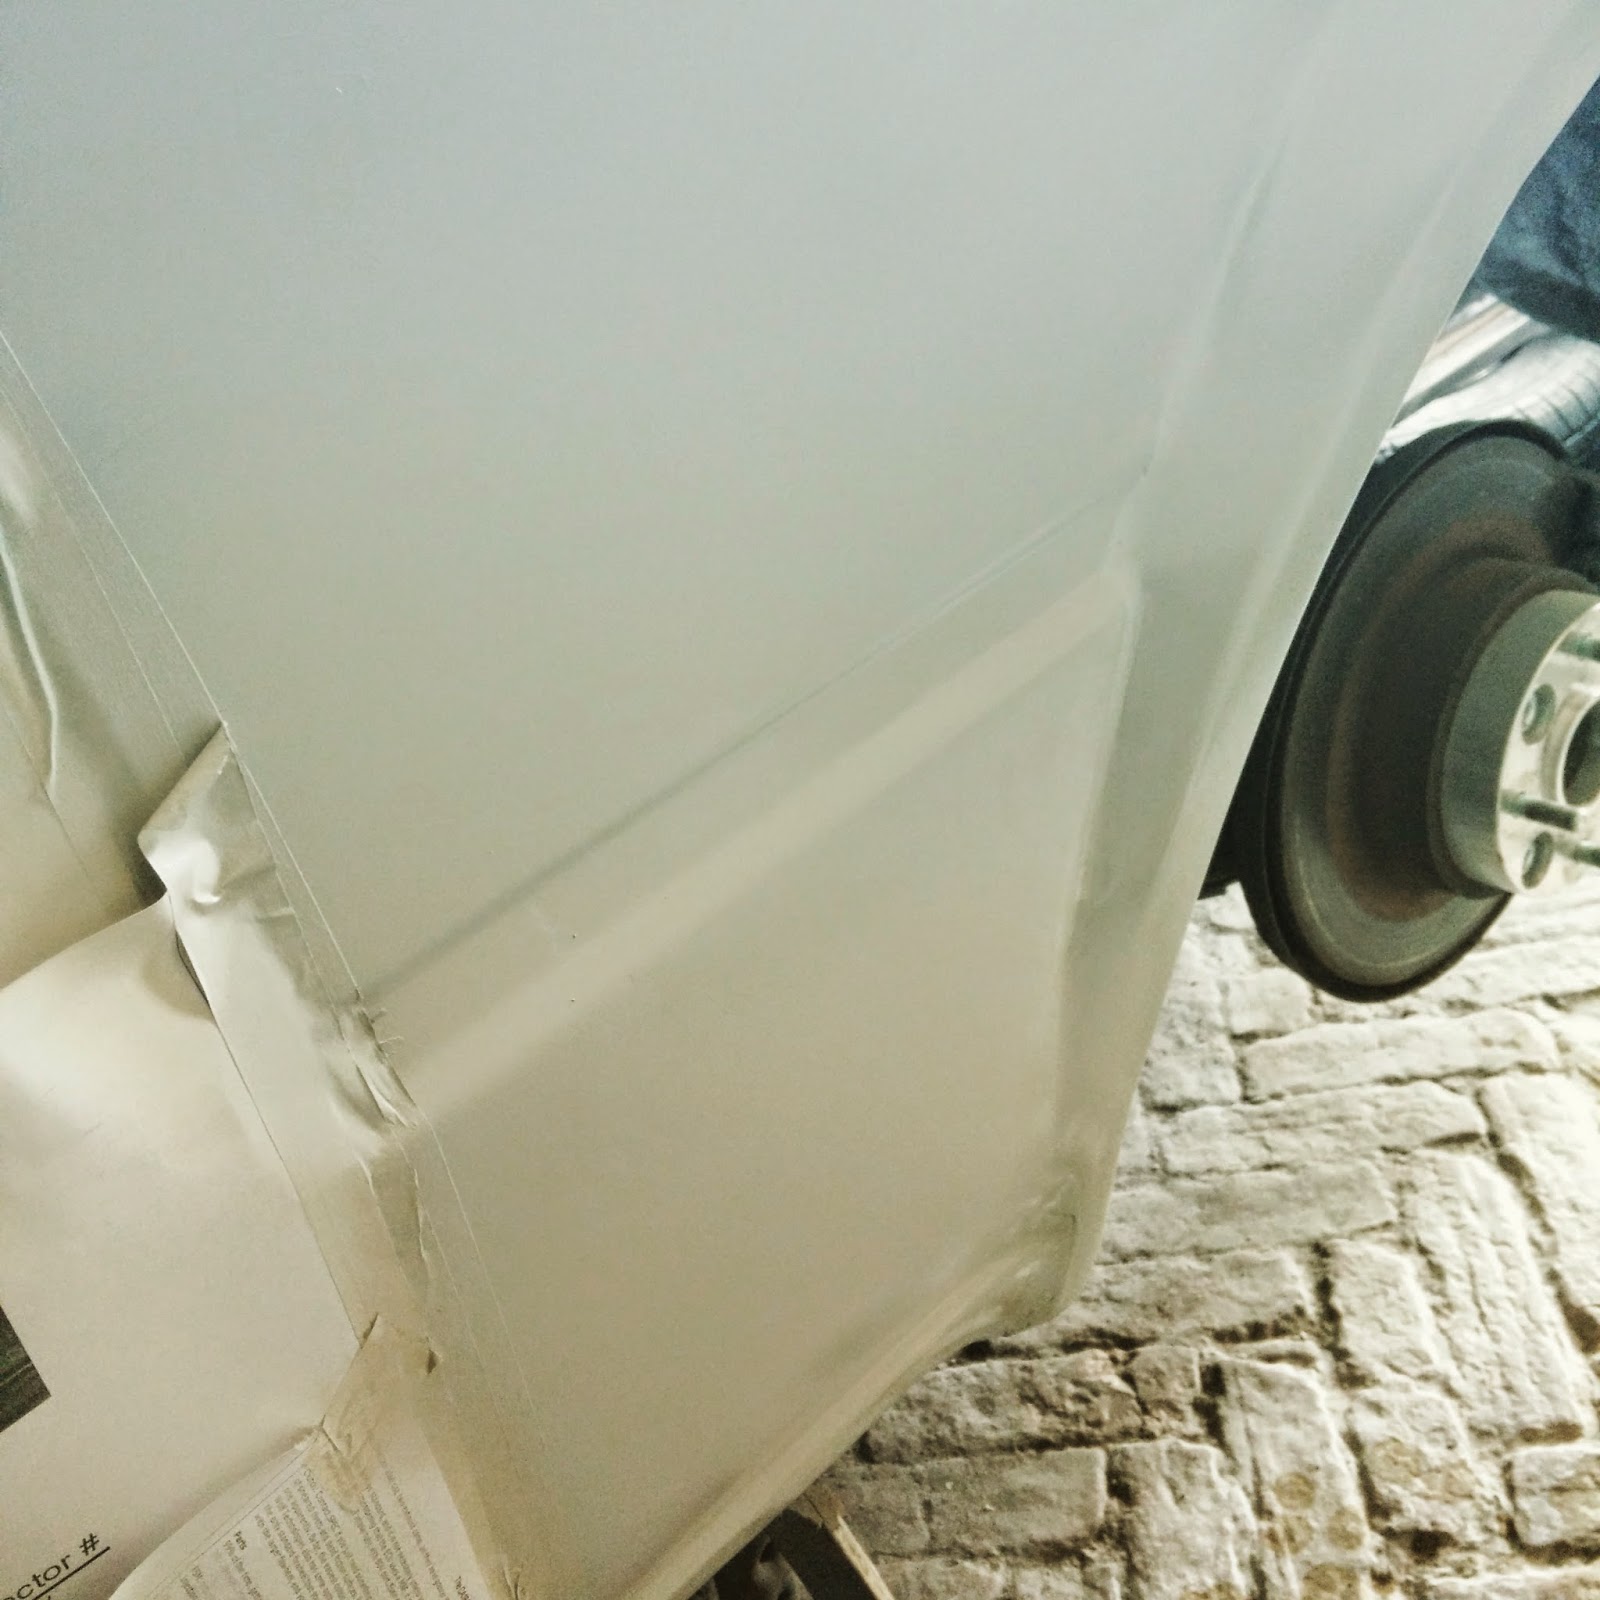
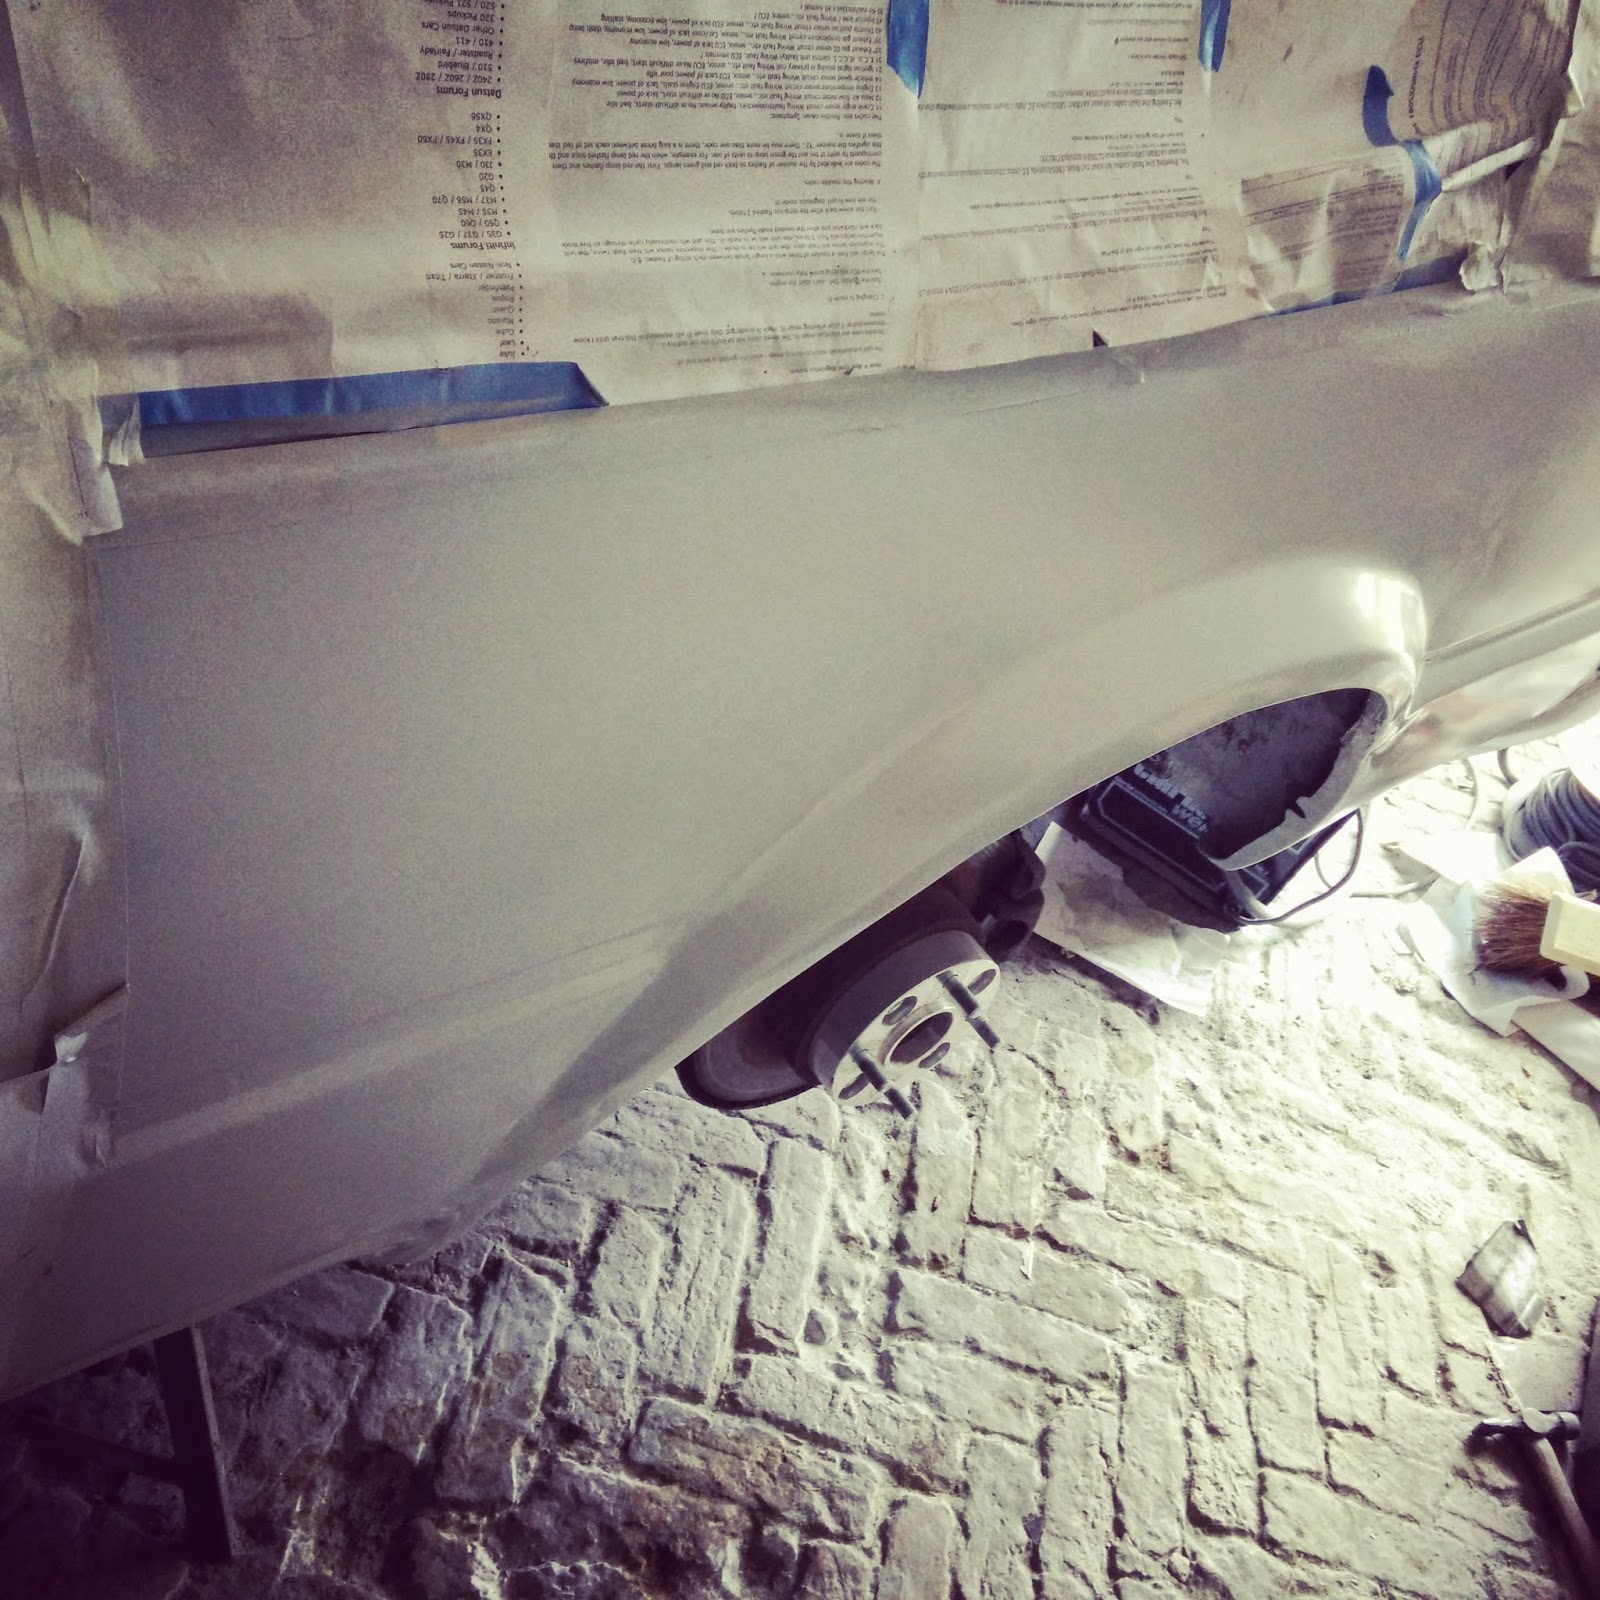
Heres whats been going on, needs a touch more filler work to straighten a few things out, blends etc.

The worst part of this was that I attached the additional inner arch to the outer arch first, then had to weld the inside of the arch last. It was a real nightmare. For the otherside I think I will attach the inner arch to the car first so I can easily weld that and then the outer
Another micro update, had no time to work on this so very little is getting done. Im dying to drive this beastie.
posted image

posted image

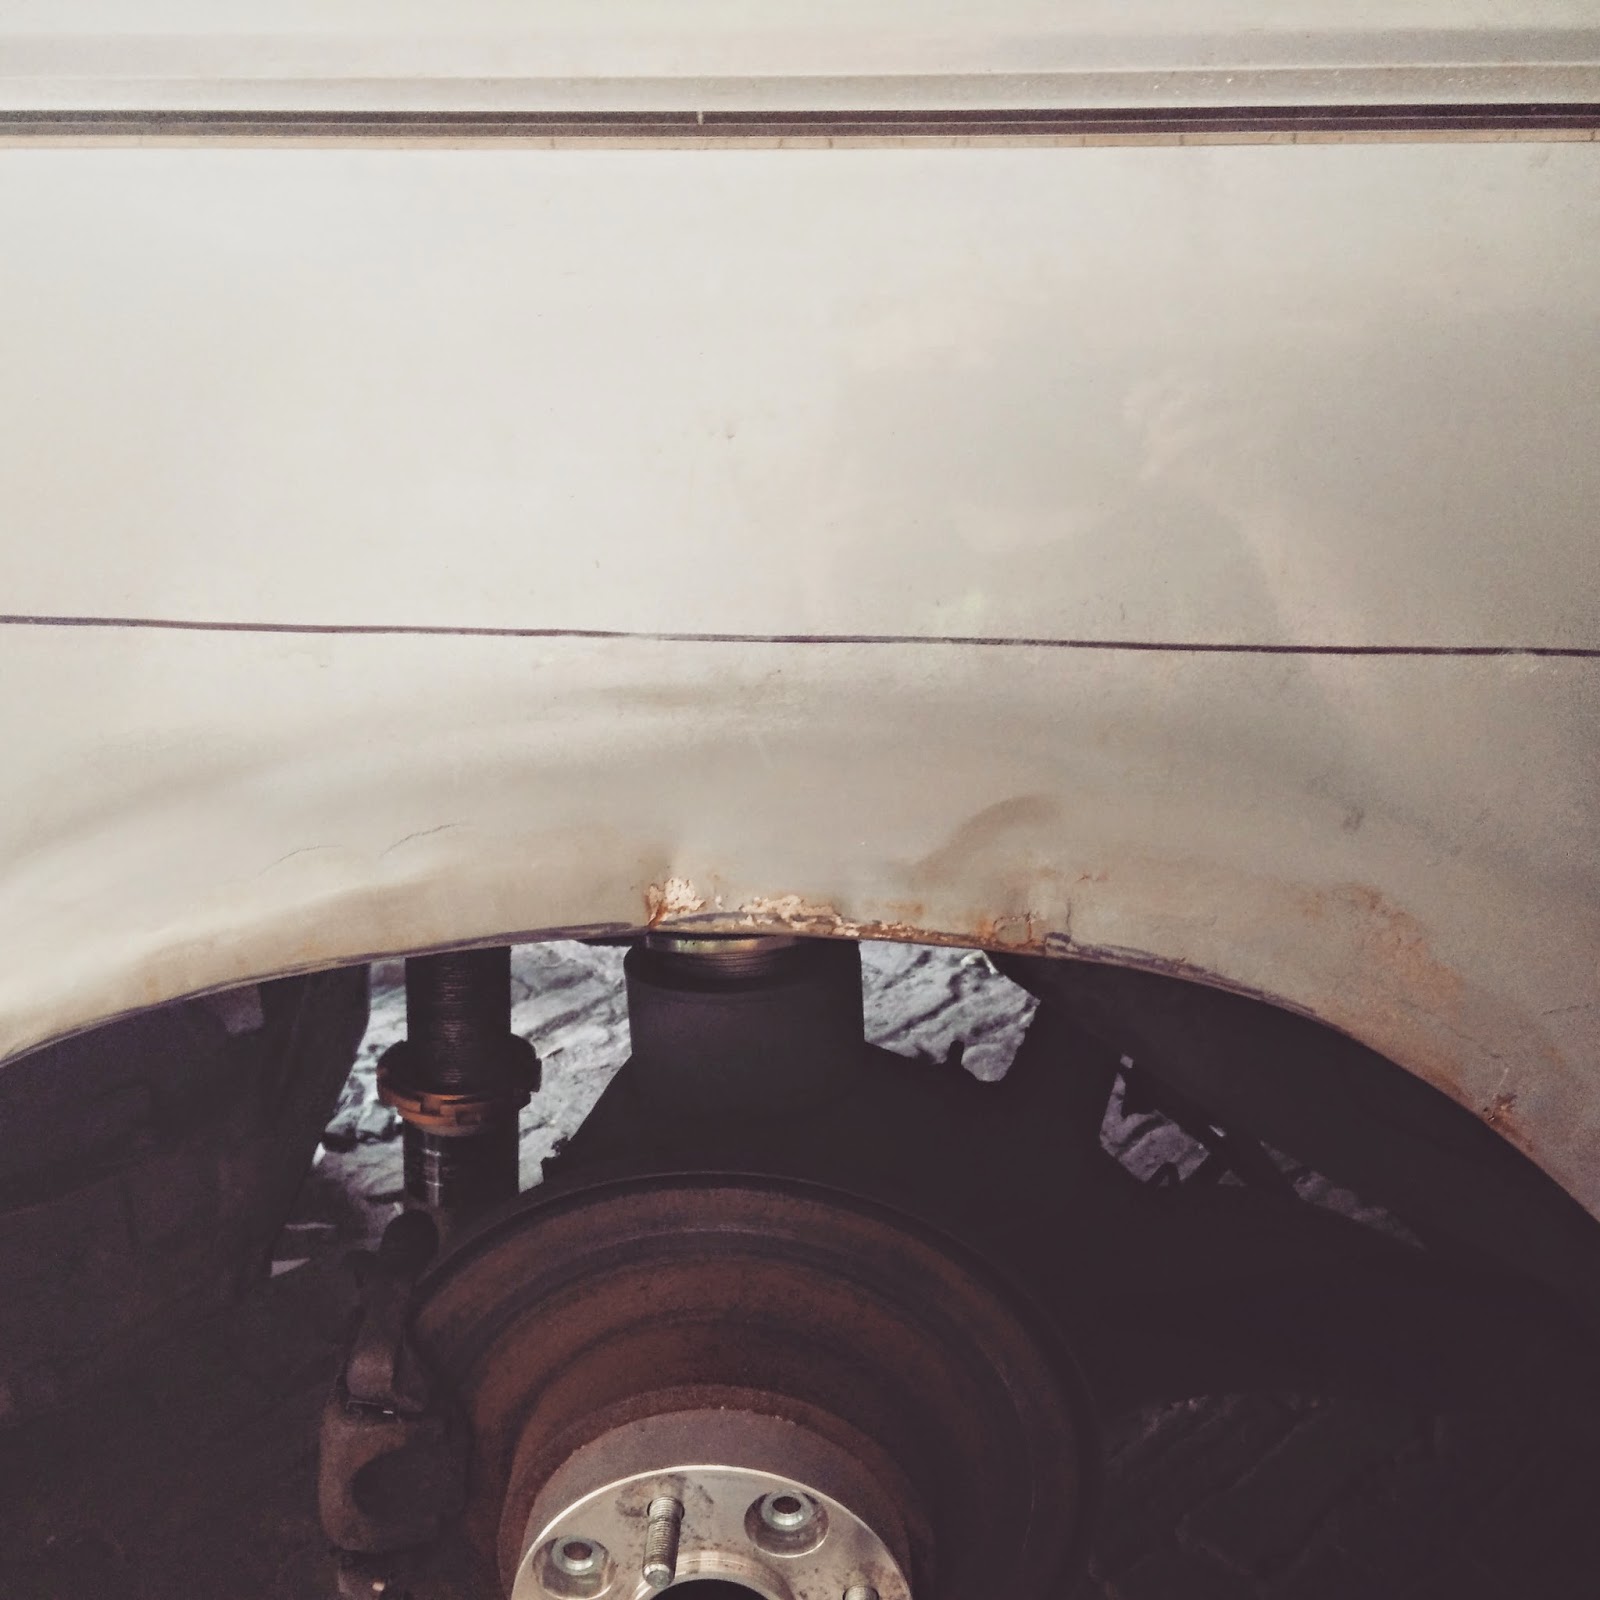
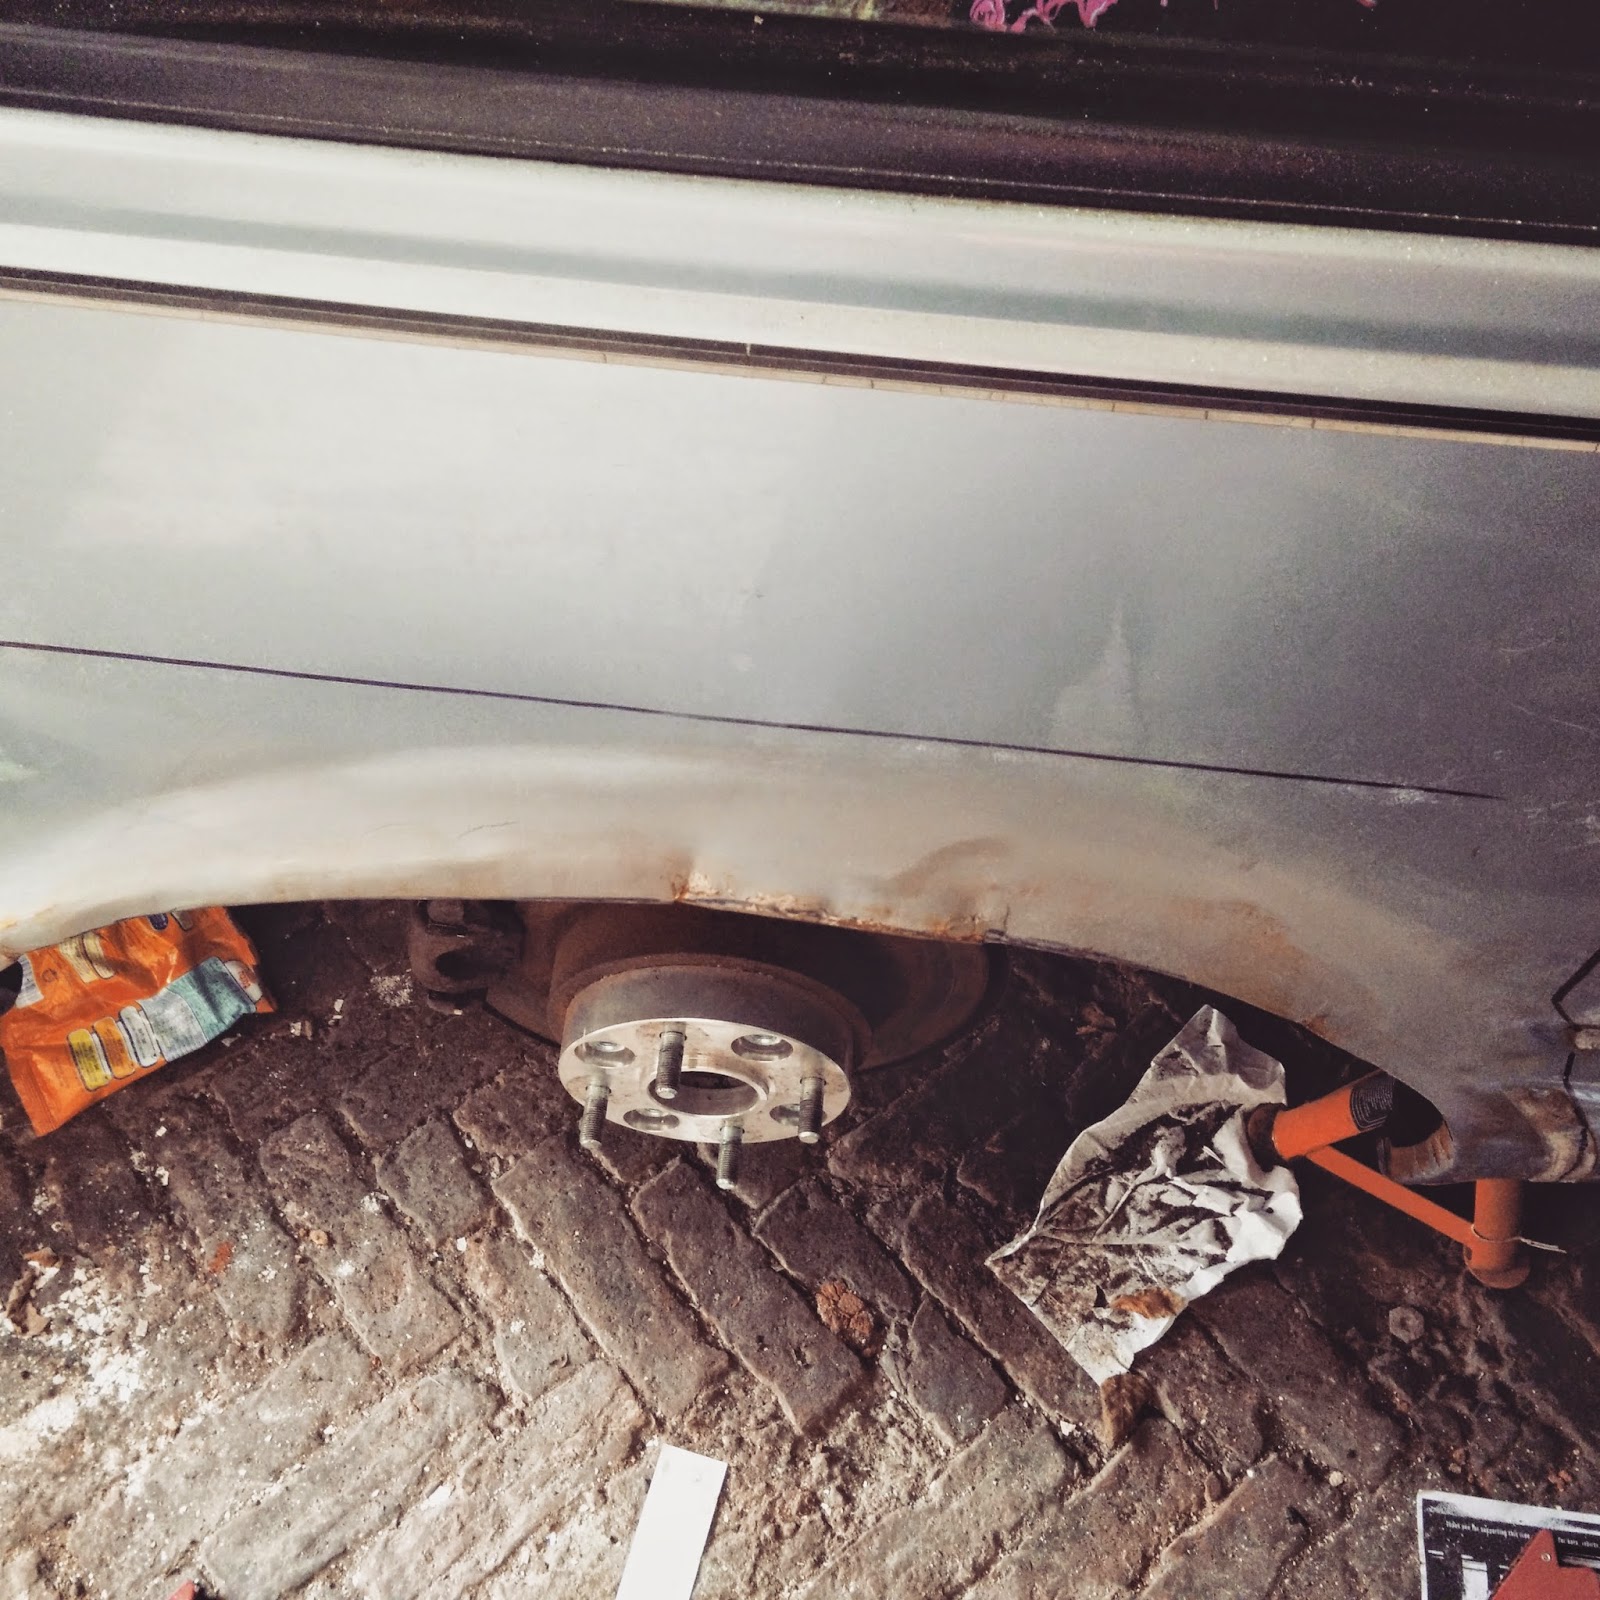
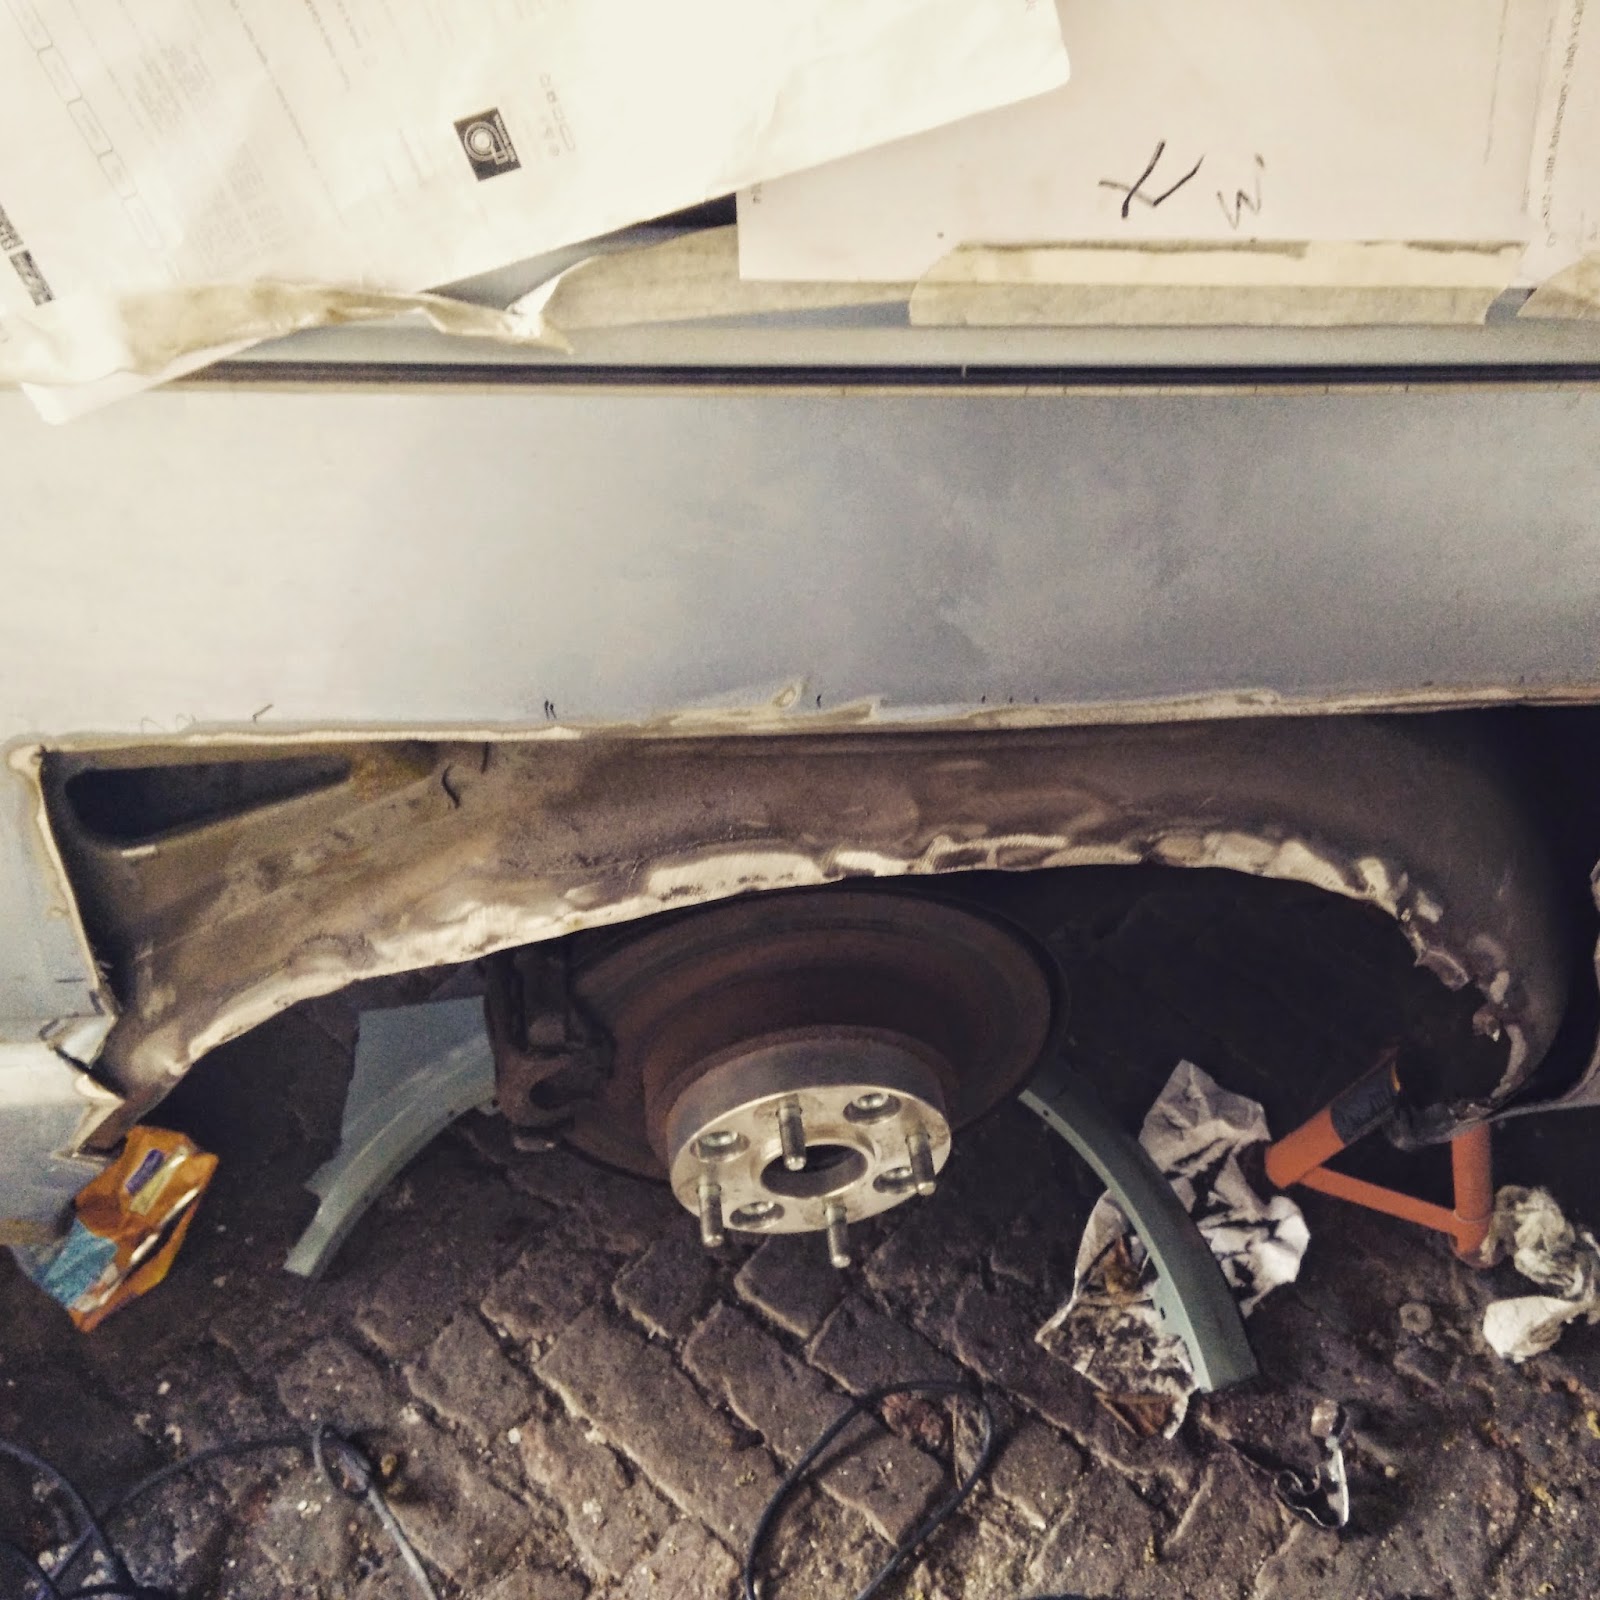
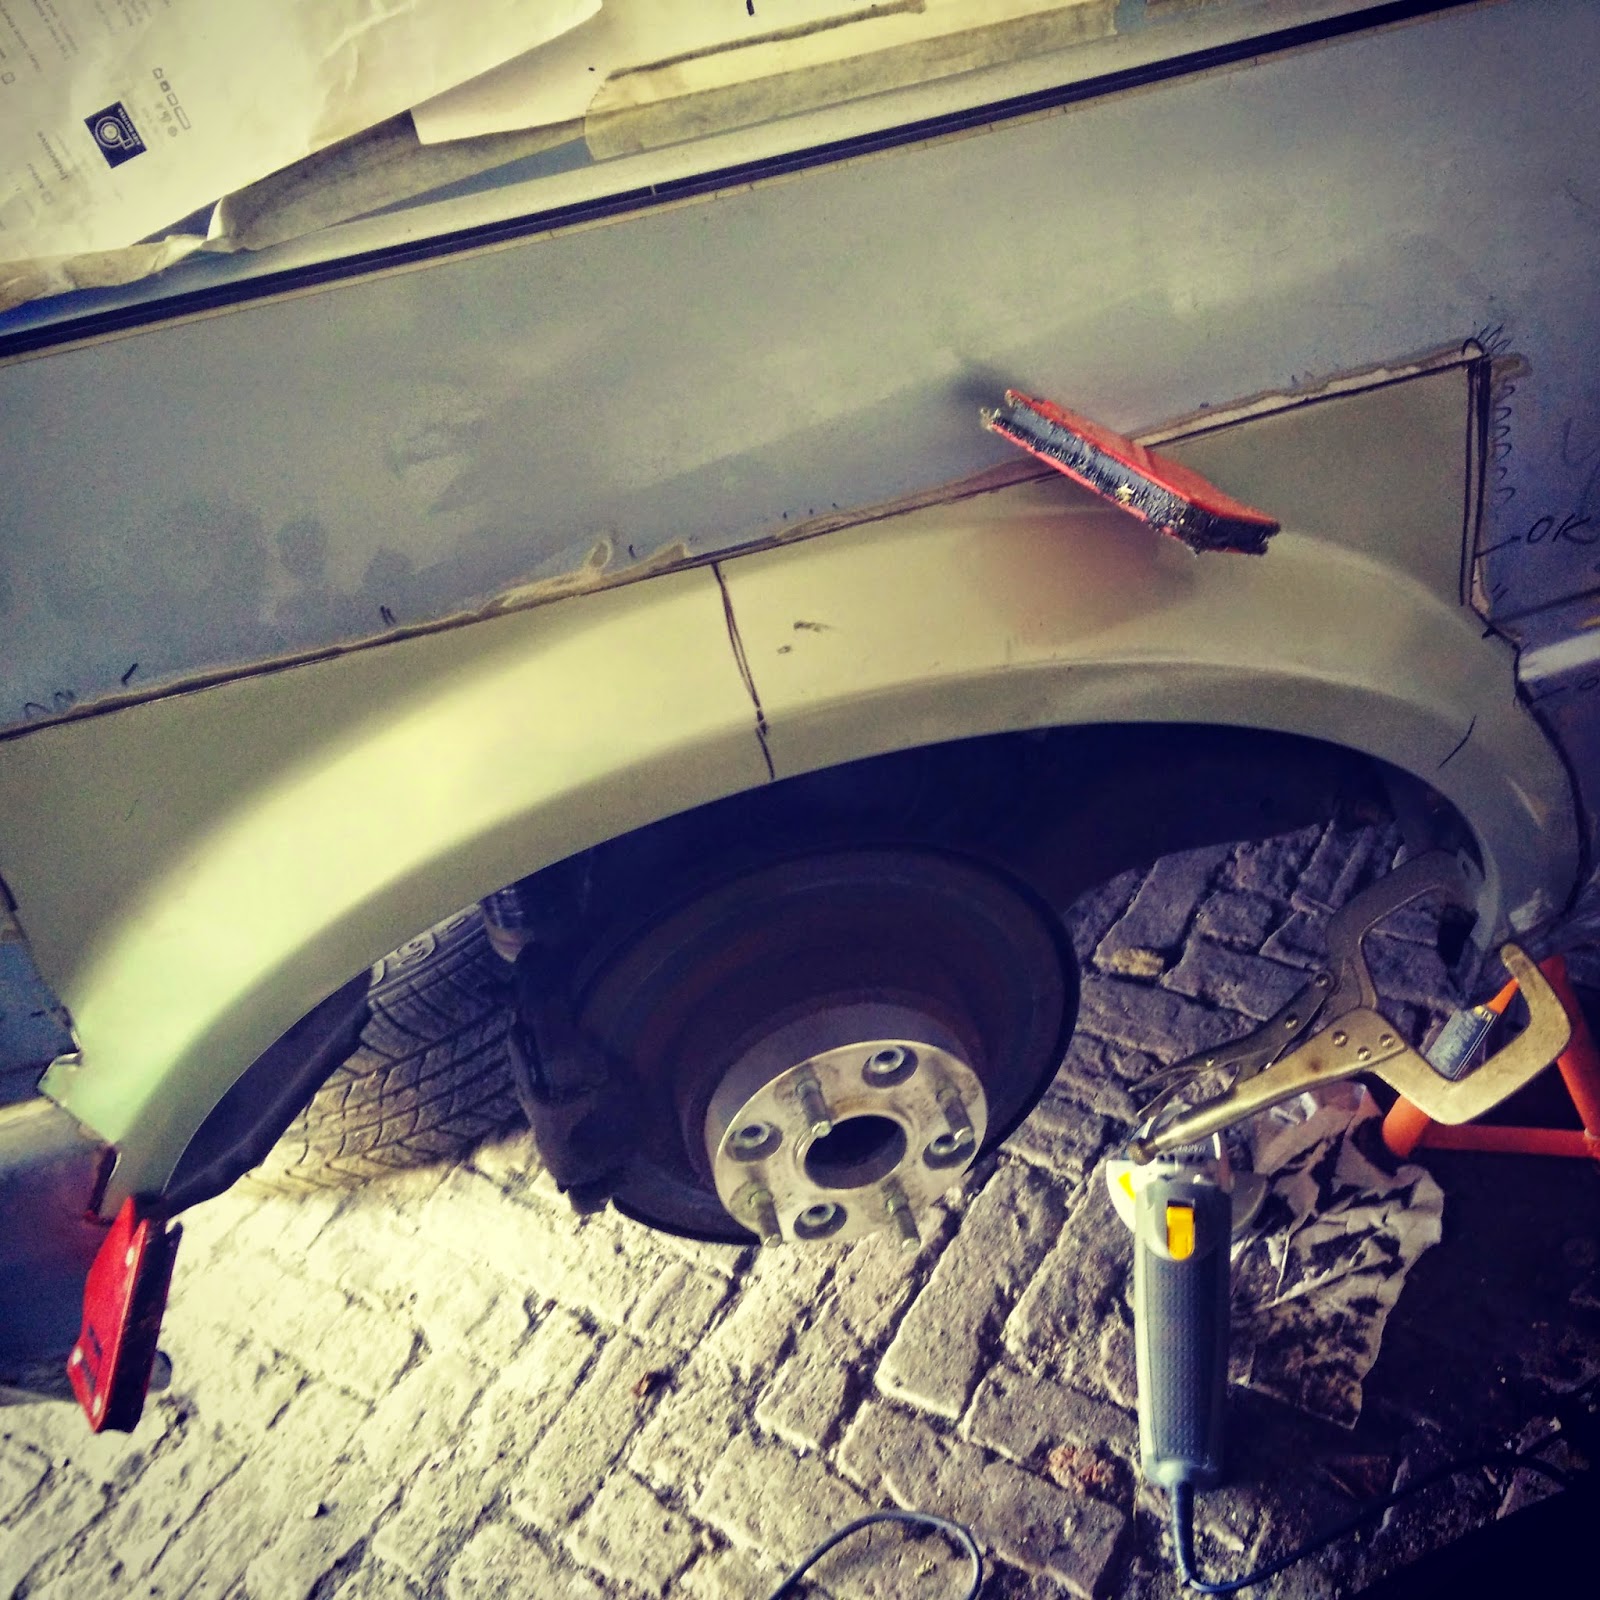
This sides inner arch was really rotten, I tried to do a previous repair on it but it was really difficult to get a continuous arc so looked crap and even crapper when I flared it out and it just exploded with the different thickness of metal in the repair.
posted image

Just have to make up the inner arch, this is the worst part of the job.
posted image

posted image

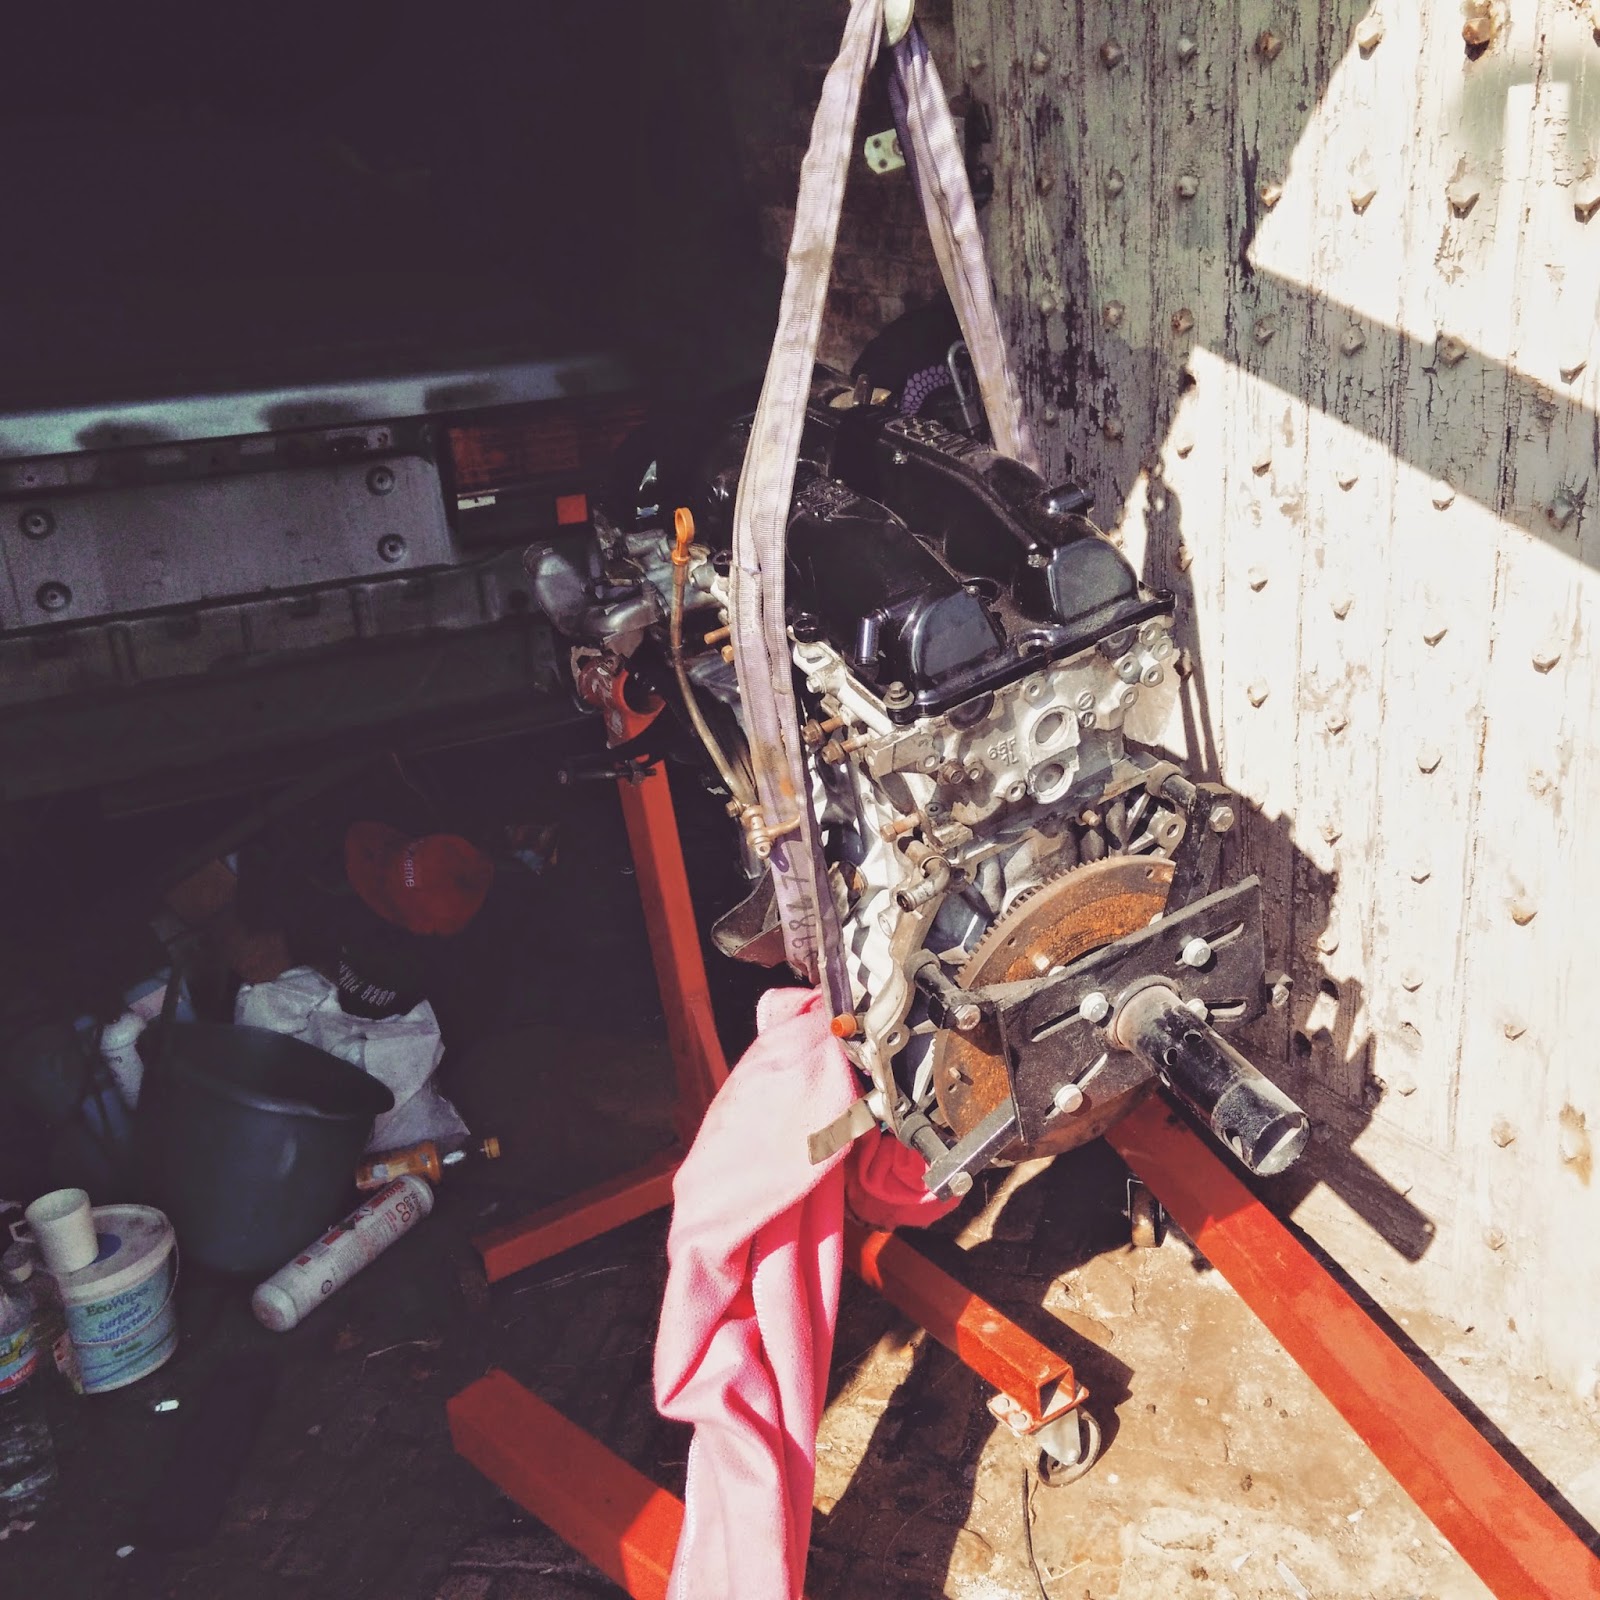
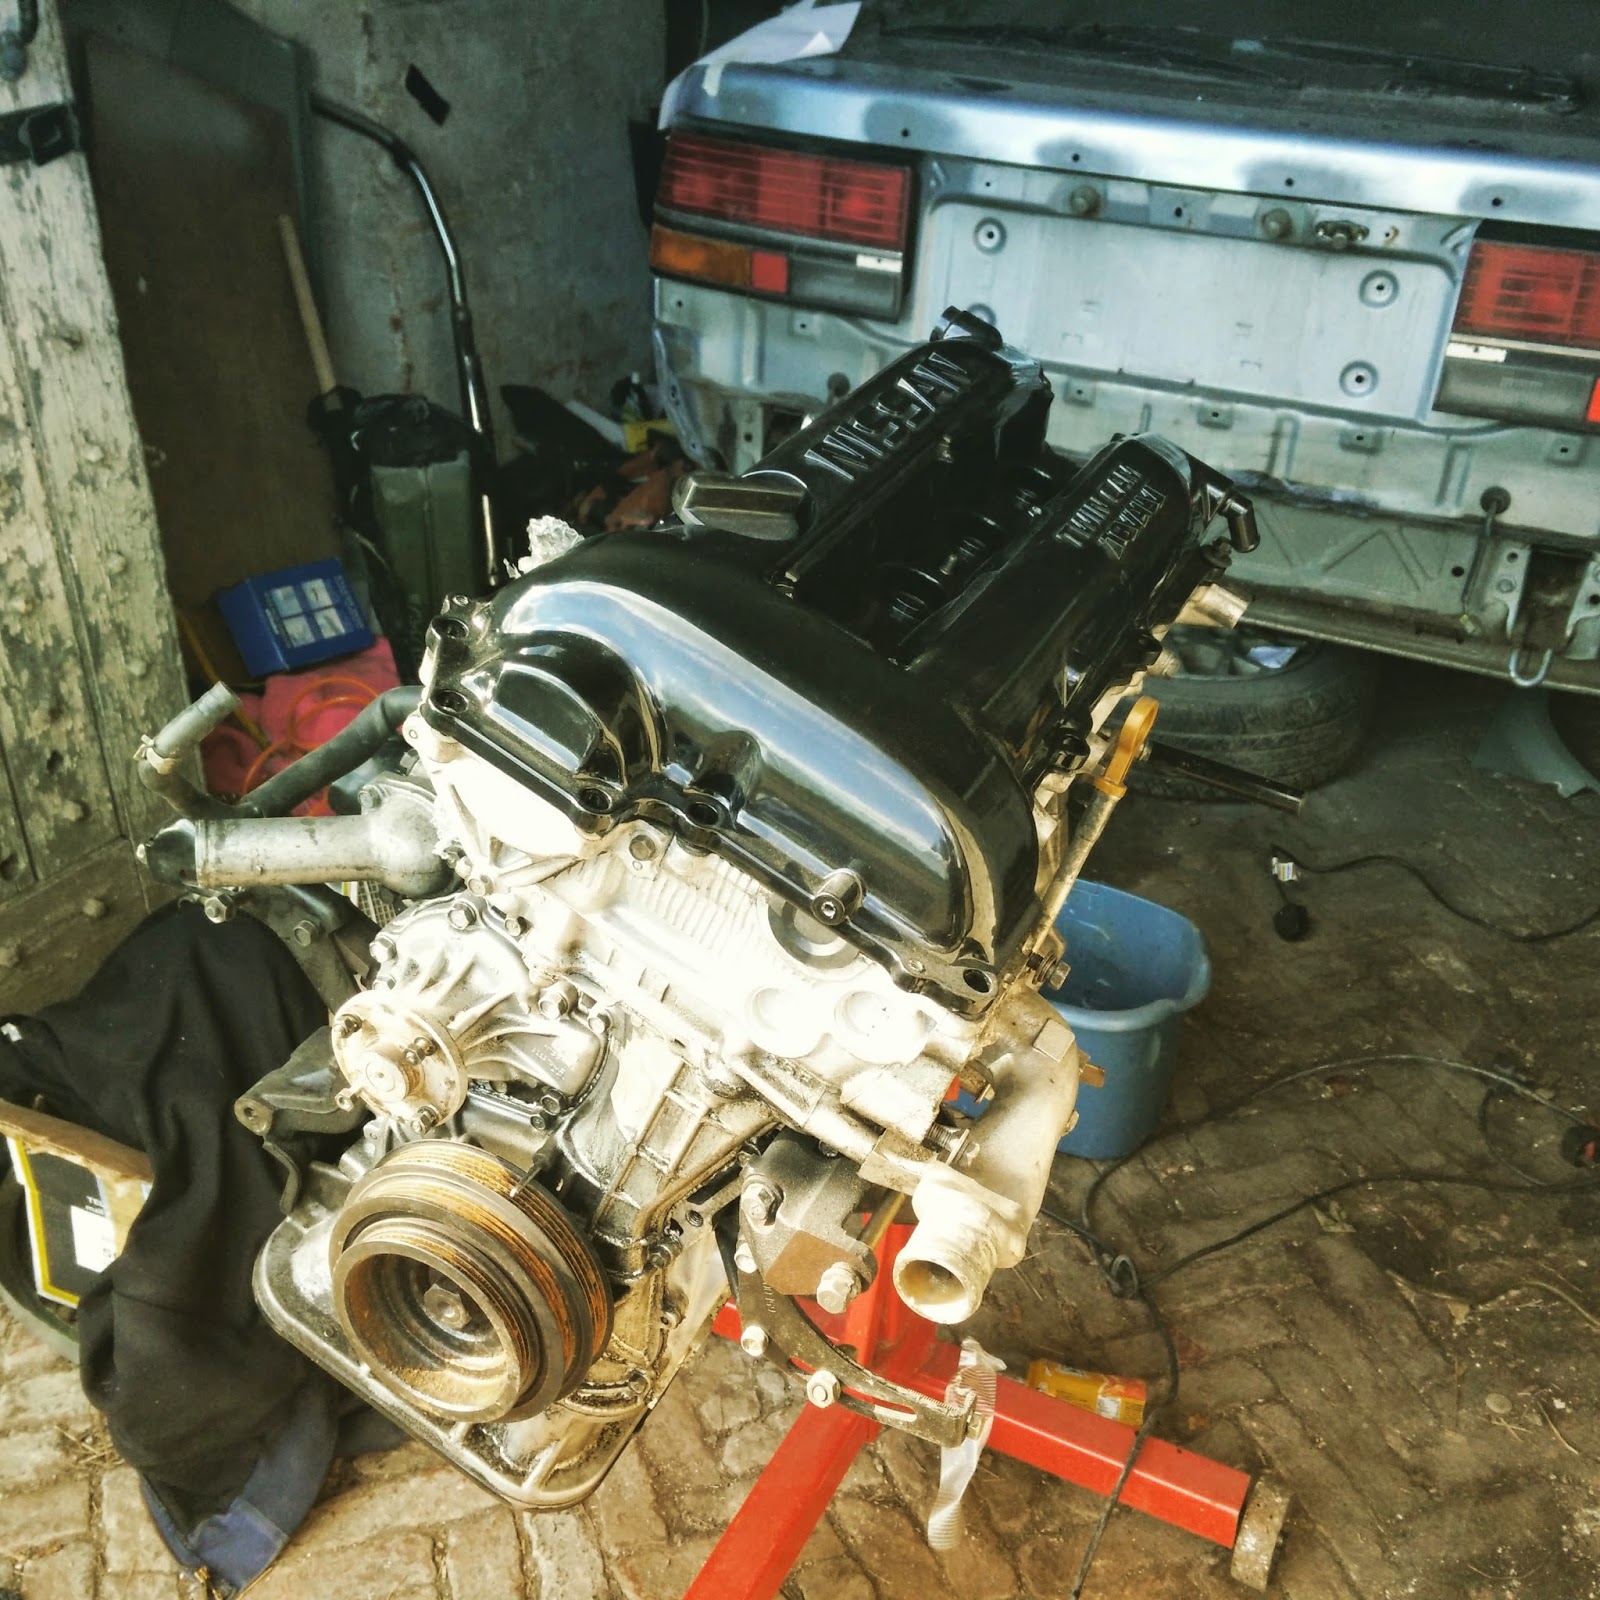
Also borrowed my mates hoist so finally got the engine on the stand and out of the tyre its been sitting on for monthes!
posted image

Cant wait to strip this down and see what I have, apparently low compression, need to be on the look out for all the little things to make this a complete running engine, shame I didn't get a running donor but this was too cheap to pass up.arch, hopefully that will be a bit better.
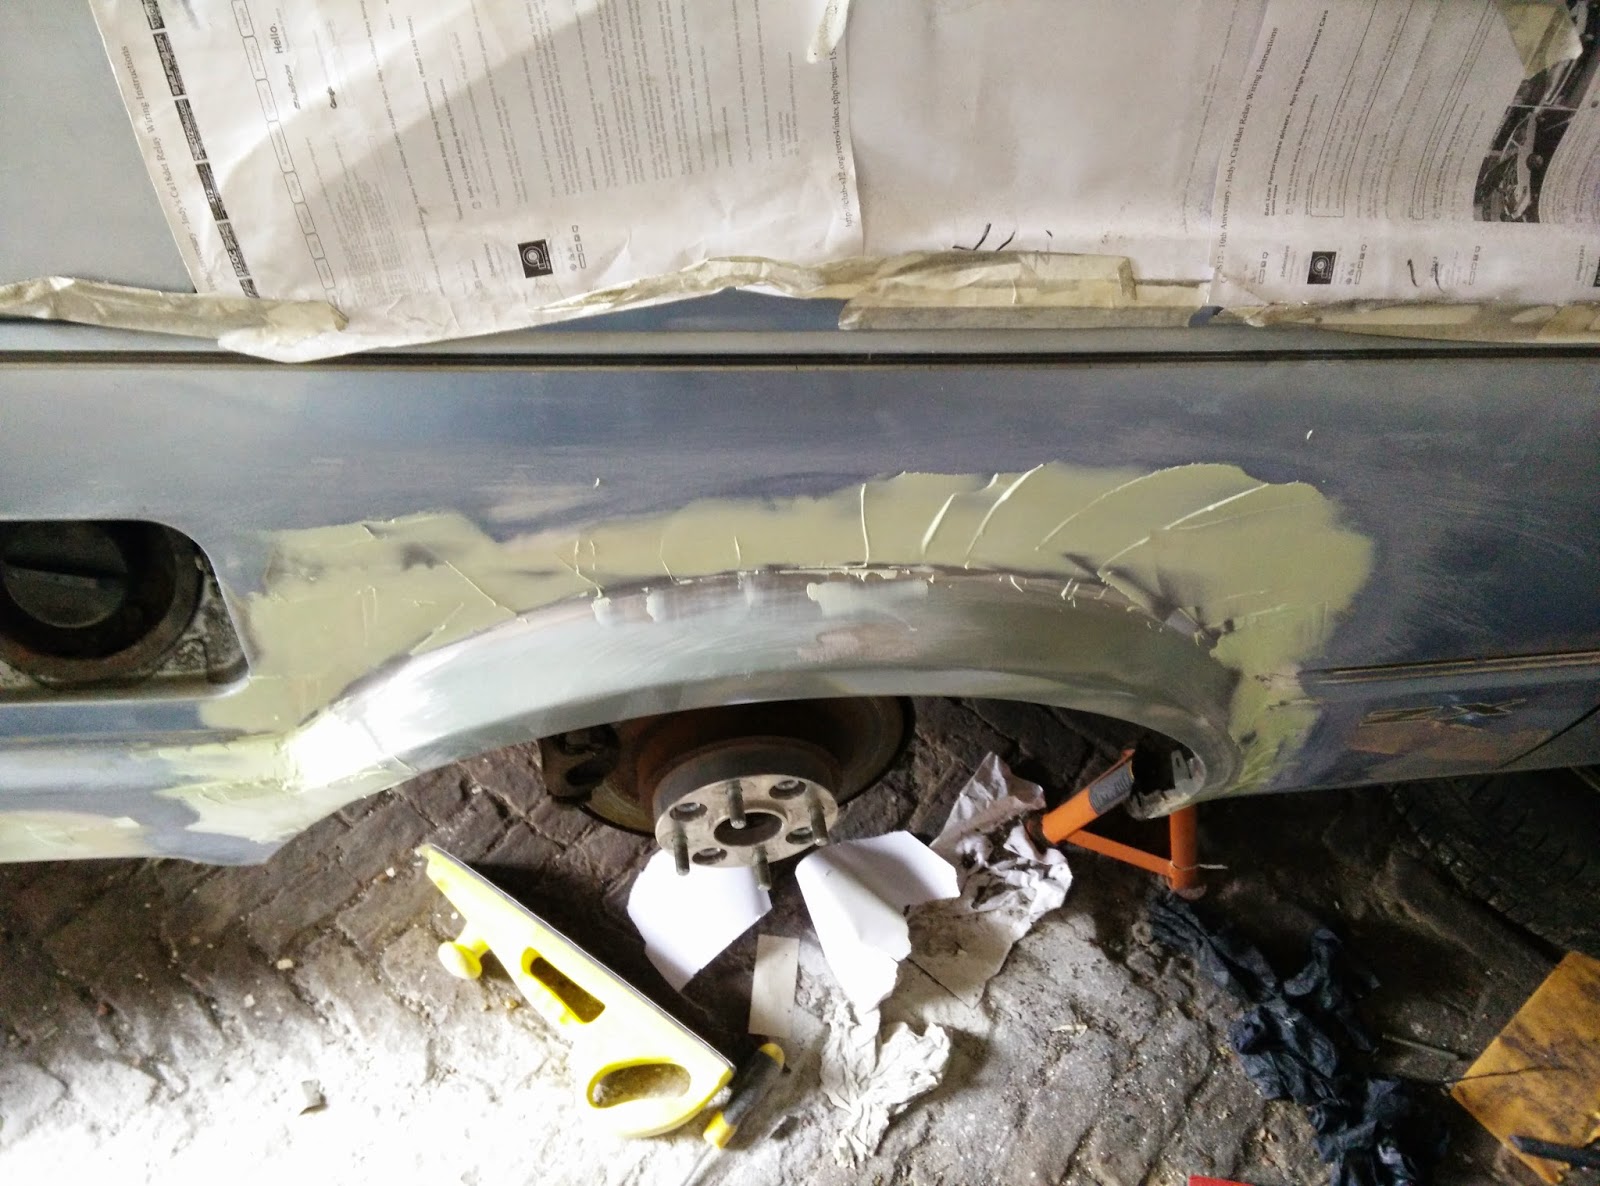
right so finished off the other side, still needs a bit more filler work but I will do that later.

posted image

posted image

posted image

posted image

posted image

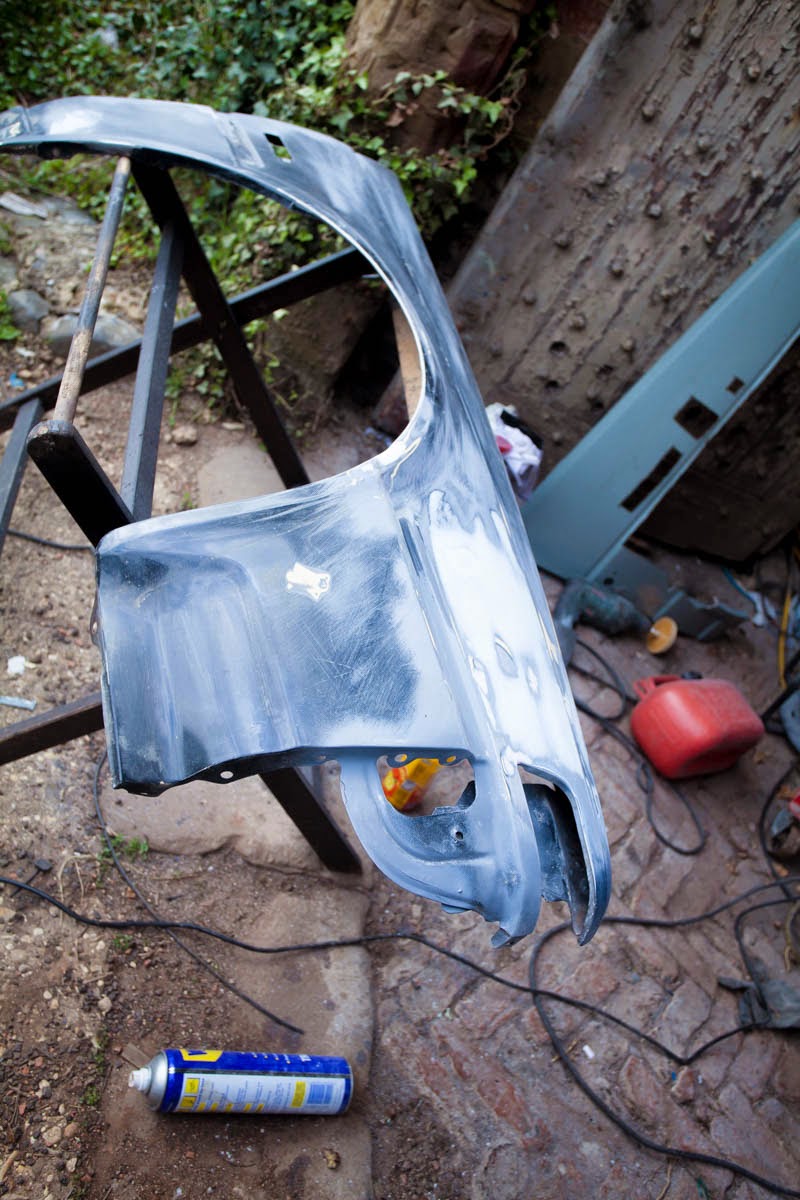
Did a bit of filler work to one of the wings as its a bit of a hack job as I used two crap wings to make one good one.

Need to look out for another wing really but just cant find any. Ã,£Ã,£Ã,£If you know of any for sale let me know as cash waitingÃ,£Ã,£Ã,£
posted image

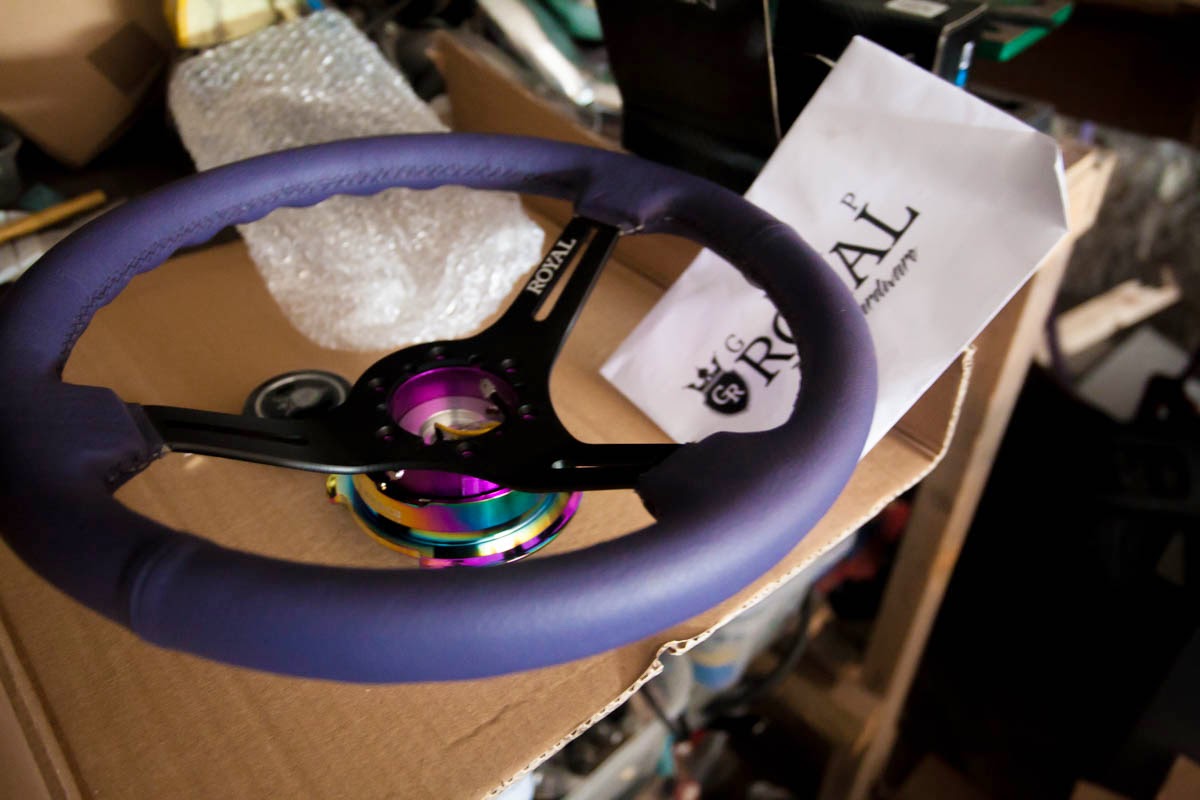
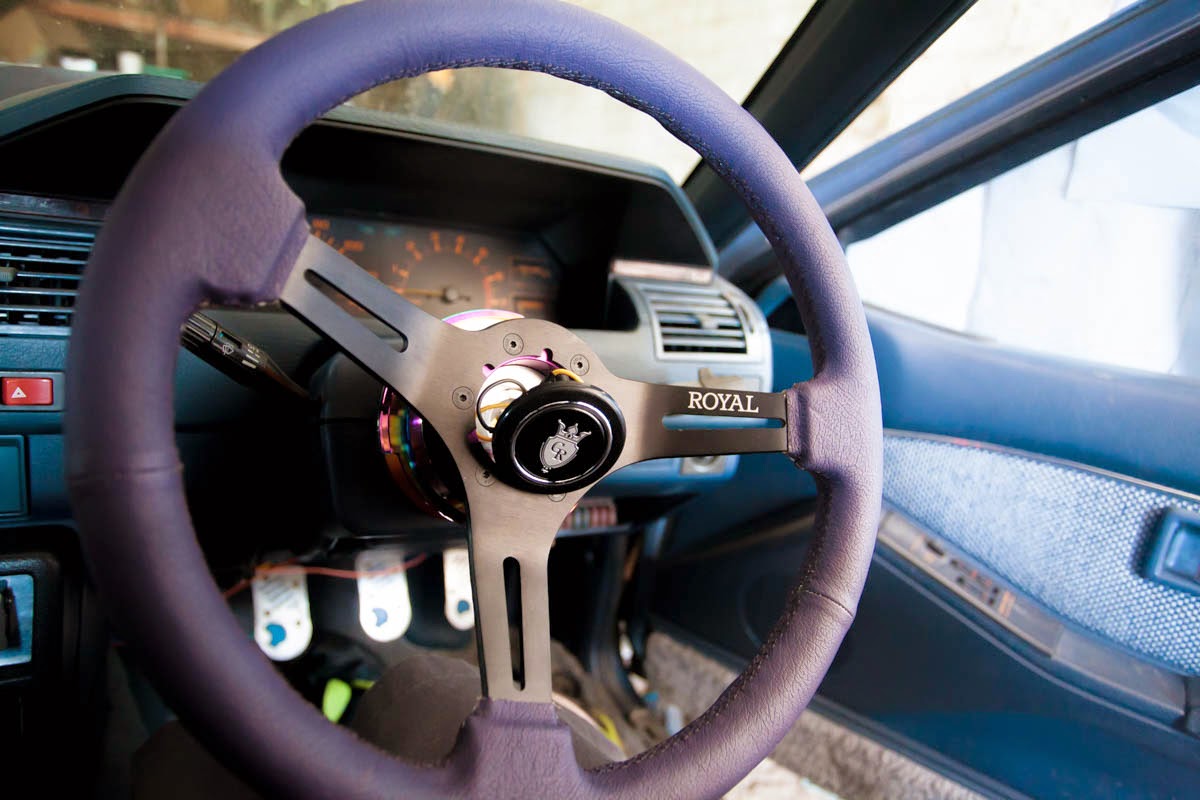
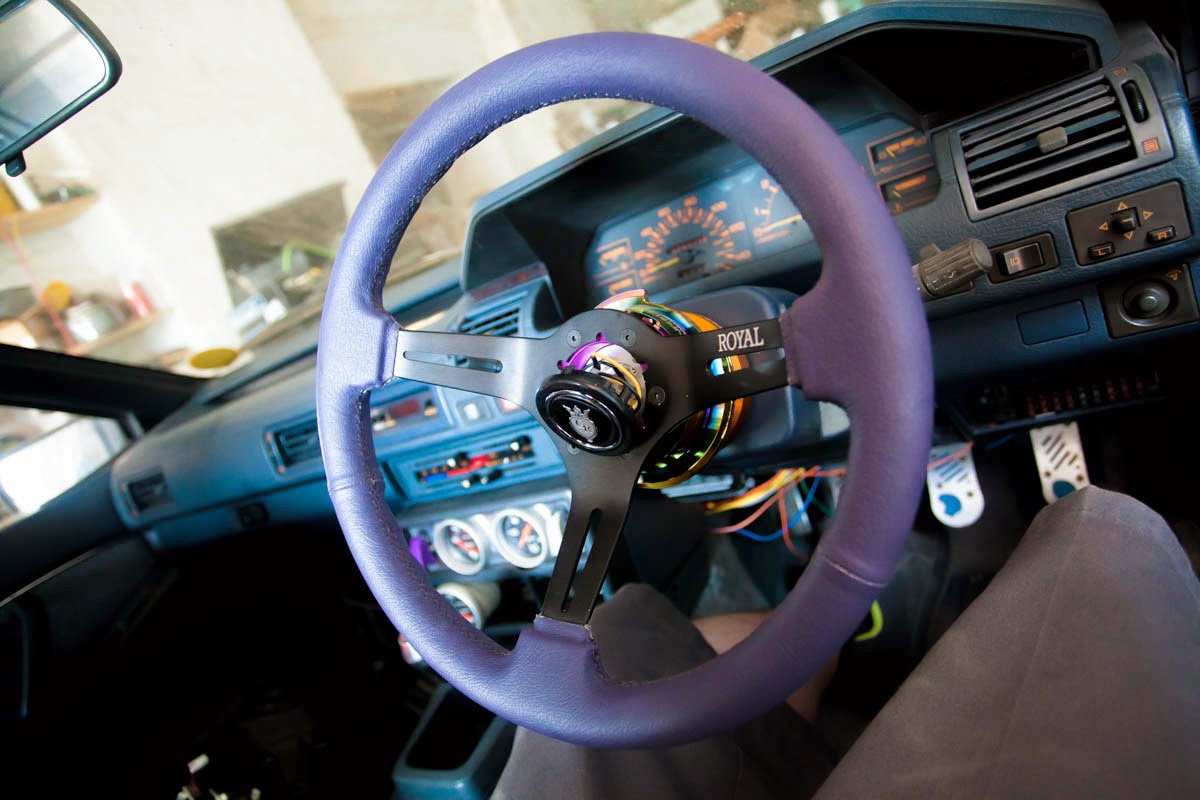
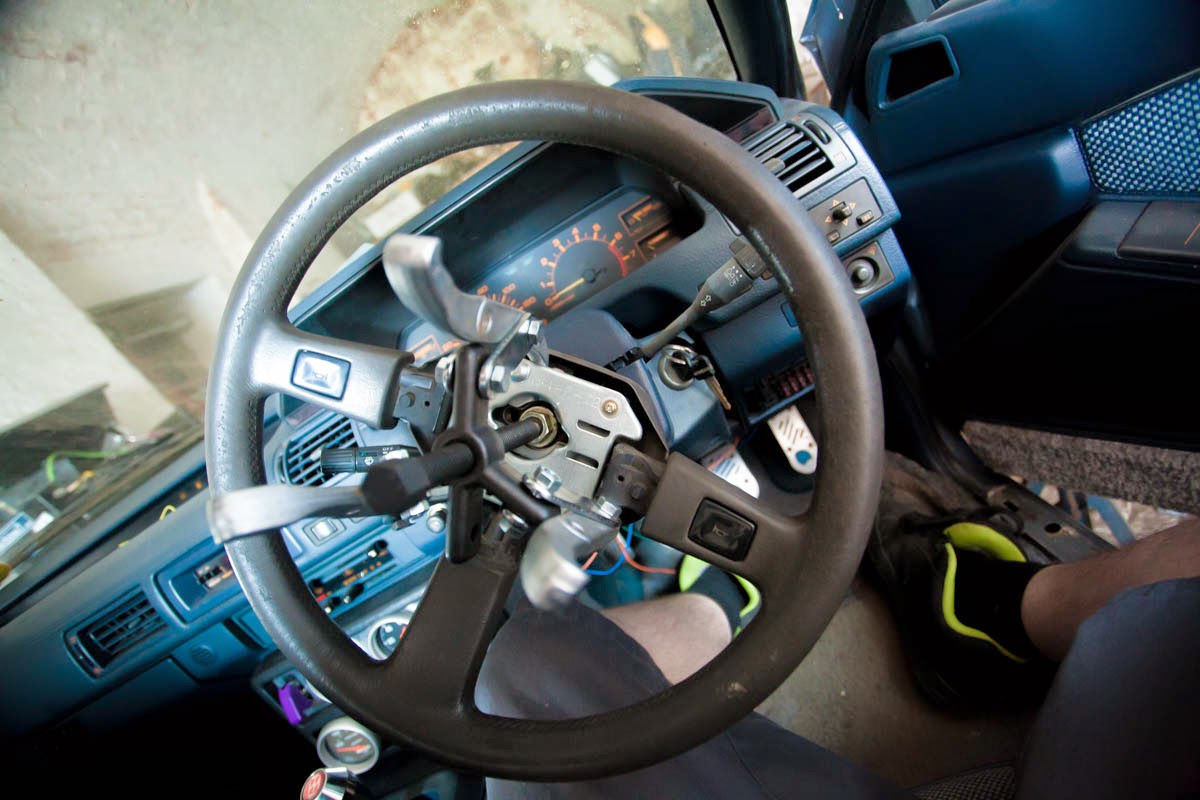
As ive been bustin my balls with all this dirty bodywork thought id do something fun!!
posted image

posted image

posted image

posted image

Although the horn ring wont stay in!! so that's slightly annoying. I think there some stuff that comes with the hub to be able to fit the ring, need to have a closer look.

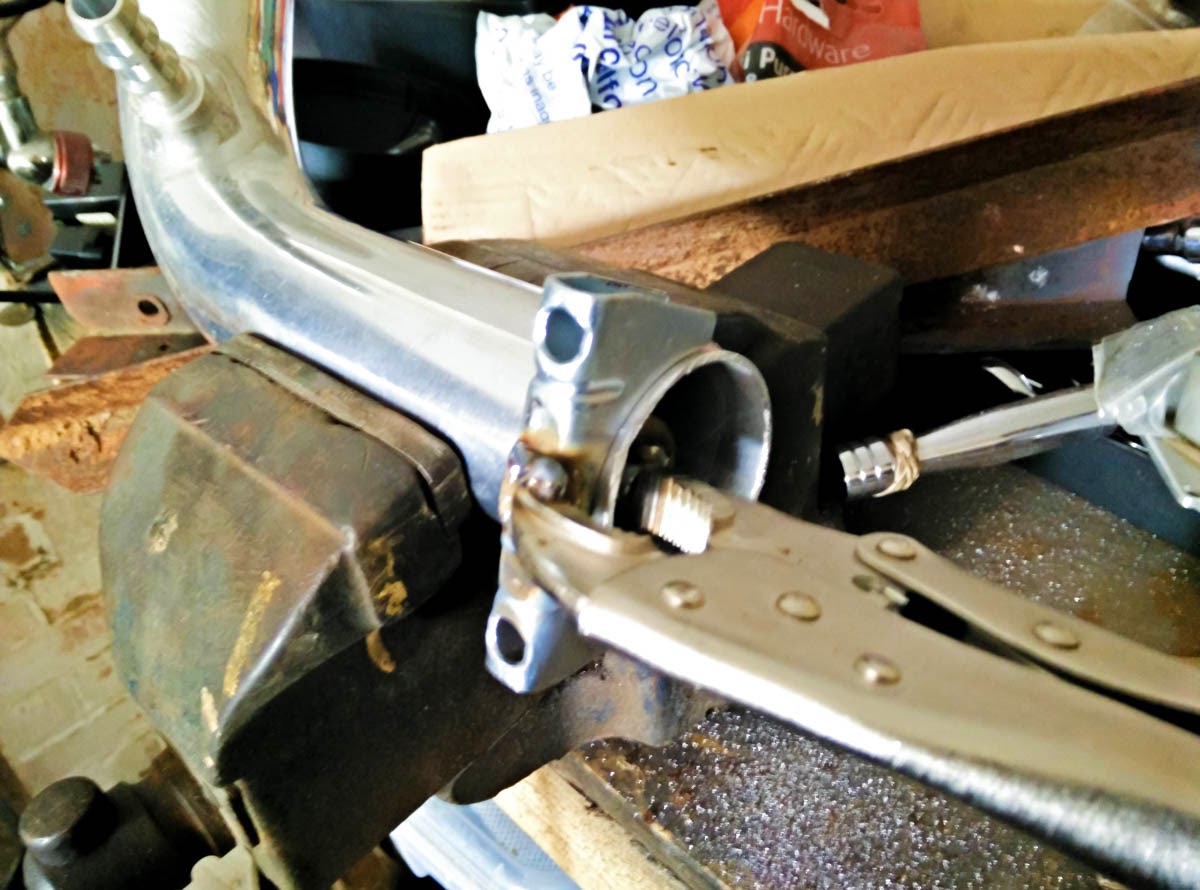
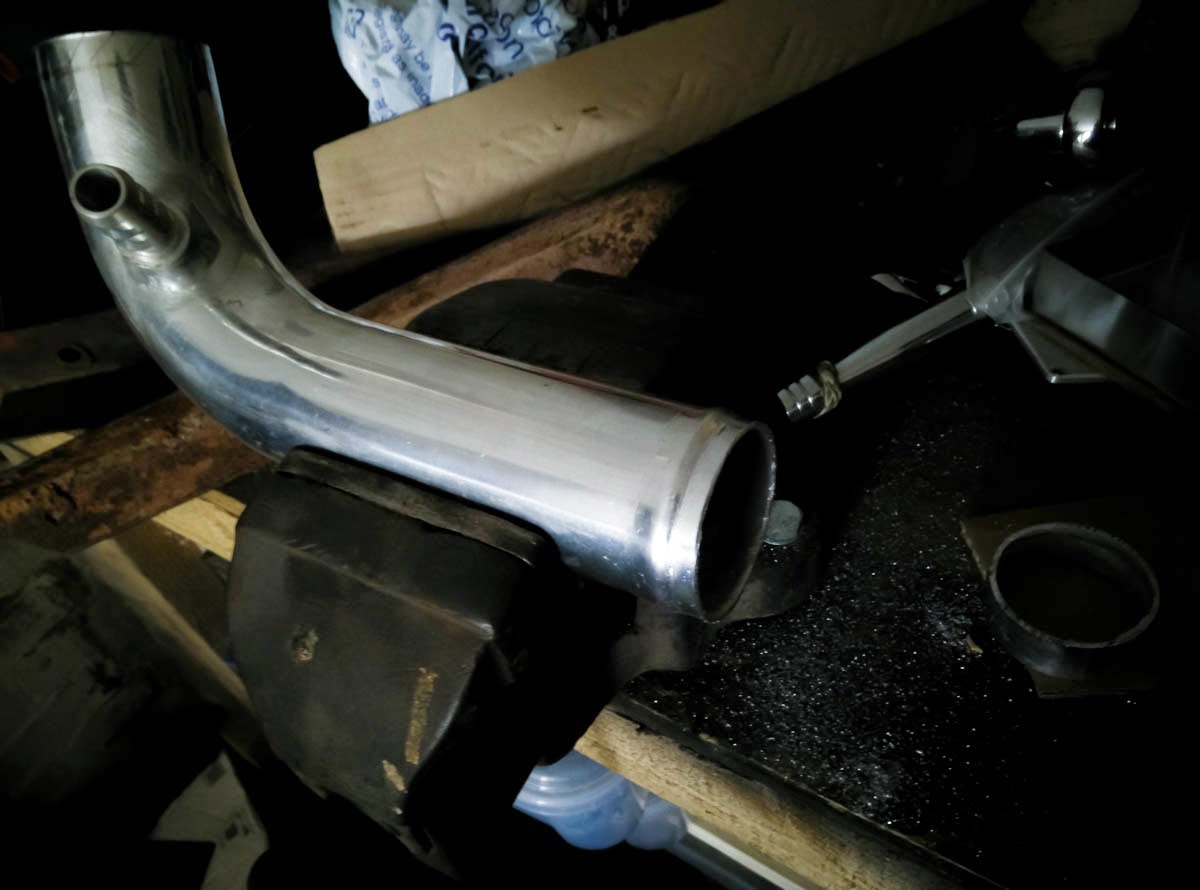
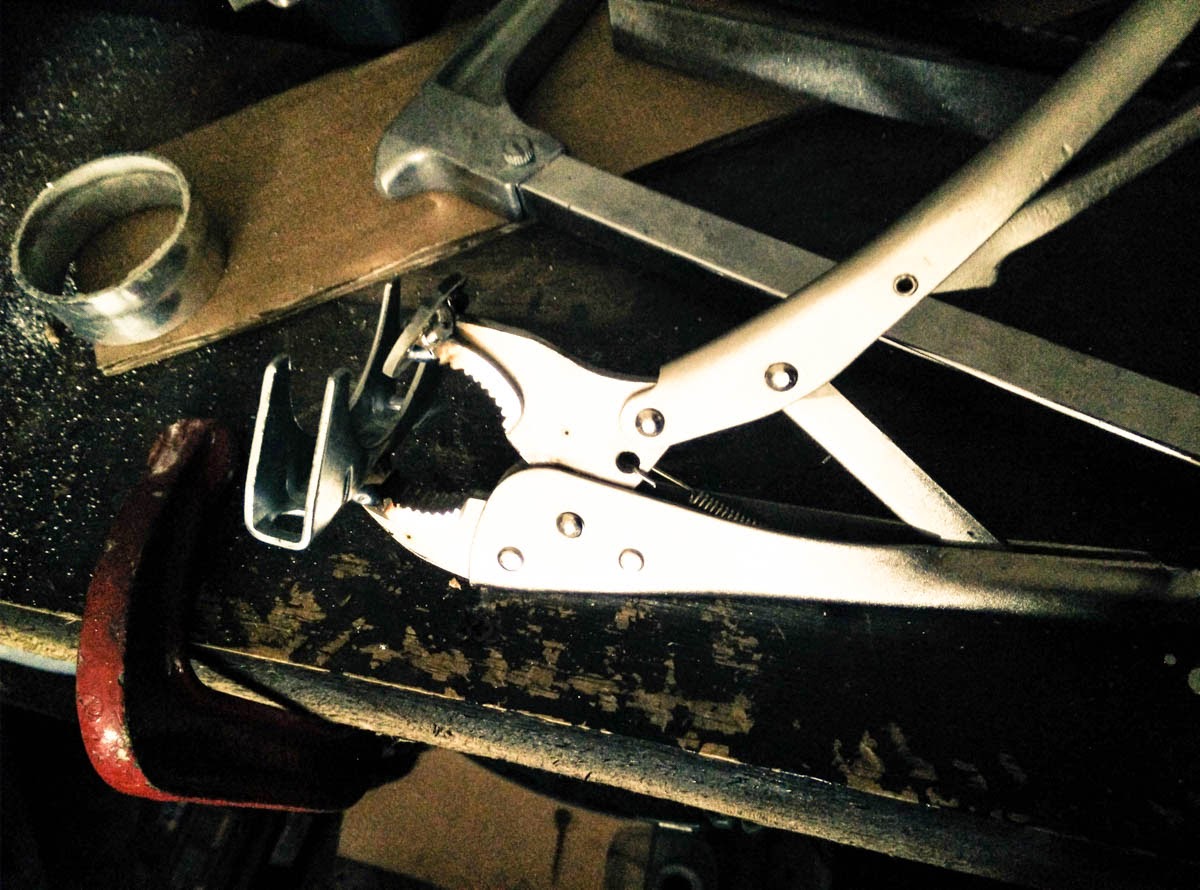
As the elephant trunk no longer fits with the new turbo I needed to make a new inlet pipe.

and also a ghetto beading tool!
posted image

posted image

posted image

Not bad for 3Ã,£ which was the price of the grips!

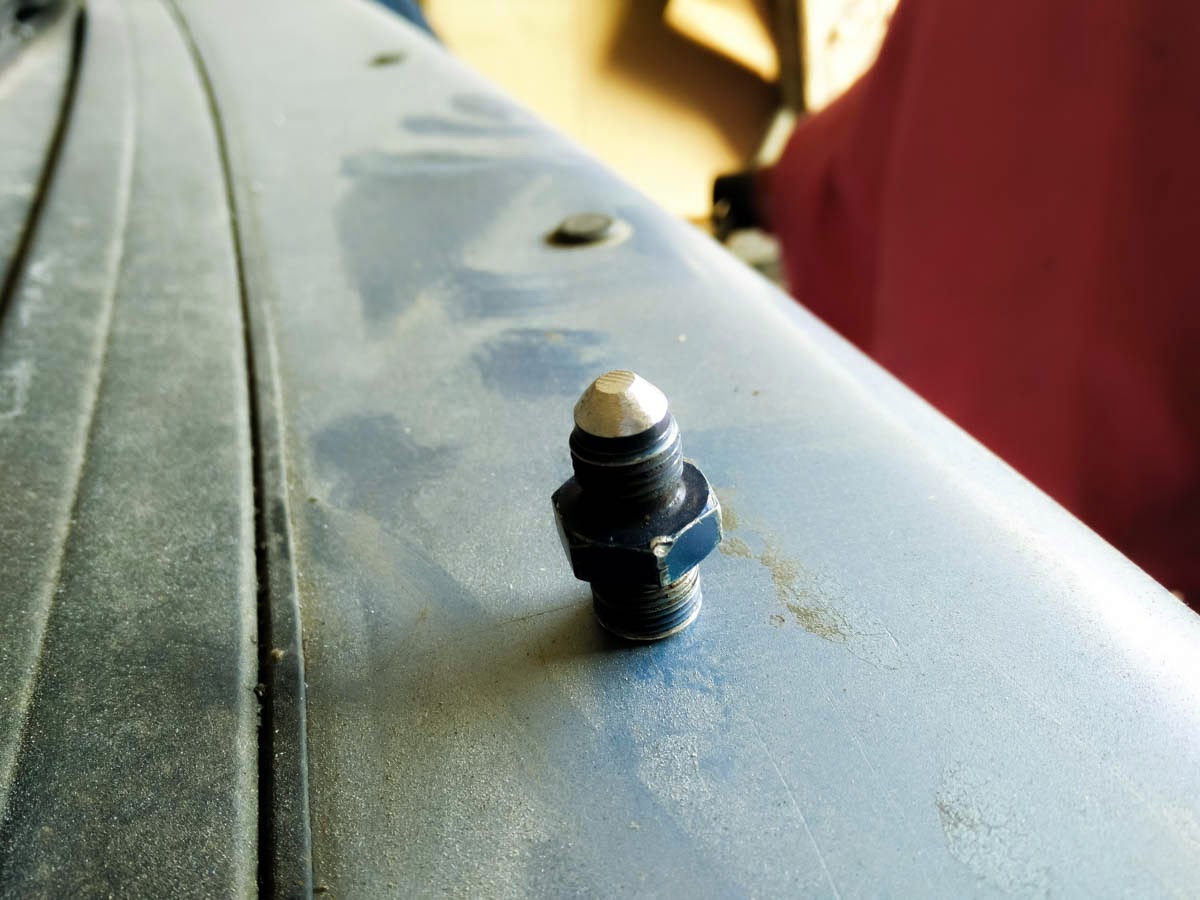
I cant seem to find a -4an m12x1 with a 1mm restrictor anywhere so I decided to try and turn my non restrictor into one.

posted image

posted image

I went to drill it with a 1mm drill bit but it was too small to fit into the pillar drill so I used the little cordless drill, had right trouble getting it centered so thought I would center punch it! but that just made the little bit of weld fly off! so I abandoned that idea! lol

I just assembled it without the restrictor so I could start it up, it started first turn after not being started for like 5 monthes! Im getting closer!
BOSSMANMay 12, 2015, 5:16 pm · #25

Nice work on the rear arches.  There should be a horn adapter ring that sits between the horn and the hub if not I've wrapped electrical tape around the horn to make up the space between.

Van_DentonJun 4, 2015, 8:18 am · #26

thanks mate, your right there was a little bit of tube that was slotted that solves the problem. Cheers  :idea:

just incase you havnt seen it on faceballs

Swapped the mk2 lights with some mk1s, I think they look a lot cleaner.

posted image

posted image

There is some mad carpet in here, its pretty rank and stained and a mouse has been getting freaky in there too!
posted image

posted image

So just coming to the realisation that I cant take the car for an MOT and have the turbo disintegrate on me and blow the engine, will take it out AGAIN!!!

Probably gonna just bite the bullet and get a brand new turbo, only way I can be sure it wont be a shitter and that way it will be ready for when the SR gets rebuilt.

Its too low at the front, gonna have to see if I can either flip the bottom bracket on the coilover or machine a spacer for the top of the coilover to give me the extra 5mm I need to have a working car!.

posted image

posted image

posted image

posted image

sideways_s12Jun 7, 2015, 11:54 am · #27

Looks good!

Modulus TwoJun 8, 2015, 11:08 am · #28

Looks great!  I love how low it is. What did you do with its suspension?

burritomannnJun 18, 2015, 1:32 am · #29

Beautiful work on the arches!!