Browse › Builds & Media ›Build projects

SE RezErection!!!

Started by DirtyGaze · Jun 8, 2011 · 76postsSMF 2010–26

DirtyGazeJun 8, 2011, 12:58 am · #1

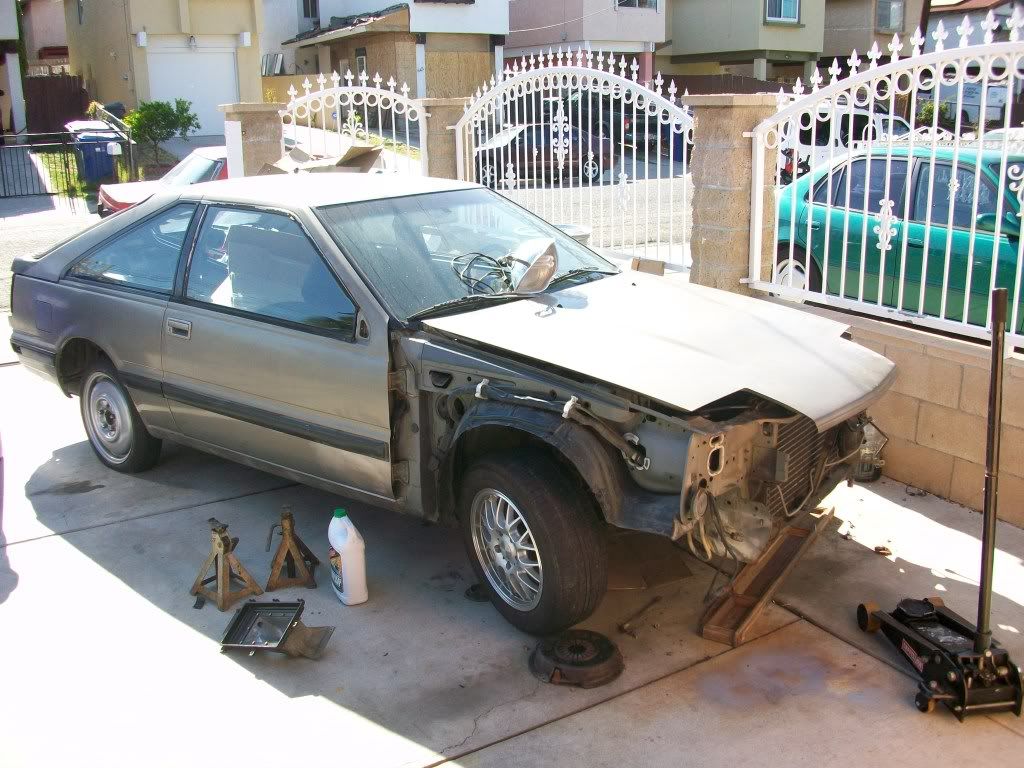
This is my build thread where I will be messing around and causing terror while trying to fix an 87 S12 SE.  I don't technically have the car (yet) but there has still been some work done to it.
posted image
posted image
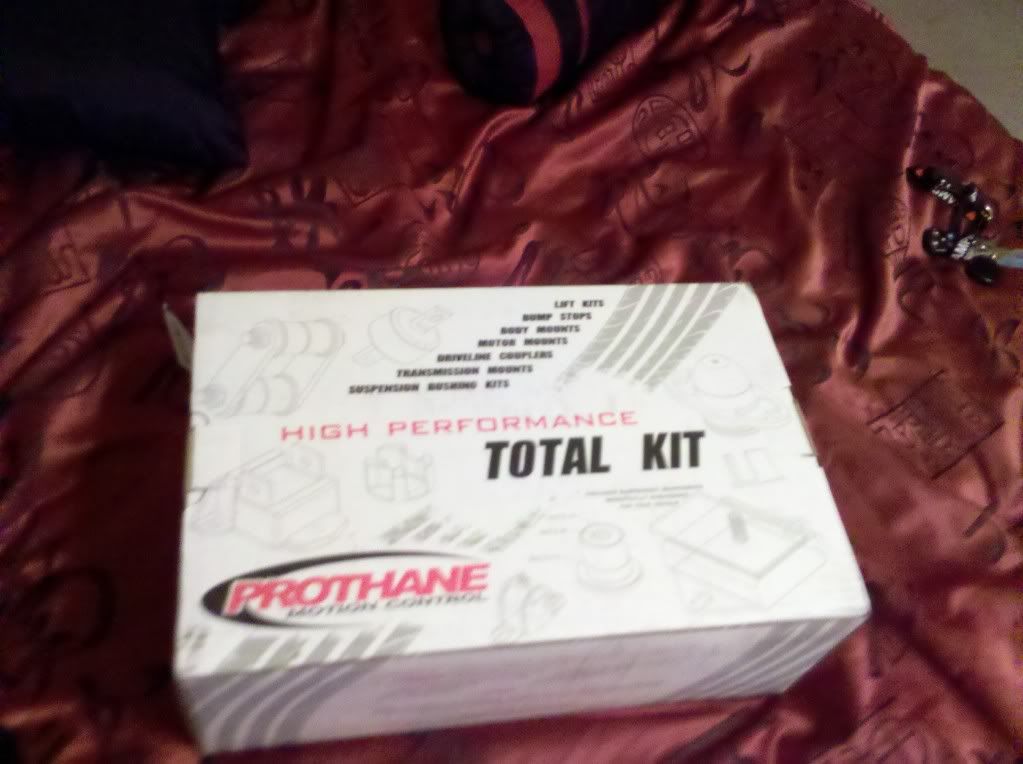
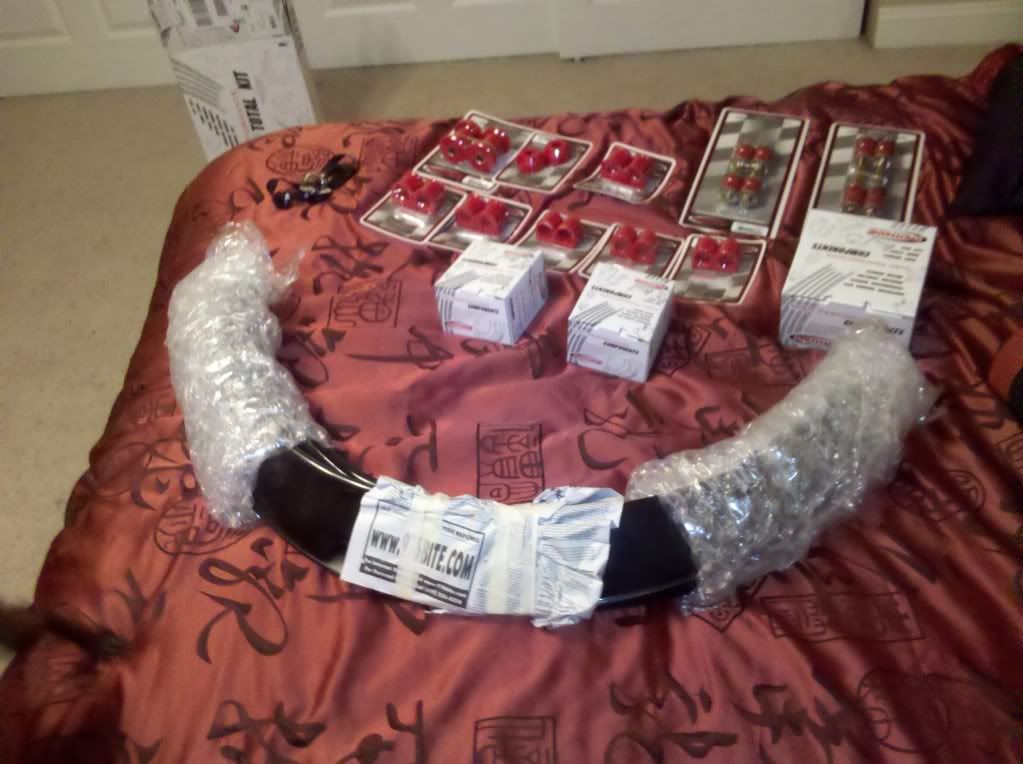
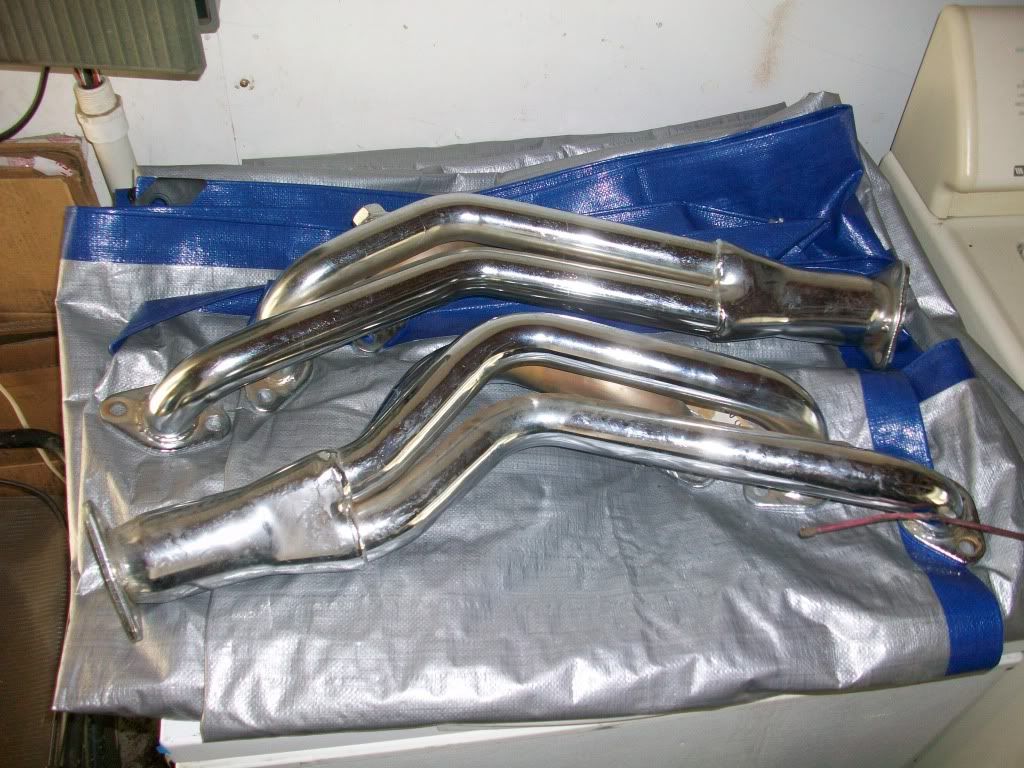
My order from Thezstore.com
posted image
MMR steering rack bushing (passenger side)
posted image
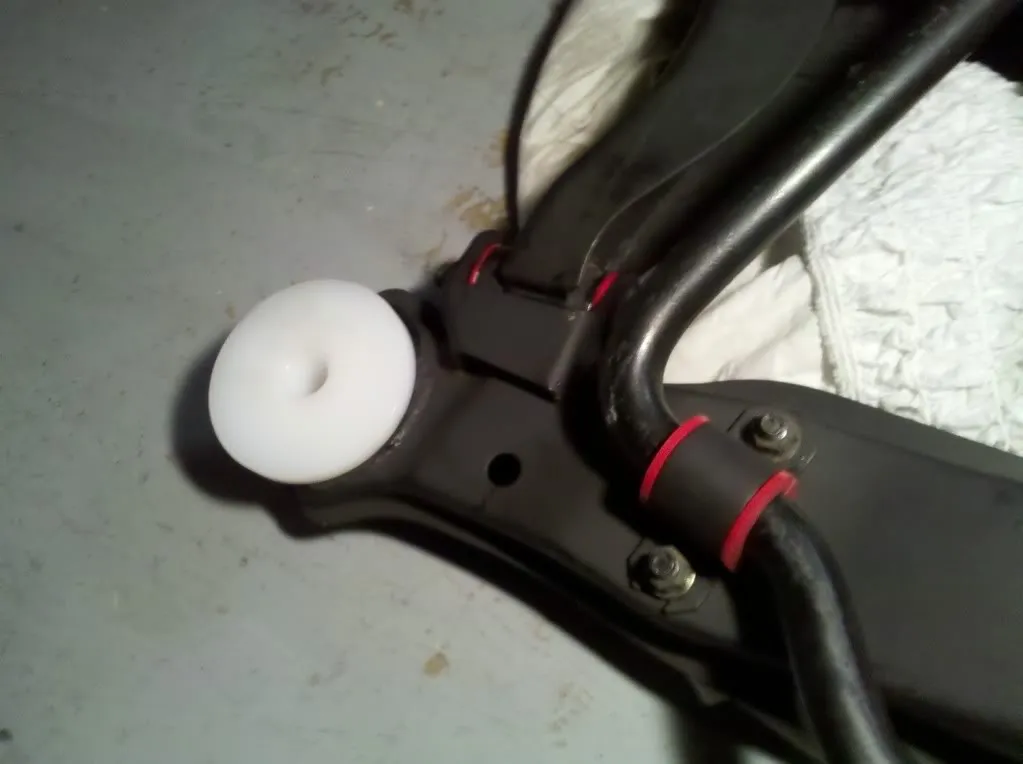
MMR Diff Mount
posted image
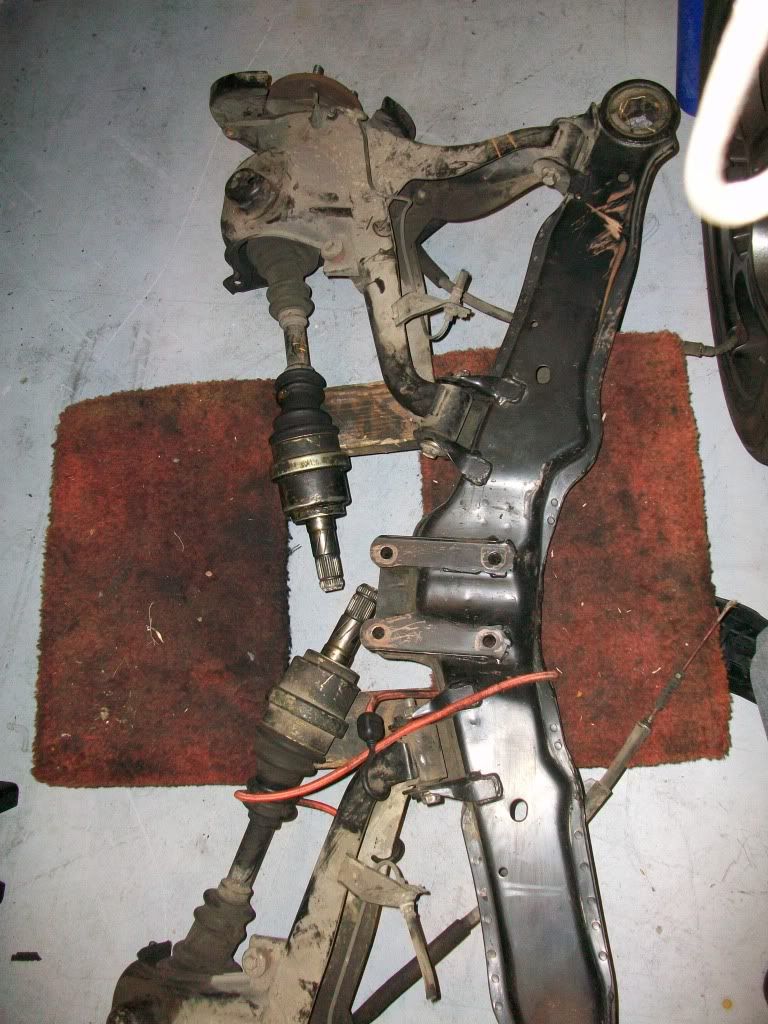
Over at Gustards taking out subframe aluminum bushing (thanks again man!)
posted image
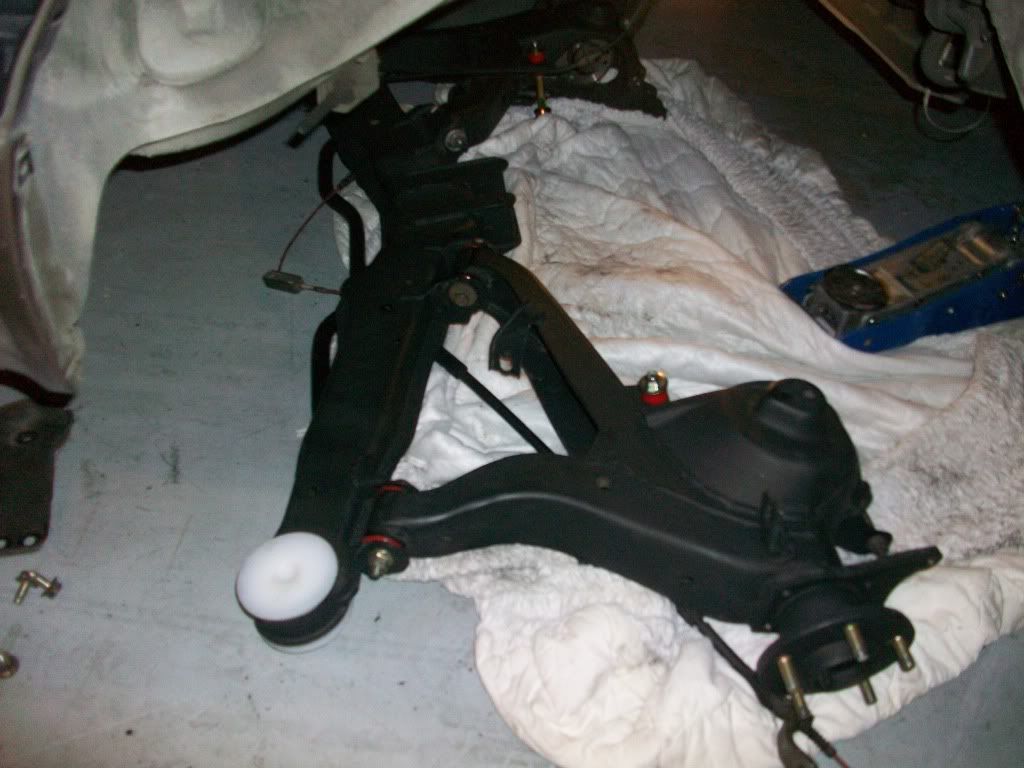
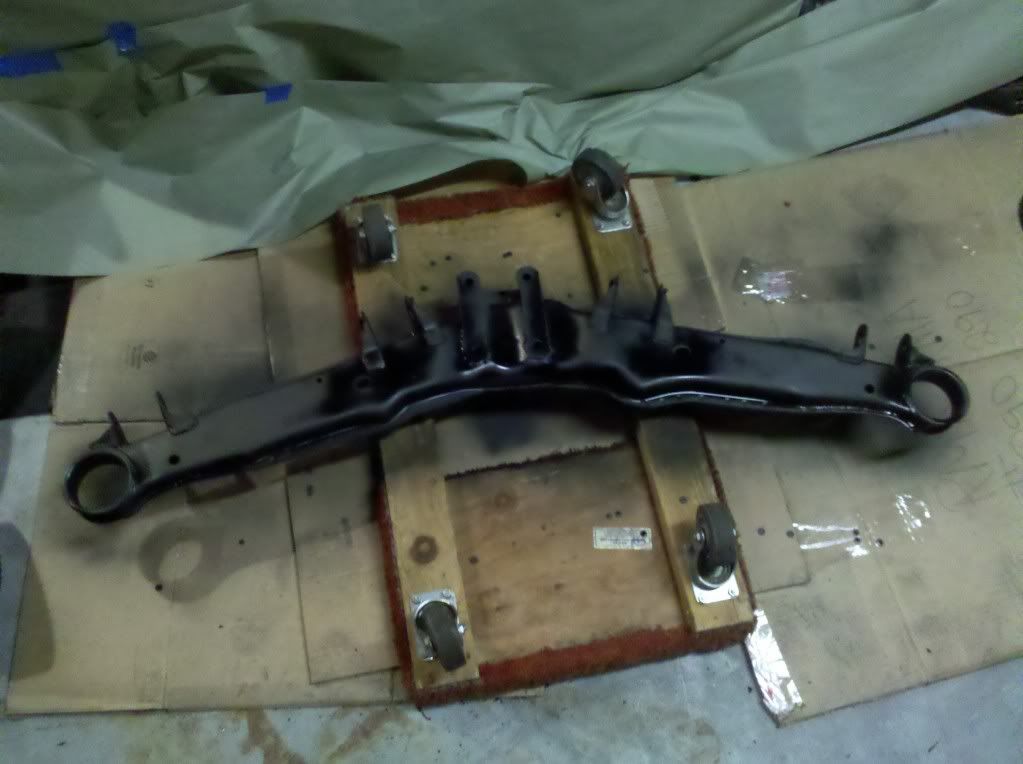
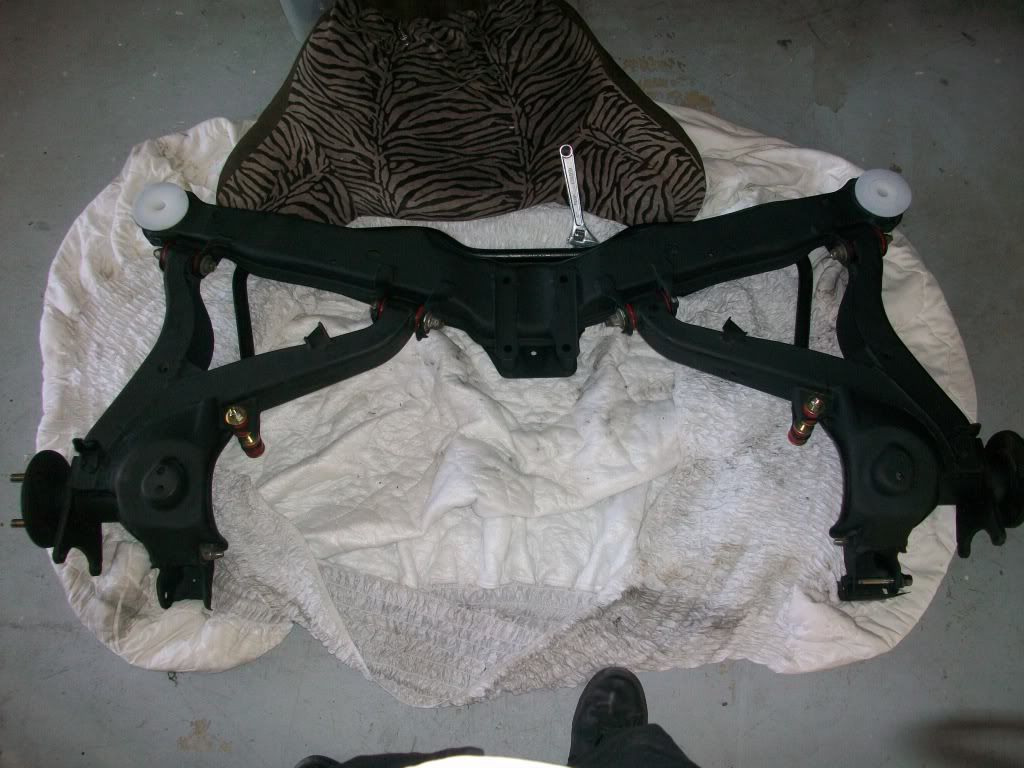
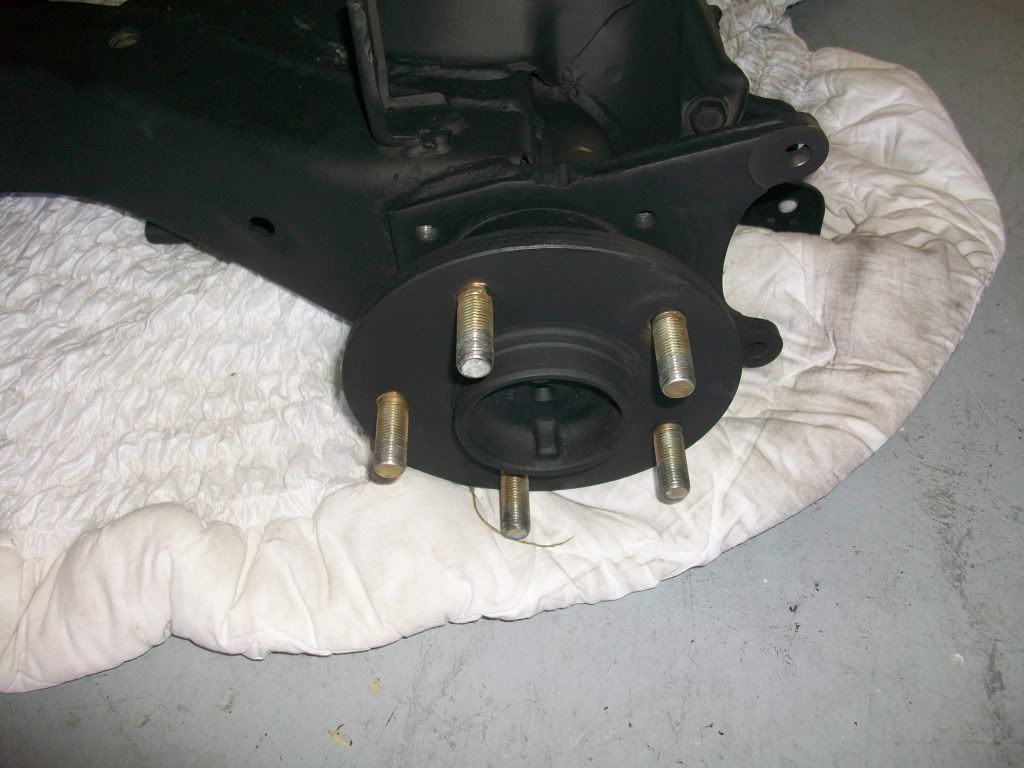
Painted subframe and all perdy
posted image
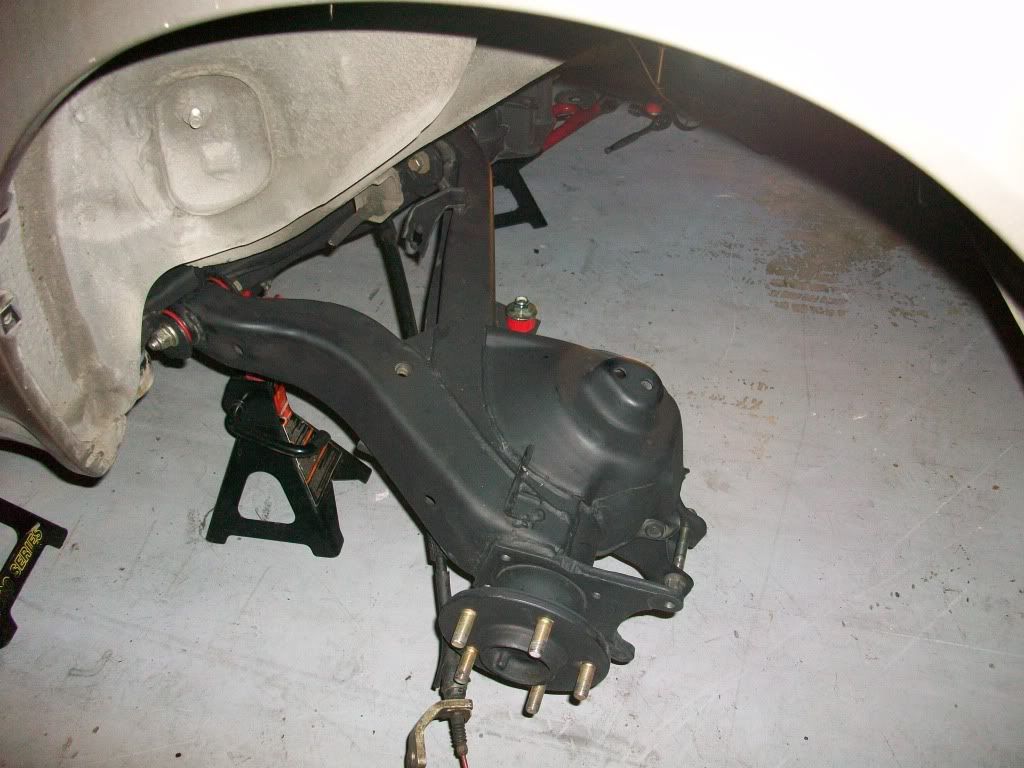
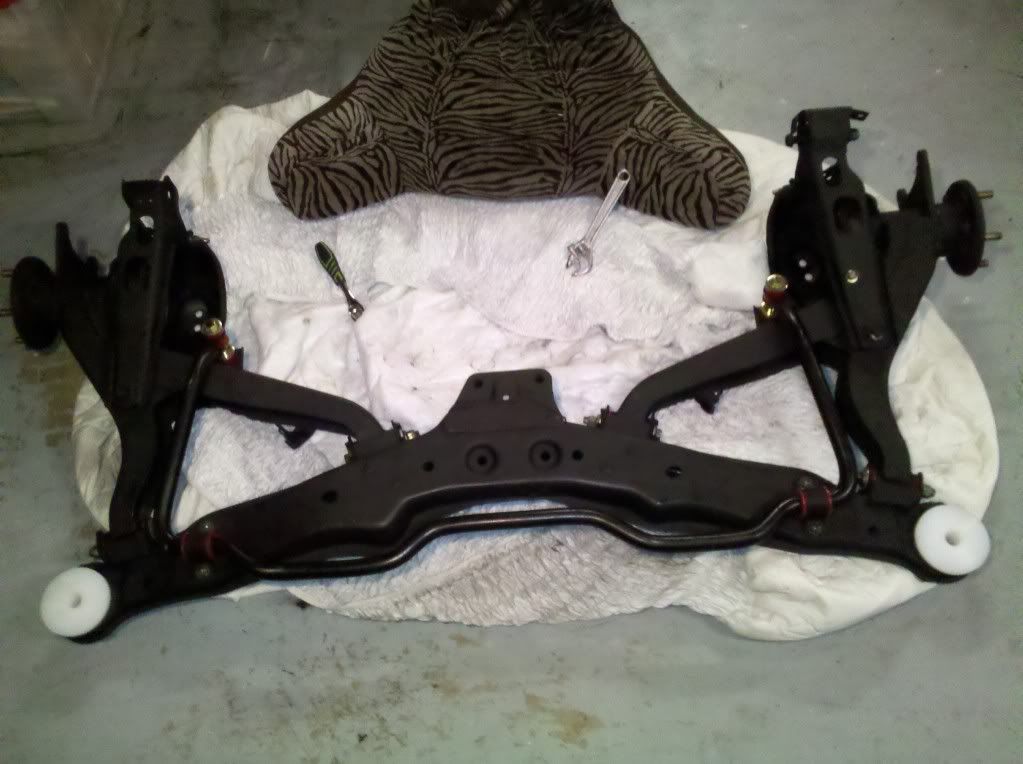
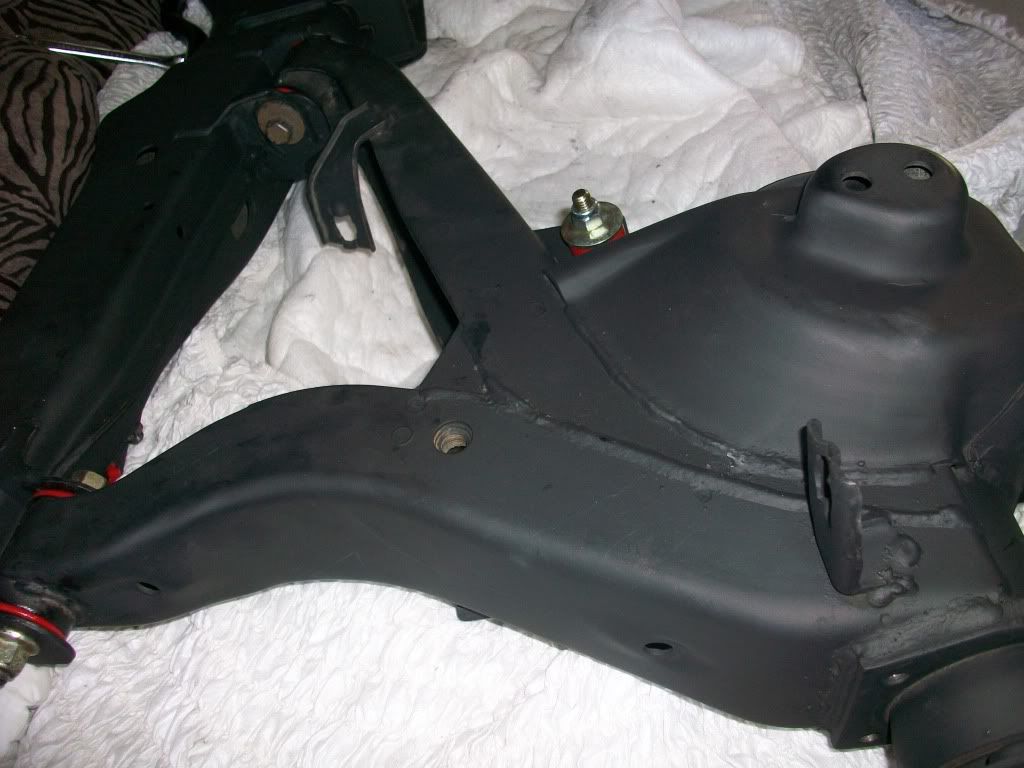
Entire rear end test fitting
posted image
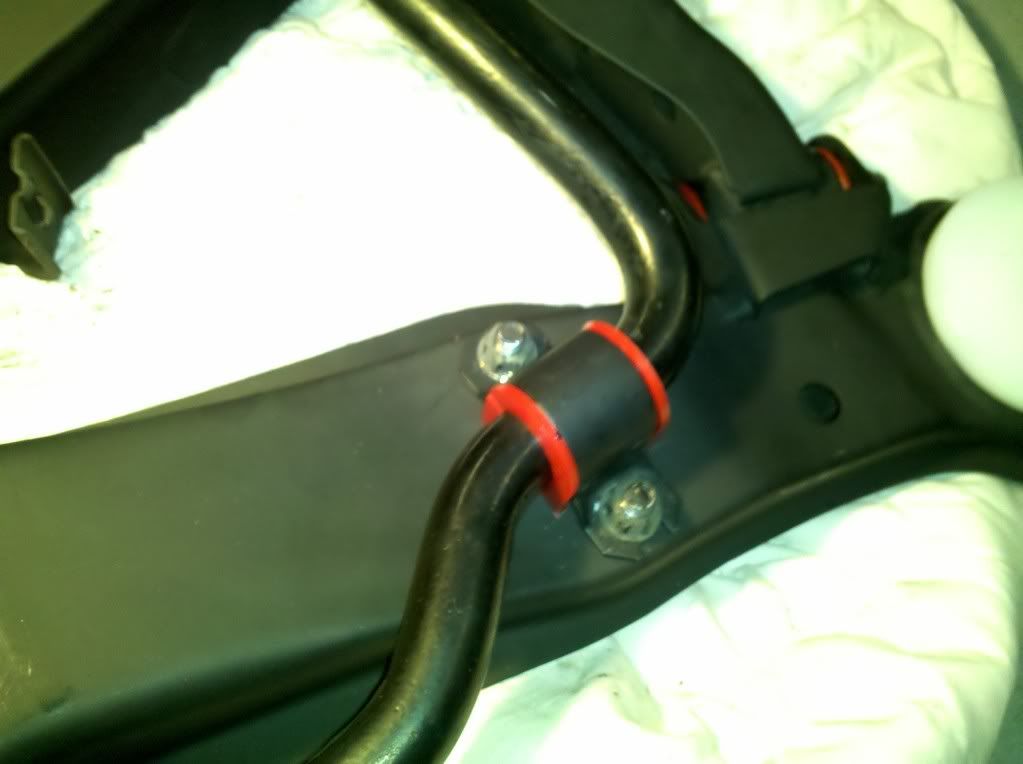
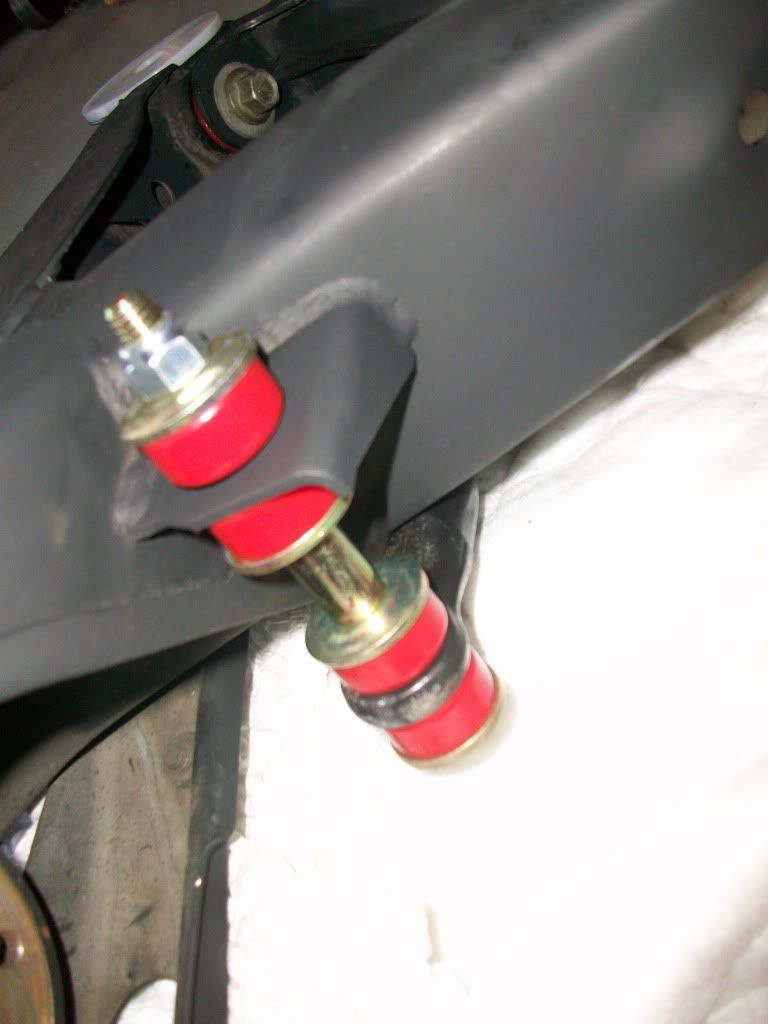
had to grind down the sway bar bushings a little to get them to fit.  Fit like a glove now.
posted image
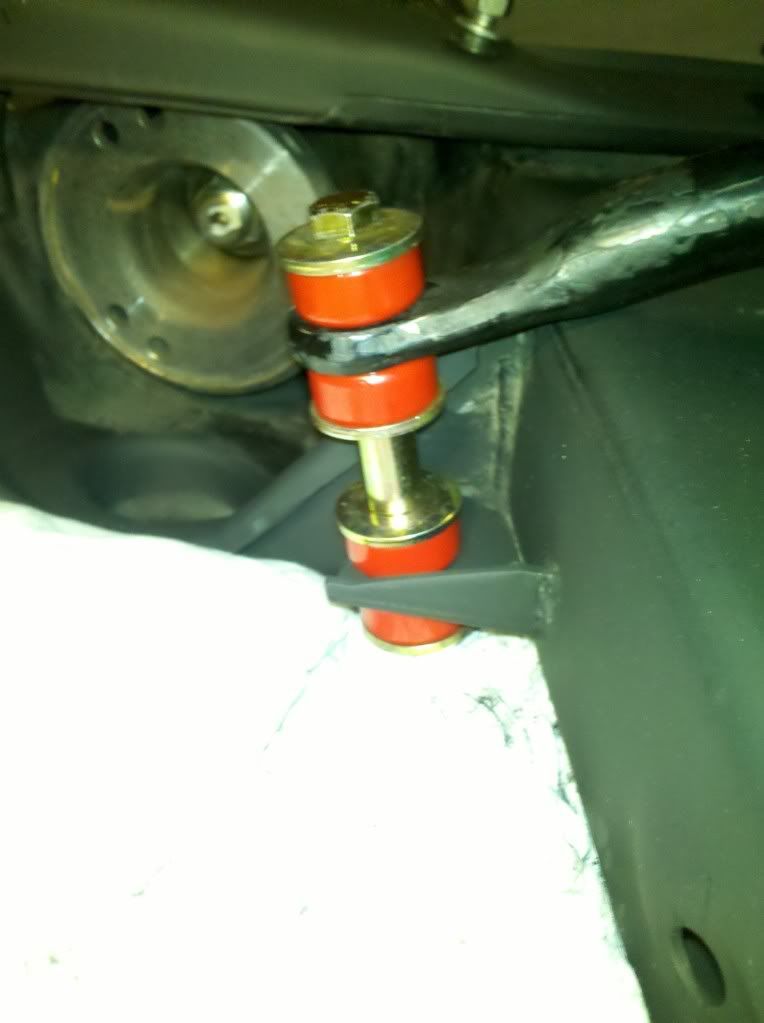
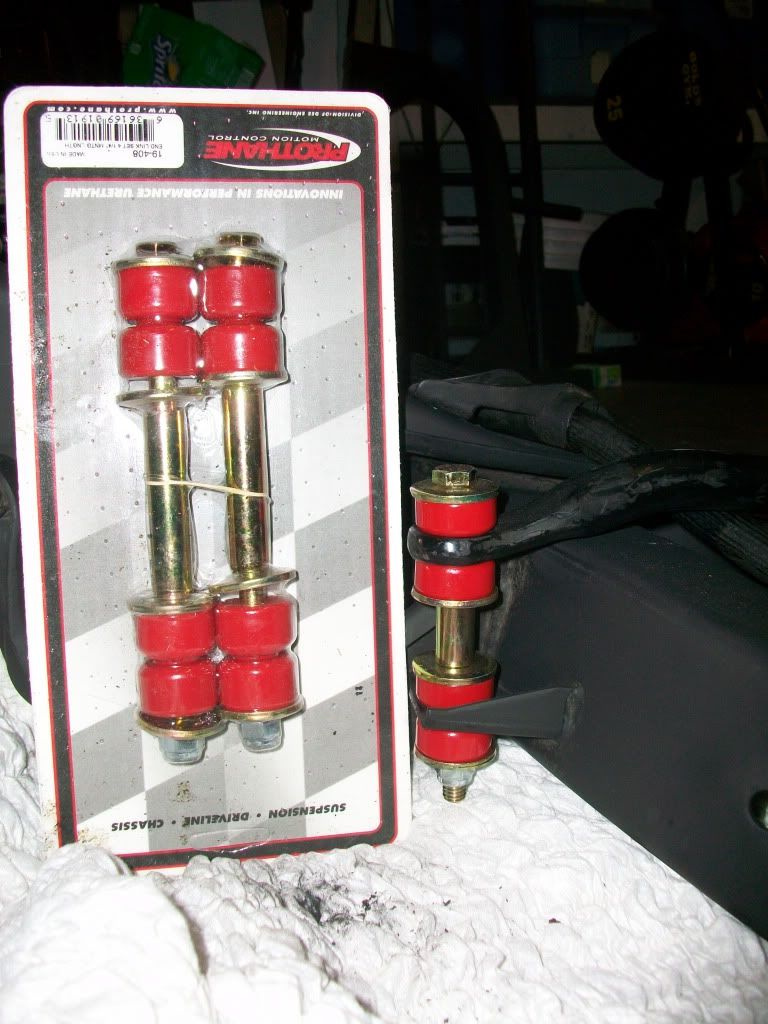
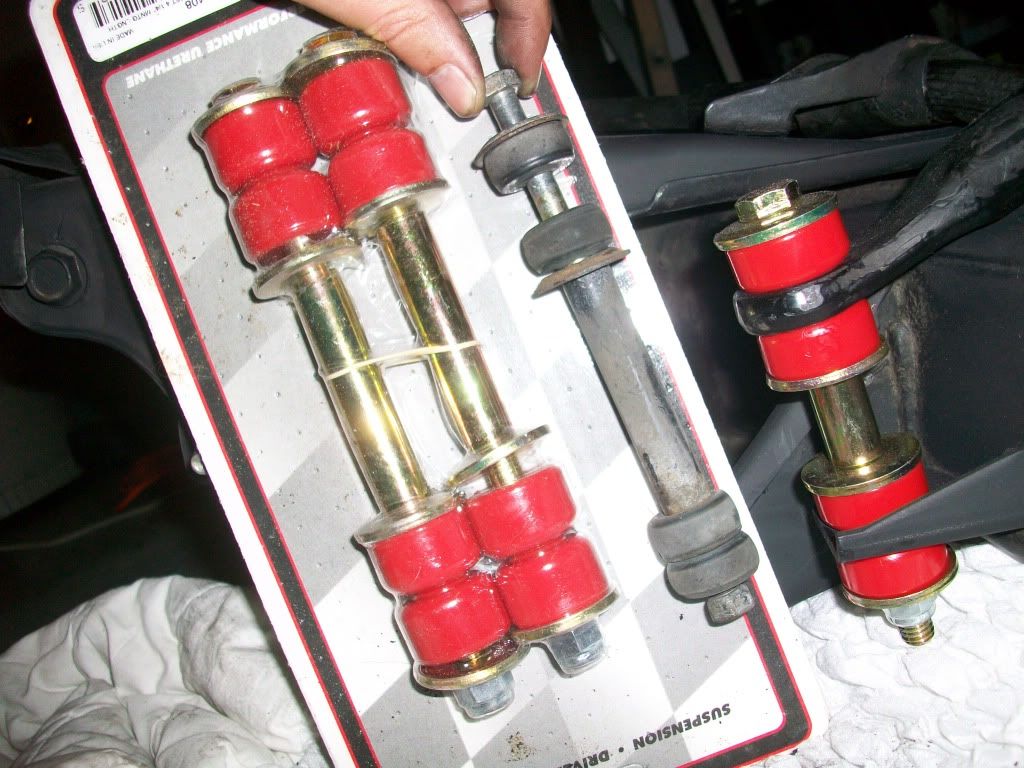
Prothane endlinks
posted image
MMR Subframe bushings pressed in

That's pretty much all Ive done so far.  I have some parts lying around waiting to be played with.
posted image
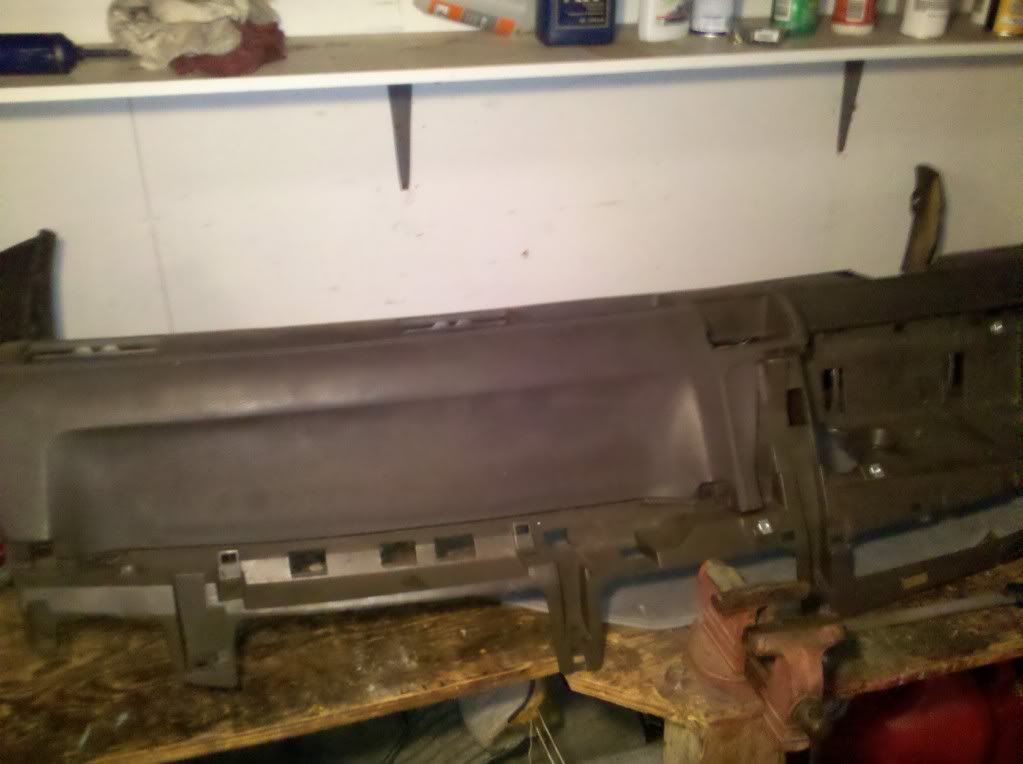
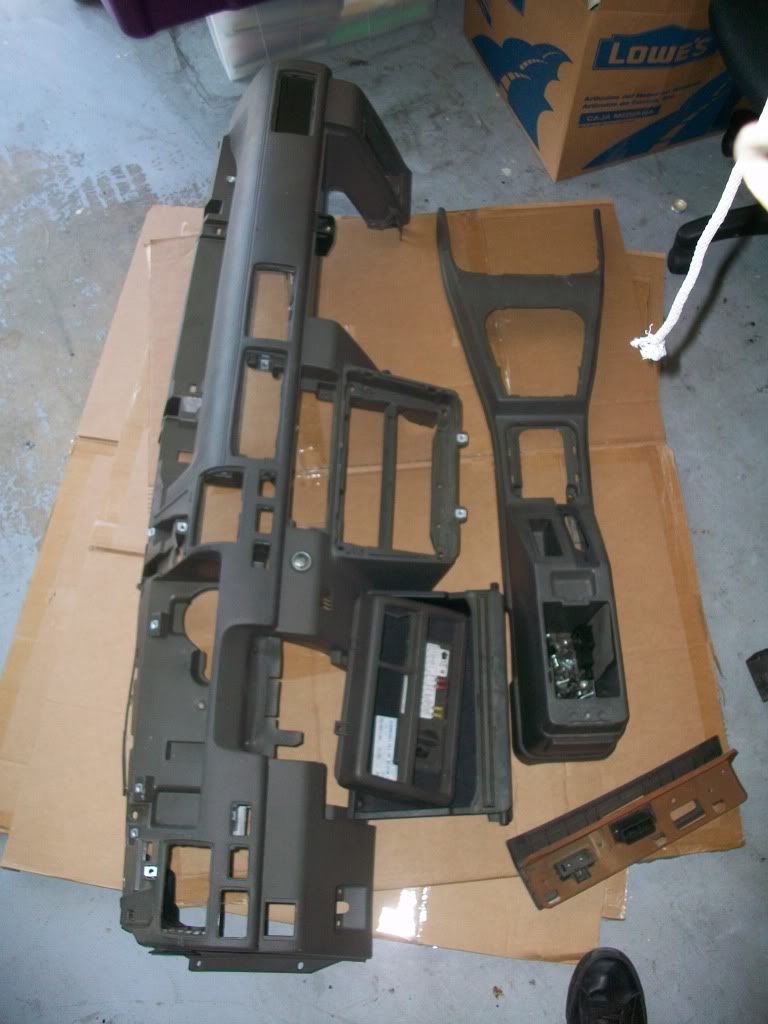
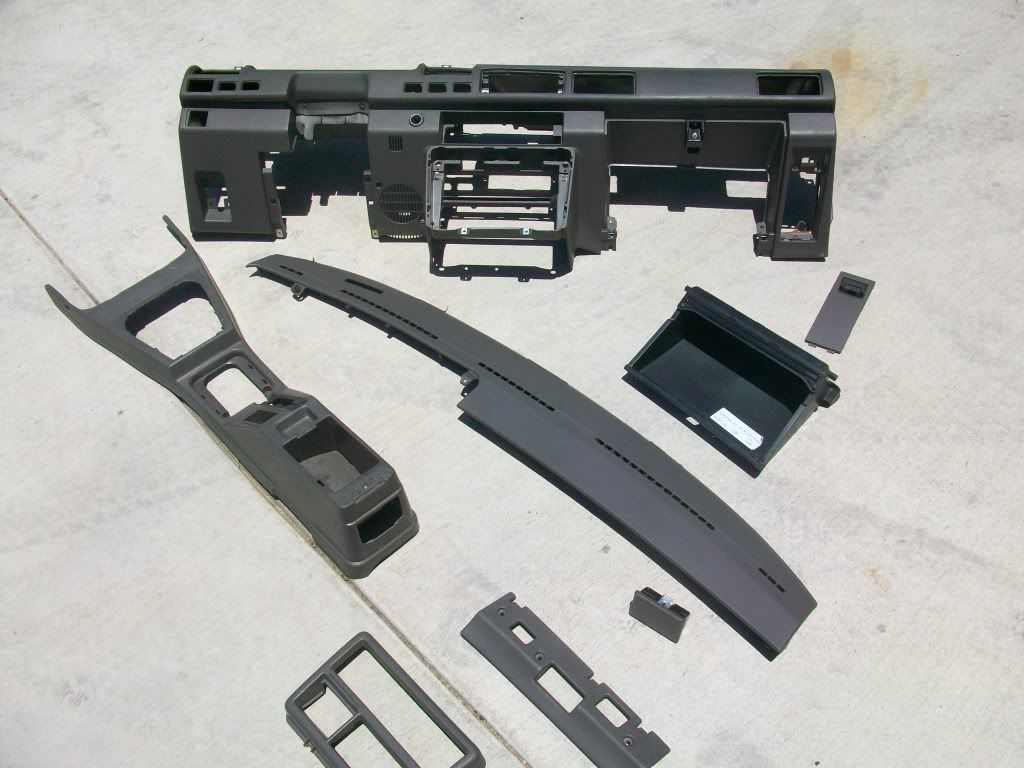
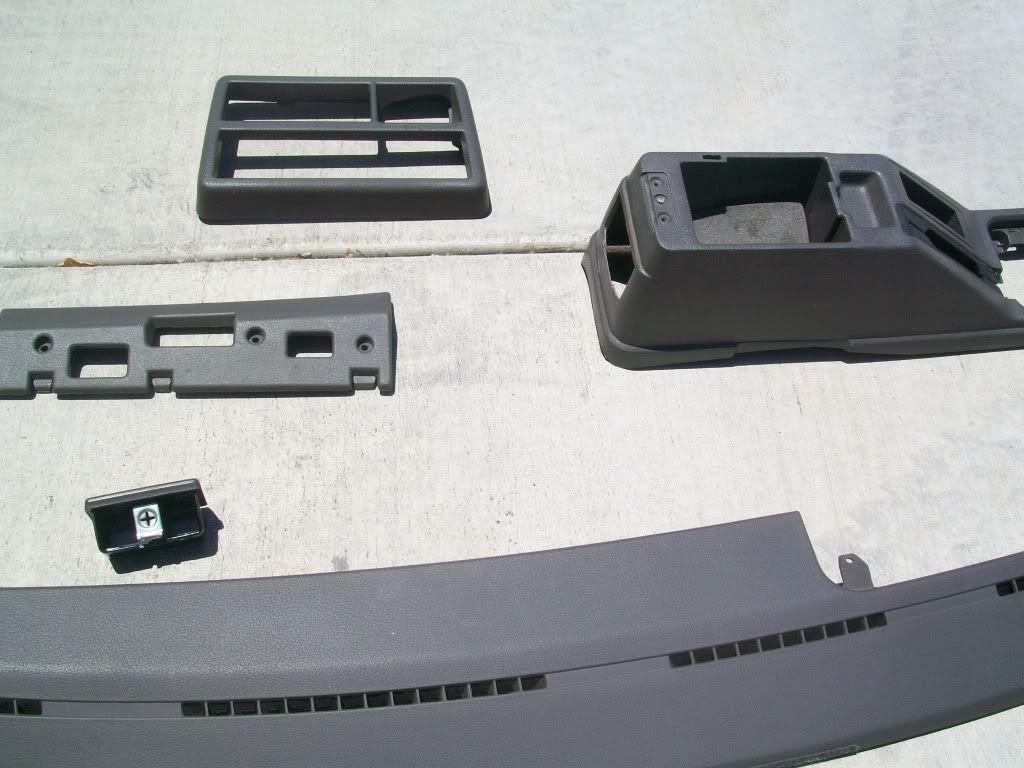
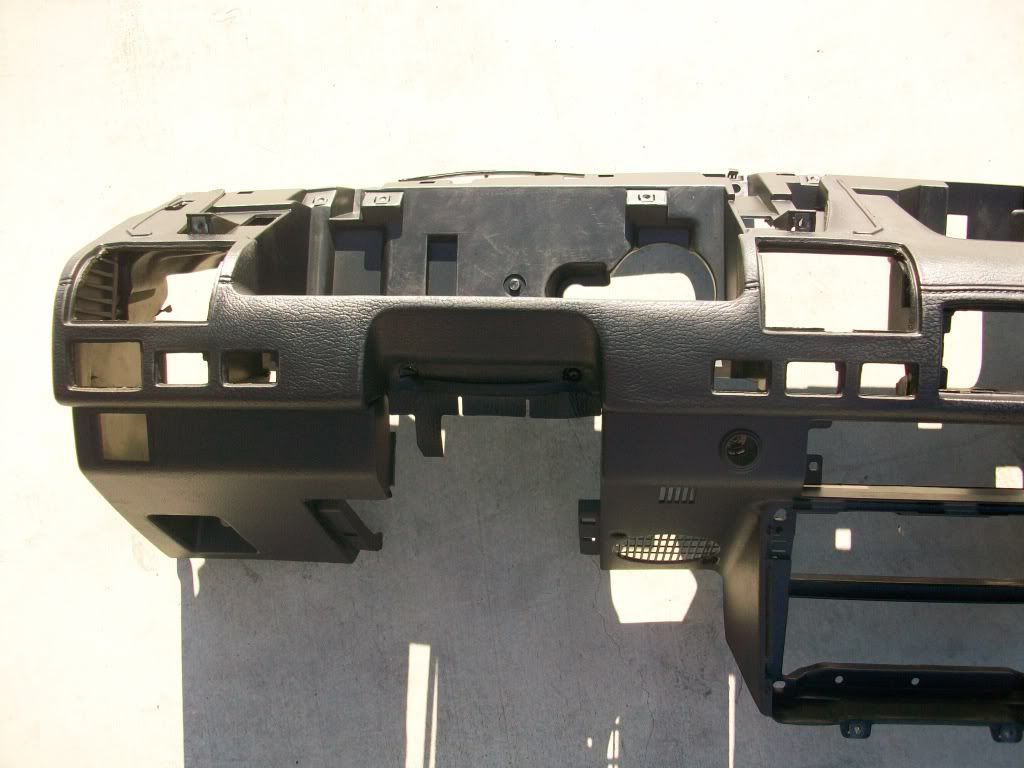
Uncracked dash (MMM!!!)
posted image
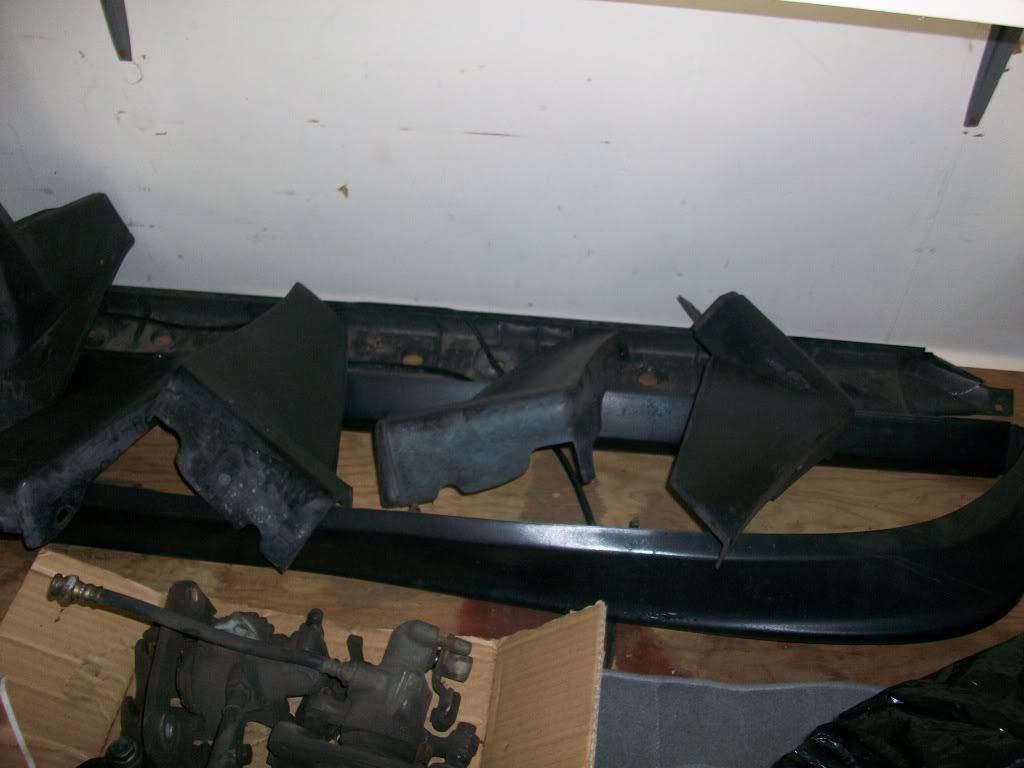
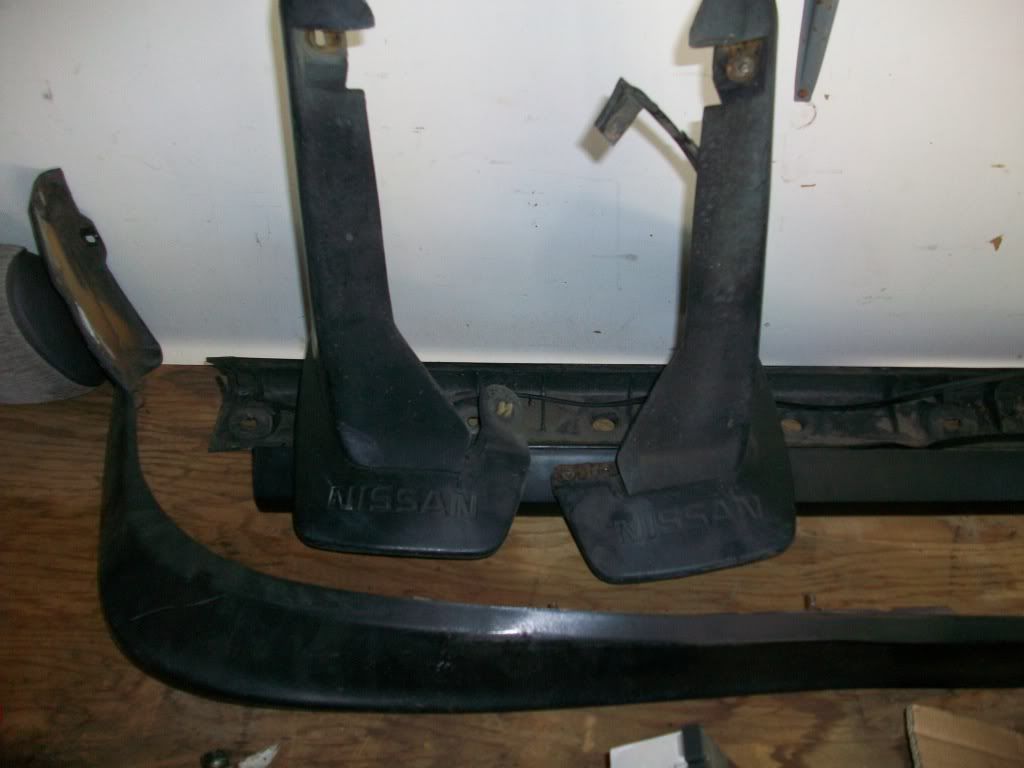
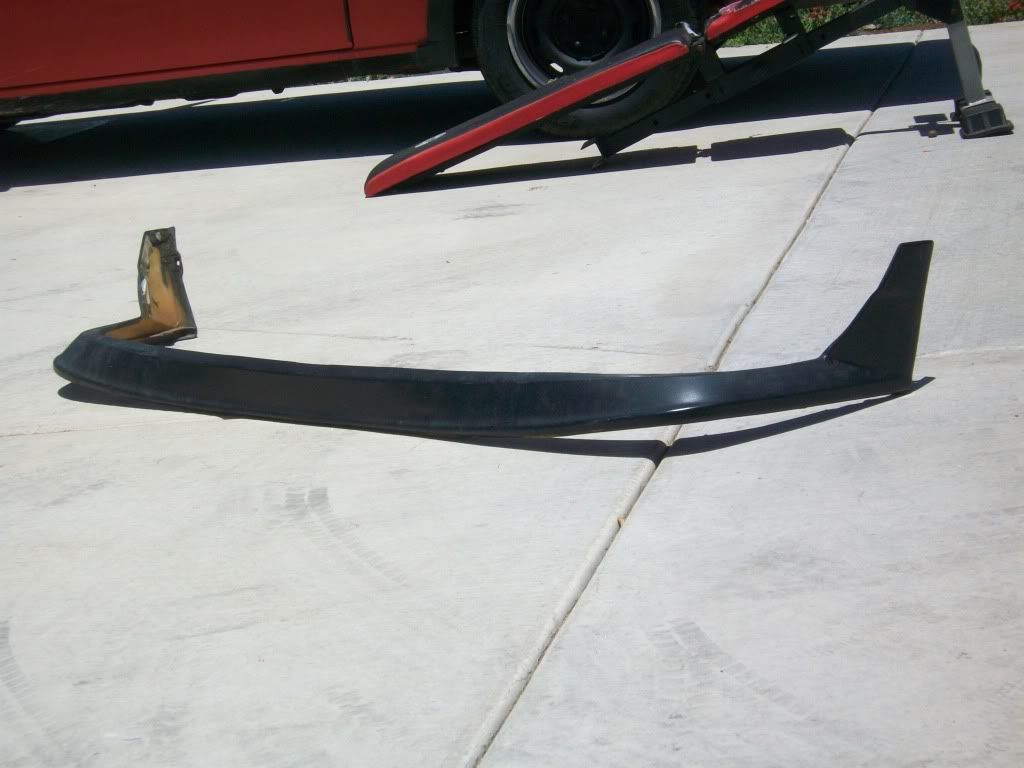
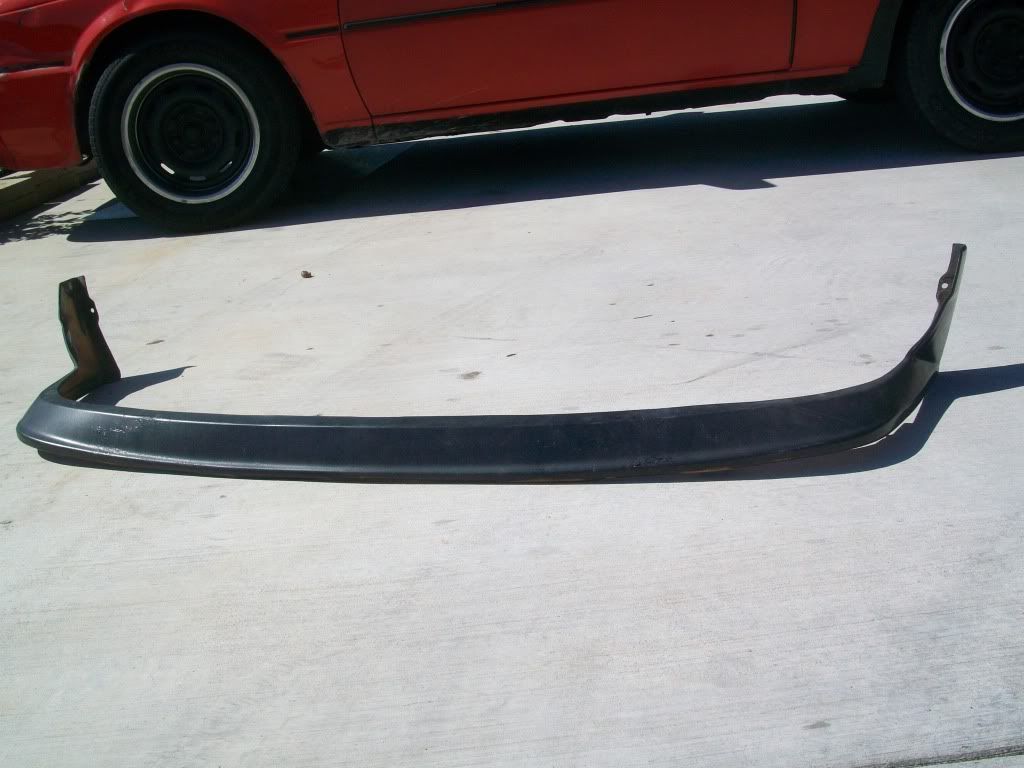
Full SE Lip kit courtesy of Maxpow!!  (this man really can get you anything, hit him up)
posted image
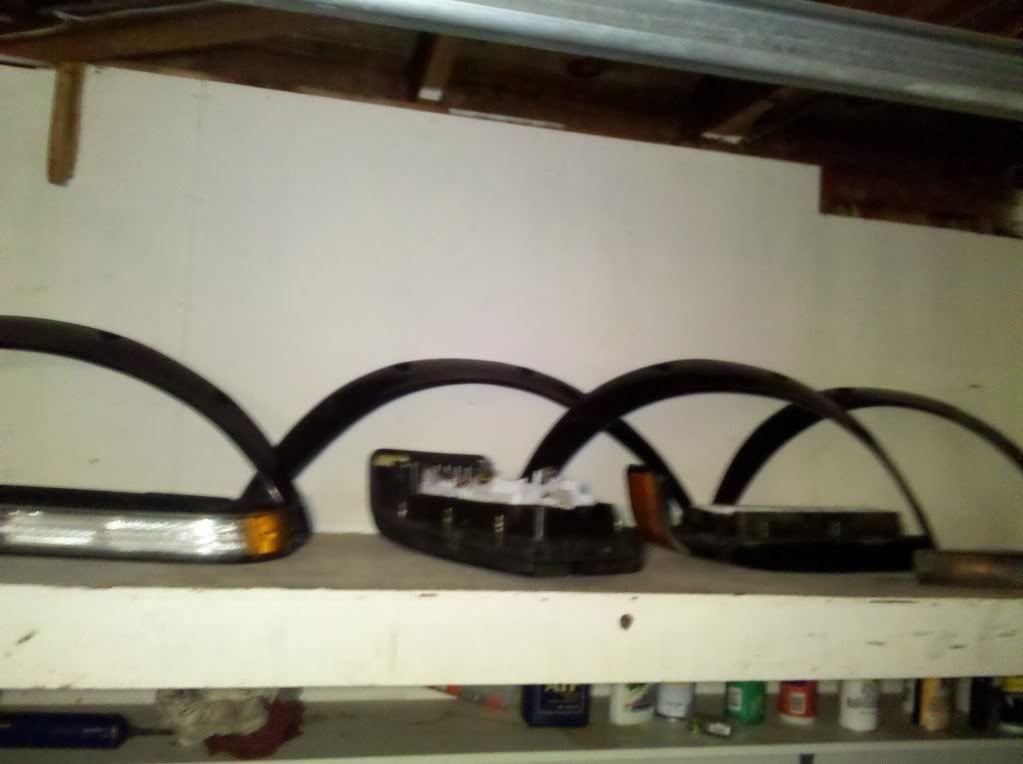
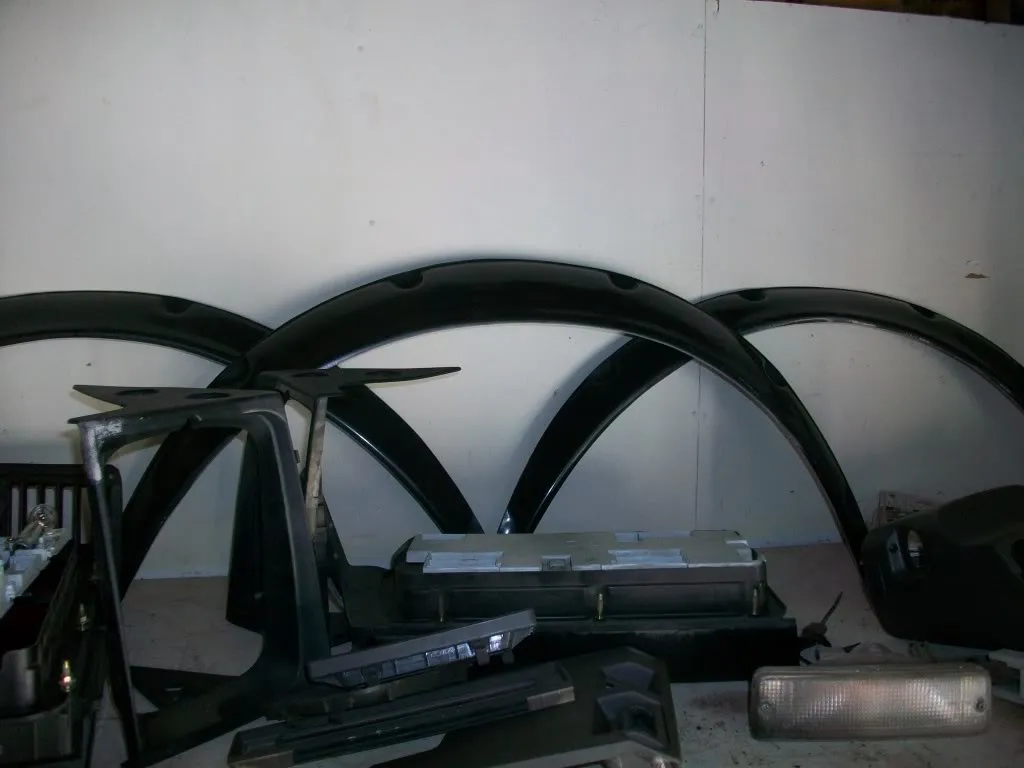
some tail lights and FENDER FLARES!!!

Wolf DilworthJun 8, 2011, 2:08 am · #2

When did you get your MMR stuff.  Did he finally get his shit back in one sack?  A couple of years ago, Mr. MMR was on the forum's shit list for not supplying goods for several folks.

I was lucky, I bought my stuff (sub-frame bushings, Diff mount, swing-arm pivots, LCA pivots) all in one lump from him. The rest was Z stuff from Energy Suspension and the TC Rod kit from EE. 

I installed the sub-frame bushings with the thinner flange "up" to help reduce the camber issue, and recommend the same for you, I can't tell from the fuzzy images.  BTW those OE sleeves are steel and that is why they are such a bear to remove.

Looking good, keep the images flyin.

silvertonJun 8, 2011, 2:51 am · #3

I'm curious about that as well, since about a week ago, I ordered the steering rack bushing... and then decided to search the site for reviews... so I'm hoping!

Good luck with your build!  Looks like you have a solid start already!

IggyEGuanaJun 8, 2011, 3:42 am · #4

try to install the diff bushing upside down (hole down) so it forces the diff closer to the chassis. camber/toe correction. not a lot but every little bit helps.

someone should let MMR know that the hole should be in the middle :/
or if putting it upside down works then shit we can just do that

DirtyGazeJun 8, 2011, 10:43 am · #5

Wolf, I ordered my stuff about a month and a half ago and it got here like 3 weeks ago.  It took longer than expected to get and they have ZERO customer service...but I still got their product and from the looks of it, its great.  Also, I made very sure the thinner part is up top.  Ill get better pics when I fix my D80 (I got pics and a funny story of how I broke it later)

IggyEGuana on 03:42:22 AM / 08-Jun-11
try to install the diff bushing upside down (hole down) so it forces the diff closer to the chassis. camber/toe correction. not a lot but every little bit helps.

For sure, Ill give that a shot once I get up under there.
cls12vg30Jun 8, 2011, 12:45 pm · #6

I have the MMR subframe bushings on my car as well, I got mine five years ago.  (Wow how time flies!)  They did help with rear camber, effectively keeping it the same when I installed the Canuck springs.


Post Merge: 12:45:20 PM / 08-Jun-11

Wolf DilworthJun 8, 2011, 3:43 pm · #7

^^ yeah I ordered mine back in early '08 and I was very pleased with the turn around as well as the quality of the parts.  Pretty basic stuff since all of it can be done a small manual lathe.

I mounted the diff mount, hole down, for sure.  I am happy with the camber, it is right at 2.0 neg. just on the edge of tire wear issues.  The whole set-up works fine with my Canuck springs.

MaxpowJun 12, 2011, 2:48 pm · #8

I need a diff mount, I have everything else. I feel like he's gonna rape me if I just order one thing.

CamInHeadJun 12, 2011, 3:37 pm · #9

Me too. He quoted hella cheap for shipping but I'm kinda weary.....

Wolf DilworthJun 13, 2011, 9:41 pm · #10

Why would he rape you for one part?  Does he not list the prices still?  I do not remember what I paid for mine, but it was cheap.  Does MMR have a website running?

DirtyGazeJun 14, 2011, 2:03 pm · #11
Wolf Dilworth on 09:41:14 PM / 13-Jun-11
Does MMR have a website running?
http://mmr-direct.com/

Update - tried to get the car yesterday but somewhat failed...miserably.  All was not wasted though, I got more parts, borrowed my girls camera (better pics coming tonight) and ordered up some fun stuff.  EVERYONE SAY A PRAYER!!  Should have car successfully installed in my garage Wednesday.

posted image

Should also have pics and hilarious story of how I broke a 2k dollar camera I was using for this build thread  :yay!:

Post Merge: 08:39:15 PM / 14-Jun-11

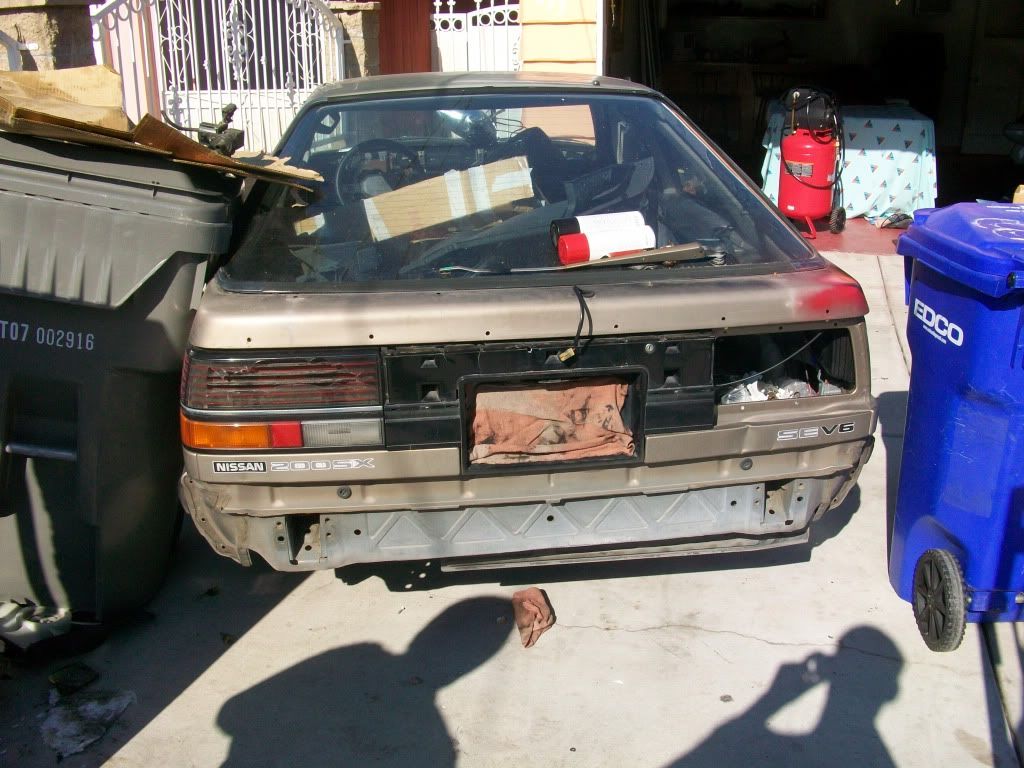
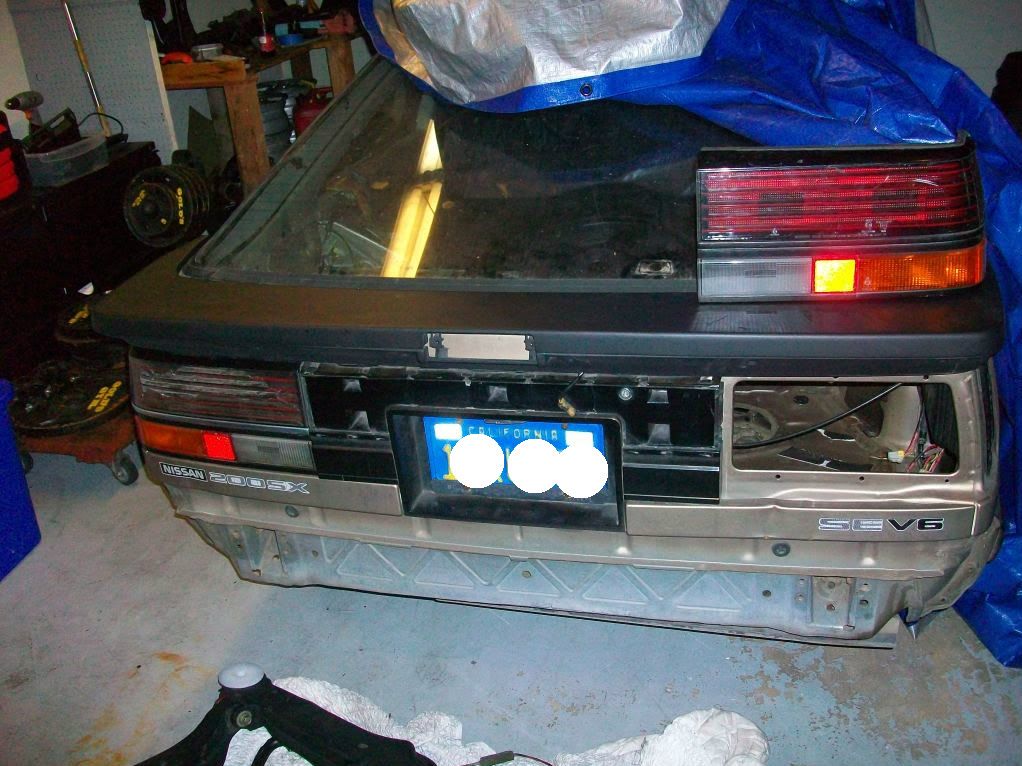
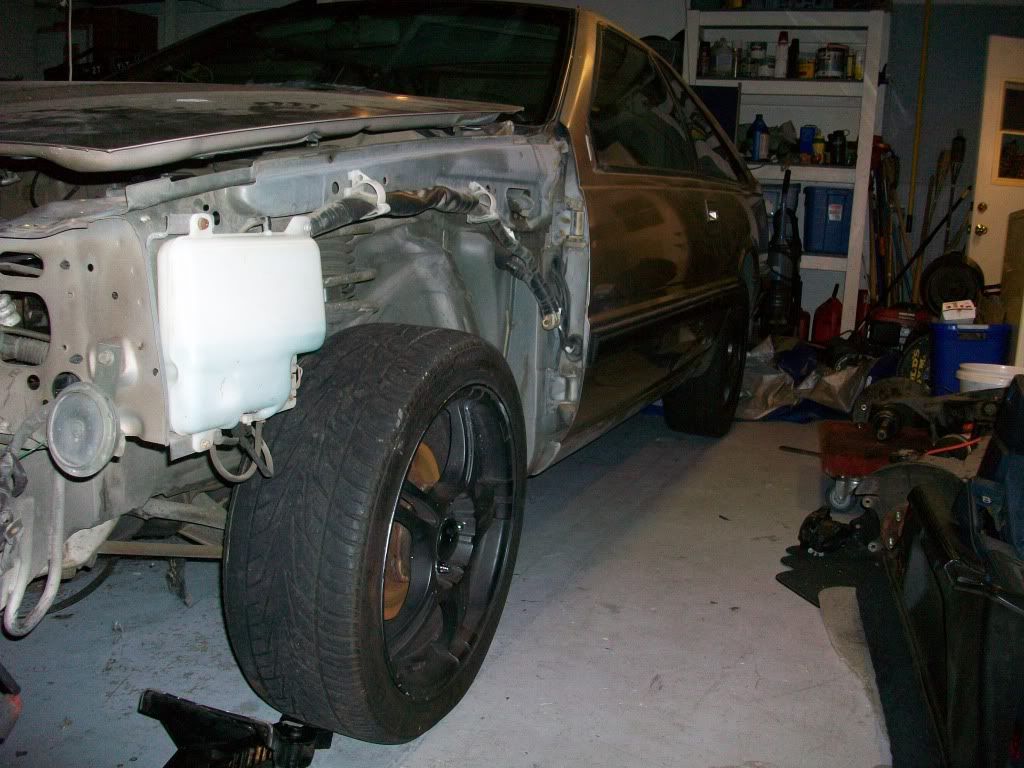
Alright, this is how she sits currently.  BTW, yes Im to lazy to move any of this stuff yet to get better pics.
posted image
posted image
Doesnt get me all tingly inside yet, but shes straight, clean, super well maintained, and rust free.
posted image
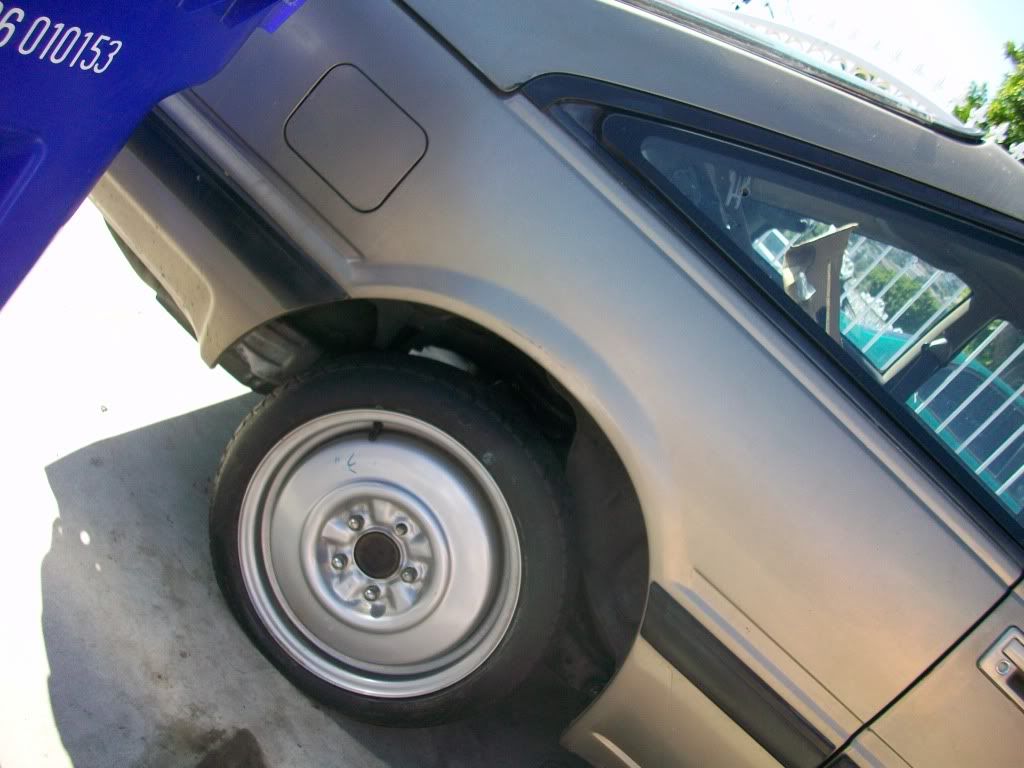
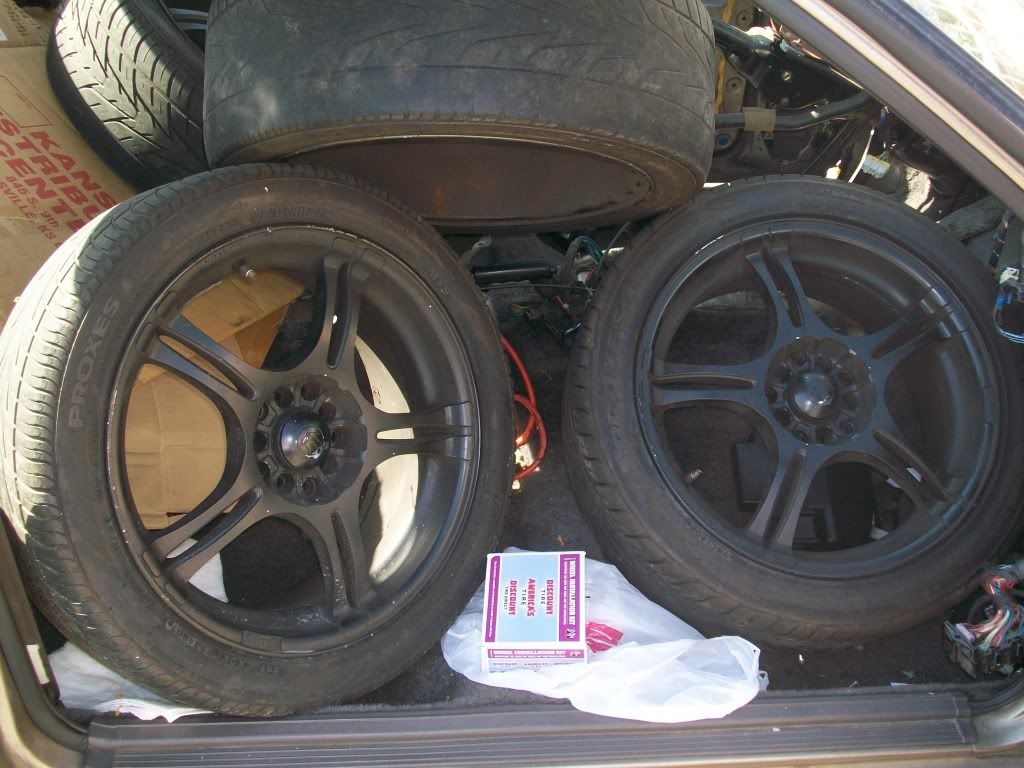
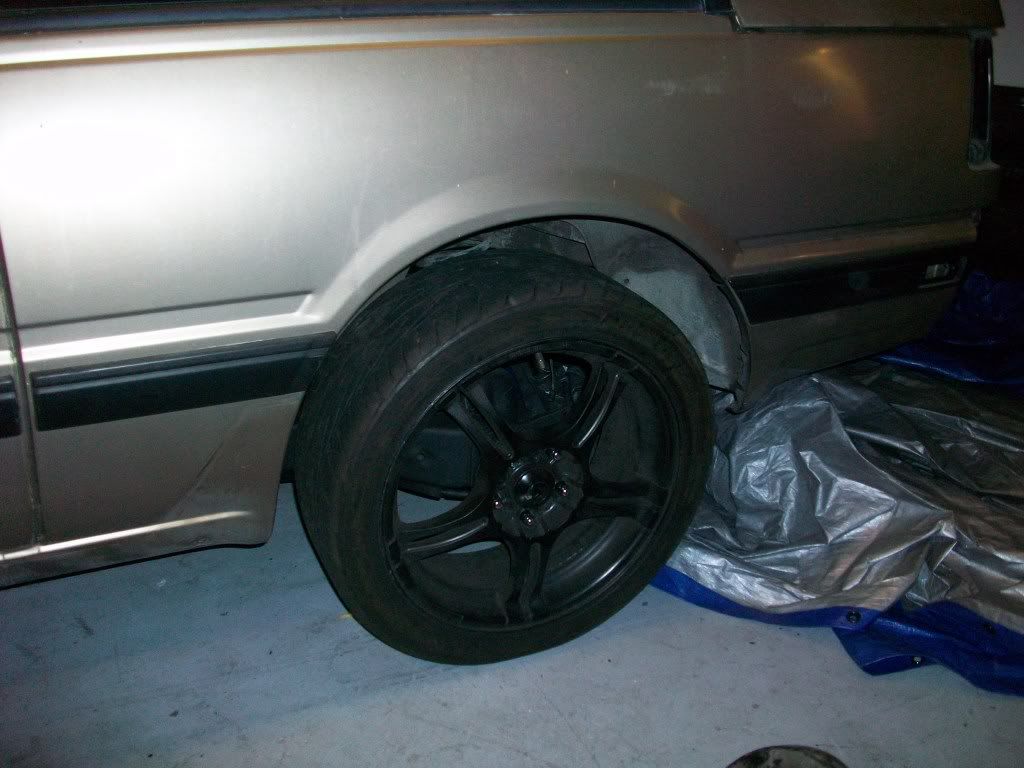
  Looks like hell with 2 donuts on in the back though, lol. Its cool though, wont stay like that for long cuz these babies are going on IMMEDIATELY!
posted image

Failed trip, but I did get to bring back some goodies.
All the Interior that I plan on putting back in after some TLC.
posted image
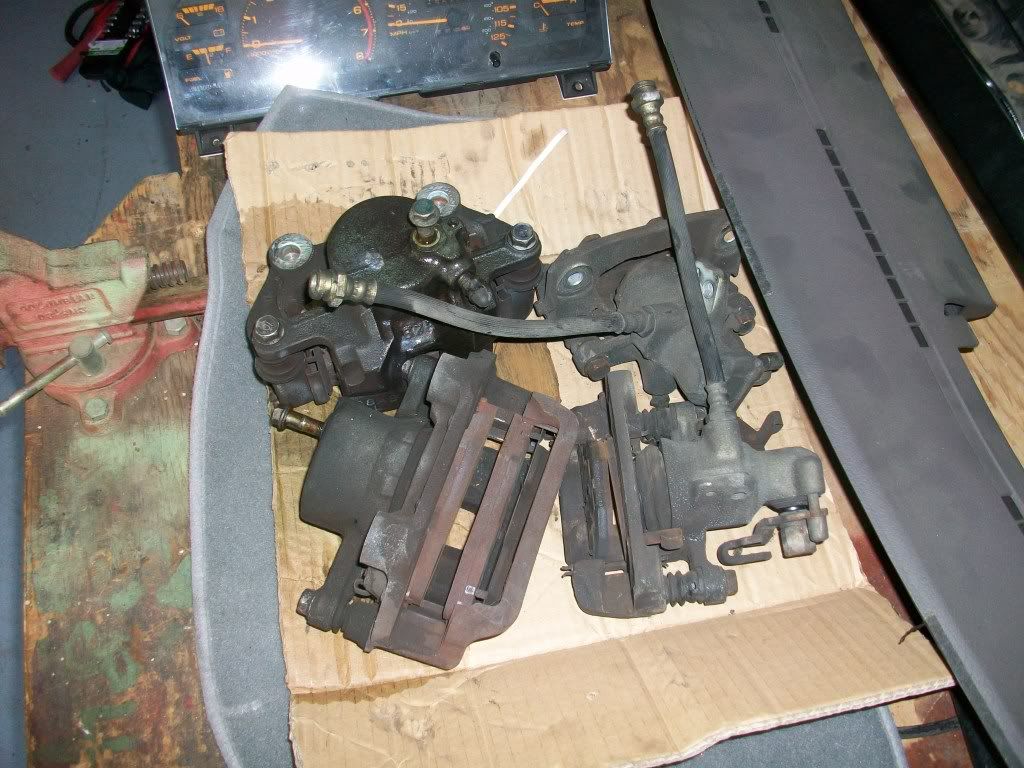
SE Calipers
posted image
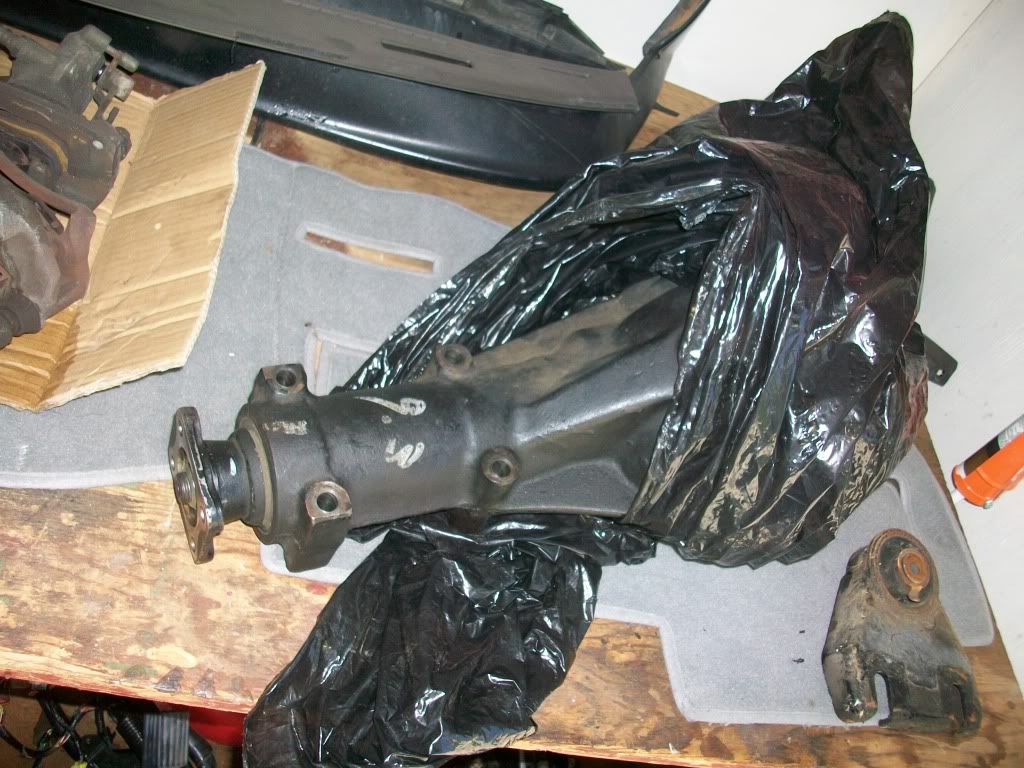
Already welded R200 Longnose
posted image

And some better res photos of things youve already seen!
posted image
posted image
posted image
posted image
posted image
posted image
posted image
FULL SE KIT!!
posted image
W/
posted image
not for sale

These arent mine, but they sure look good in my garage!
posted image
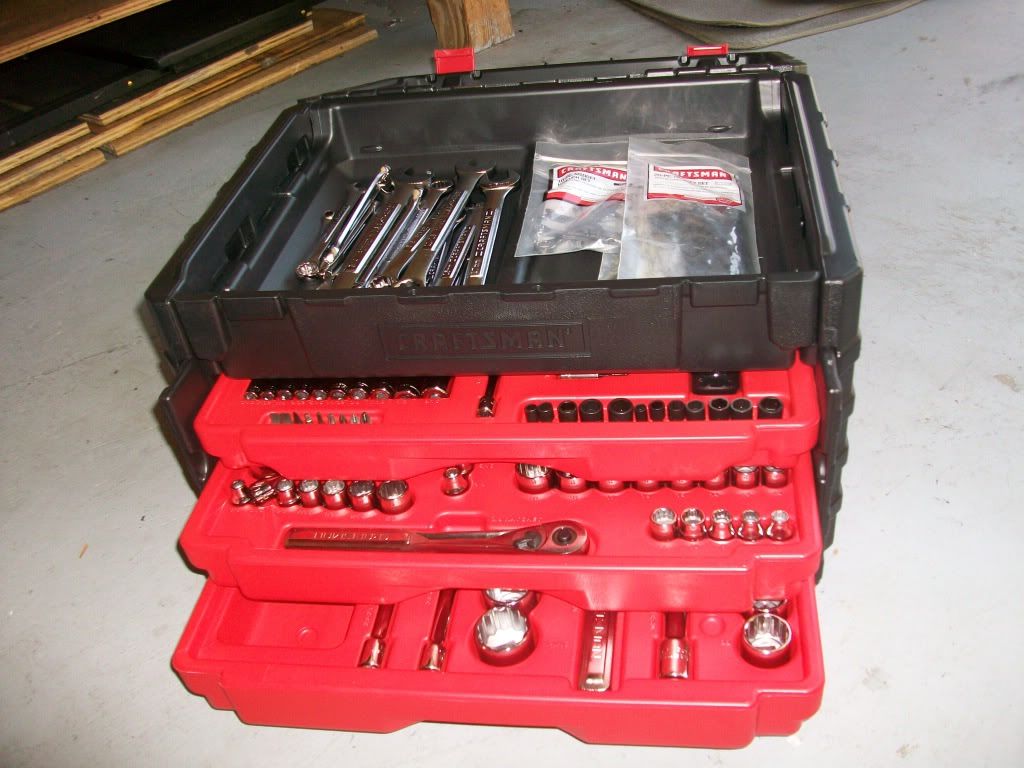
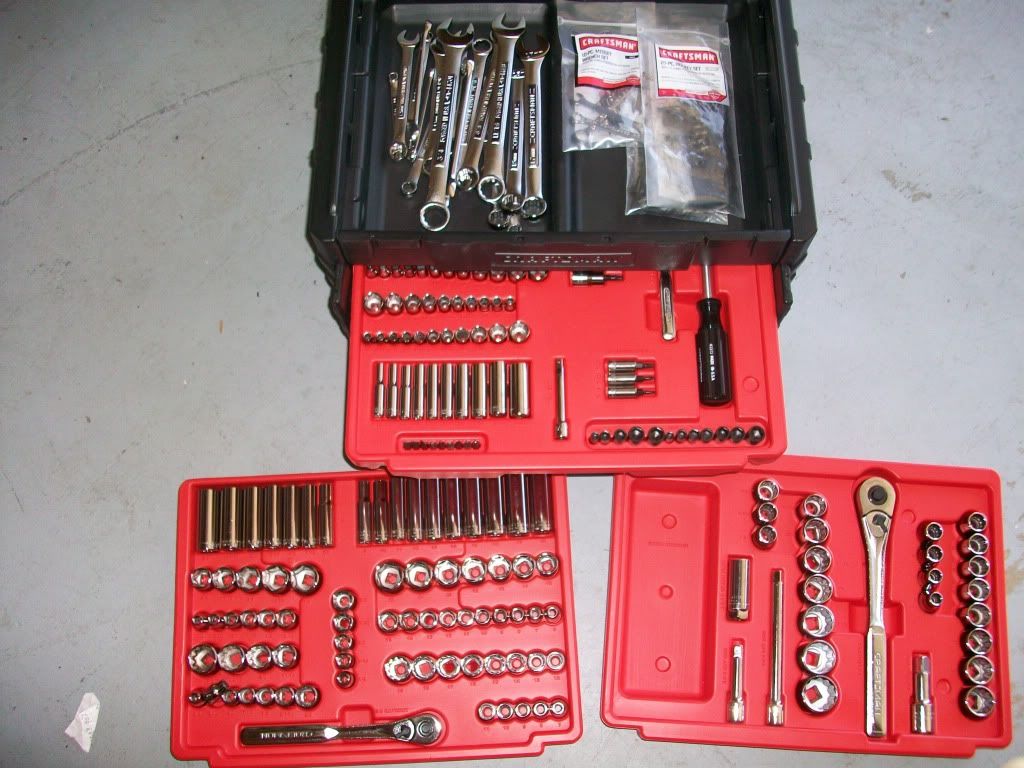
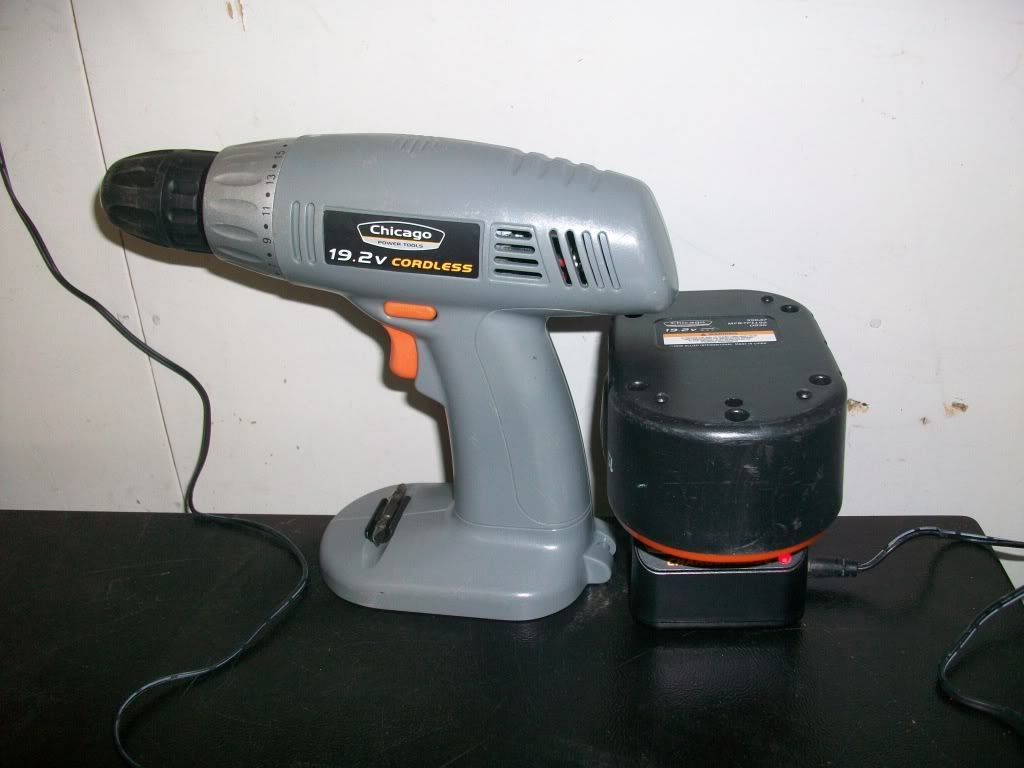
and new tools I bought on sale Fathers Day Weekend
posted image
posted image

IggyEGuanaJun 15, 2011, 2:12 am · #12

sweet

tools ftw

Wolf DilworthJun 15, 2011, 11:15 am · #13
DirtyGaze on 02:03:48 PM / 14-Jun-11
http://mmr-direct.com/

Yeah, his prices have gone up a little, still not bad...
DirtyGazeJun 15, 2011, 11:26 am · #14

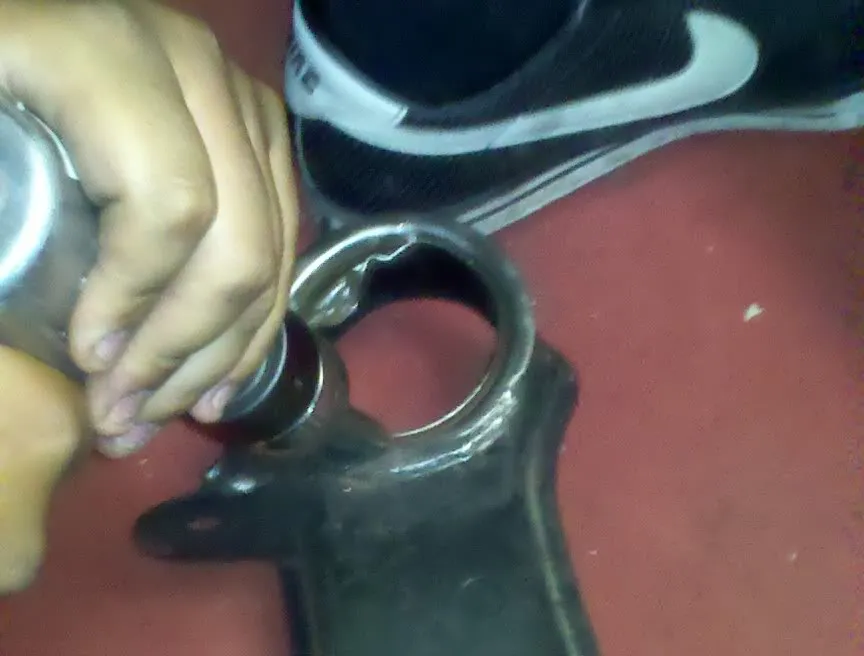
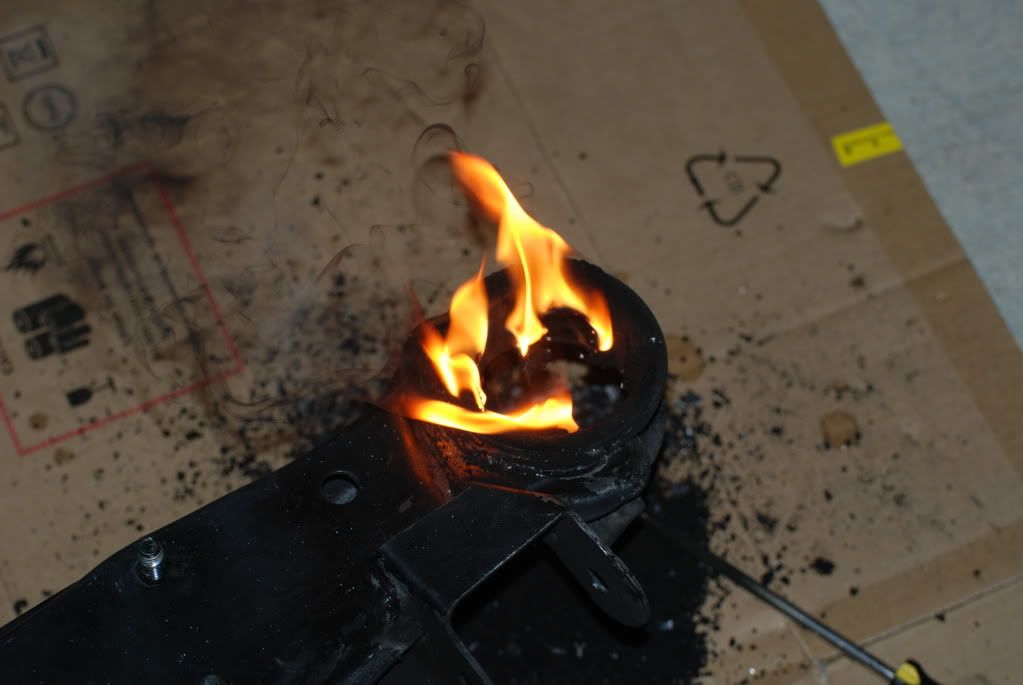
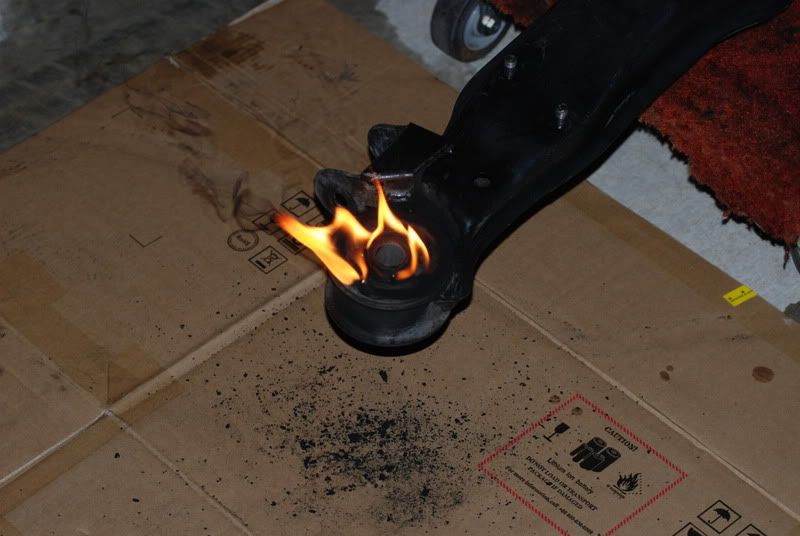
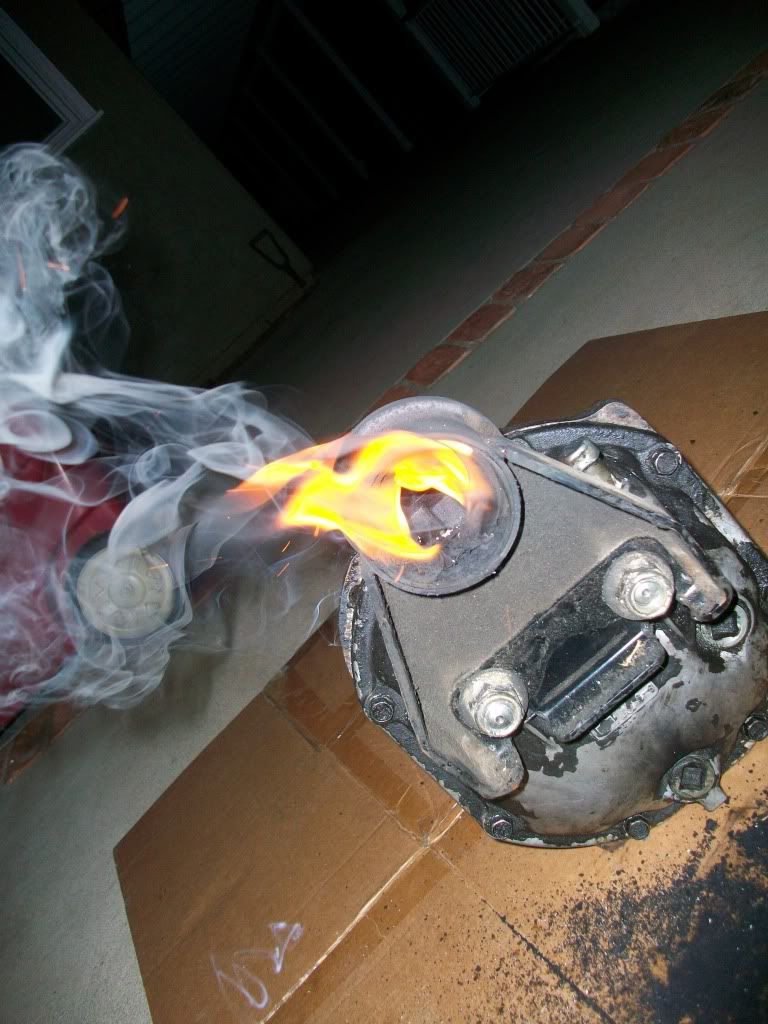
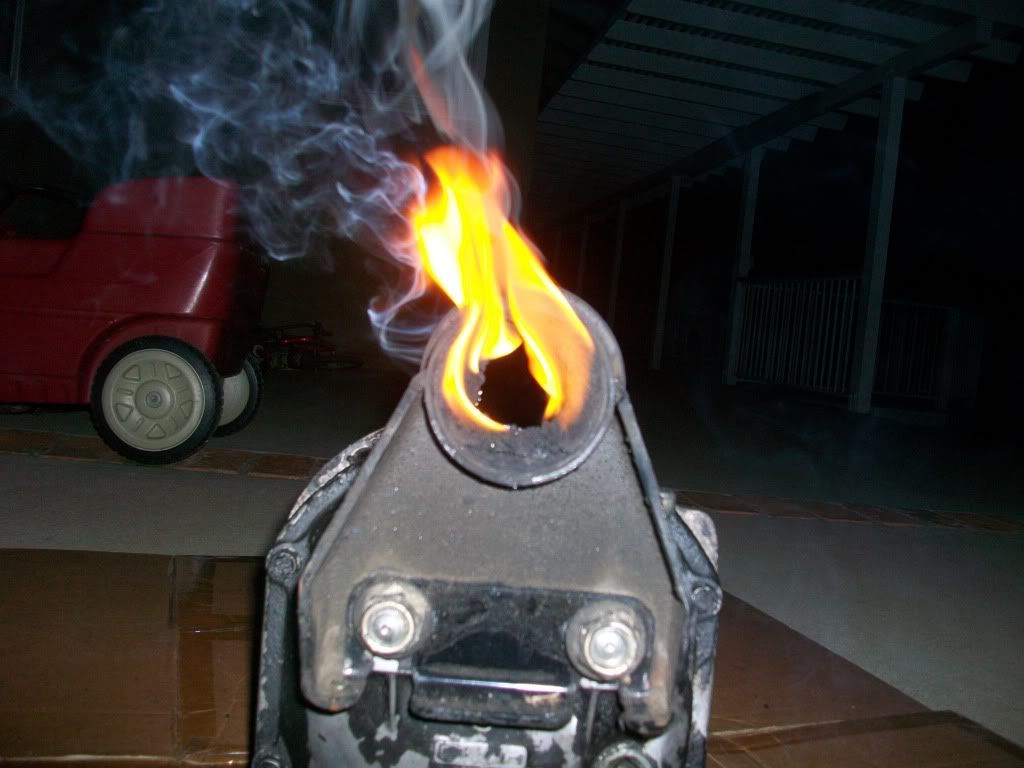
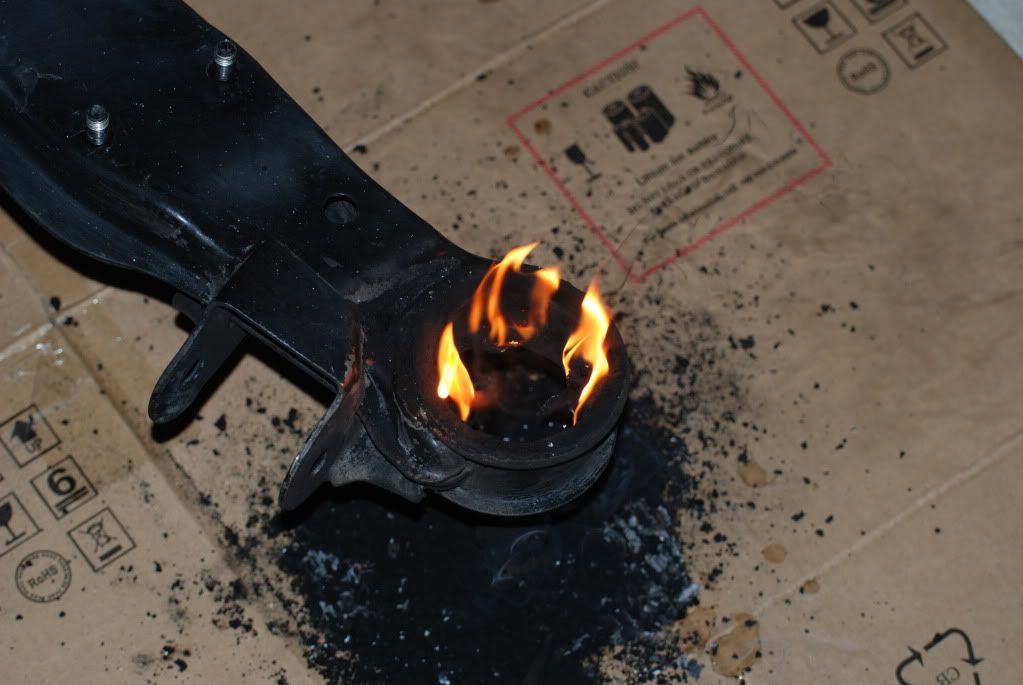
So about a month ago after just picking up almost the entire rear end of an S12 I decided to get to work on the bushing install.  Nothing to it, right?  Well my mother is a amatuer photographer for the Wild Animal park in San Diego CA and she uses a D80 camera with some rediculous lens that cost more then my life.  Mothers Day I went to the Wild Animal park with her, and she taught me how to use the camera properly and my how to shoot (got some amazing photos, I might post later).   She allowed me to use the camera for my car build, and I couldnt be happier.  While burning out the subframe bushings, I got these shots.
posted image
posted image
posted image
I really like this one
posted image

So everything was going smoothly at first.  At the time, we couldnt find the smaller lens, so I was like 10 feet away when I took those pics because I couldnt zoom out anymore,  lol.  Just for added info, I was pretty baked and shirtless..it was a warm night. 

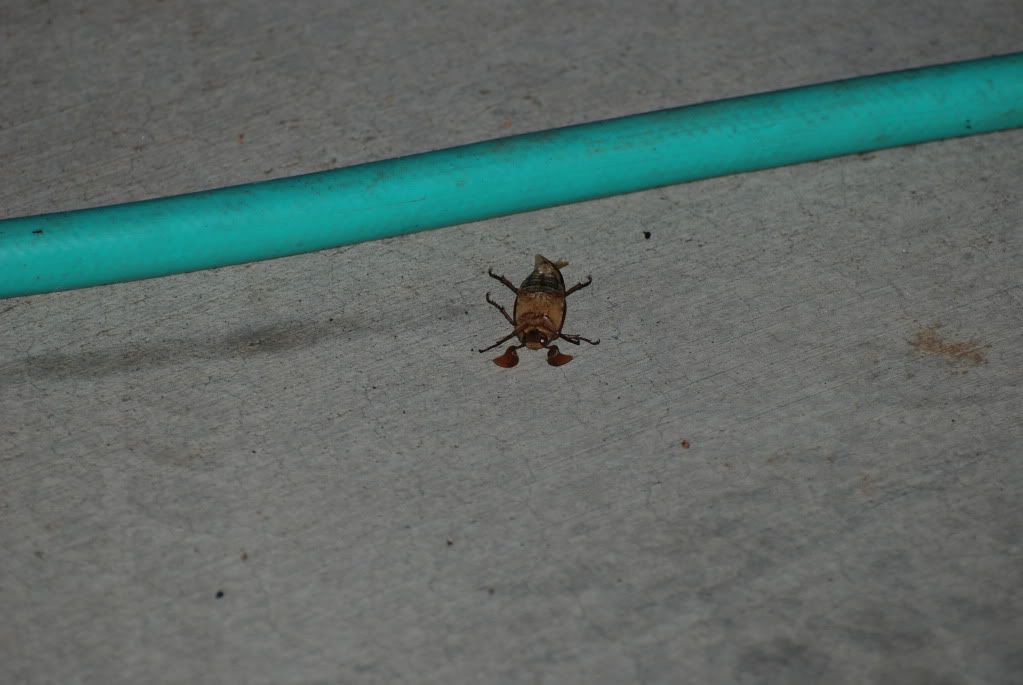
As I was sitting next to the fire making sure the cardboard didnt catch fire, I heard a loud buzzing..looked down, and saw this bug fly THROUGH the fire.
posted image
Now, I dont know what the F*CK THAT is, but when I first saw it, it looked me dead in the eye with his eyebrows still burning from flying through the fire.  I took a few steps back, took a shot or 2, looked through the lens, and noticed he wasnt in my photo (like looking through a rifle scope for comparision...very hard to find your shot if you dont know exactly where to look)  I felt something hit my chest...I look down, see this half burnt bug of satan spawn looking me dead in the eye, and by reaction, flung a 2k dollar camera towards it to get it off me...and this is why the photos in my thread suck.

Kids, dont do drugs


Post Merge: 10:37:18 AM / 16-Jun-11

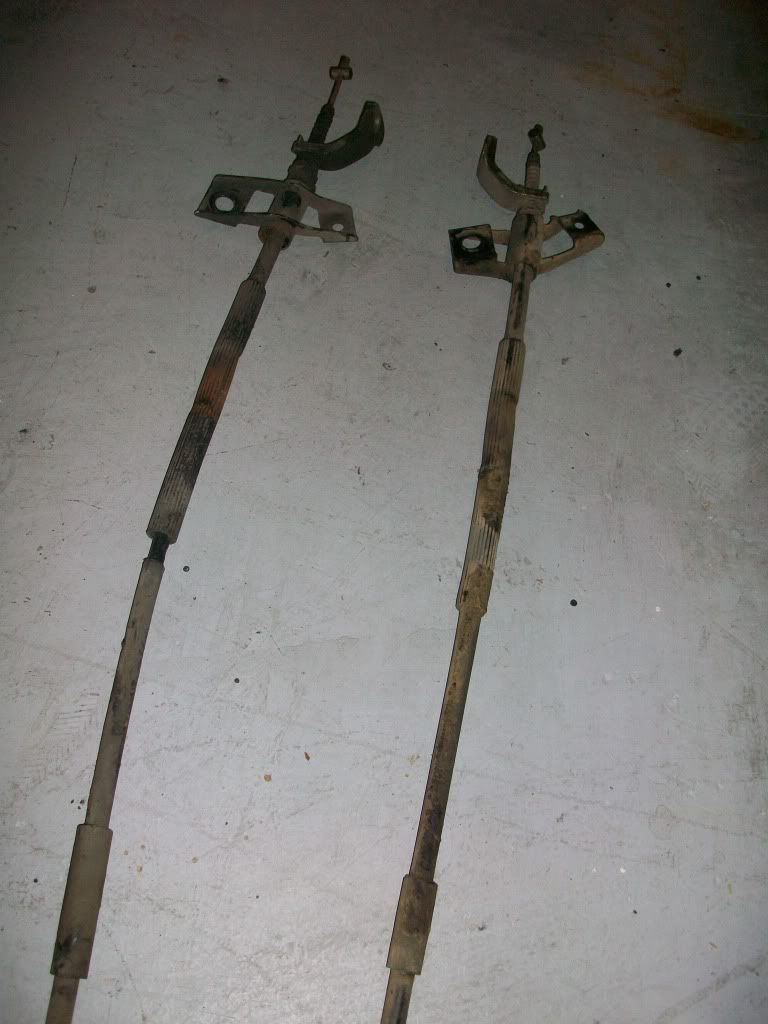
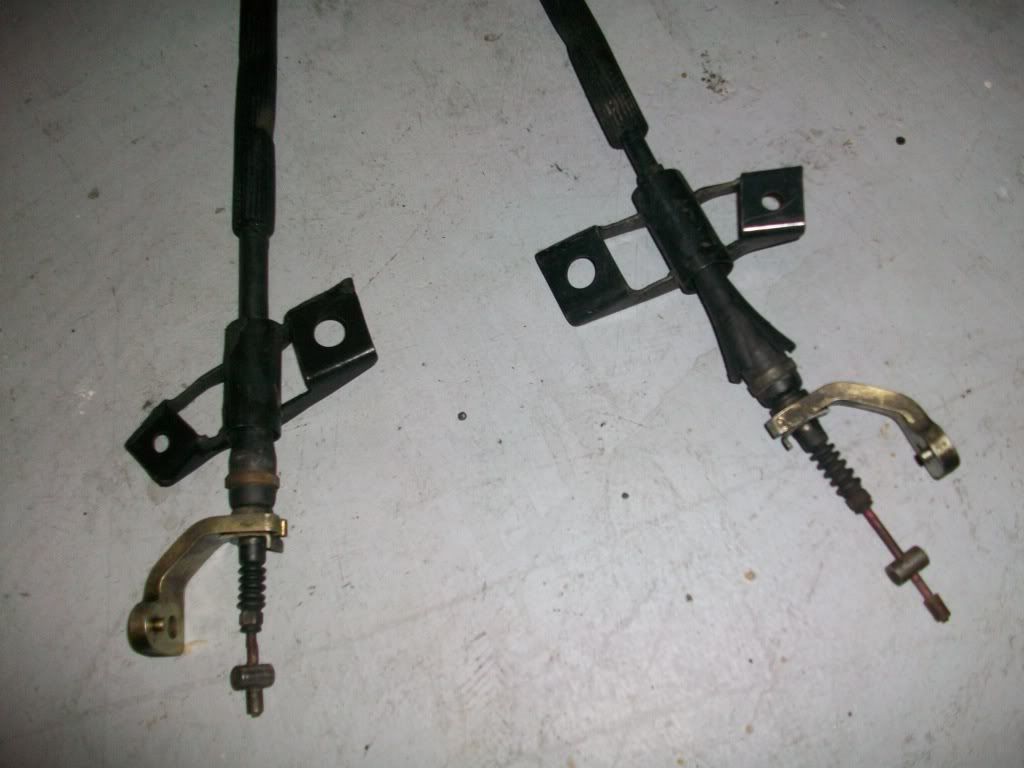
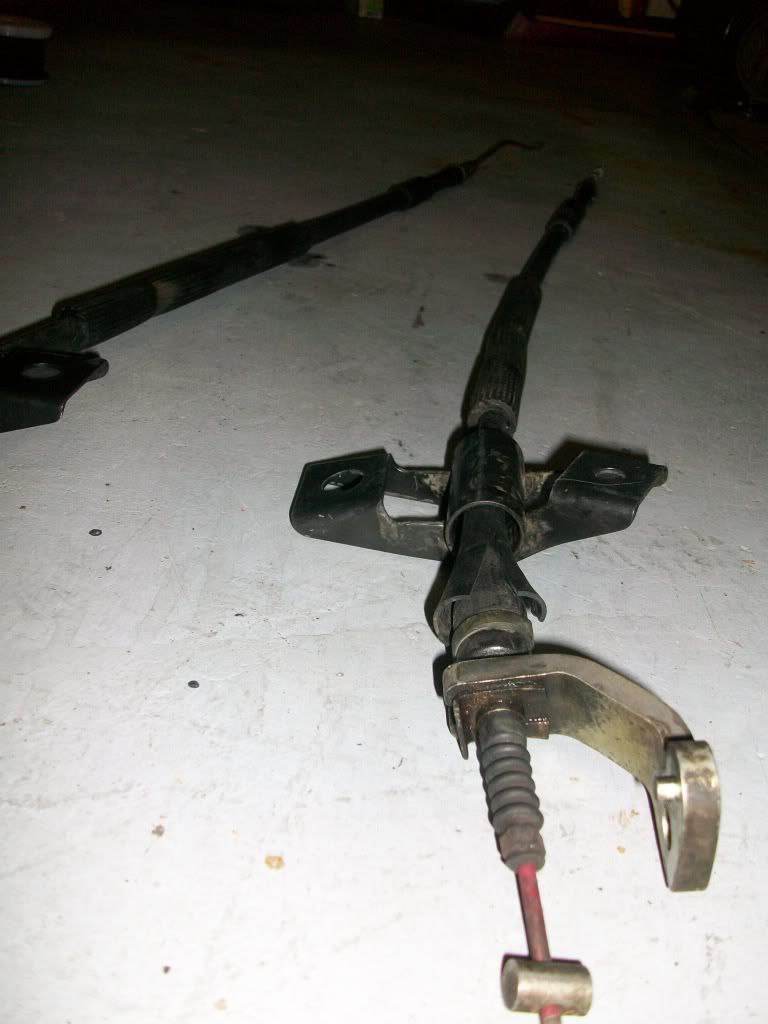
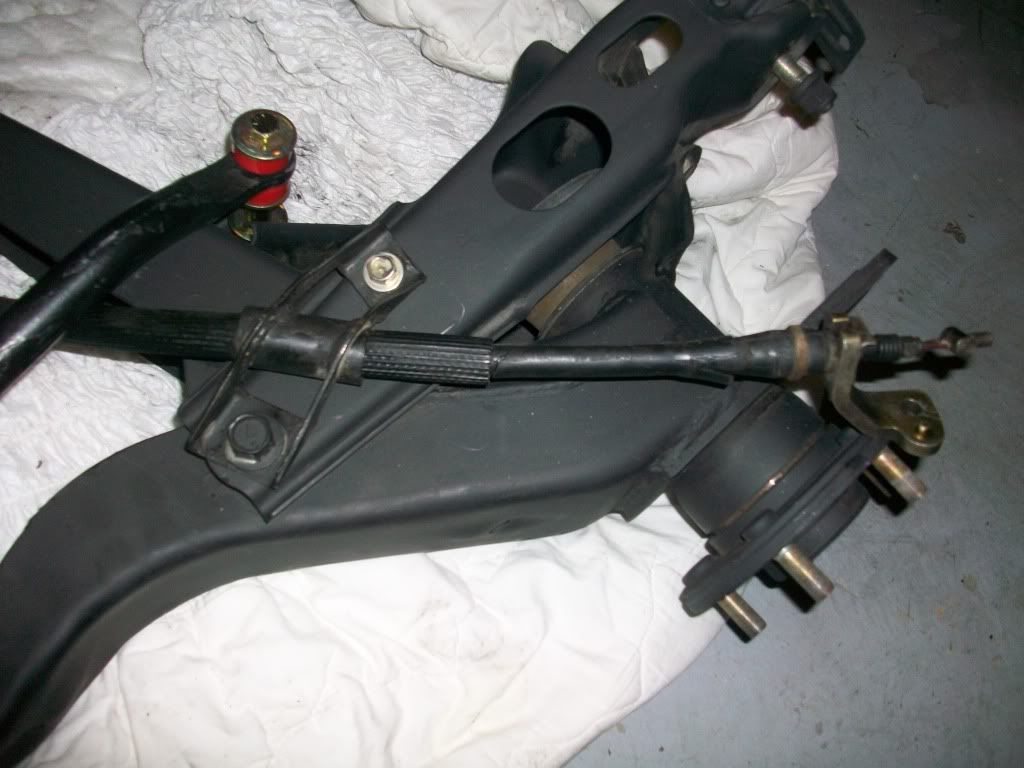
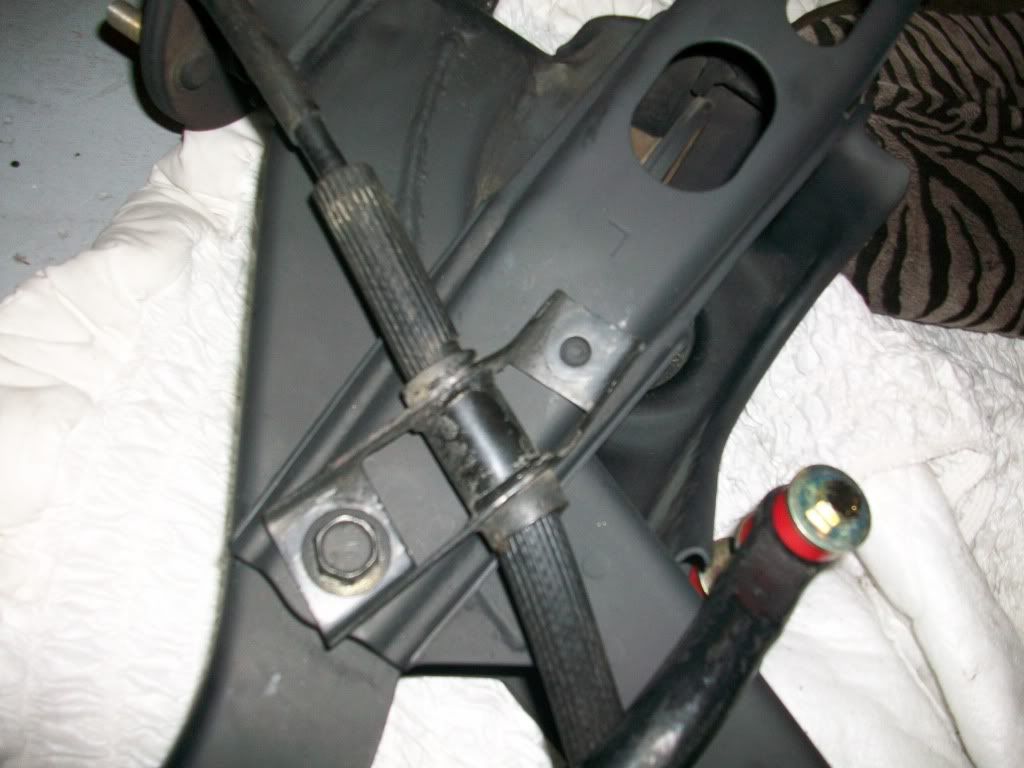
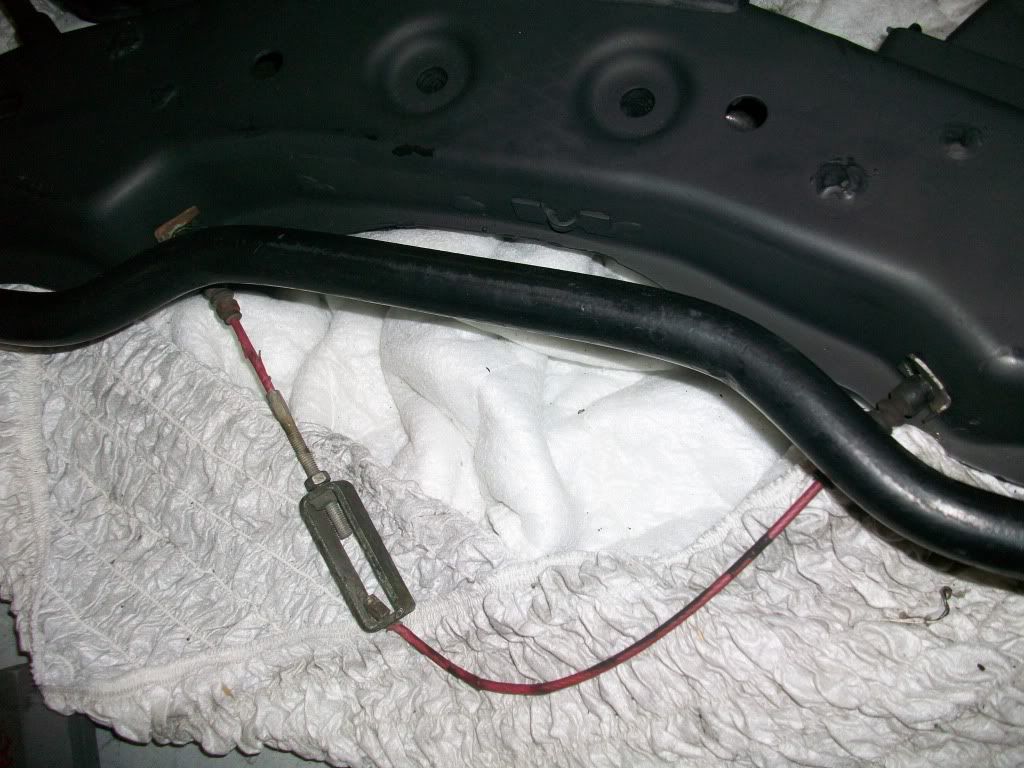
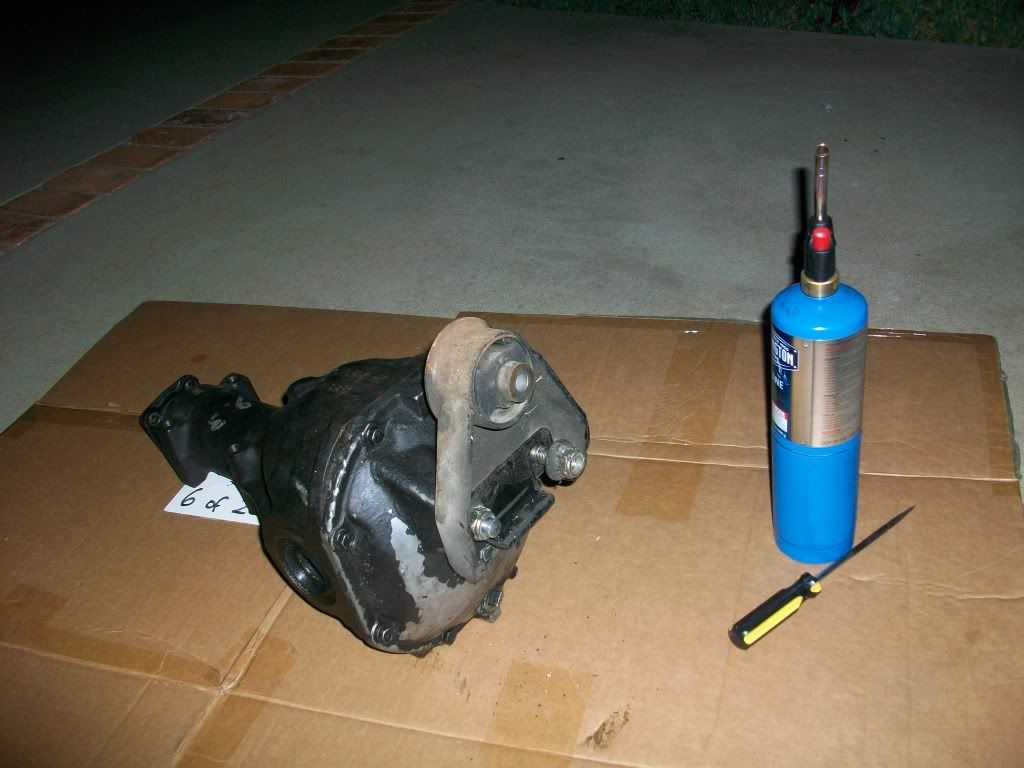
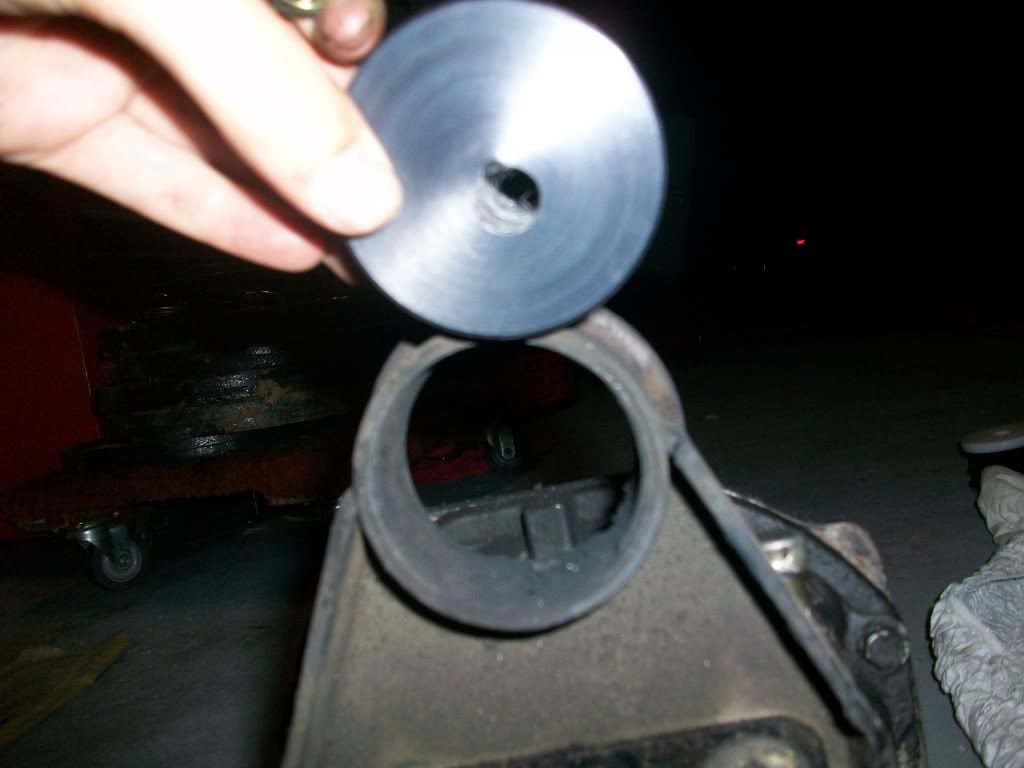
Did a little bit of work on the car last night.  Cleaned up E-brake cables and burned out diff bushing.
Dirty Cables
posted image
Clean
posted image
posted image
Installed
posted image
posted image
posted image
Diff Bushing
posted image
posted image
posted image

Iggy, you said install hole down to bring diff closer to the body..so when I install, install like this?
posted image

Also, does anyone know which length of sway bar Endlinks goes on the back?  I currently have the smaller endlinks on now, and the sway bar looks pretty close to the control arms. 
posted image
The stock ones seem to be inbetween as far as length..some help here is very appreciated.
posted image

So thats it for now.  I have some things planned for the next few days but Im taking it a little lazy and slow til I actually have the car.  Check back soon for updates.
DirtyGazeJun 18, 2011, 8:20 pm · #15

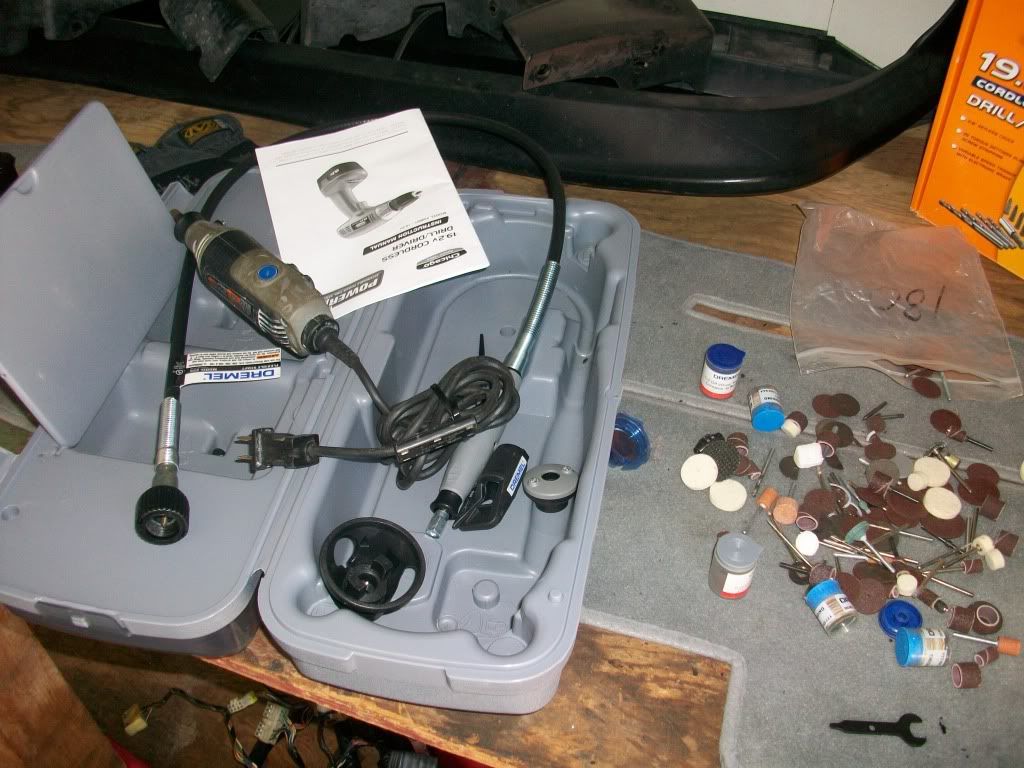
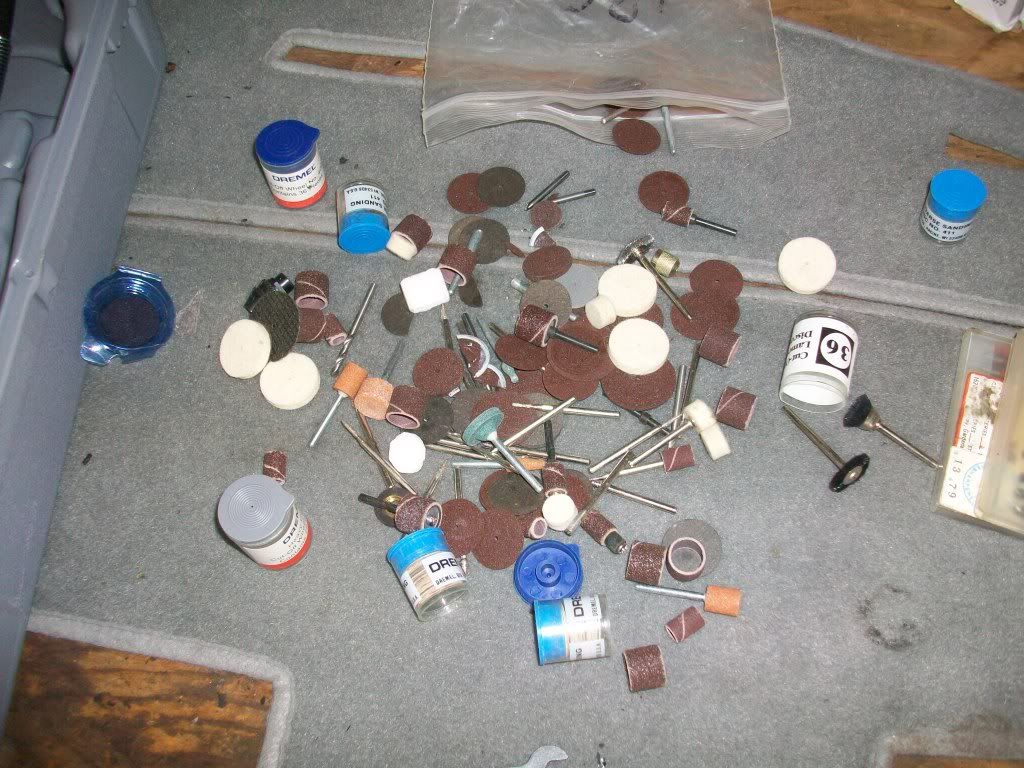
So this weekend I picked up a few tools on craigslist for pretty cheap.  Got 2 dremels + shit ton of attachments + drill for 70 bucks.
posted image
posted image
posted image
Ive been told before that to fix a jacked up lip, just set it out in the sun on a hot day.  It didnt get as hot as i thought it would, but it was a warm day, lol.
Before
posted image
After
posted image

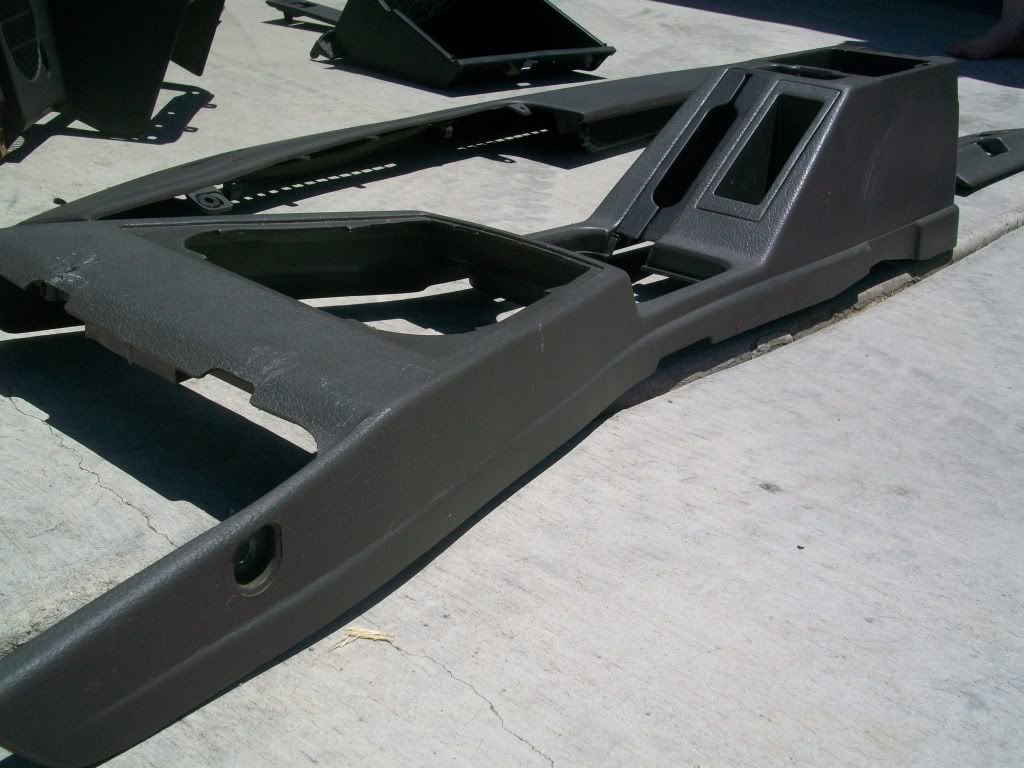
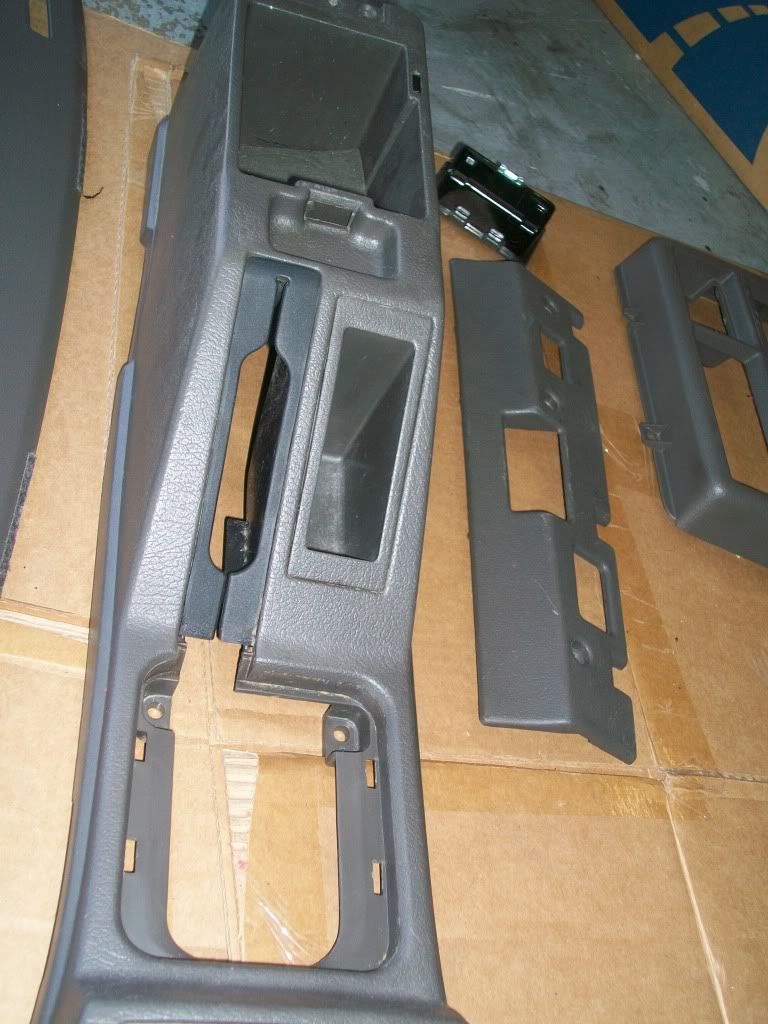
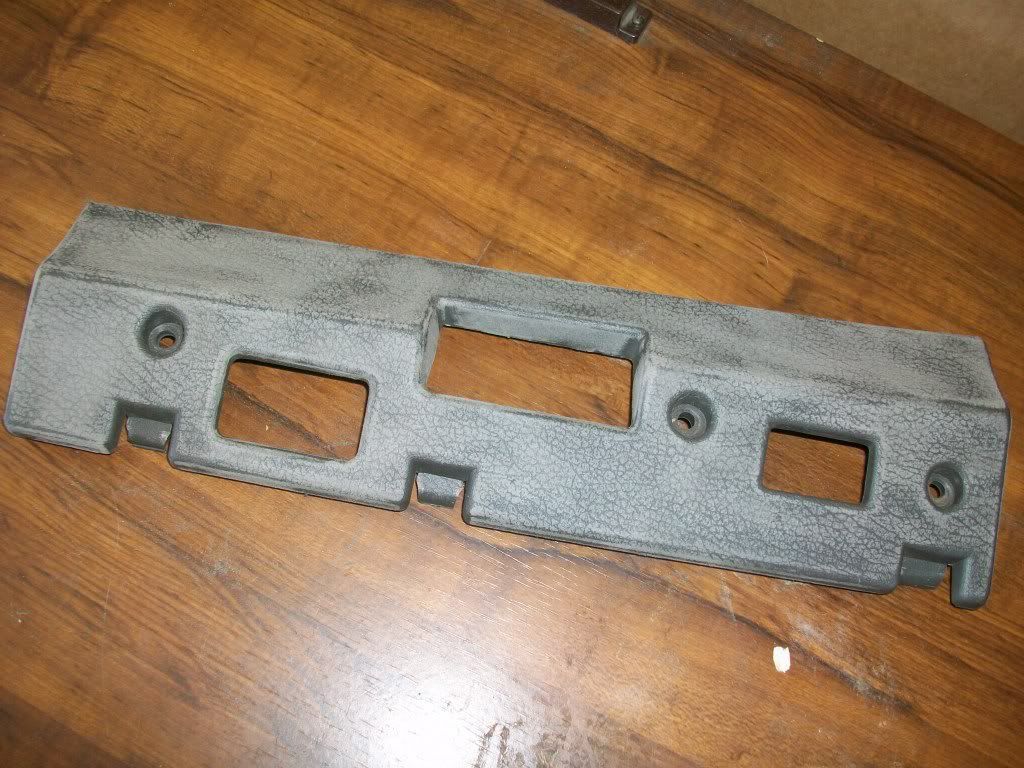
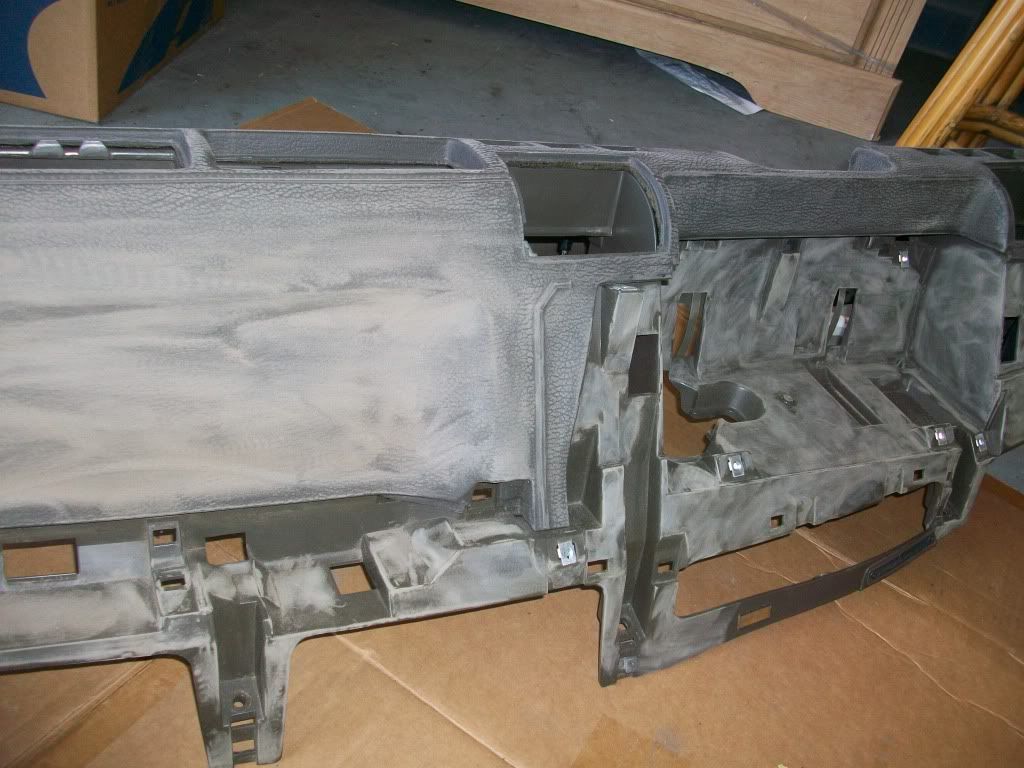
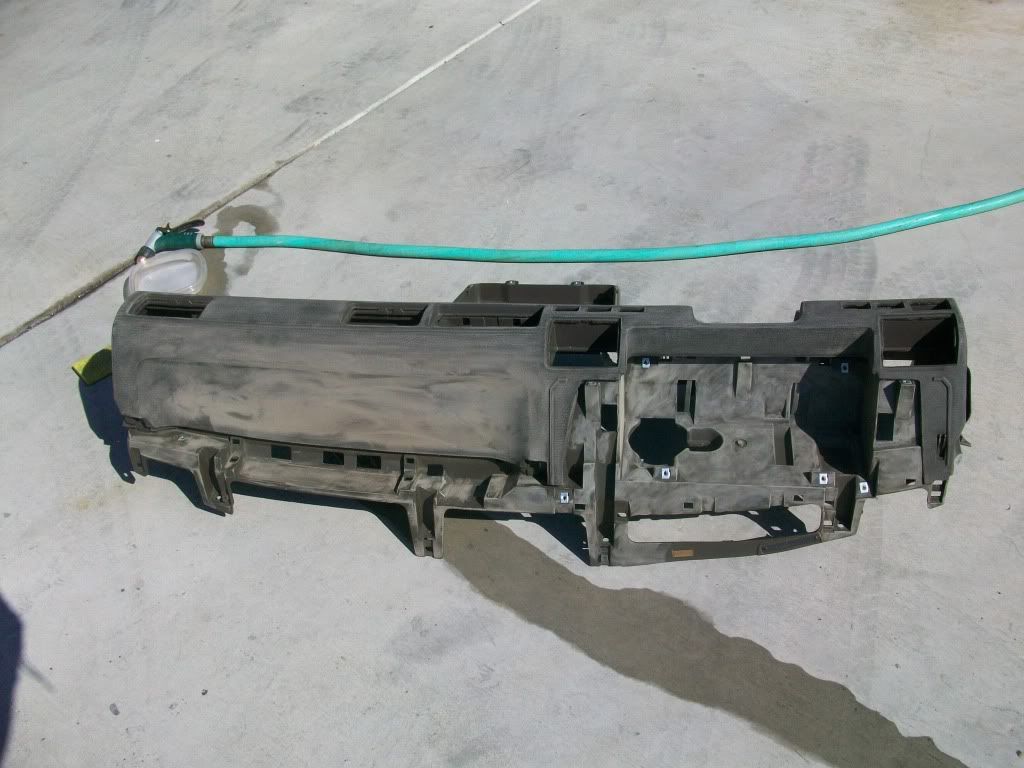
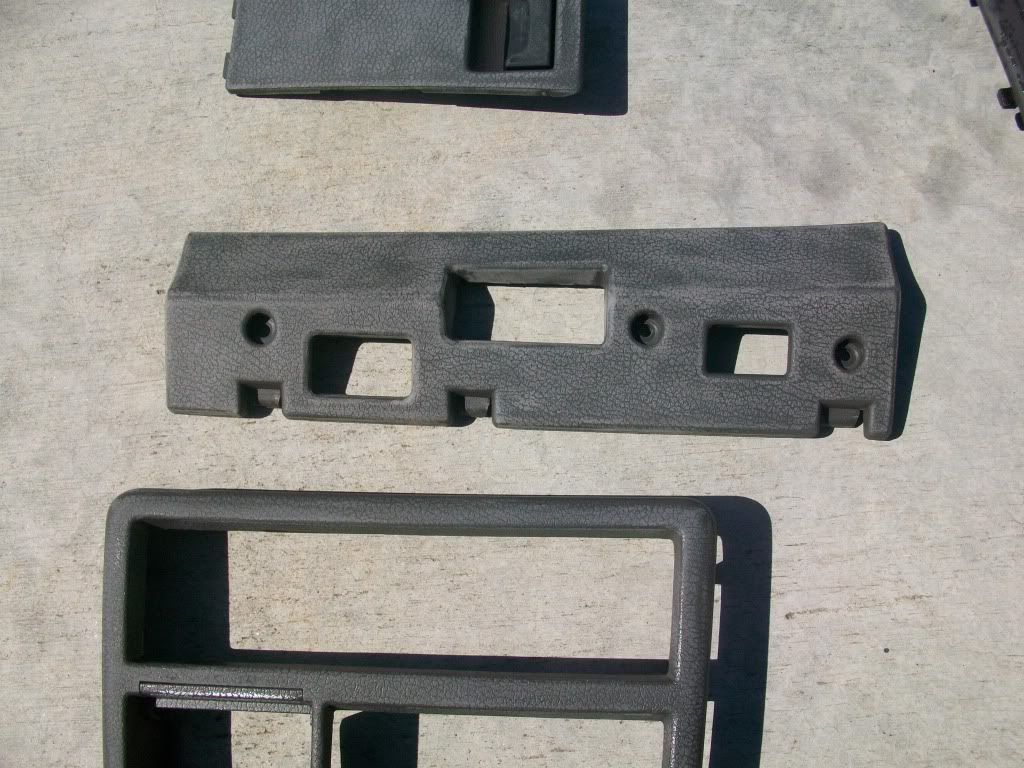
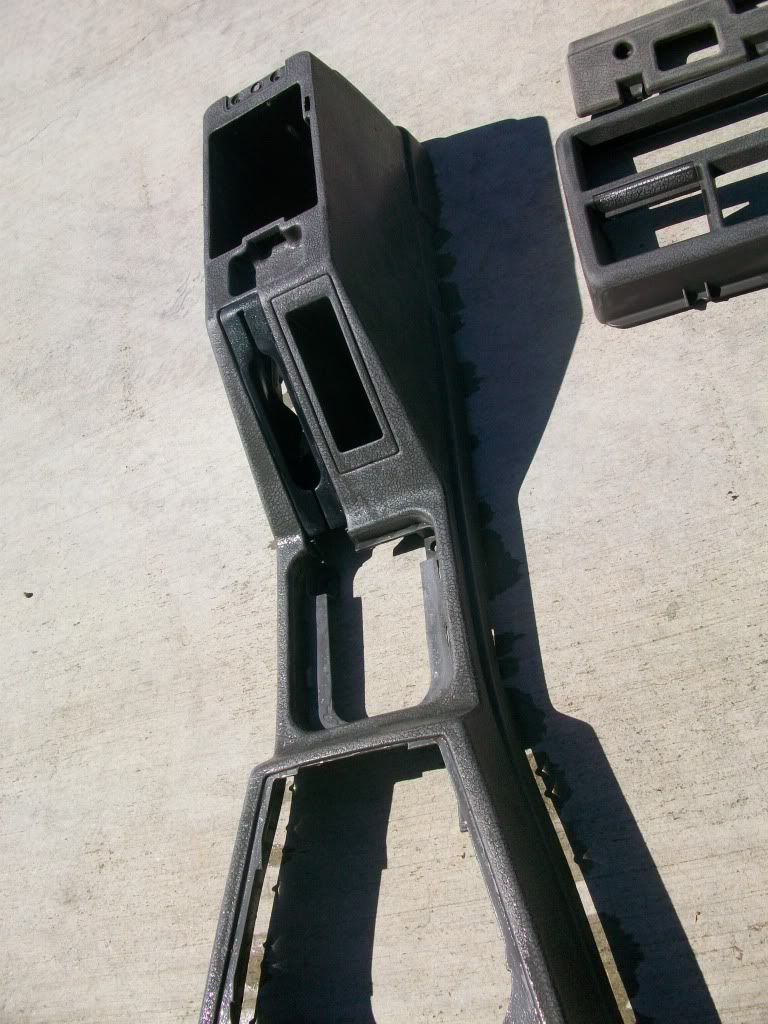
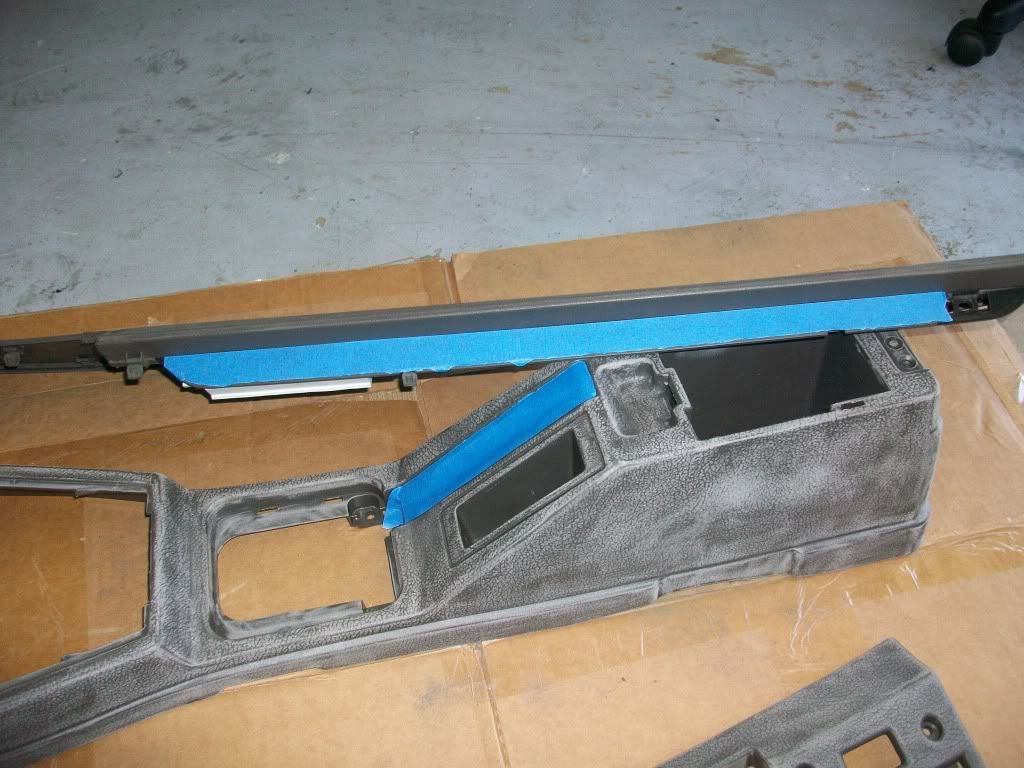
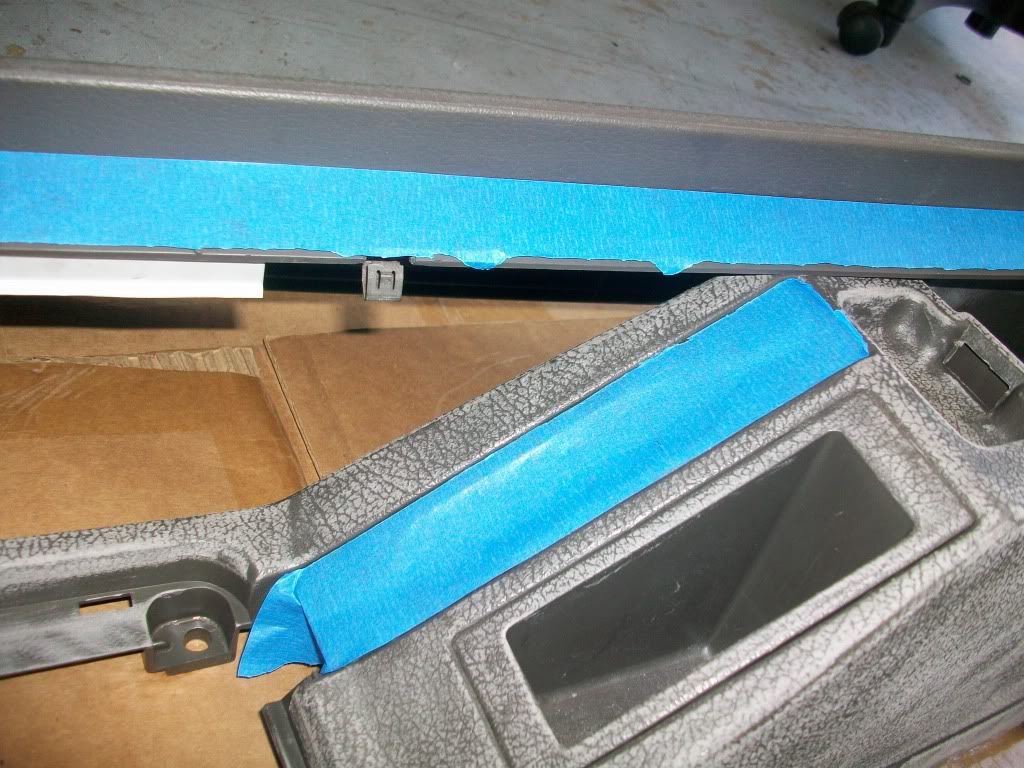
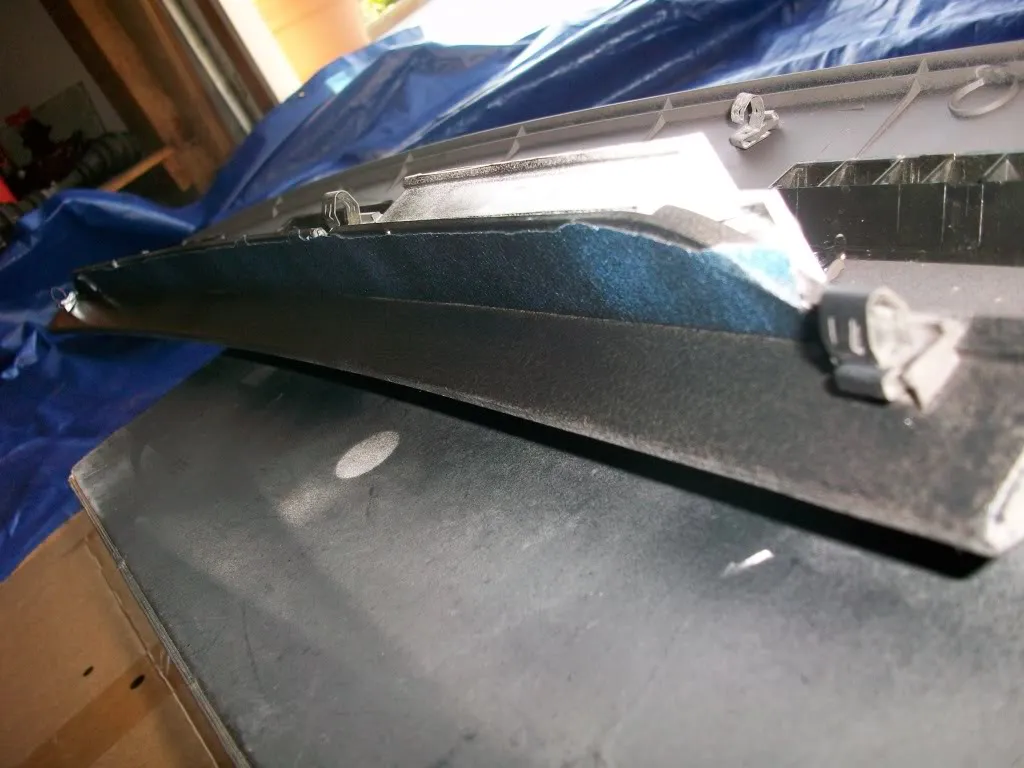
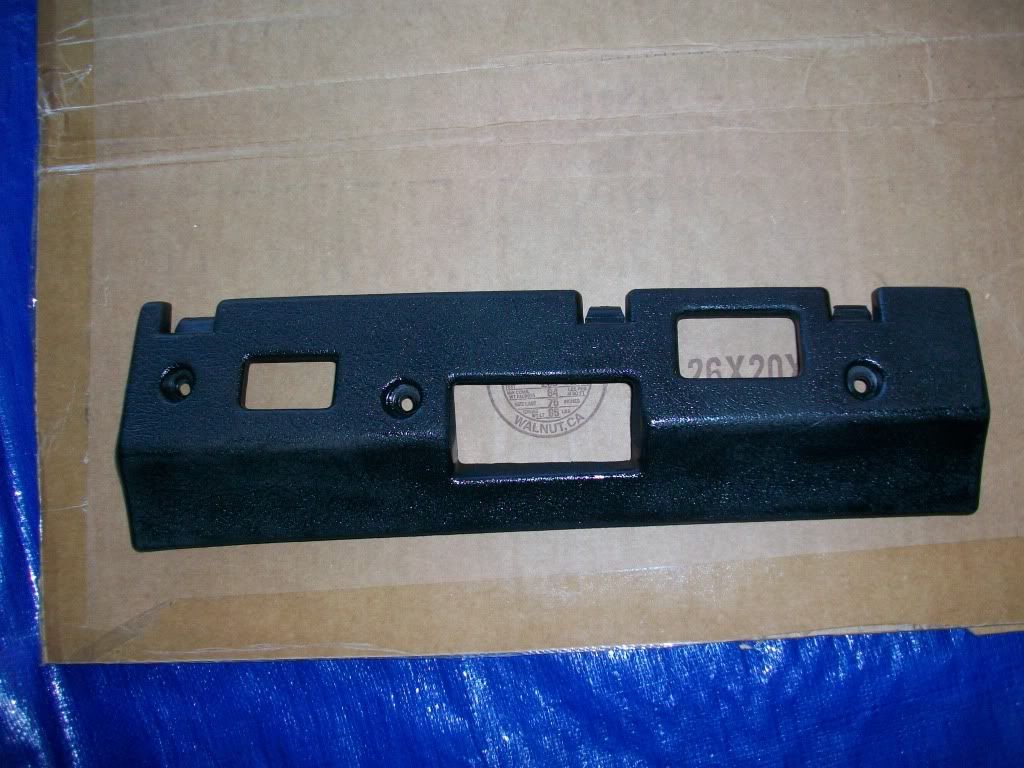
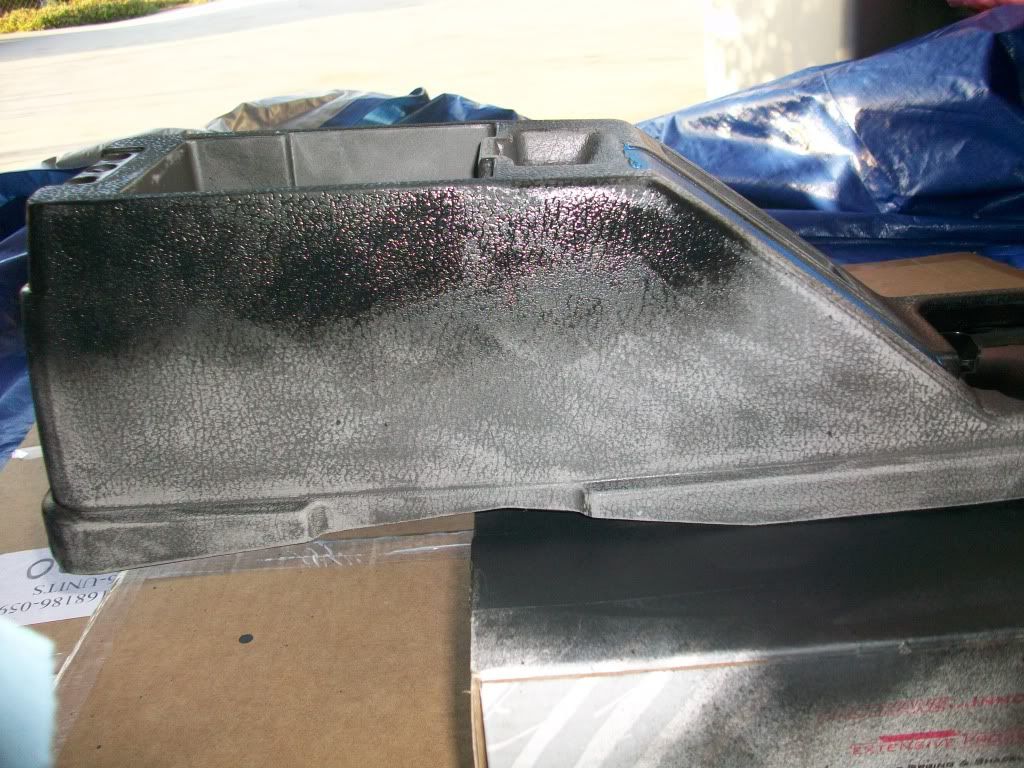
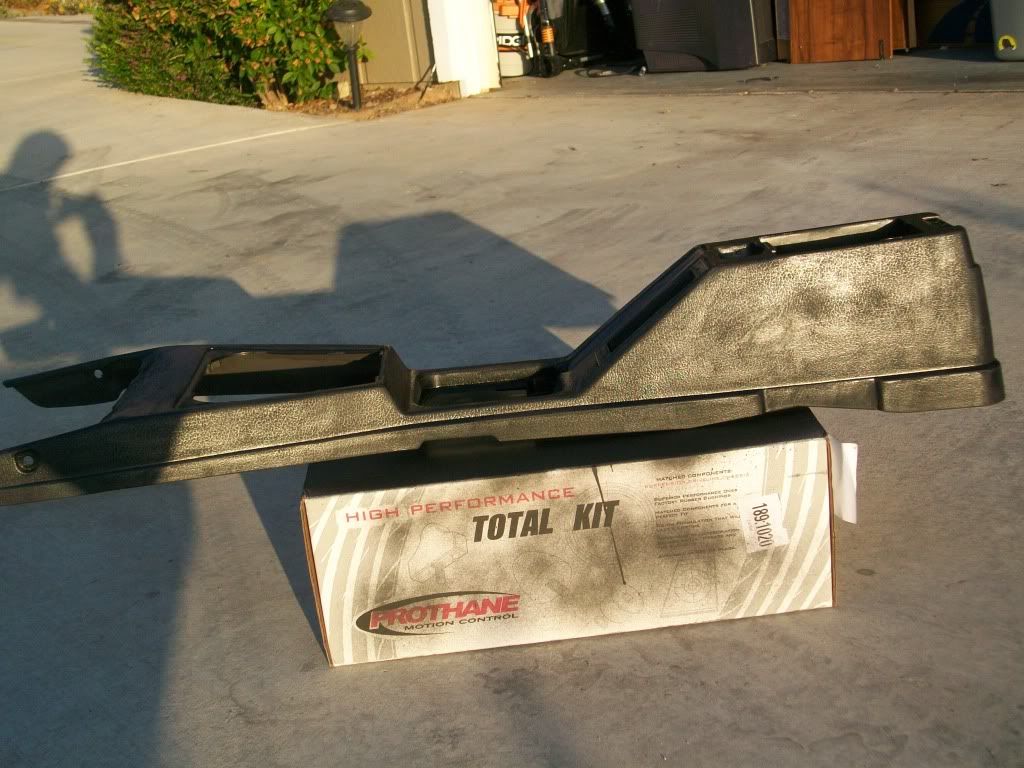
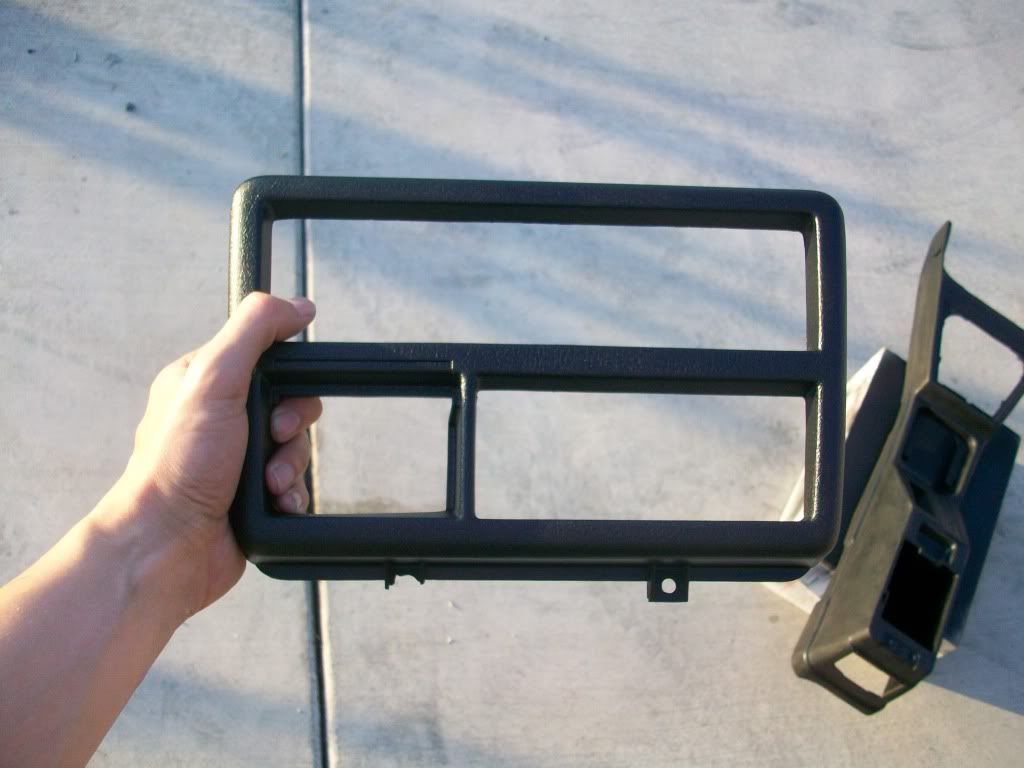
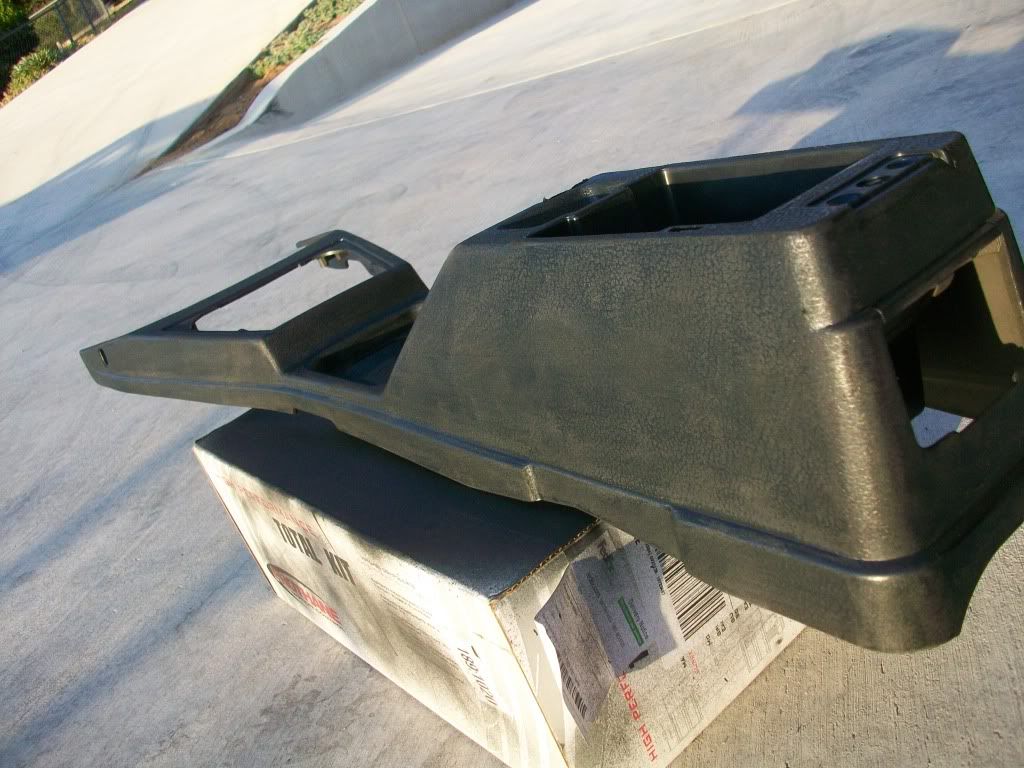
Got started with my interior plans today.  Cleaned up all the peices I have so far, washed them, sanded them, and masked them for painting.
posted image
posted image
posted image
posted image
posted image
posted image
posted image
posted image
posted image
posted image
posted image
posted image

Painting will come later on tonight..hopefully..

Colonel GustardJun 18, 2011, 9:36 pm · #16

mods please delete this thread, i scrapped the car i was going to sell to him........ just kidding lol. getting this SE up to his place tomorrow, then the real fun begins

DirtyGazeJun 18, 2011, 9:39 pm · #17

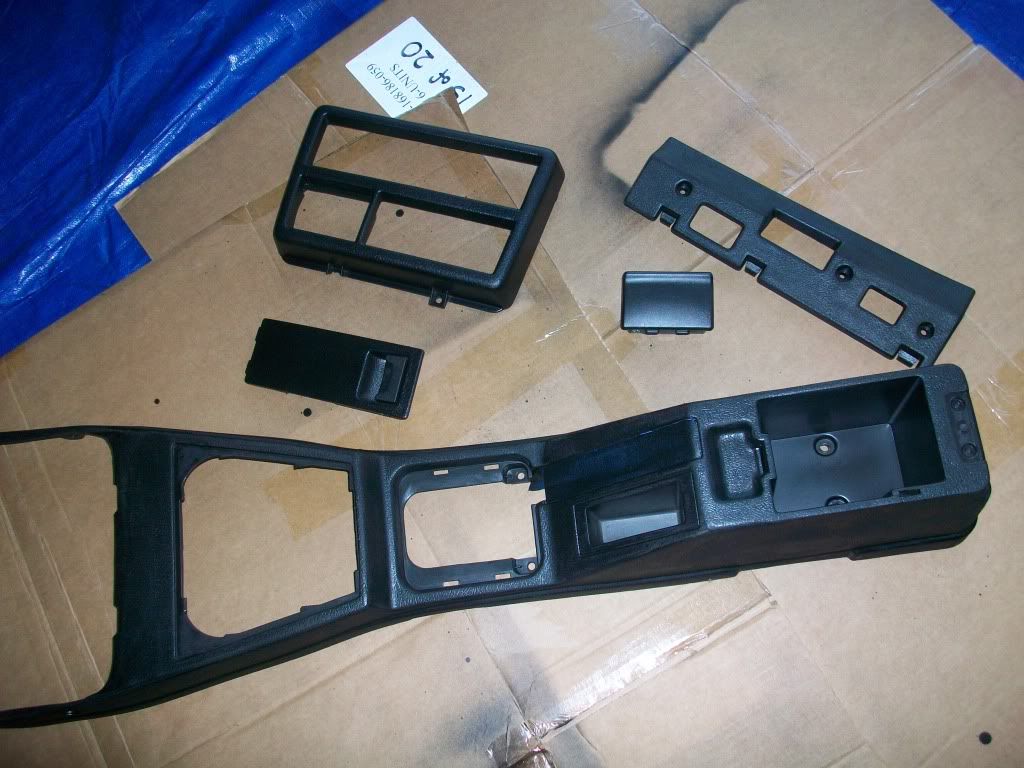
Just finished what Im doing for the day.  This is the rest of the progress.
posted image
posted image
posted image
posted image
posted image
posted image
posted image
posted image
posted image

DirtyGazeJun 20, 2011, 2:12 pm · #18

Got some small things done yesterday, but not a whole lot.  Still dont have the car so the going is kinda slow.
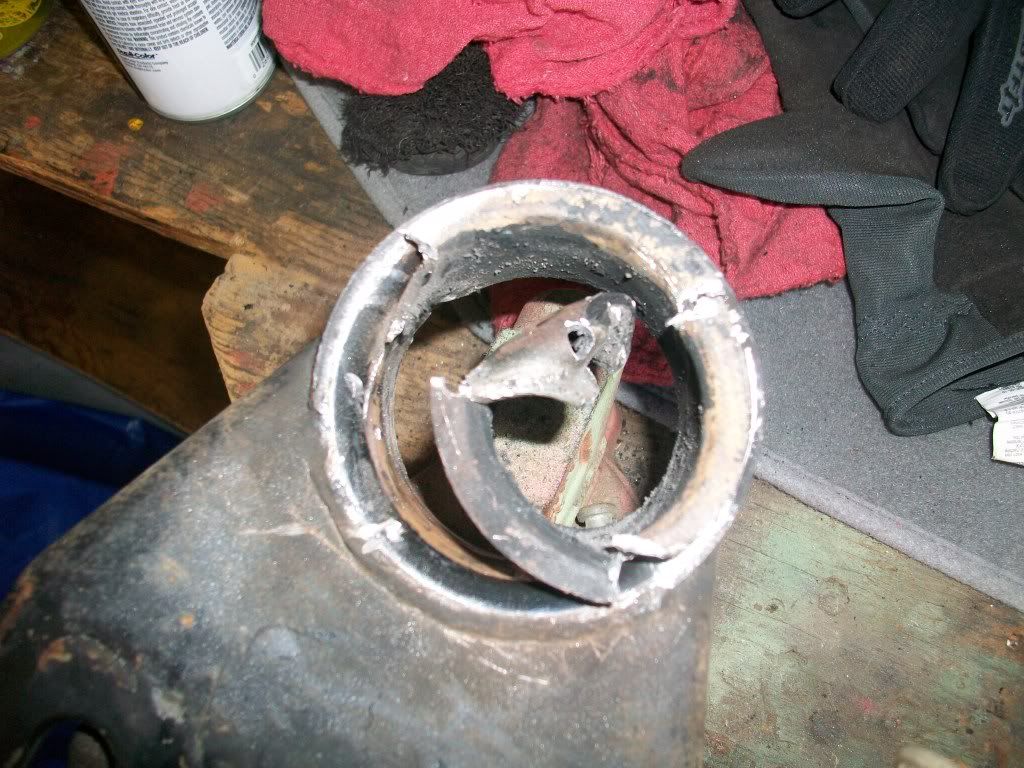
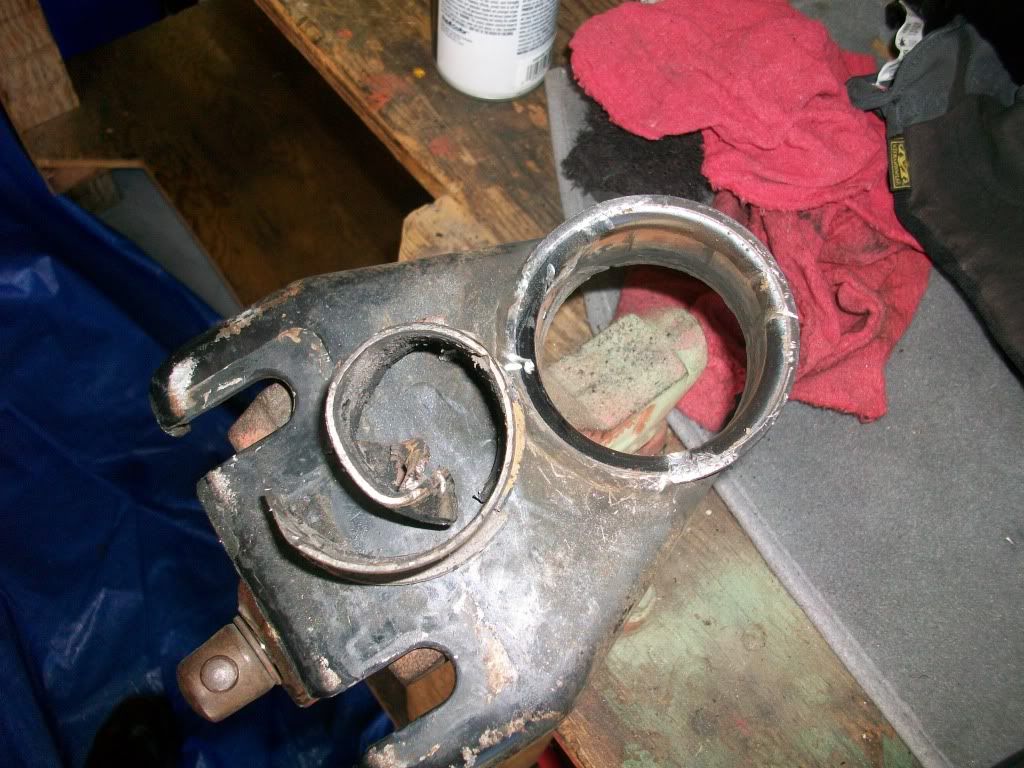
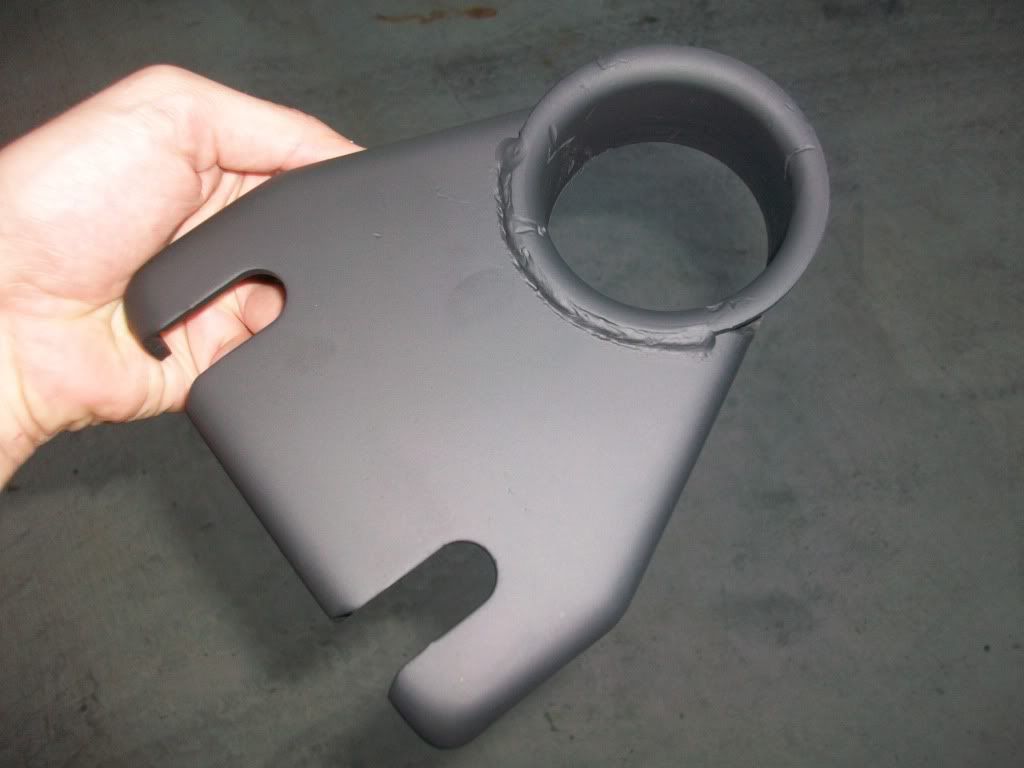
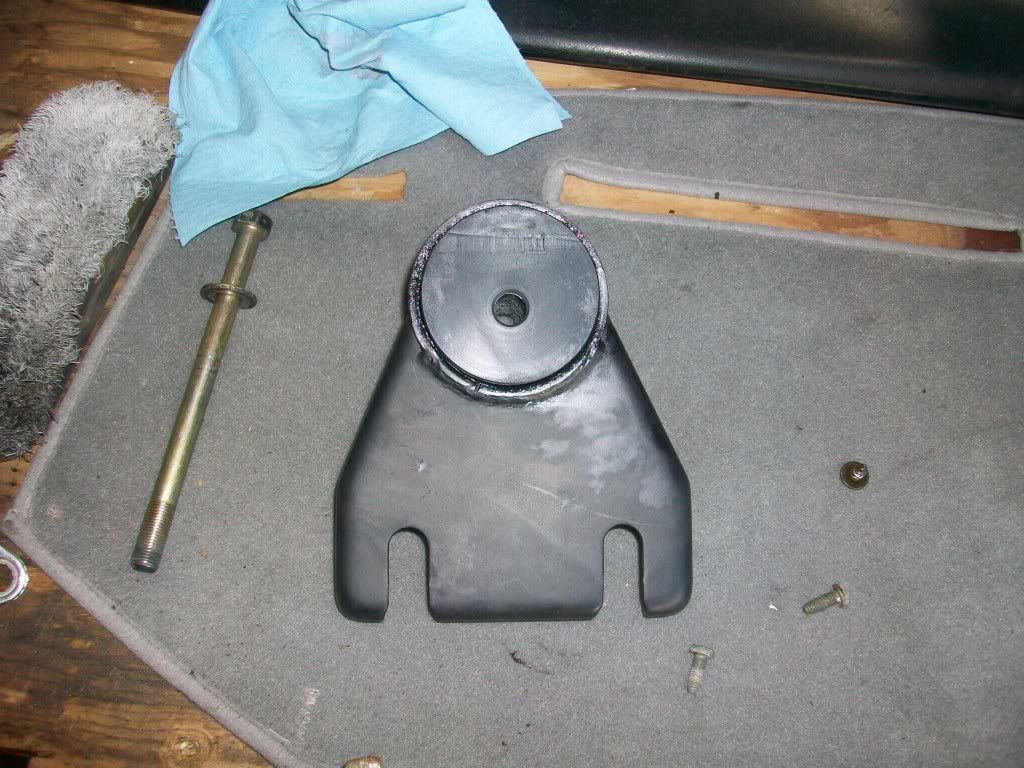
Got the diff bushing out with a dremel, hammer, and screwdriver (fuck bushings)
posted image
posted image
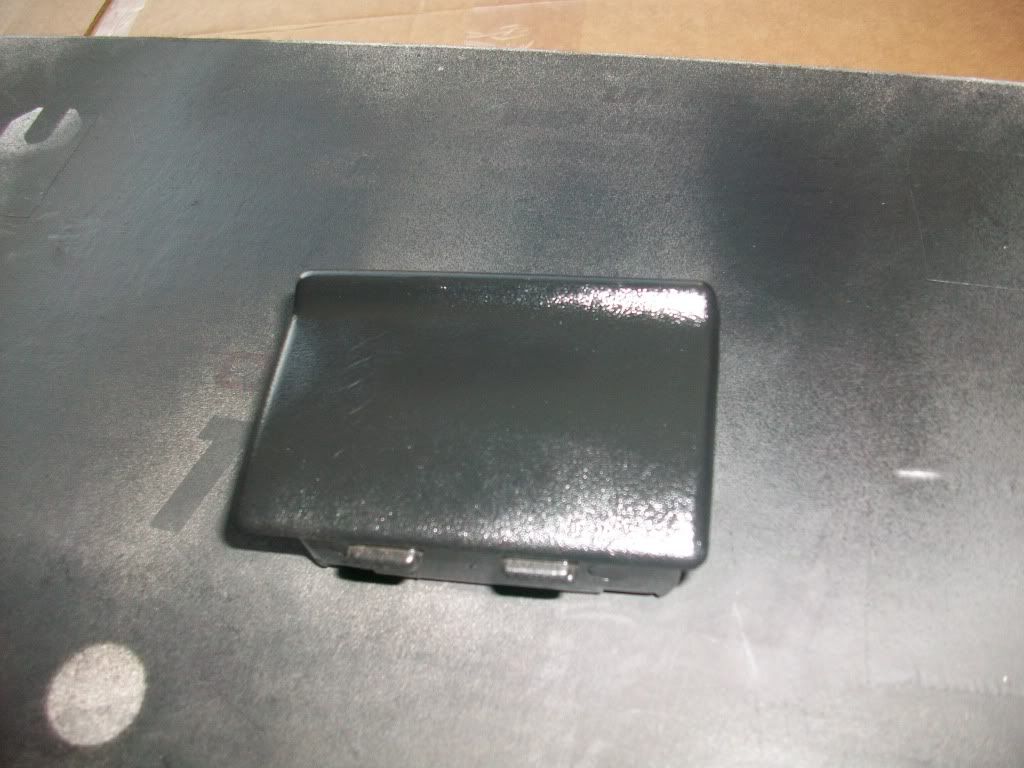
Then cleaned it, sanded it, and painted.
posted image
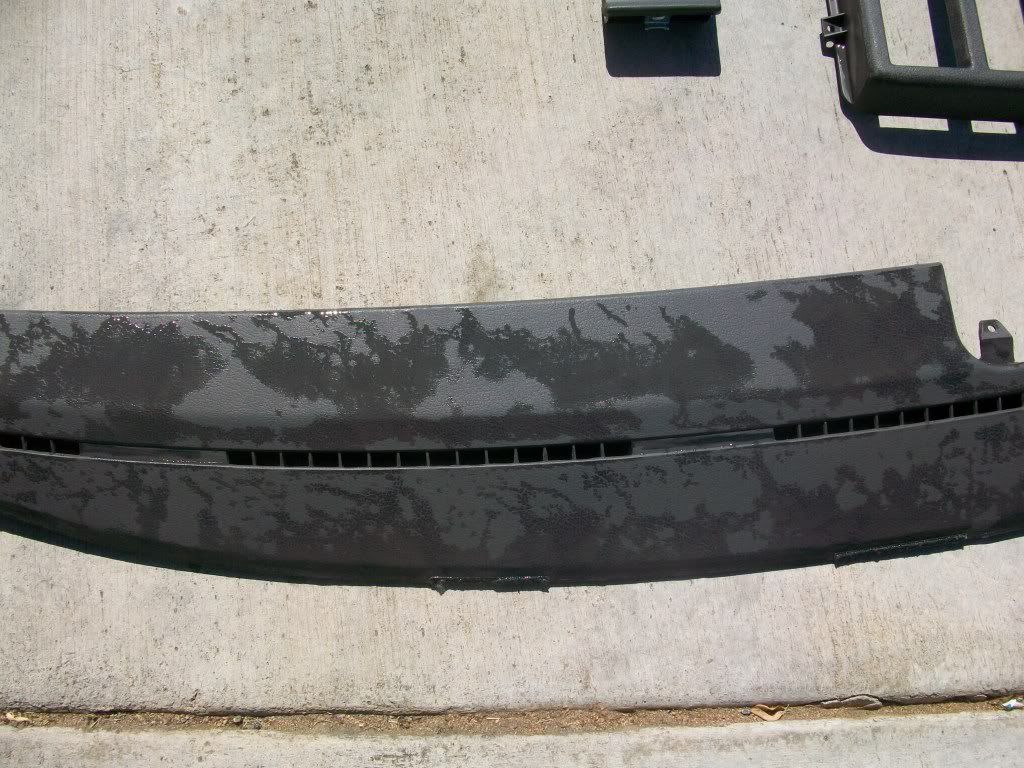
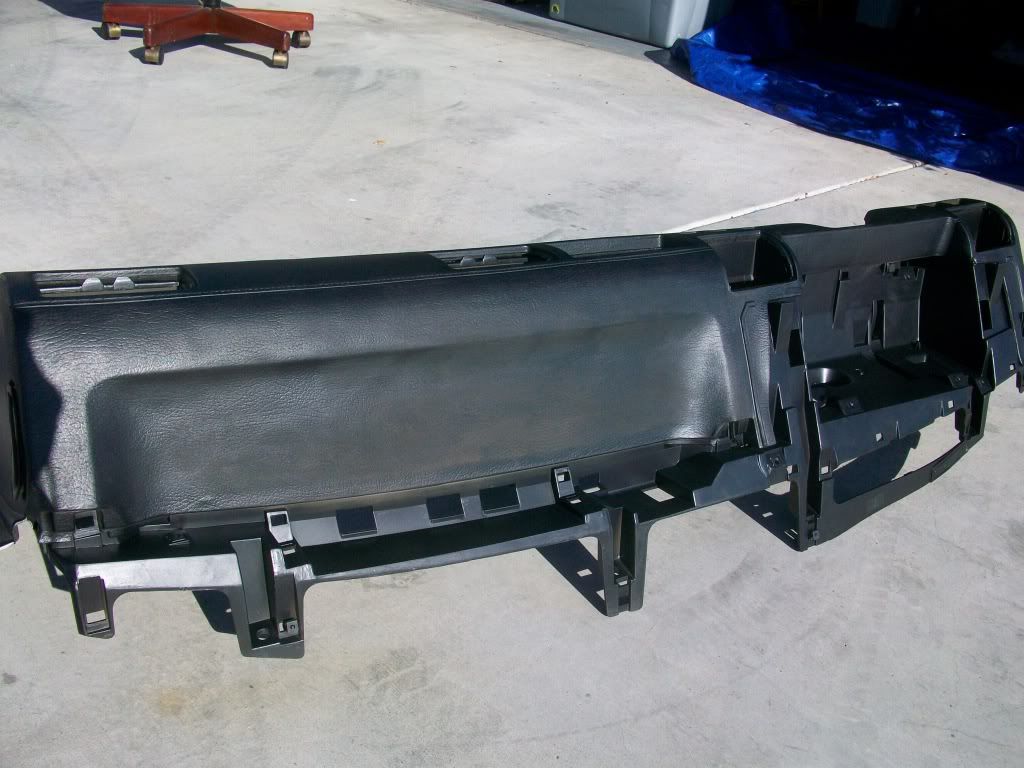
Painted the rest of the dash
posted image
posted image

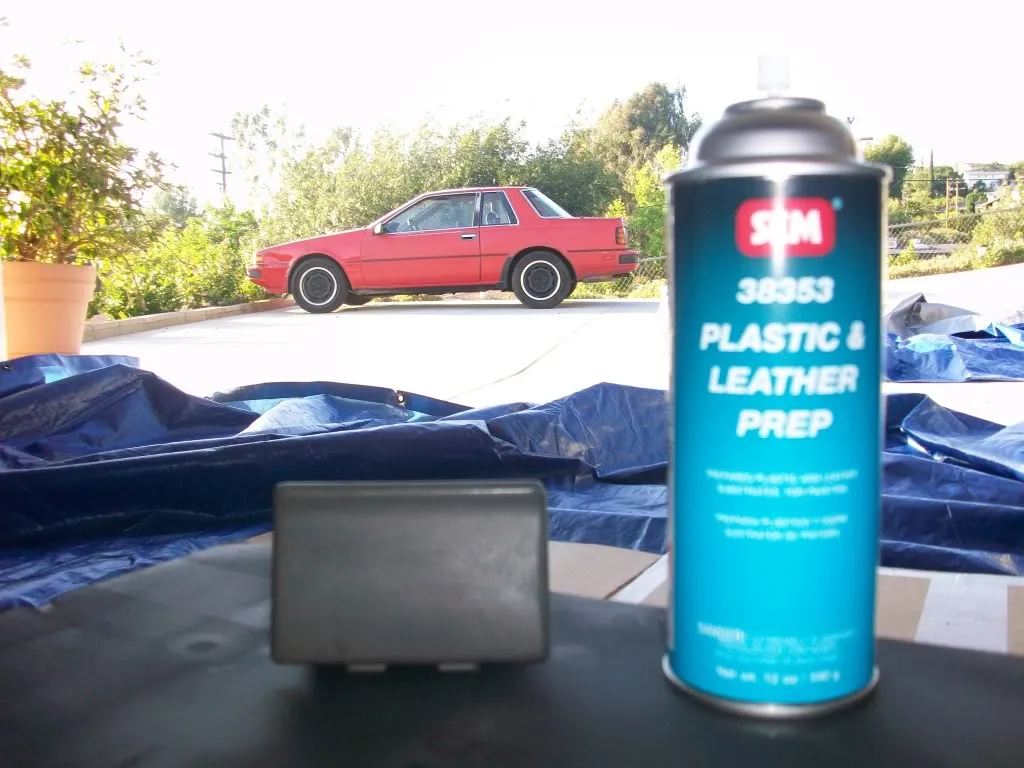
BTW - sanding the interior..bad idea.  Wont matter for what I plan on doing, but if anyone else wants to paint interior, dont sand, just use this.
posted image

So thats all for now, hopefully Ill have my car surgically installed in my garage soon and the real fun can begin.

IggyEGuanaJun 20, 2011, 6:24 pm · #19

use the long endlinks

yes with the hole downward

MaxpowJun 21, 2011, 3:50 am · #20

Sweet

DirtyGazeJun 21, 2011, 1:36 pm · #21
IggyEGuana on 06:24:55 PM / 20-Jun-11
use the long endlinks

yes with the hole downward

Awesome, thanks Iggy.  Maxpow and I got the diff bushing in last night...pretty shammered, lol.  Hopefully the car will be here tonight and Ill have more pics.
MaxpowJun 21, 2011, 2:24 pm · #22
DirtyGaze on 01:36:55 PM / 21-Jun-11
Awesome, thanks Iggy.  Maxpow and I got the diff bushing in last night...pretty shammered, lol.  Hopefully the car will be here tonight and Ill have more pics.

come over
Colonel GustardJun 21, 2011, 2:52 pm · #23

^you better go over to his house, dropping the car off today

DirtyGazeJun 21, 2011, 2:58 pm · #24

Ill be home like 530 ish..mini meet at my pad!

Colonel GustardJun 21, 2011, 2:59 pm · #25

cant wait! so i can see the infamous driveway of no return

IggyEGuanaJun 21, 2011, 10:39 pm · #26

did u get the bushing in and the diff installed? curious to know if it'll work. i've messed with it and the diff onlt goes up to far before the subframe starts to bind

Colonel GustardJun 21, 2011, 11:15 pm · #27

DirtyGaze should have an update on this tonight if hes not lazy

DirtyGazeJun 23, 2011, 1:28 pm · #28

Yea theres a big update comin.  I almost lost my job an hour before the car got delivered so all motivation went out the window, lol.  Maxpow and I got the diff bushing into the bracket Tuesday night and Ill get pics of that later, but as far as if itll install, I havent tried yet.  I want to get that subframe in soon, but I dont have 2 jacks yet...very soon.

Motivation is slowly coming back, I should be out there workin on her later today.

Colonel GustardJun 23, 2011, 2:16 pm · #29

you lazy ass, should have asked for jacks, i got 2 of them im not using

DirtyGazeJun 24, 2011, 1:23 am · #30

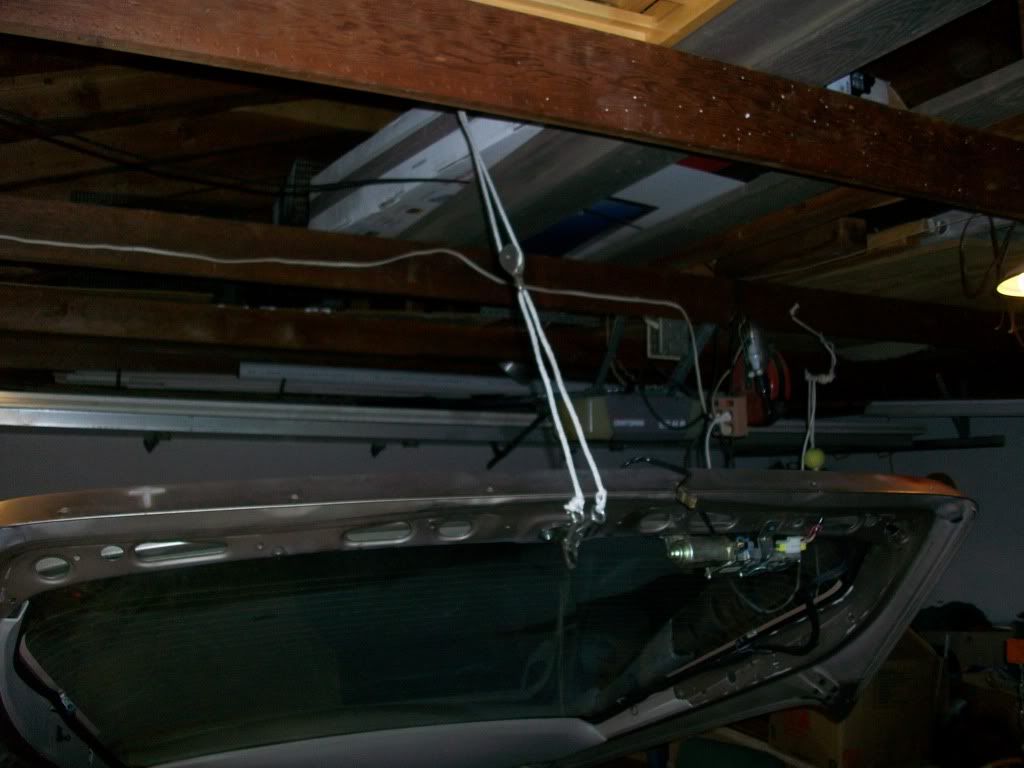
So its true, the car has successfully made it to my house and work has begun.  Mostly been cleaning today.  The inside had so much just...random stuff, lol.  I also found a good use for this odd pulley system thats been installed in our garage since before we moved in.  Anyway, enough with the talking, heres some pics of the progress
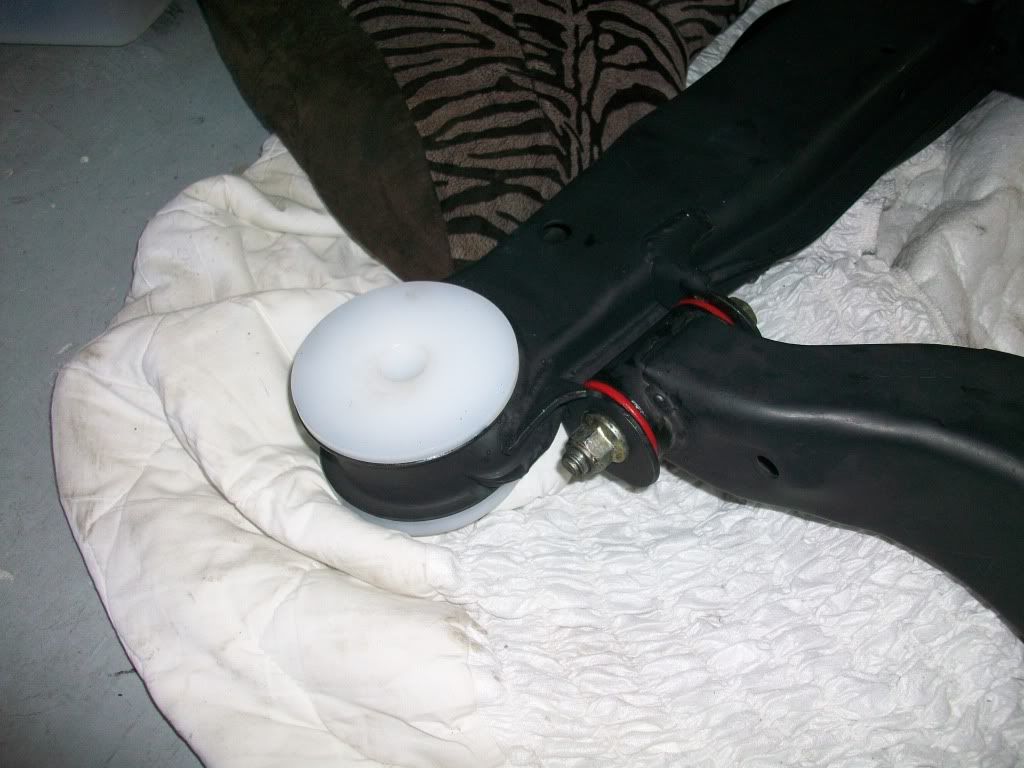
Diff bushing installed
posted image
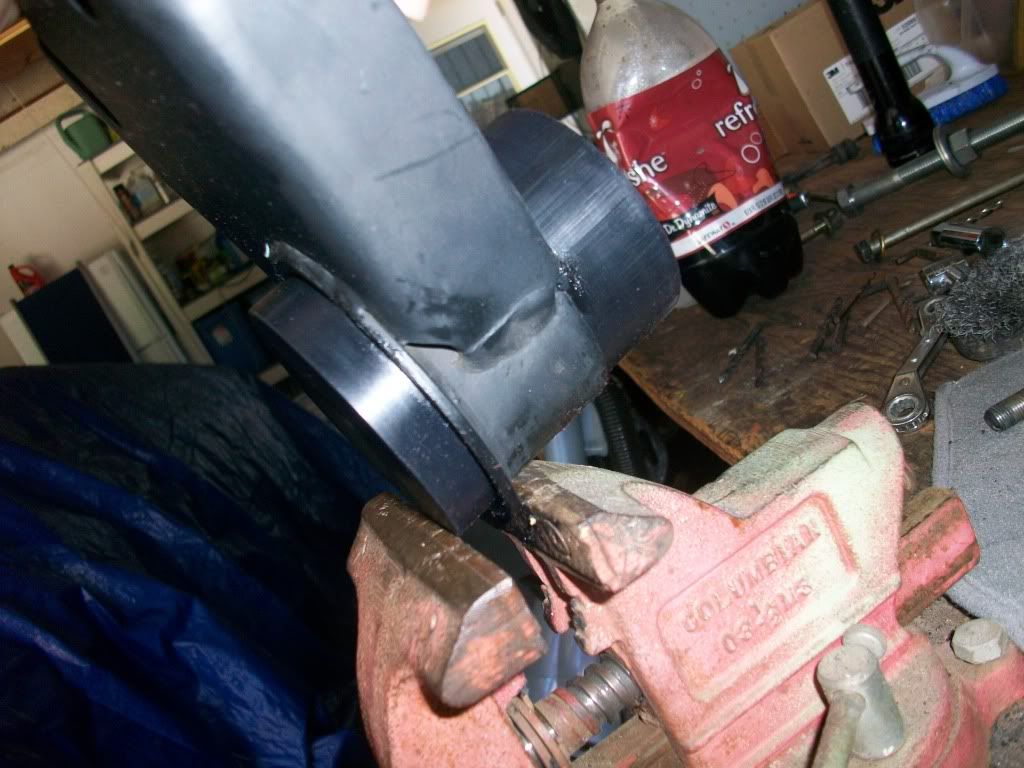
Maxpow and I decided to use our brains after 20 minutes of trying to hammer this stupid thing in.  Vice = win.
posted image
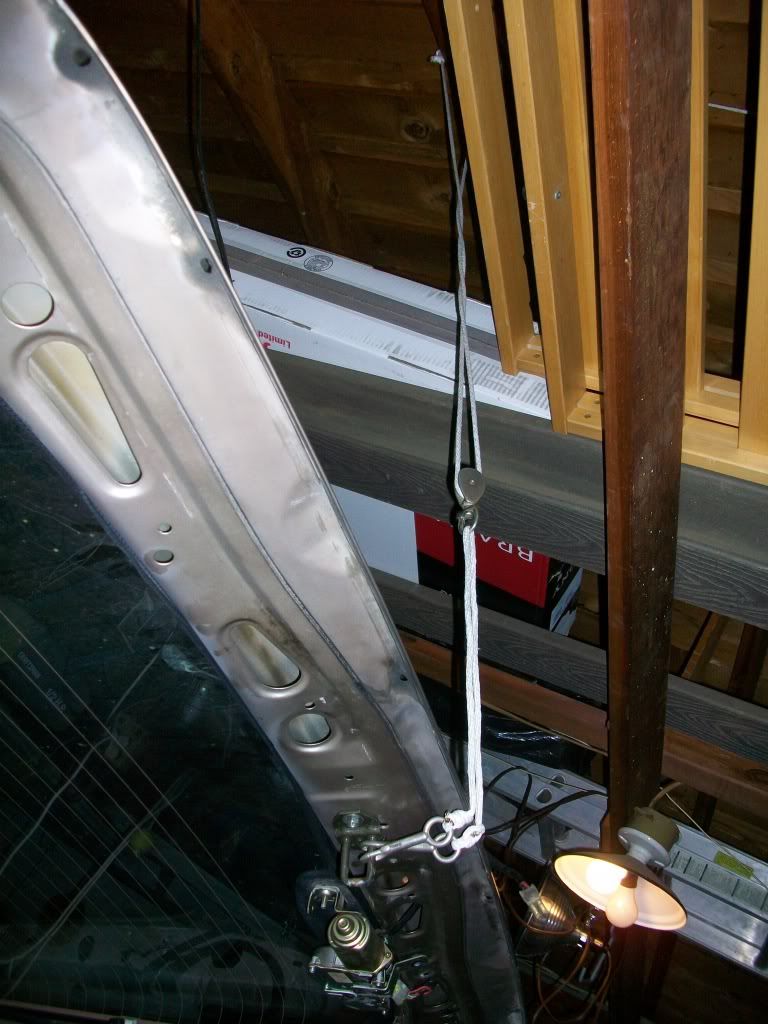
Awesome pulley system holds my hatch open.
posted image
posted image
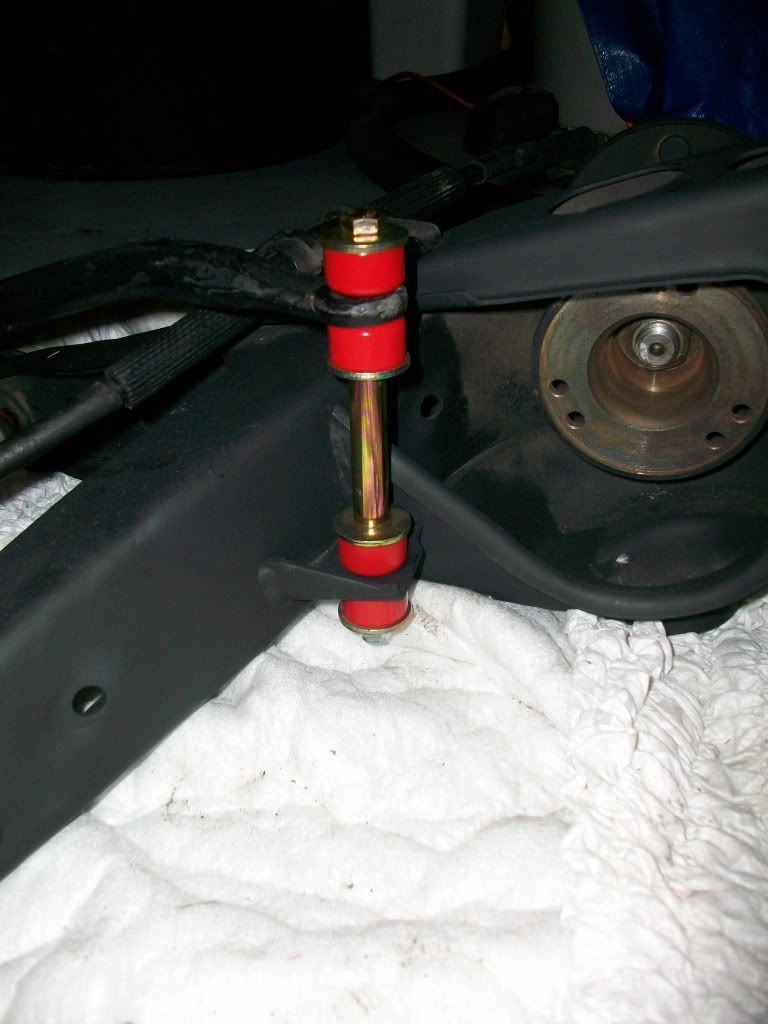
Installed longer swaybar endlinks on rear swaybar
posted image
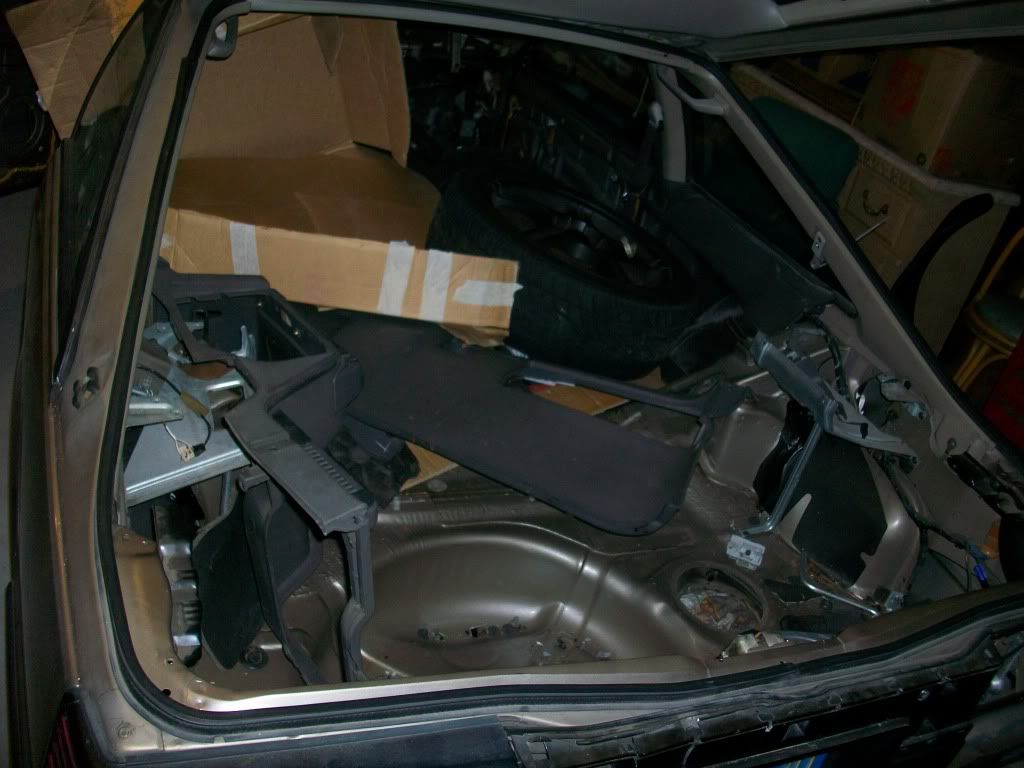
Crap in the car
posted image
posted image
Cleaning up
posted image
posted image
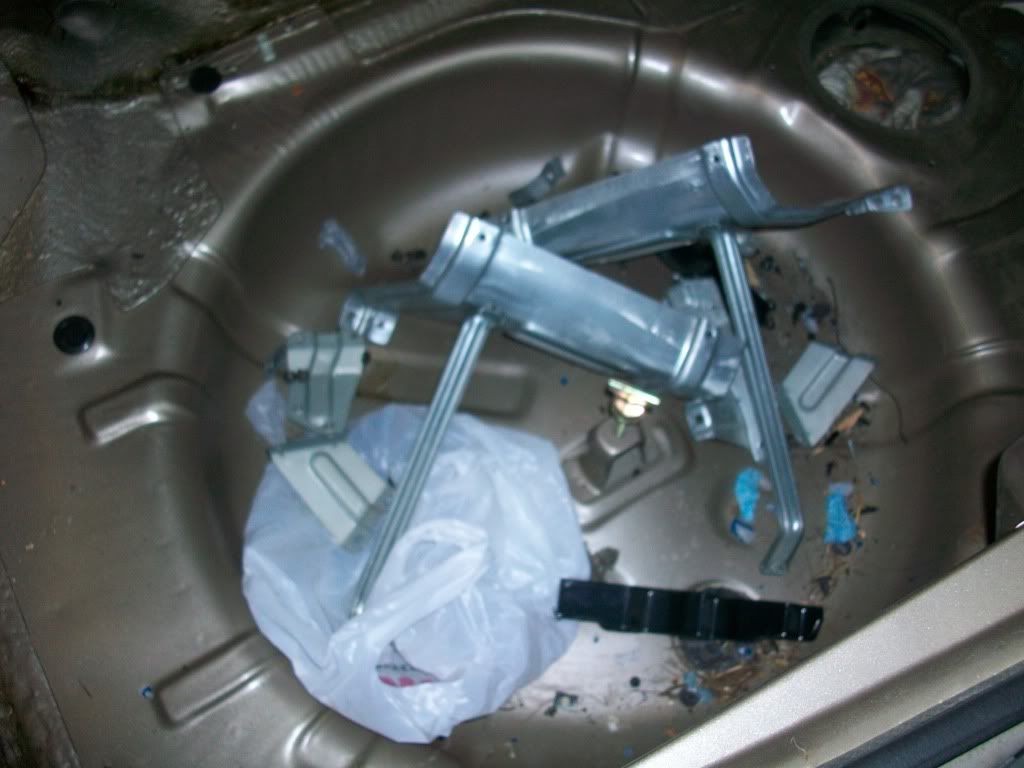
All the speaker / whatev brackets in the hatch.
posted image
posted image
Enjoying the open space in the car before I took the rear seats out.
posted image
Out
posted image
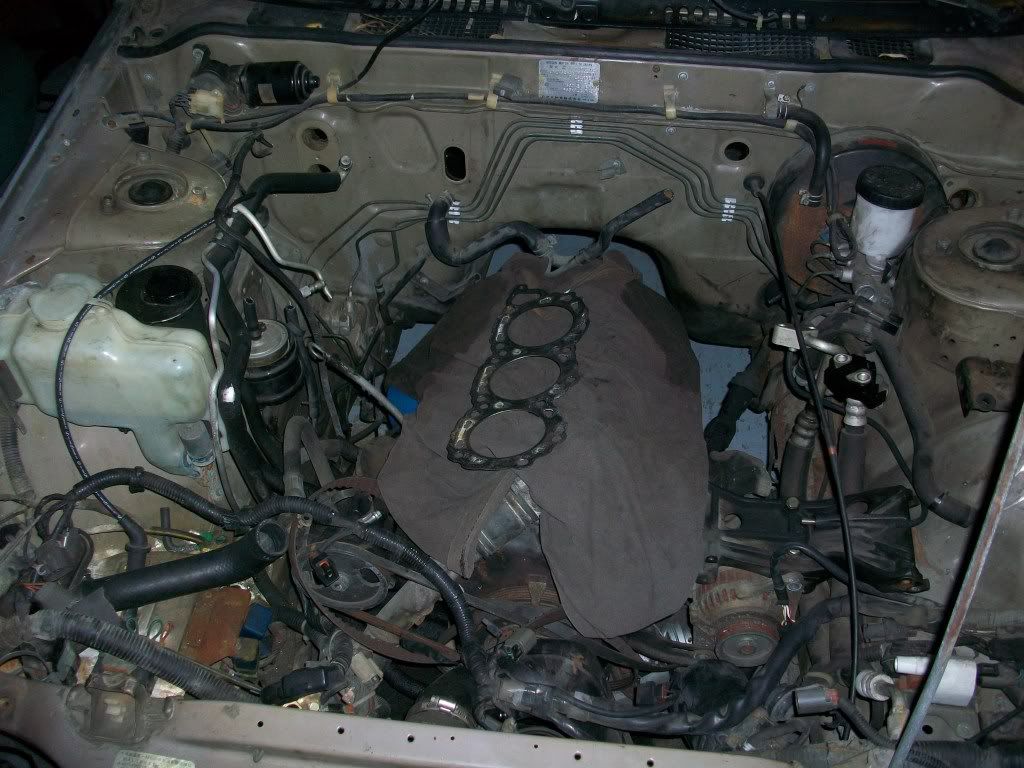
My sexy engine bay
posted image
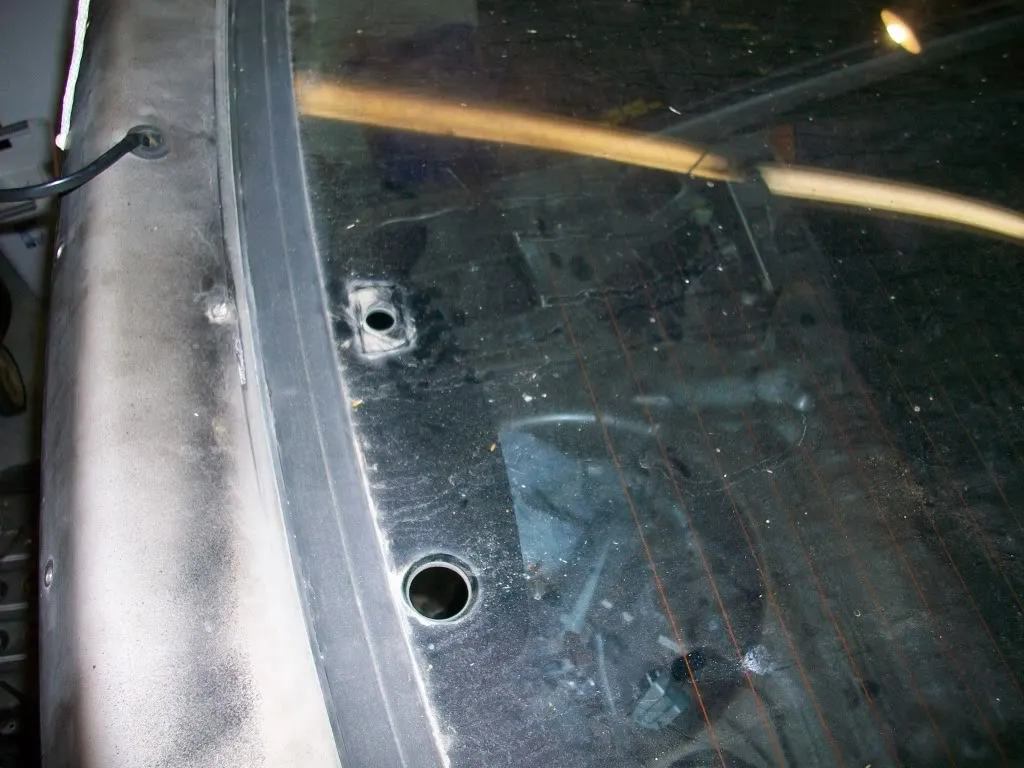
Took out rear wiper.
posted image
Then vacuumed and cleaned everything up pretty nice
posted image
posted image
posted image

And thats how she sits till tomorrow night where I may or may not get more done..stay tuned

ProlowtoneJun 24, 2011, 1:56 am · #31

Looking good!

Colonel GustardJun 24, 2011, 12:50 pm · #32

hey you stole my brown shirt! lol, Andrew has the fuel pump for it somewhere too haha.

DirtyGazeJun 24, 2011, 2:47 pm · #33
Prolowtone on 01:56:49 AM / 24-Jun-11
Looking good!


Thanks

Colonel Gustard on 12:50:16 PM / 24-Jun-11
hey you stole my brown shirt! lol, Andrew has the fuel pump for it somewhere too haha.

Awesome, Ill hit him up about it.  And that brown thing was a shirt??  Dude, it was so gross and faded that it was fading to red...how does that even work?
Colonel GustardJun 24, 2011, 5:57 pm · #34

yeah dude i picked the shirt out of my closest so the cylinder walls wouldnt get rusted up lol. and god damn you look ubly foo

DirtyGazeJun 28, 2011, 11:15 am · #35

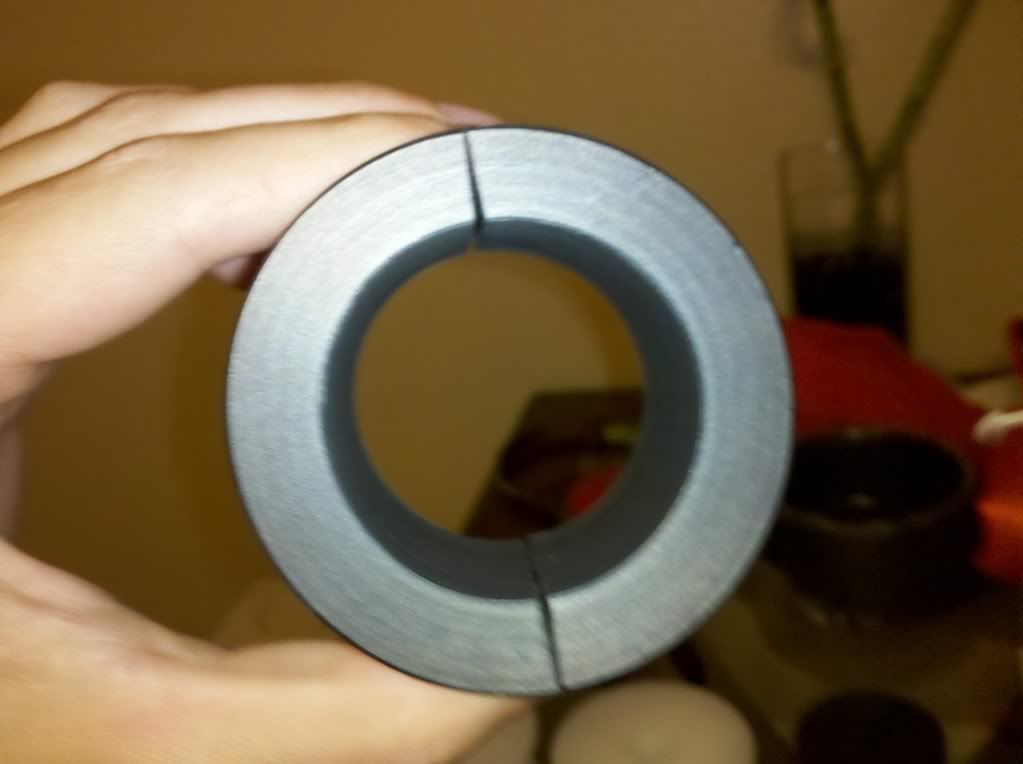
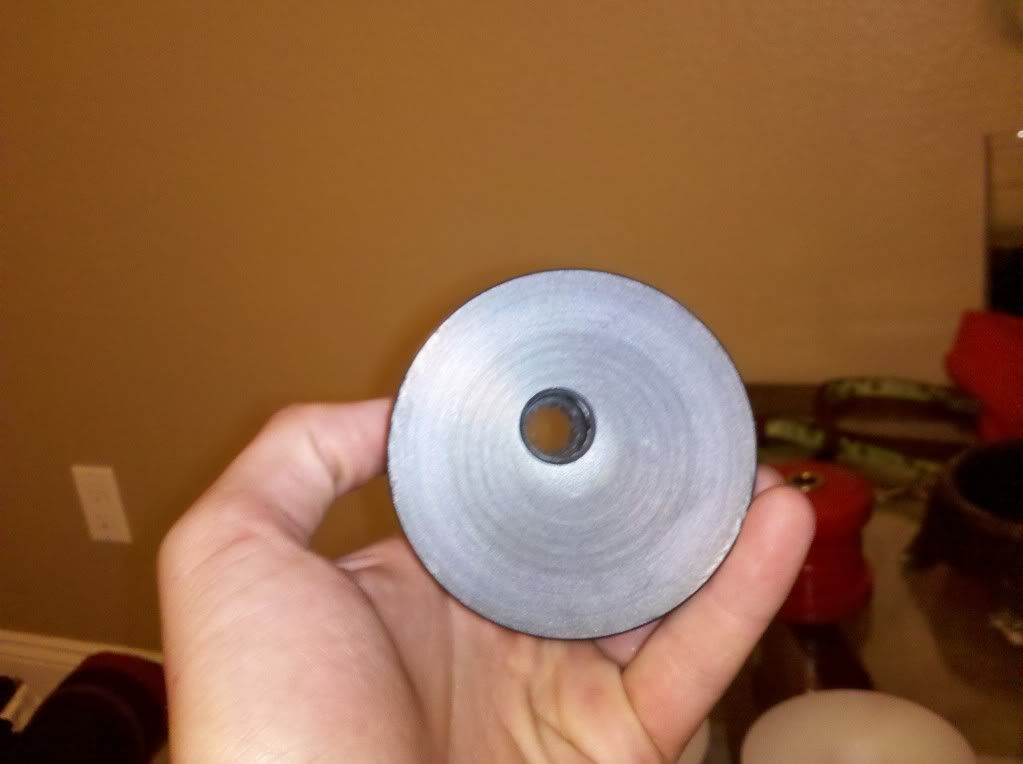
So Ive run into a bit of a problem right now.  Last night I tried to install my diff bracket w/ the MMR Bushing in it, but the bushing itself is a good 1/4 in. thicker than the frame will accept.  I was really hoping it would be bolt on and no adjustment needed but who am I kiddin, lol.  Ill get pics tonight

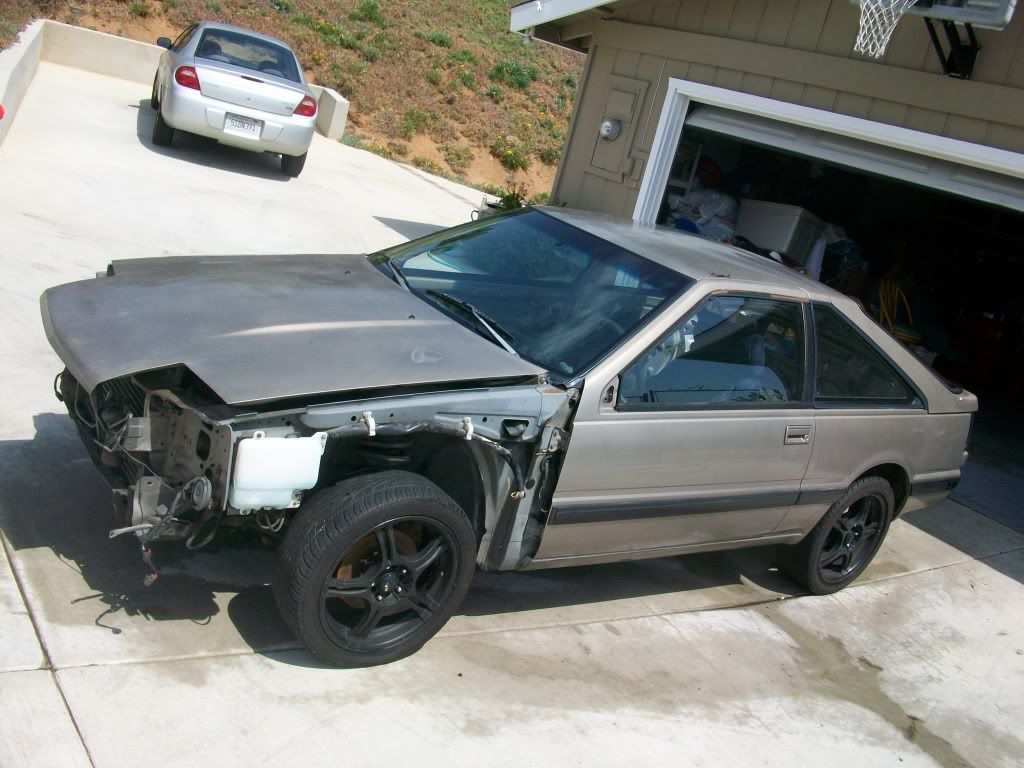
Also, does anyone know how to get rid of this cracking rubber stuff along the door without taking the whole thing apart? 
posted image

GOT NEW PARTS!!   PICS!!

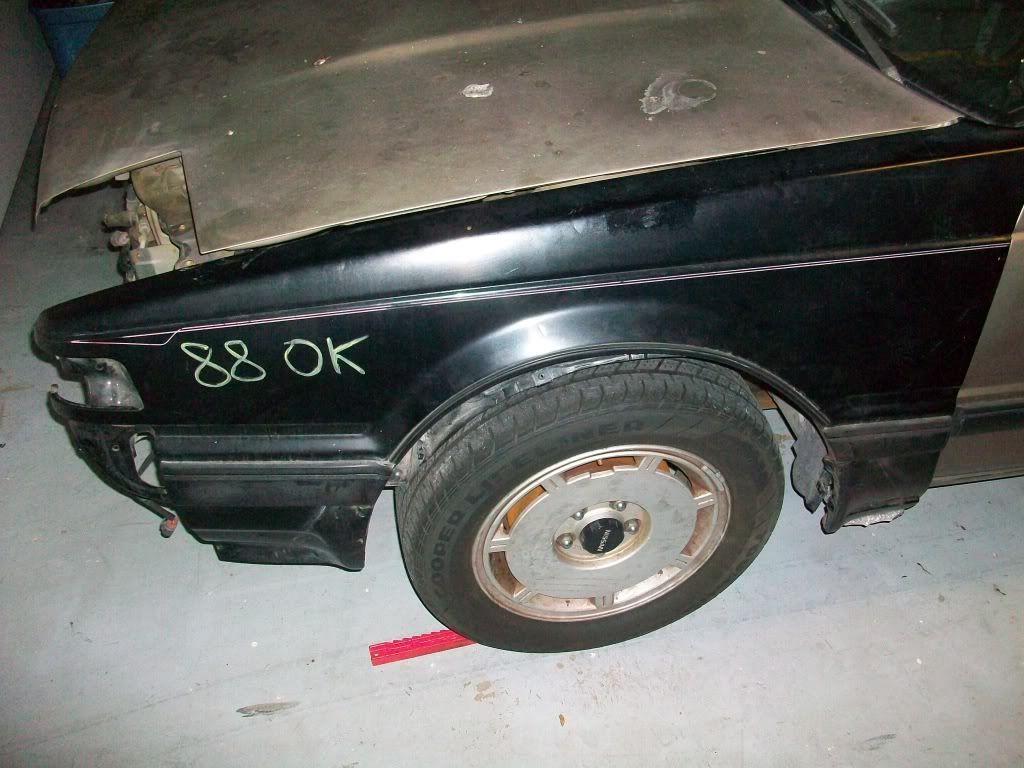
Super clean fender
posted image
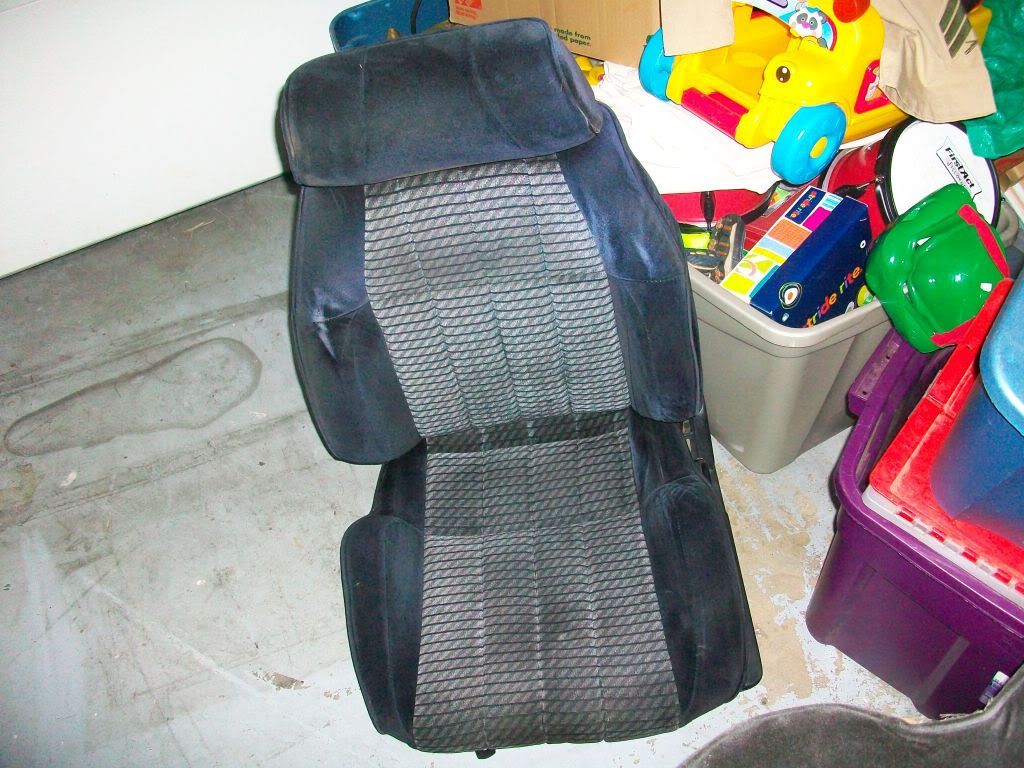
Pretty decent drivers seat
posted image
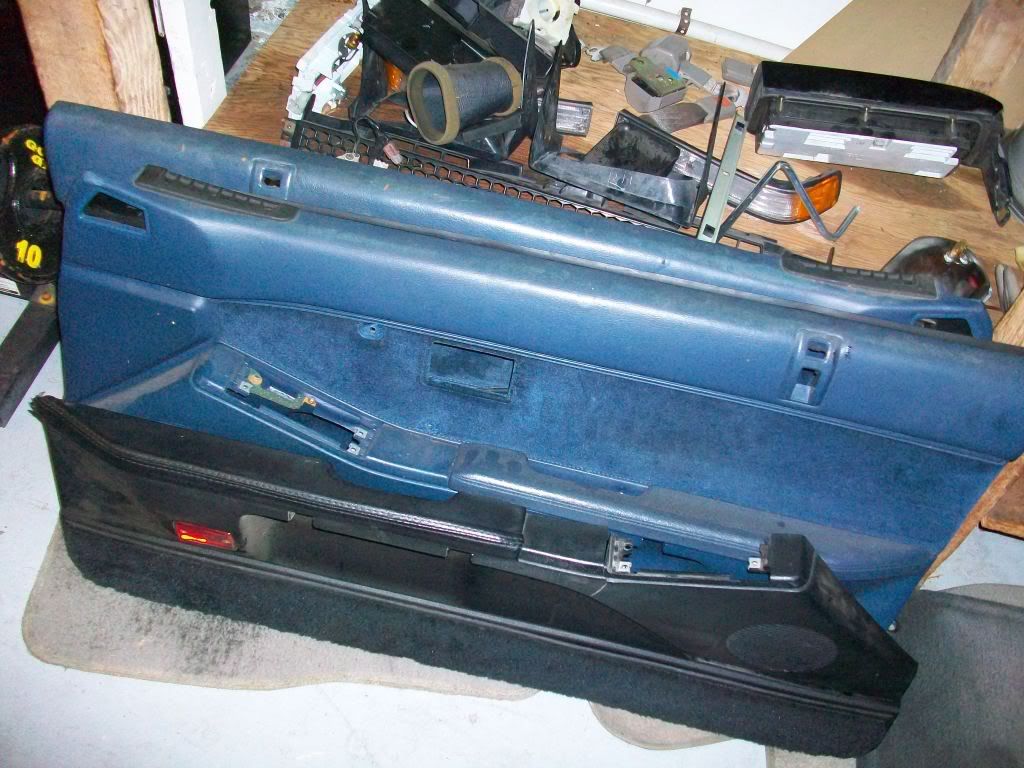
Clean door panels
posted image
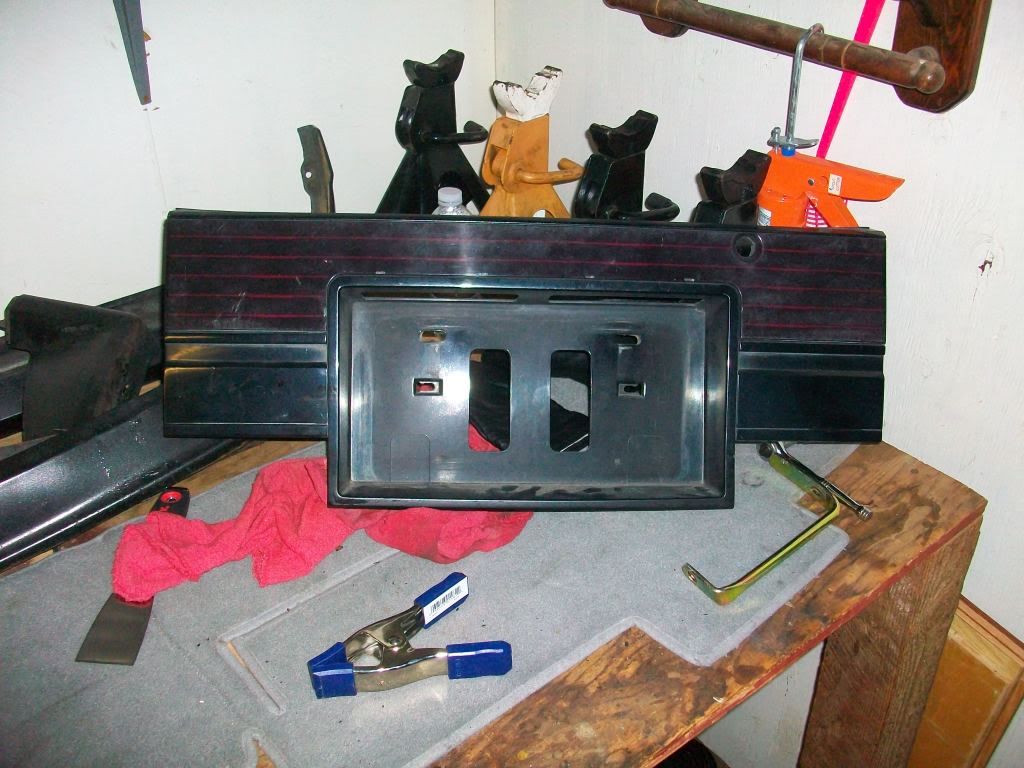
Clean Center Garnish
posted image
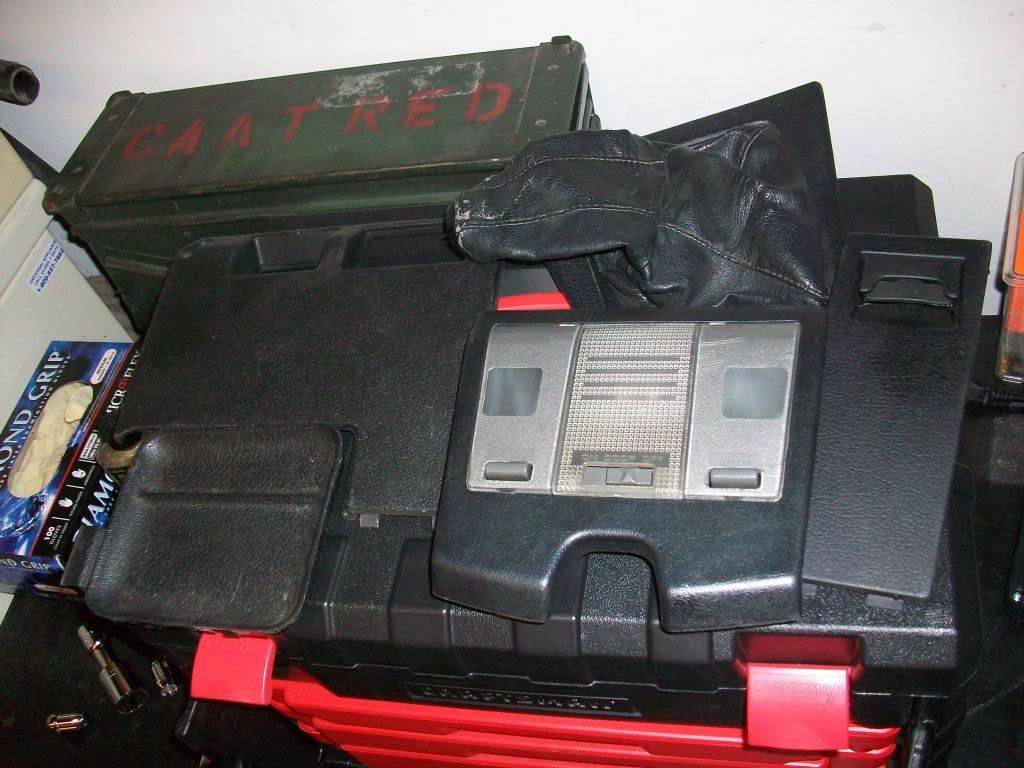
Various bits of black interior
posted image
Sexy Wing
posted image

Wolf DilworthJun 28, 2011, 2:05 pm · #36
DirtyGaze on 11:15:04 AM / 28-Jun-11
Also, does anyone know how to get rid of this cracking rubber stuff along the door without taking the whole thing apart? 
Use a very sharp utility knife to score along the underside and break it free.  Tedious work at best.  A little steal wool along with water and elbow grease will shine up the bare metal bits.  Do yourself a favor and mask off the paint before the steal wool trick.

DirtyGazeJun 29, 2011, 11:19 am · #37
Wolf Dilworth on 02:05:50 PM / 28-Jun-11
Use a very sharp utility knife to score along the underside and break it free.  Tedious work at best.  A little steal wool along with water and elbow grease will shine up the bare metal bits.  Do yourself a favor and mask off the paint before the steal wool trick.

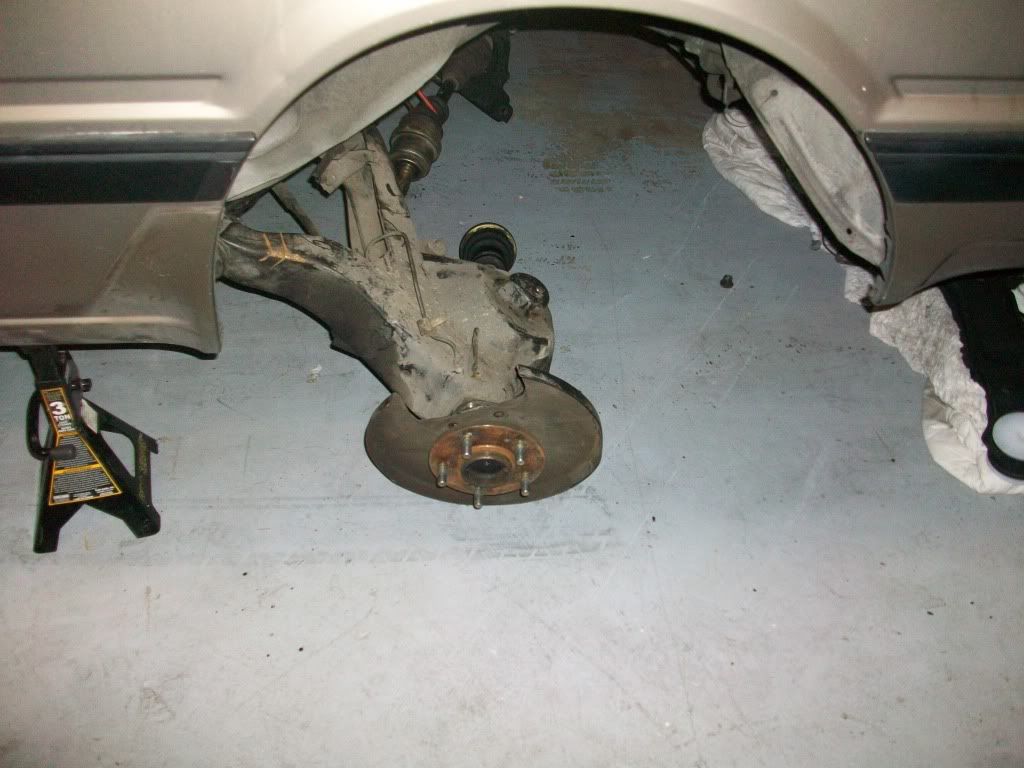
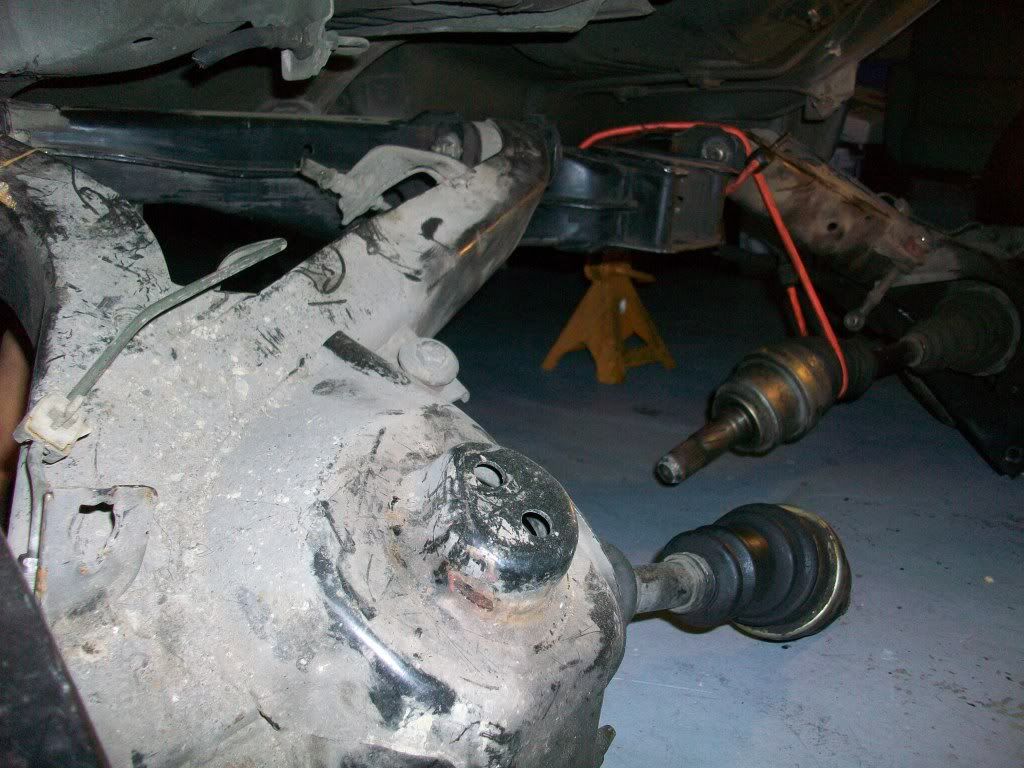
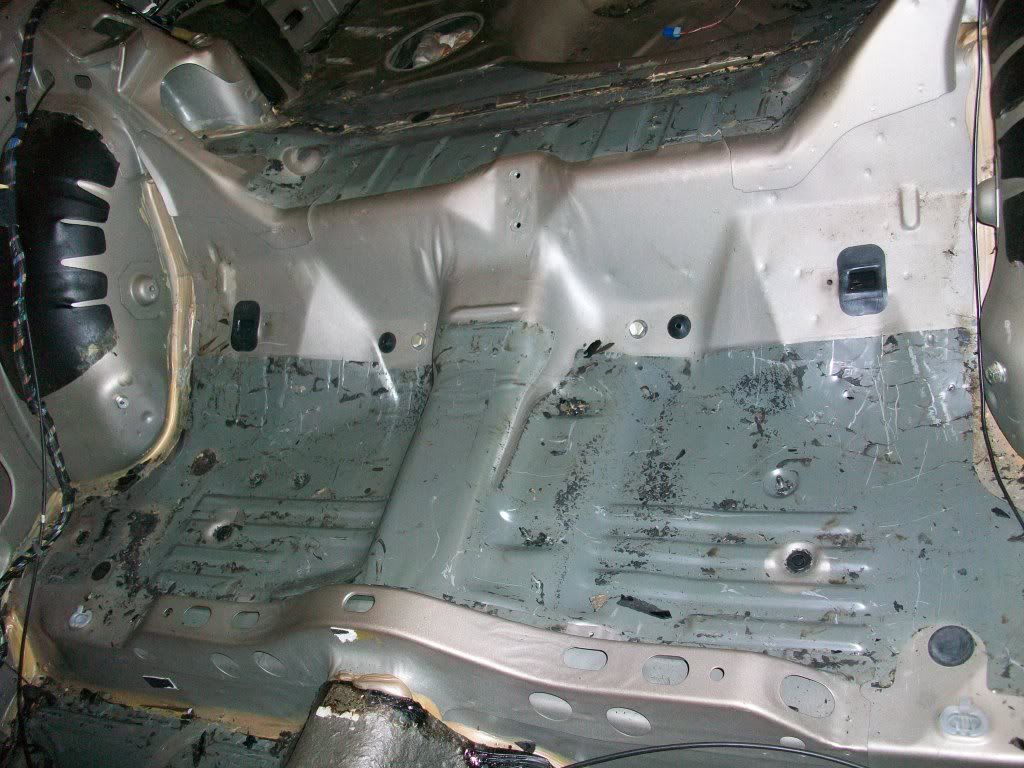
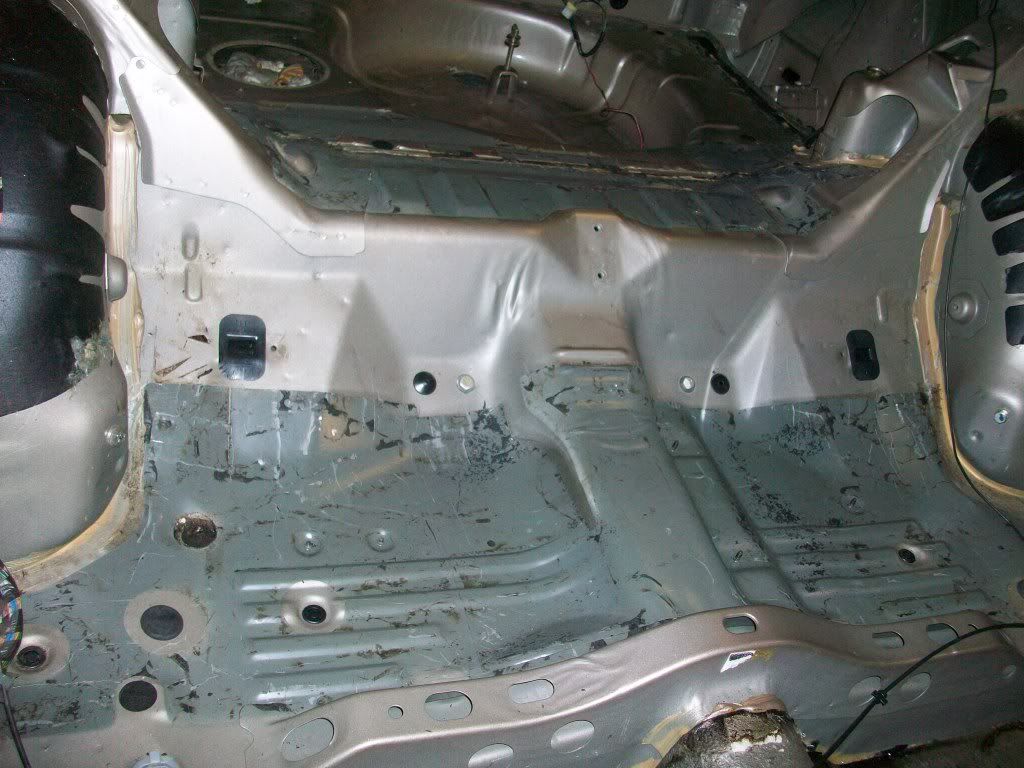
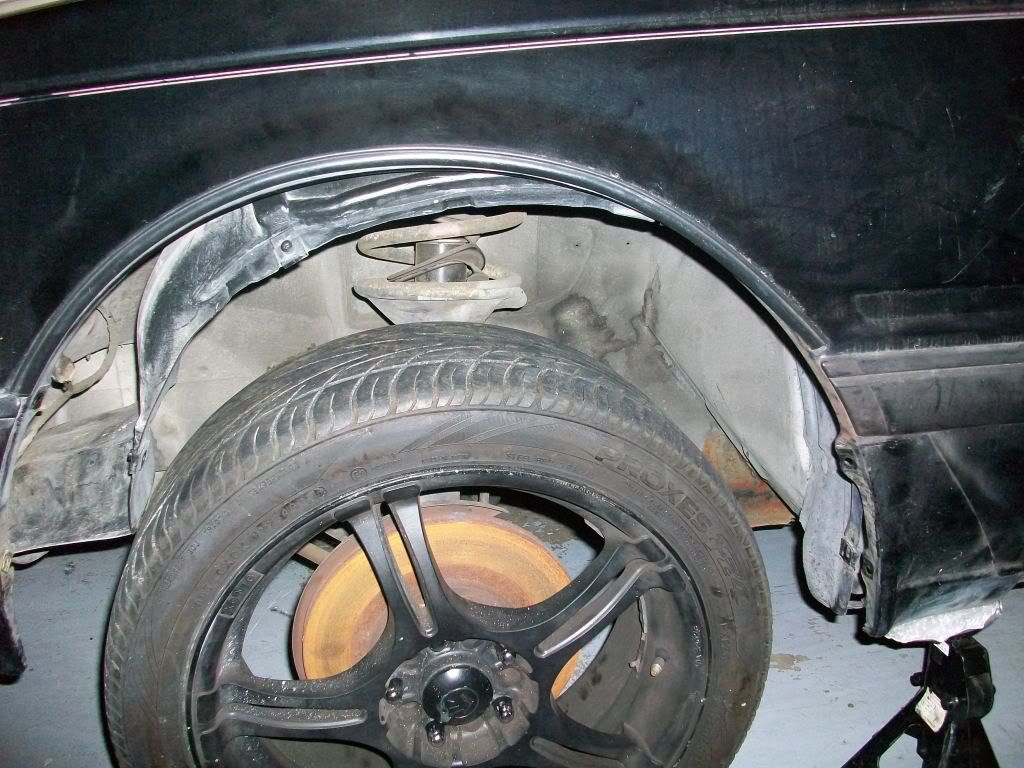
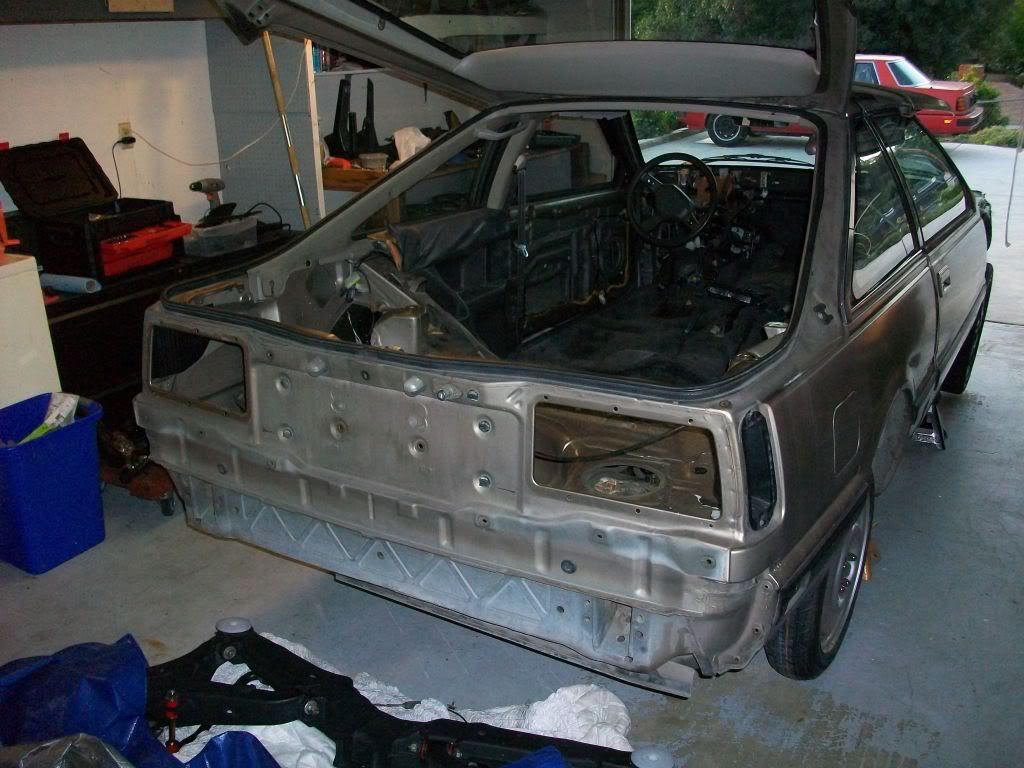
For sure!  Ill give all that a go later on.  Last night I got quite a bit done.  Finished removing interior, removed the rest of everything in the back, played with a dremel, dropped the old subframe, and almost installed the new one.
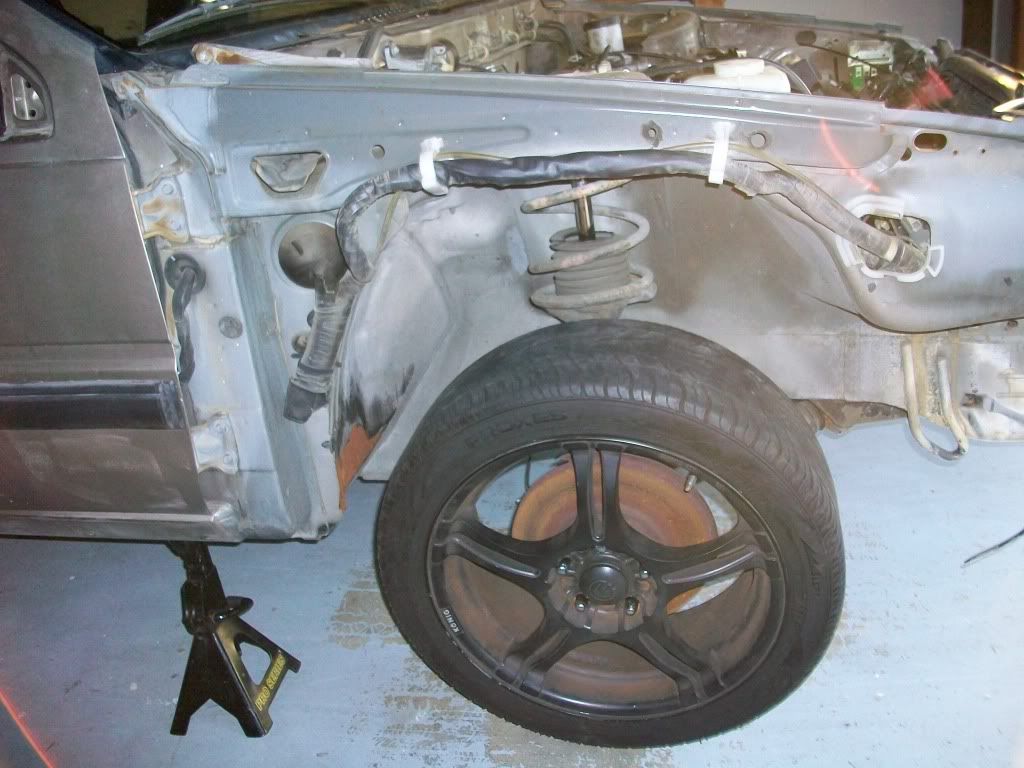
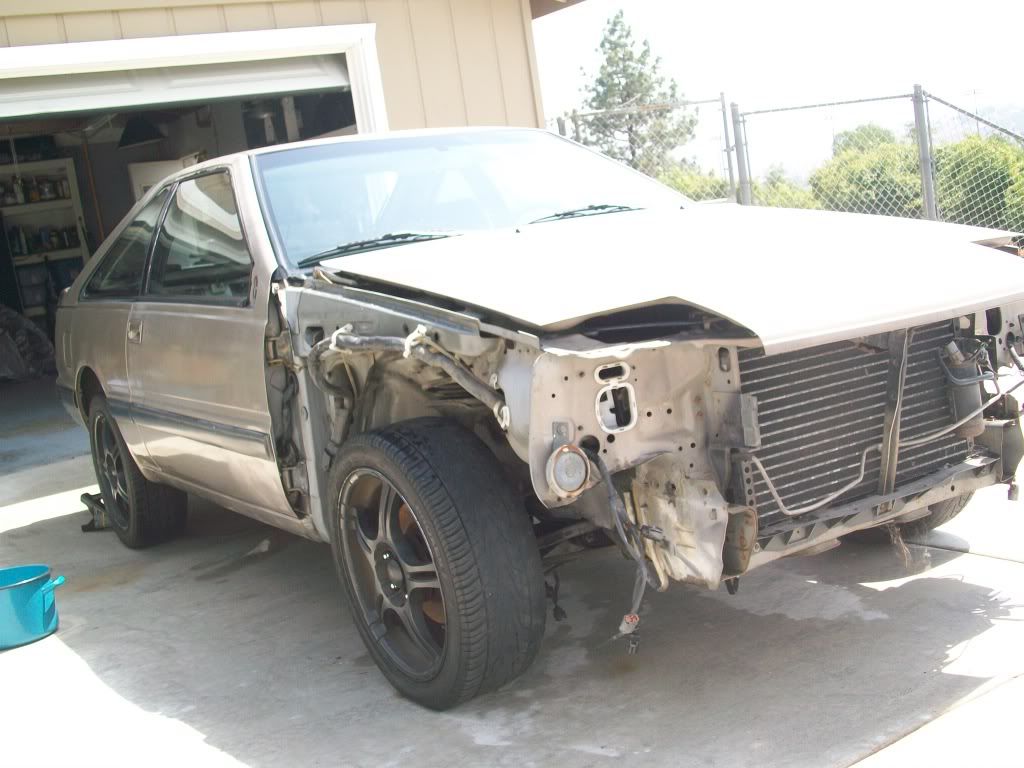
Put new wheels on the front
posted image
posted image
Finished removing everything from the back of the car
posted image
Then I test fit everything I do have for the rear end so far
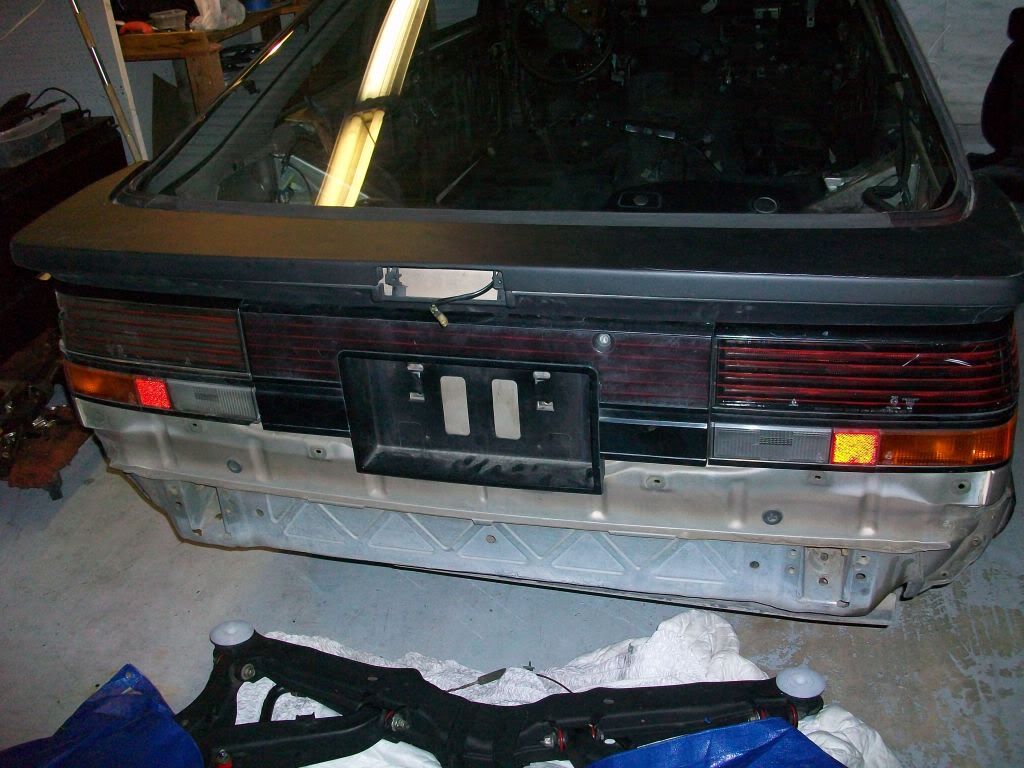
posted image
Then I promptly took it all back off again
posted image

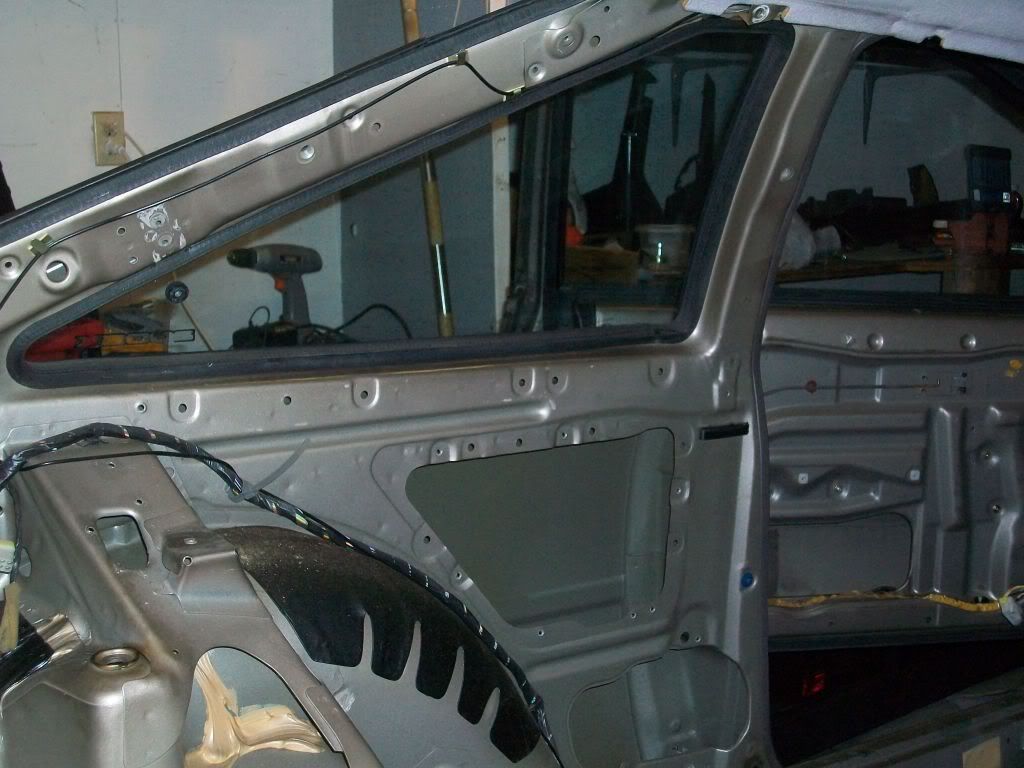
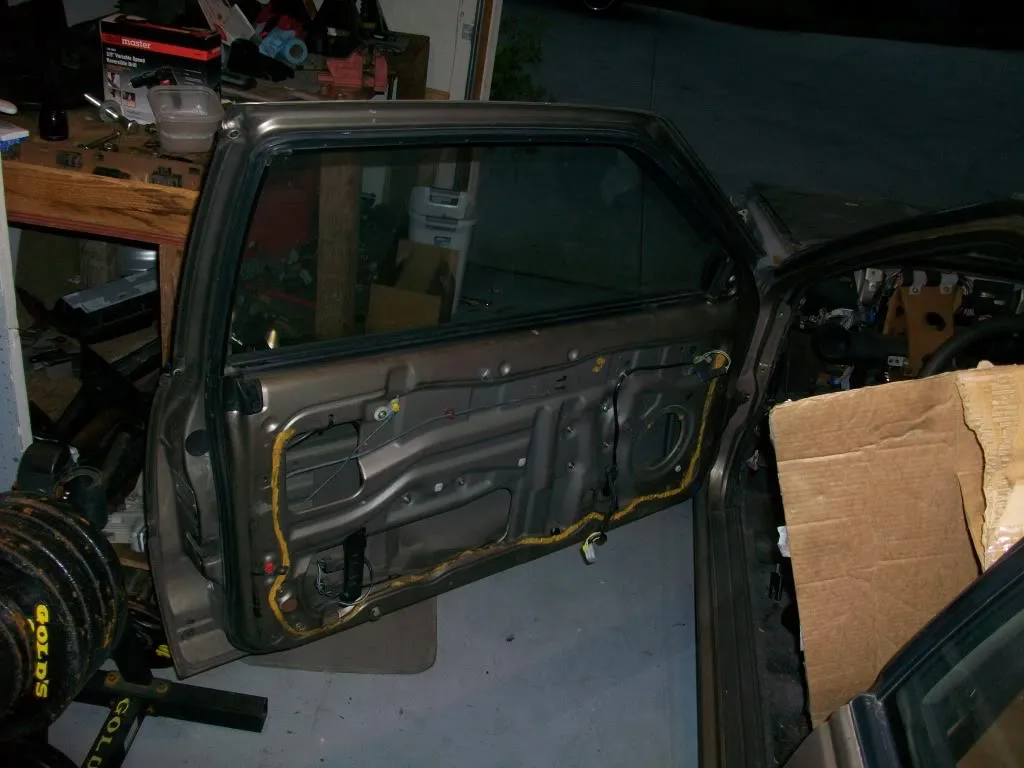
Removing interior
posted image
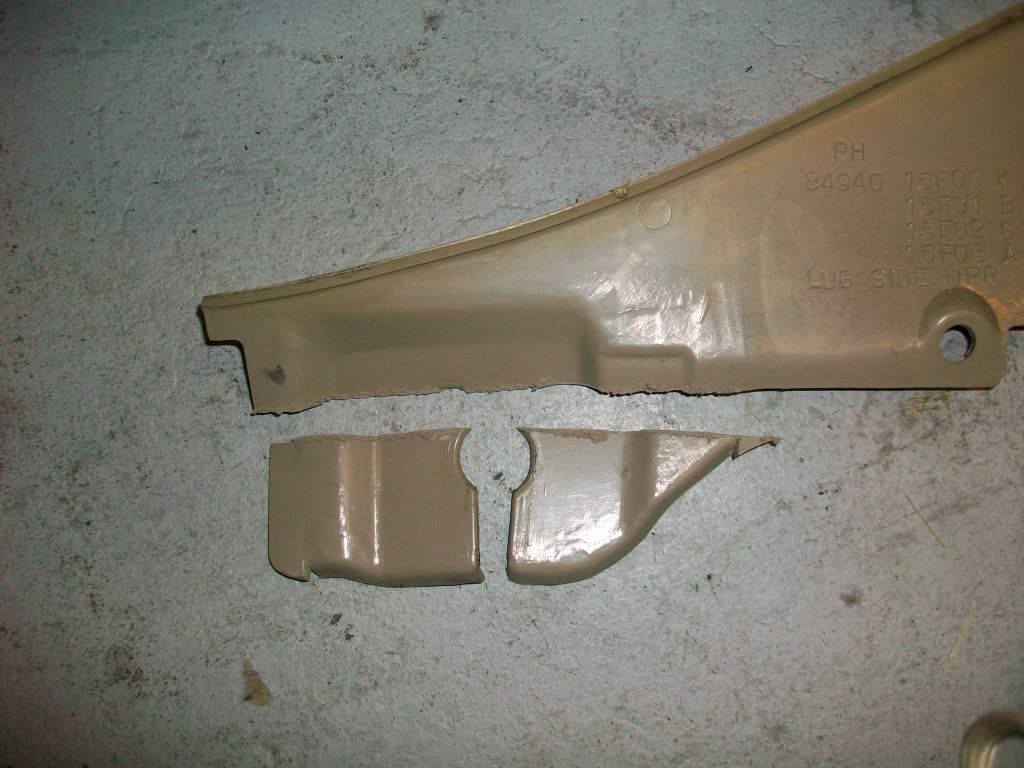
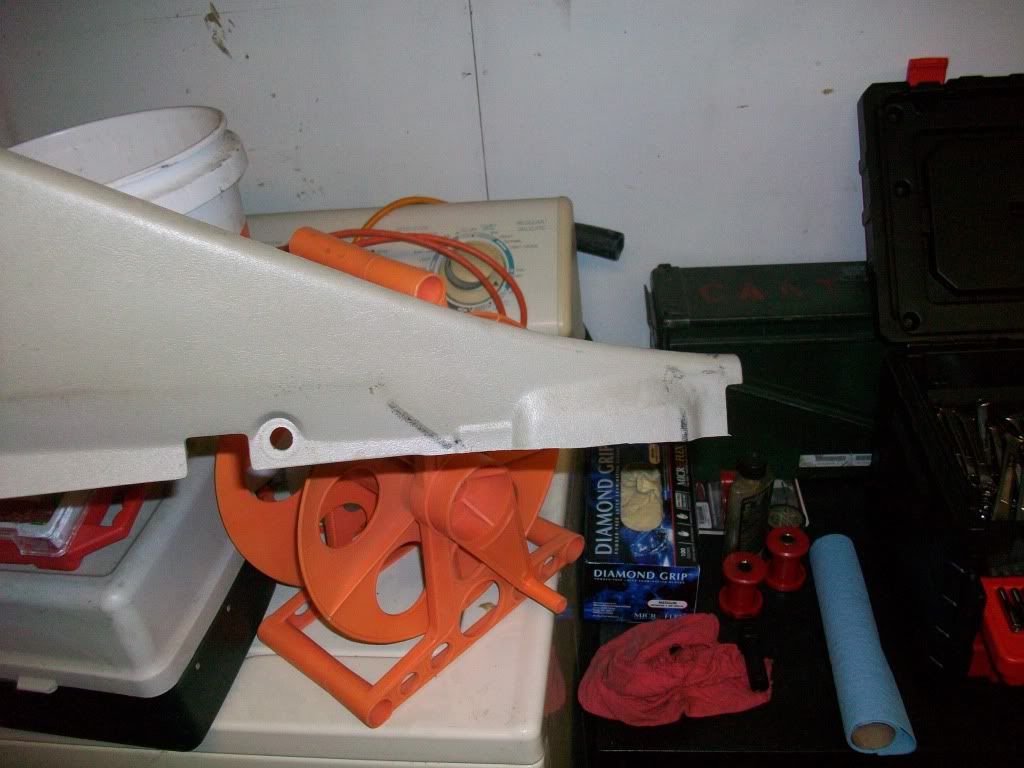
This is something I had fun playin with last night.  The b and c pillar plastic interior peices I plan on keeping and reusing, but I didnt like the back end of them.
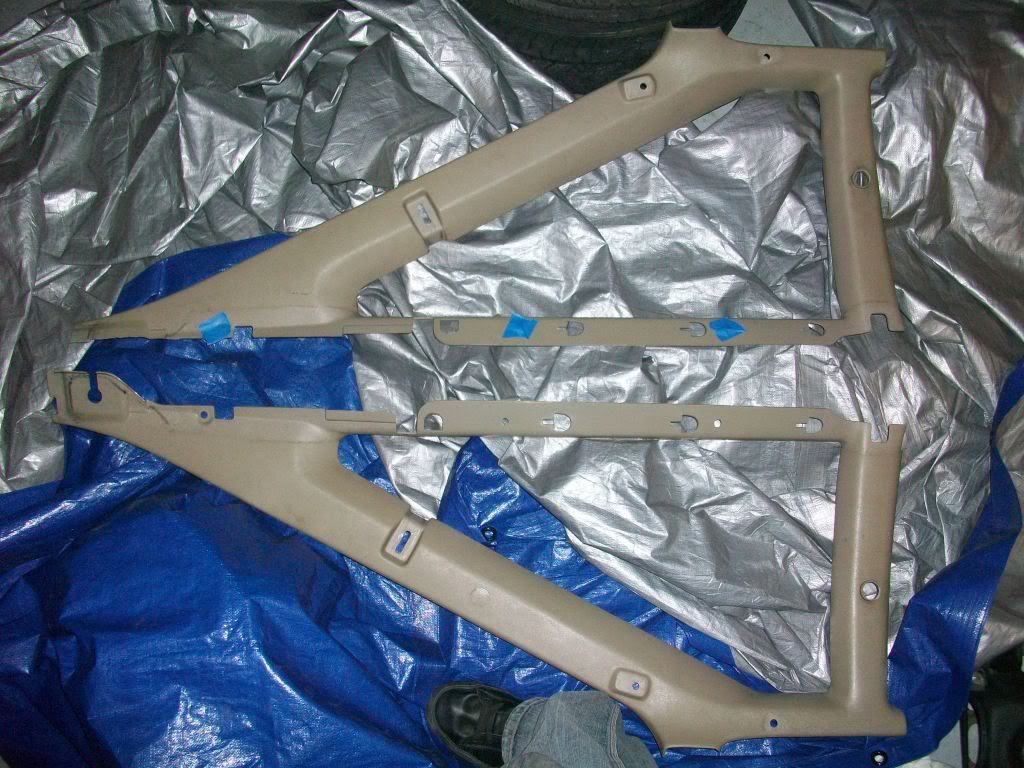
posted image
As you can see, the back end looks a little weird without bein cut.
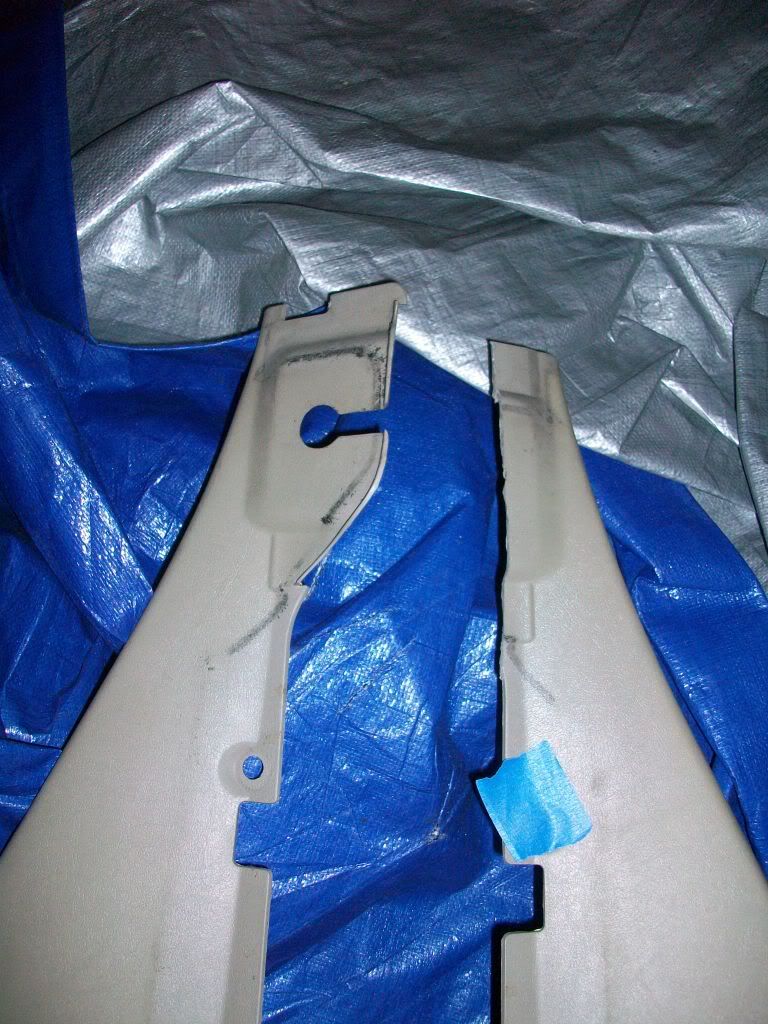
posted image
So I dremeled them :)
posted image
posted image

Ill probably be keeping and reusing these little pockets.  I like em.
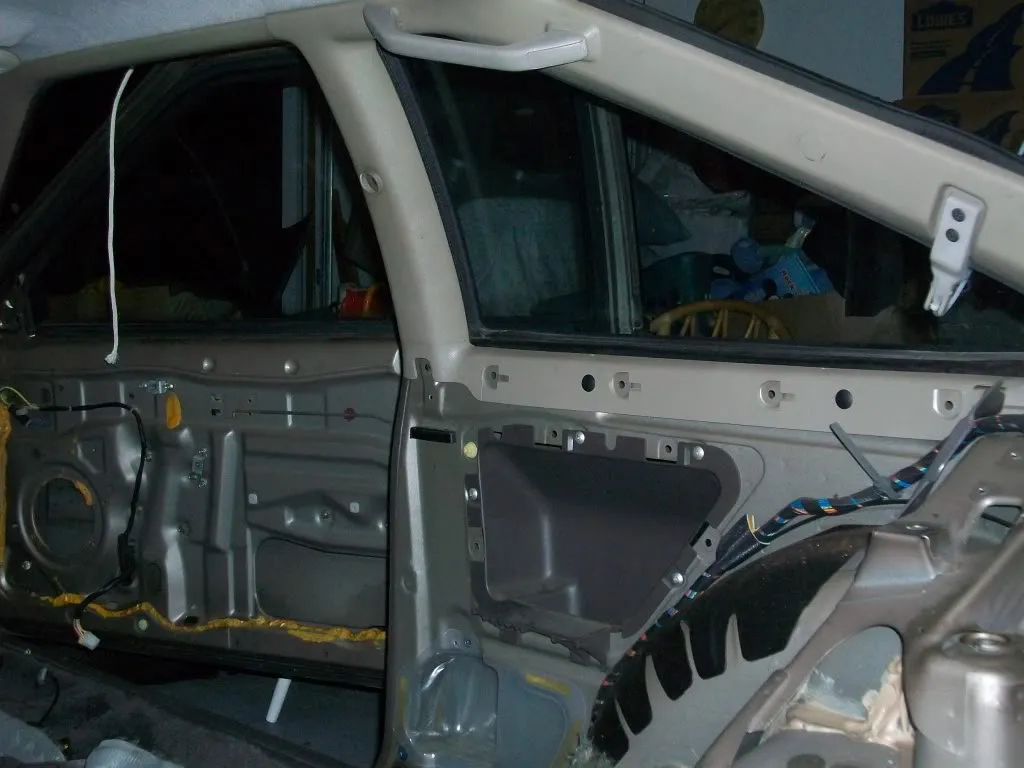
posted image

Removing carpet
posted image
Carpet out
posted image
Then I test fit my new front seat.  Nice fit
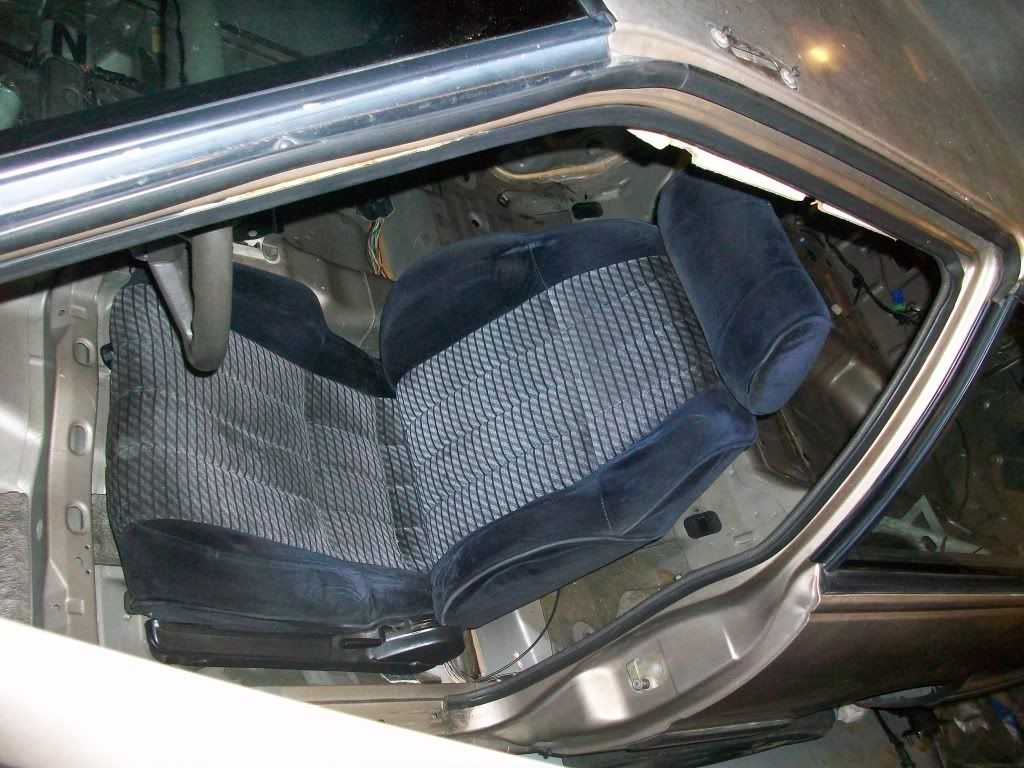
posted image
I screwed up though and have been sitting on the chair while its been in my garage...its fine, Ill just need to bend back the tabs today or tomorrow.
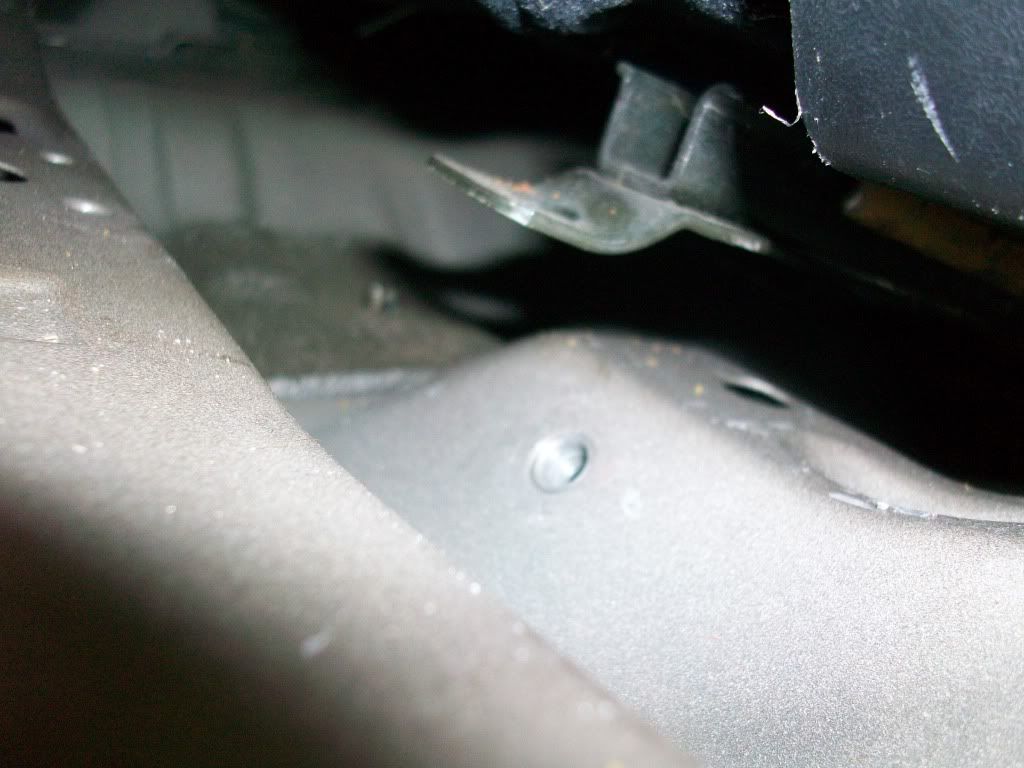
posted image
posted image

Out with the old!
posted image
posted image
posted image

In with the new!
posted image
posted image

Alright, so Maxpow (Andrew) came over last night to help with the Subframe install.  Now, neither of us have had previous MMR bushing install experience, and w/ the diff bushing being super wide, I was hoping we wouldnt run into any problems.  Well, after some amazing thinking, I found out how it was MMR wanted their subframe bushings installed on the car and I gotta admit, their idea is brilliant to say the least.

Now, first thing you need to know, is when you drop the subframe, get this little plate off the bolts hanging under the car.  Reason being is the MMR bushings are totally flat at the top and so is the bottom of the car.  You dont need a metal plate with a little bit of rubber in there...trust. 
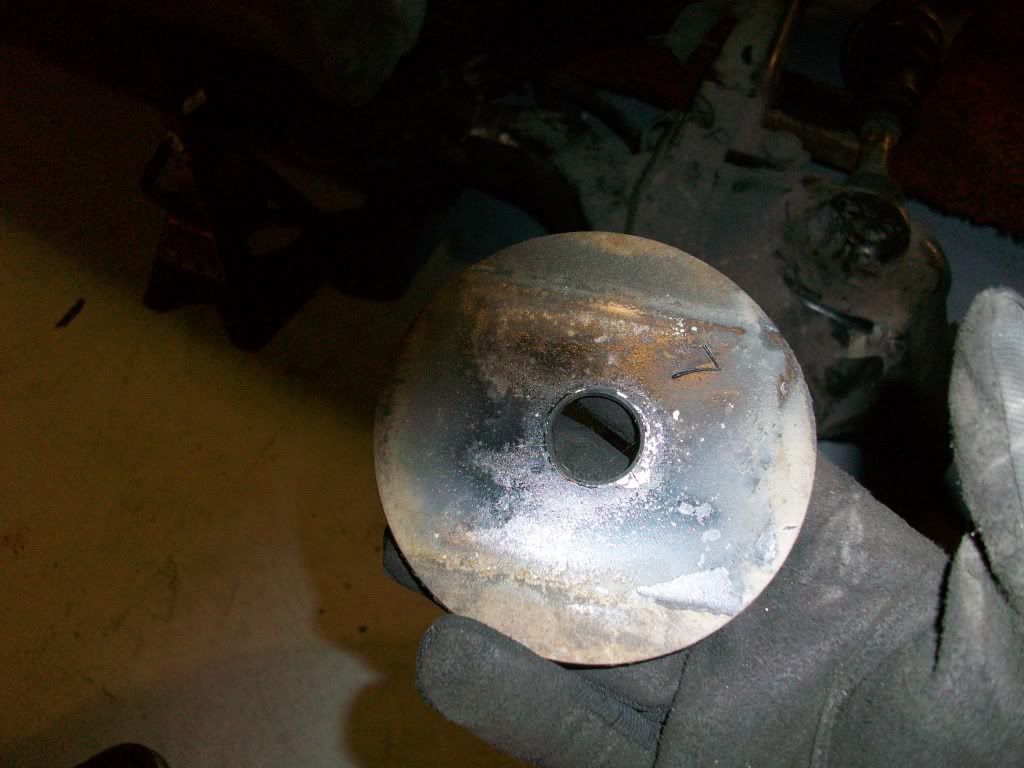
posted image
When installing the subframe, normally you install this little plate under the subframe like this.
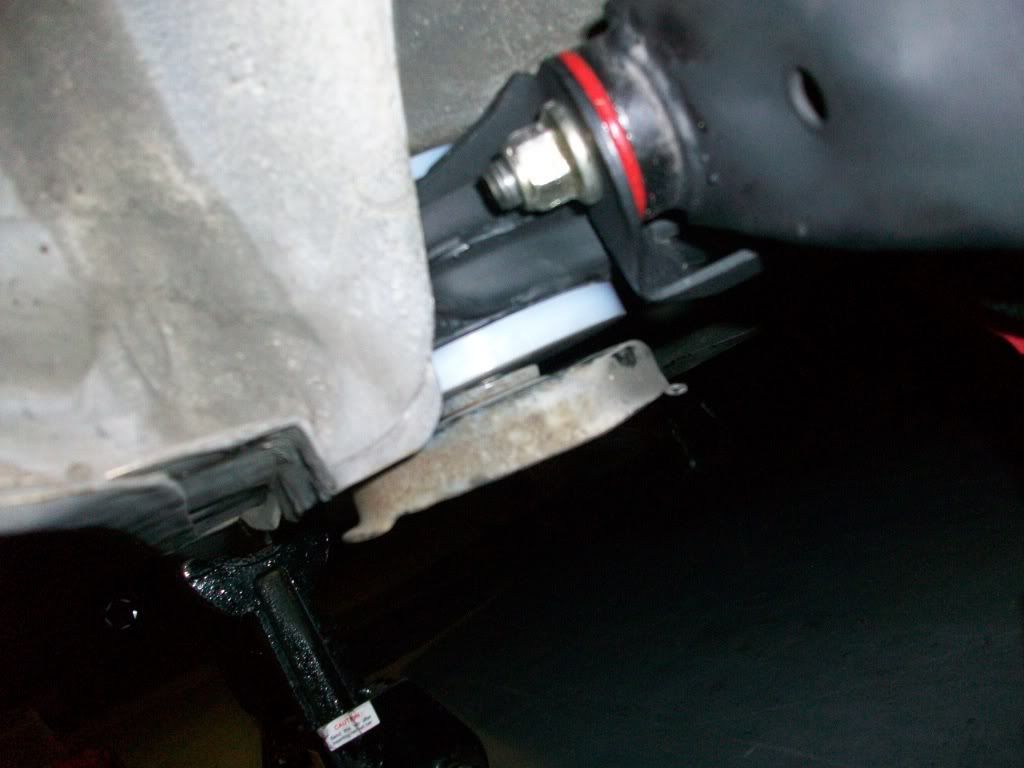
posted image
Notice that little nub of metal?  Whats the point of a solid mount if that nub is going to be my weak point in the suspension.  So we flipped the plate over to see how it would look.
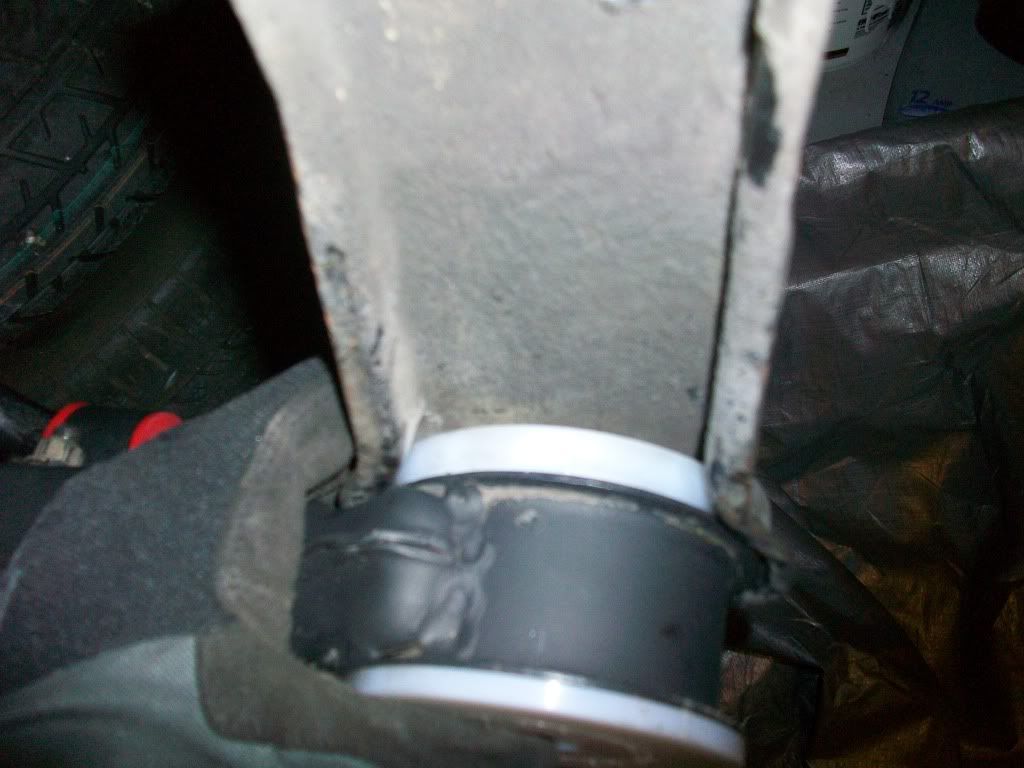
posted image
HELLA FLUSH!!
Problem that I have now though is the stock bolts arent long enough to connect to the chassis still.
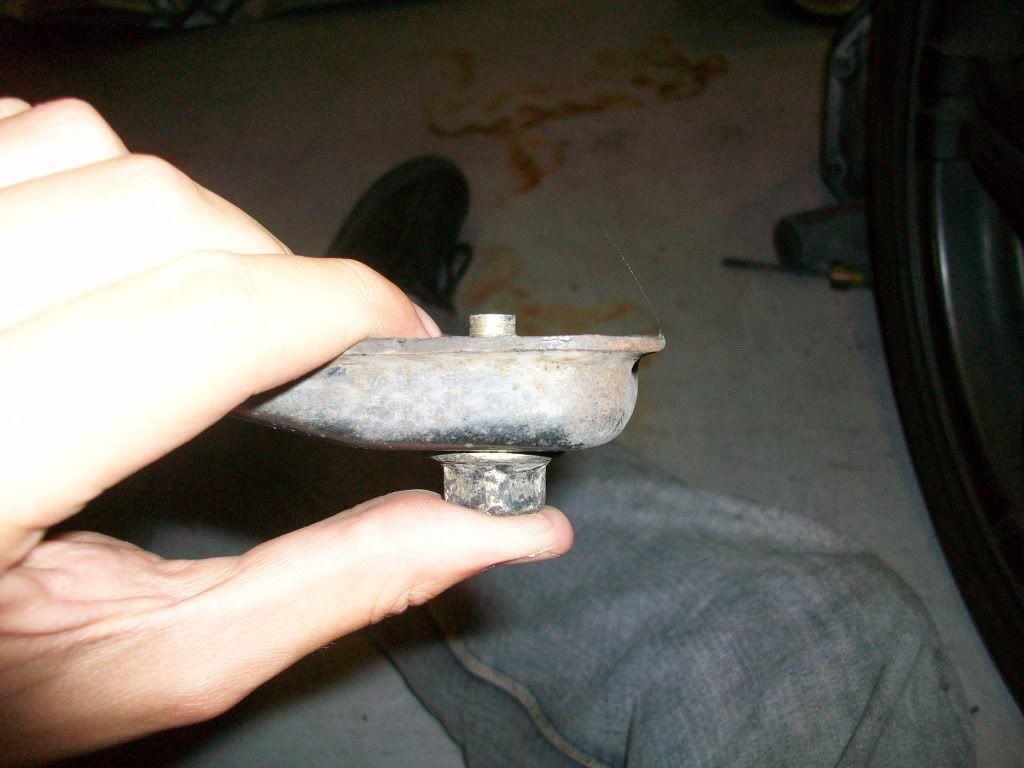
posted image
So tonight Ill be going and getting longer bolts and hopefully installing the plate like this tonight.
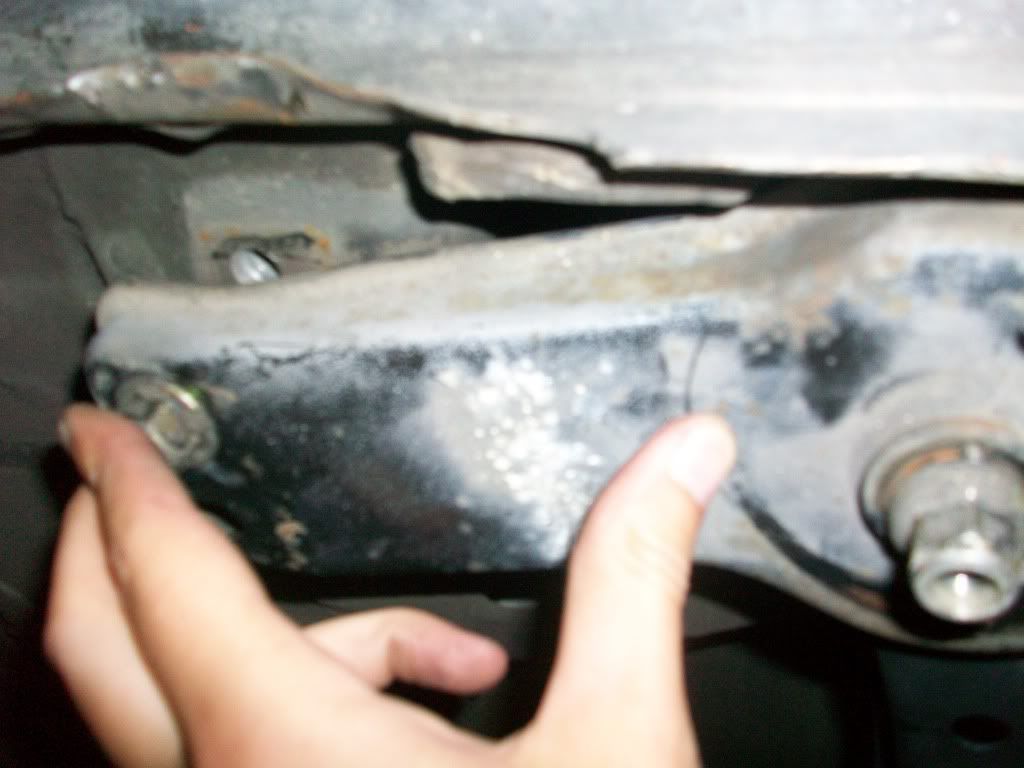
posted image
(the subframe isnt all the way in yet, thats why theres that big gap)
Now, for those of you wondering "Yes, thats all great, but now you have a big gap between the chassis and the middle of this plate..thats no good, what do you plan on doing about that?"
Maxpow thought of something brilliant.
The subframe that we pulled came off his old car and still has the sway bar endlinks.  Well, turns out the endlinks fit perfectly over the bolt, and between that gap.  FUCK YEA!
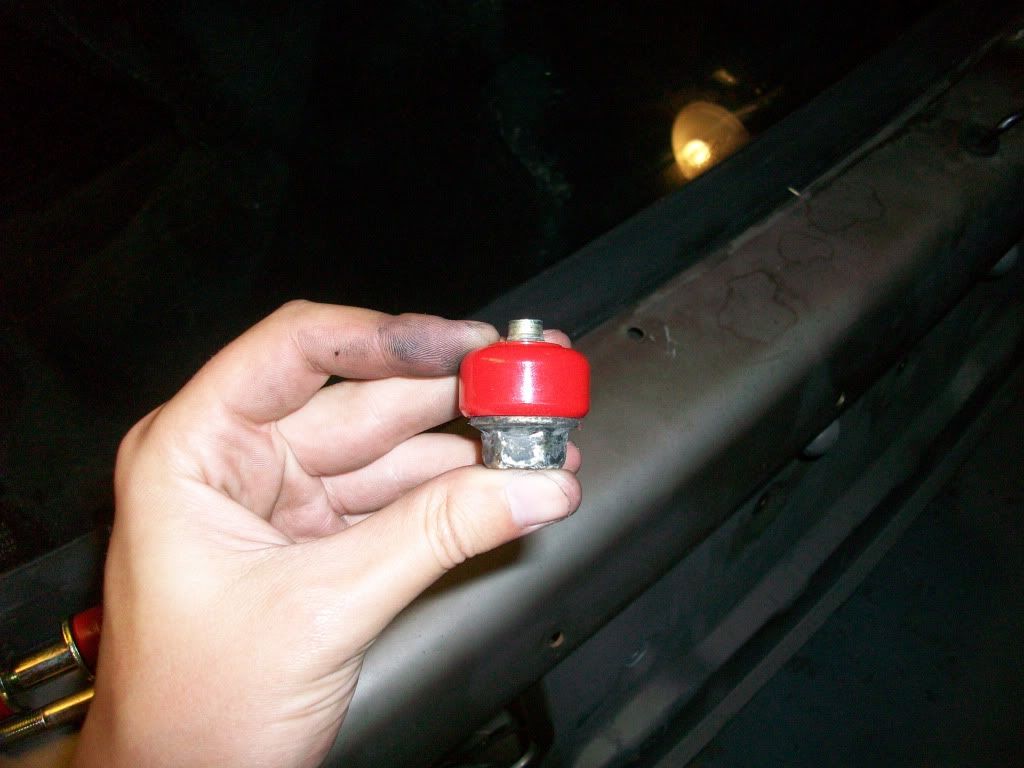
posted image
Almost there.

So this is how she still sits.
posted image
IggyEGuanaJun 29, 2011, 7:06 pm · #38

dont flip the plate. just remove that "nub". the bolts holding the plate will never stay tight if you have it flipped. and the endlink bushing will do nothing

DirtyGazeJun 29, 2011, 10:49 pm · #39

Aww really?  It looks like it was meant to be..seriously, lol
I thought with 2 sway bar bushings inbetween the bolt, it would allow you to torque the bolts since your no longer bolting metal to metal.  The sway bar bushings give it a huge amount of resistance allowing you to torque the shit out of the bolts.  Granted I need longer bolts, but you still dont think this would work?
IggyEGuanaJun 30, 2011, 2:35 am · #40

ya just drill out the spotwelds that hold that nub to the plate

DirtyGazeJun 30, 2011, 10:50 am · #41

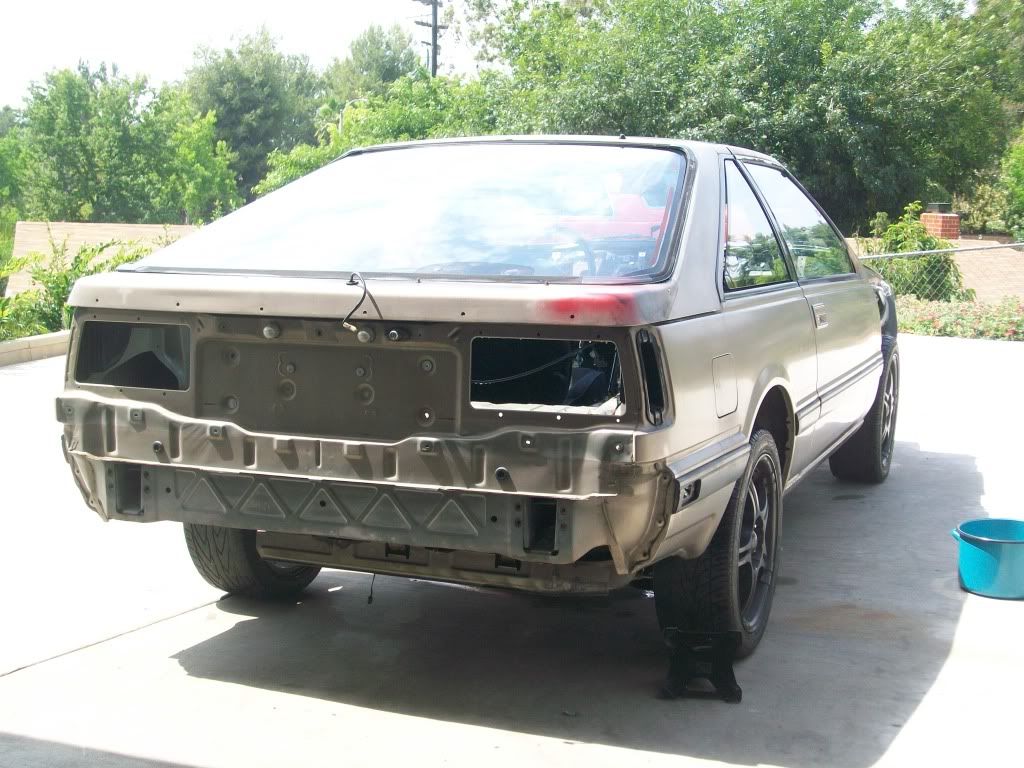
Last night I tried playing with the subframe mounts from an idea I had.  Seems like it would work but Iggys right, the bolts probably wont stay.  Anyway, got the car back on its own 4 feet again as a roller.  Then got better pics of the diff mount.
posted image
posted image
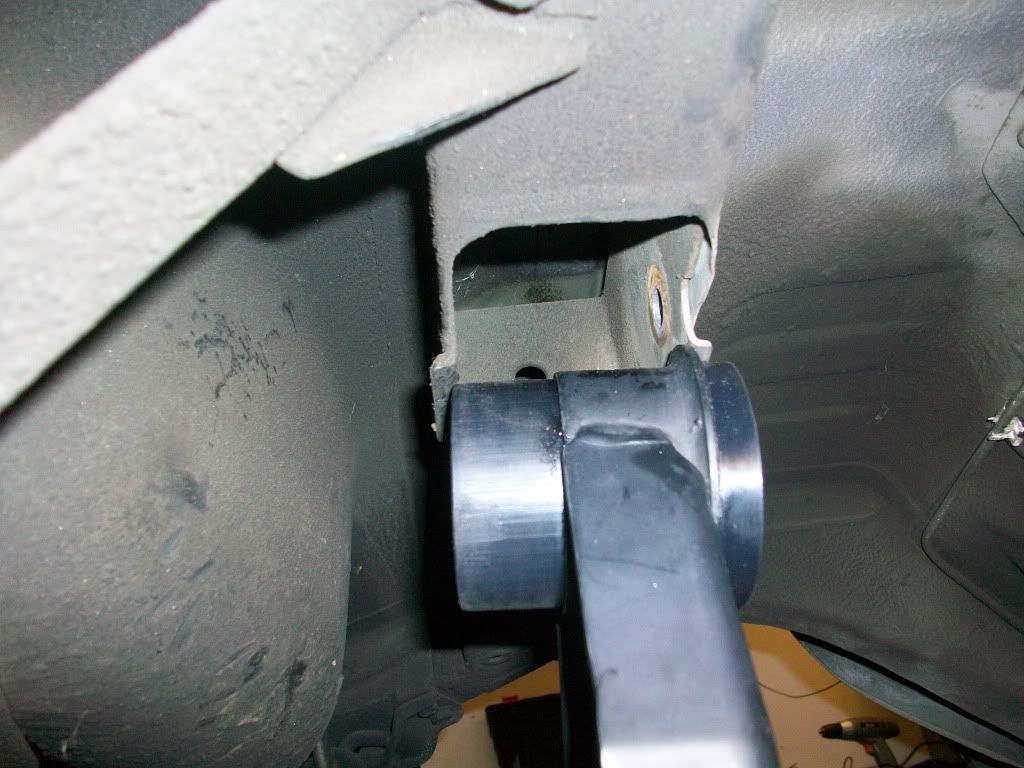
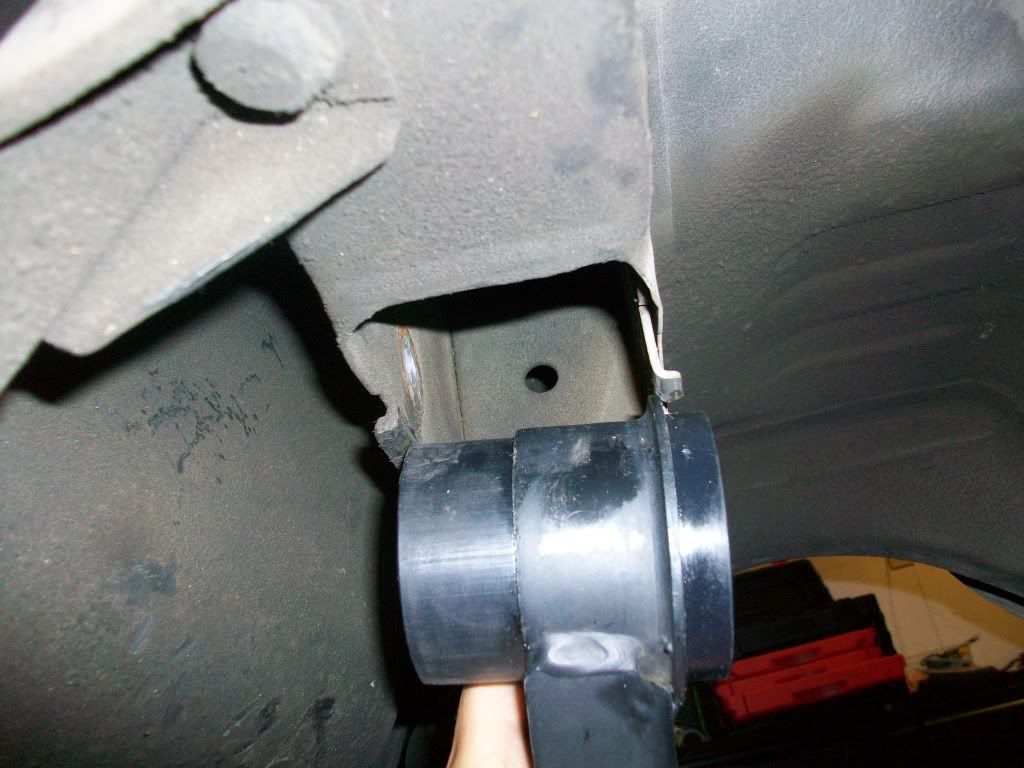
4X4in
posted image
There could be some rubbing issues goin on here, lol.

posted image

posted image

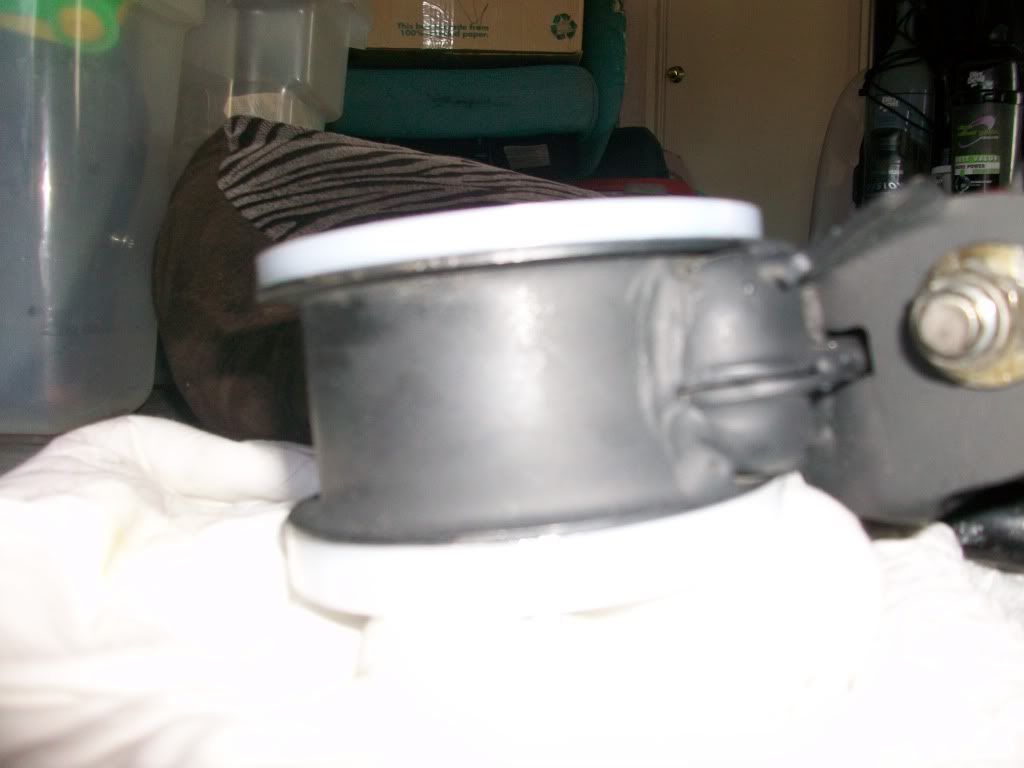
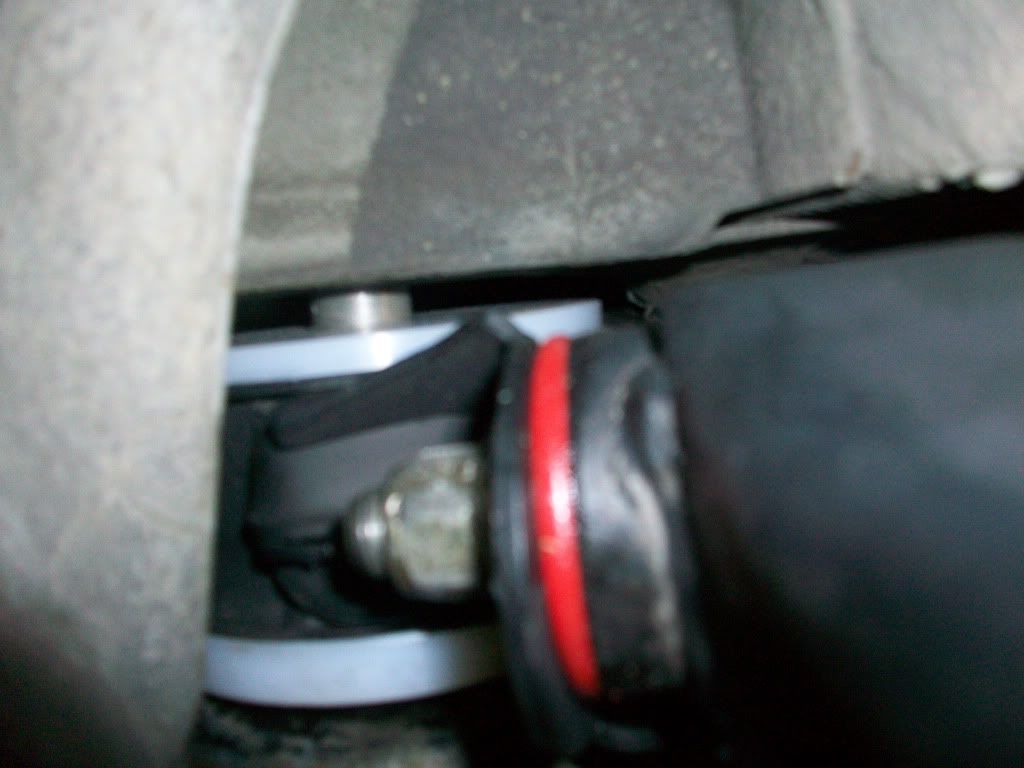
The diff bushing looks like it would be a perfect fit if i took the whole front lip off...but that doesnt make a whole lotta sense.  Anyone installed MMR Diff bushing before?  Also looks like theres some kind of bracket in there that can be taken off with a lot of work.  Not sure though

Wolf DilworthJul 2, 2011, 1:58 am · #42

Iggy is 100% correct, I removed the doubler from my plates.  Those plates are an integral part of your rear sub-frame strength.  there is a considerable lateral load on that plate and you do not want any wiggle in there.  Adding a rubber grommet is just plain stupid, not brilliant.

Realize, there are only three mounting points that carry the entire load of your rear suspension, you and Andrew are clearly not engineers, for your safety and those who may be driving near you, do not try to re-engineer Nissan's design. 


Post Merge: 02:09:32 AM / 02-Jul-11

Find someone with a lathe to cut-down the MMR bushing, I do not know why it is so large, mine slipped in with just a few light taps from a mallet.  As for the bracket you reffered to, it is a doubler and adds critical strength to the mount area.  DO NOT remove it, that would be a very big error.

Simply cut the bushing using a lathe... Not a saw blade.  You want both faces of the bushing parallel.  If you do not have a lathe or know someone, pay a shop to do it.  Most reasonable shops will do it for less than the cost of a case of Coronas.
Otherwise, everything is looking good.
DirtyGazeJul 3, 2011, 7:13 pm · #43
Wolf Dilworth on 01:58:56 AM / 02-Jul-11
Iggy is 100% correct, I removed the doubler from my plates.  Those plates are an integral part of your rear sub-frame strength.  there is a considerable lateral load on that plate and you do not want any wiggle in there.  Adding a rubber grommet is just plain stupid, not brilliant.

Realize, there are only three mounting points that carry the entire load of your rear suspension, you and Andrew are clearly not engineers, for your safety and those who may be driving near you, do not try to re-engineer Nissan's design. 

Post Merge: 11:09:32 PM / 01-Jul-11

Find someone with a lathe to cut-down the MMR bushing, I do not know why it is so large, mine slipped in with just a few light taps from a mallet.  As for the bracket you reffered to, it is a doubler and adds critical strength to the mount area.  DO NOT remove it, that would be a very big error.

Simply cut the bushing using a lathe... Not a saw blade.  You want both faces of the bushing parallel.  If you do not have a lathe or know someone, pay a shop to do it.  Most reasonable shops will do it for less than the cost of a case of Coronas.

Otherwise, everything is looking good.

For sure, I just like bouncing ideas around.  I got someone cutting down the bushing at work on tuesday and I understand the integral strength Id lose from removing the bracket thats inside the mounting point...Im just confused as shit that its so much bigger, lol.  Everyone Ive talked too said theirs slipped right in w/ no modification needed and I havent been able to get a hold of MMR to figure this shit out (terrible customer service).
As for the mounting bracket, it was an idea that seemed like it would work great at first, then slowly started to see that it wouldnt work at all.  From the way the bracket cups the lower portion of the MMR bushings, it looked like thats how the guys (engineers?) at MMR designed it.  Again, never seen someone install an MMR subframe set, so I was playing through some ideas since I actually can, lol.

Appreciate the help guys, Ill be drilling out the "nub" of the subframe mounting brackets soon and installing properly.  Slow progress is being made this weekend and Ill come back with some pics soon.  As for now though, I just gave her a wash since she was just full of all sorts of filth.
posted image
posted image
posted image
posted image
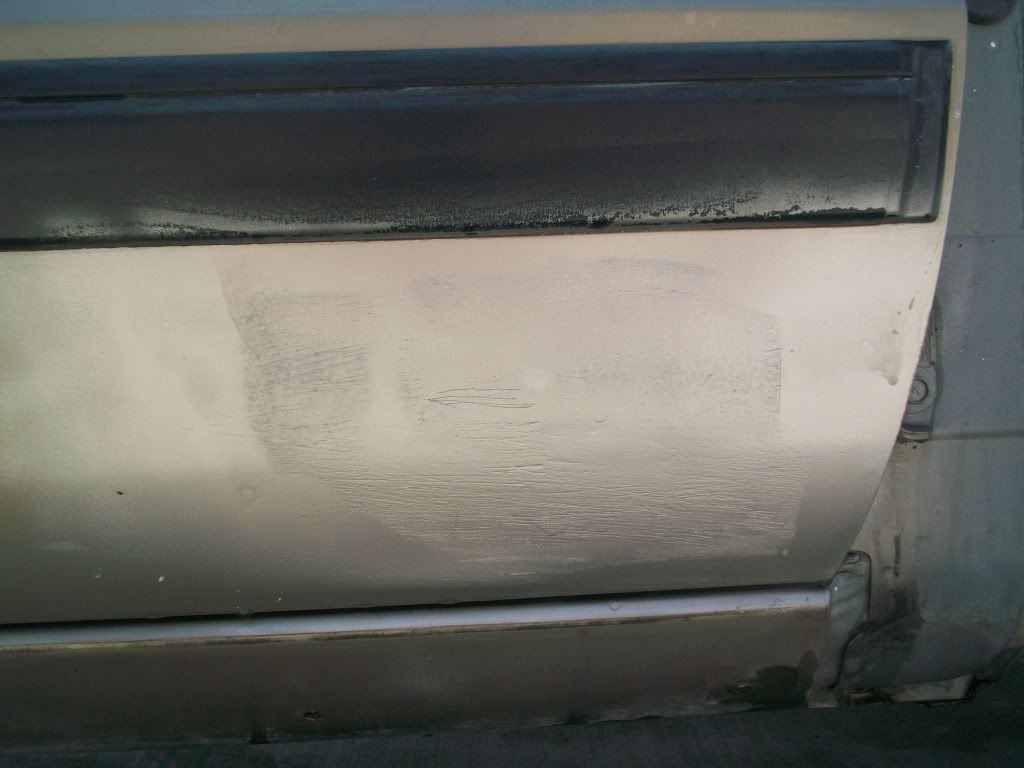
This seems to be some damage to the bottom of the passenger side door. 
posted image
ProlowtoneJul 3, 2011, 8:21 pm · #44

Looks like someone did a quick shitty bondo job.

DirtyGazeJul 4, 2011, 12:51 am · #45

Prolowtone on 08:21:12 PM / 03-Jul-11
Looks like someone did a quick shitty bondo job.
Lol its so terrible..the pic somehow made it look better.  Ill dive into that another night though.

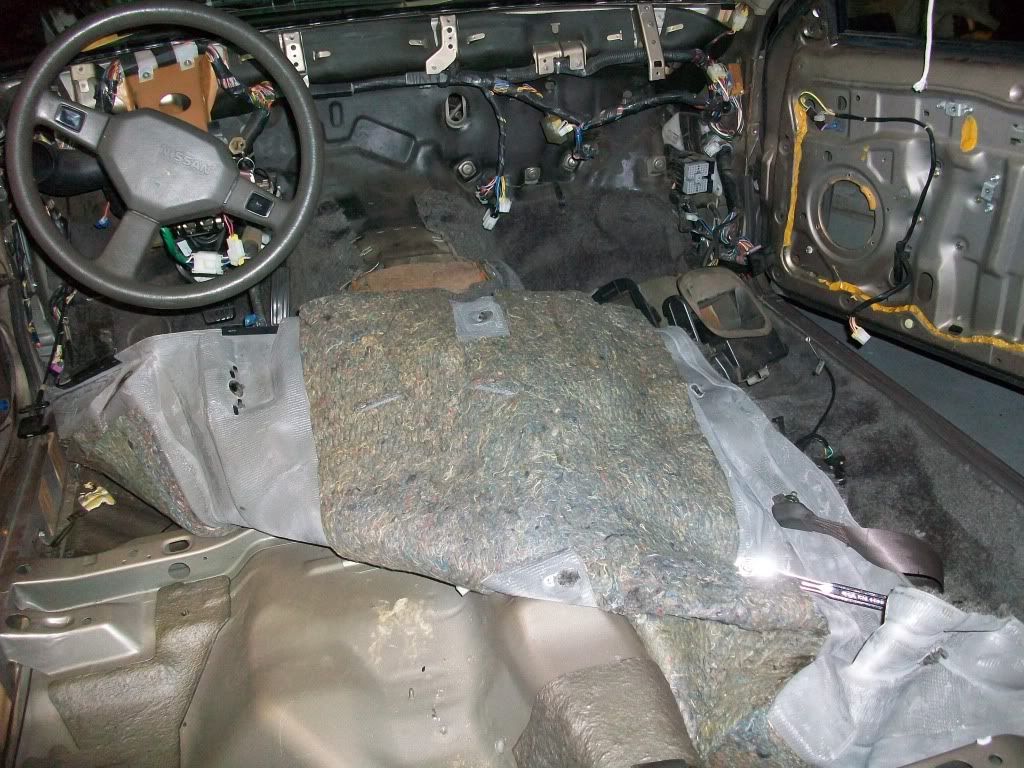
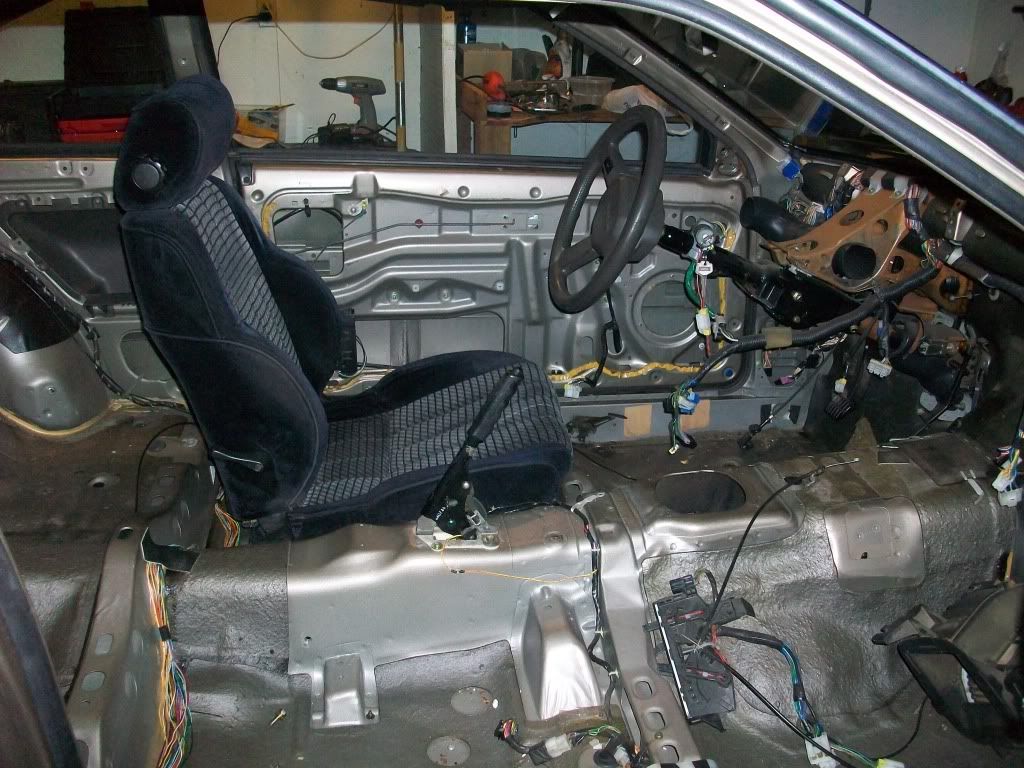
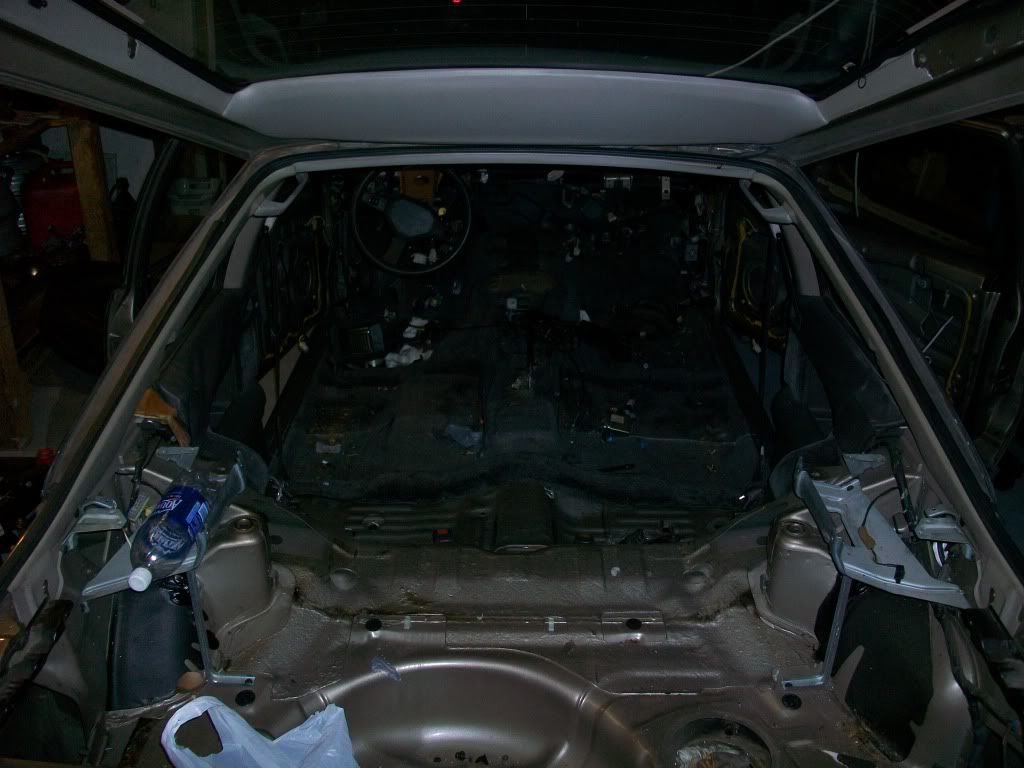
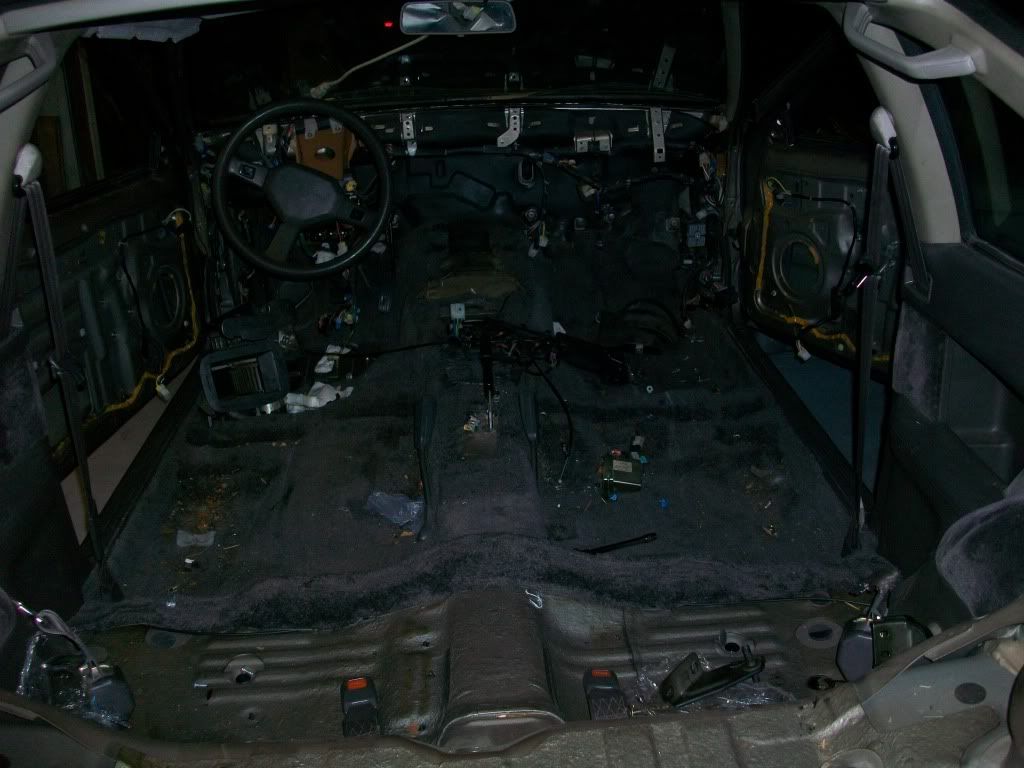
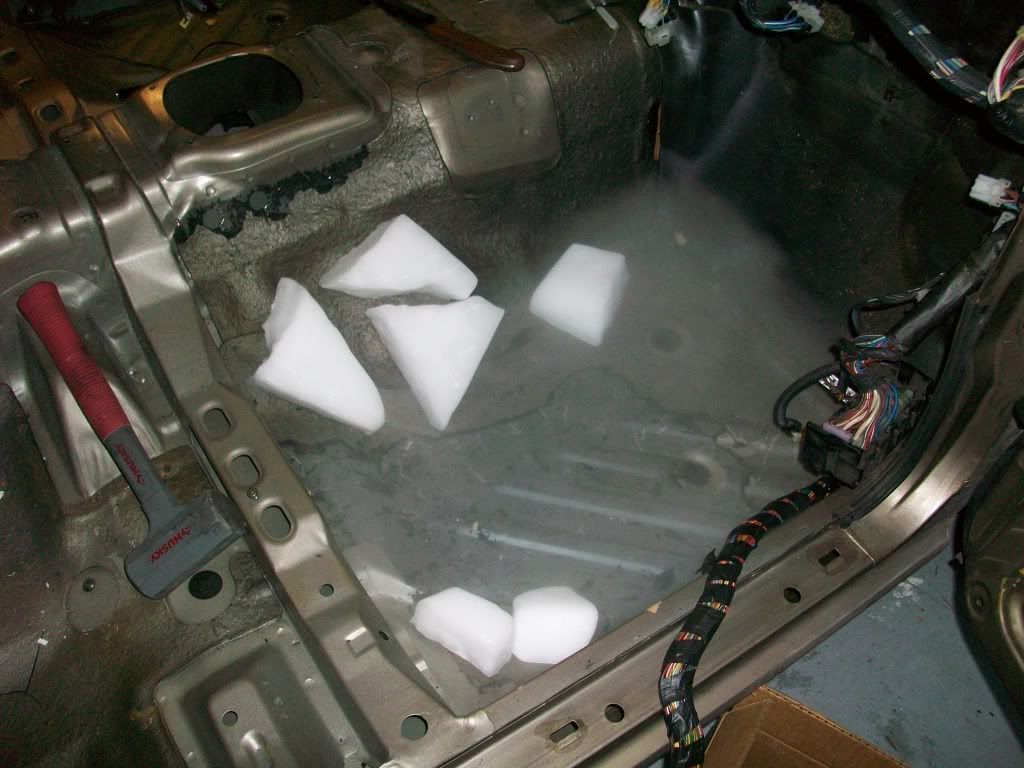
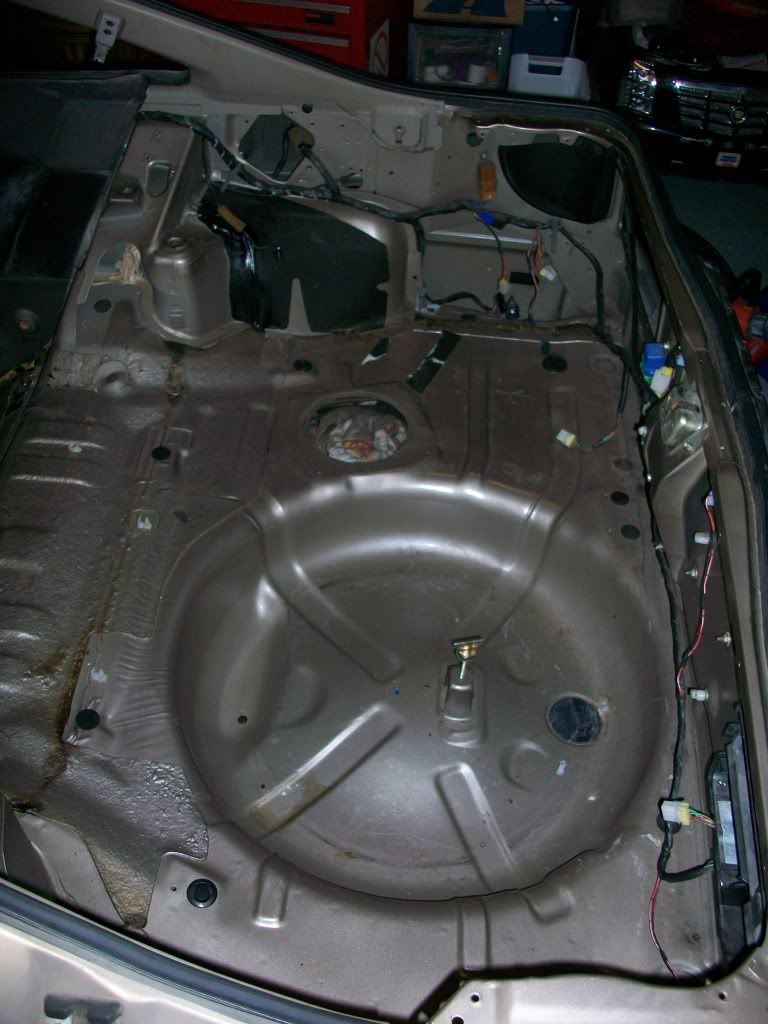
So tonight I bought some dry ice..10 pounds for 11 bucks!  Is that normal?  Could have sworn it used to be like twice that price.  Anyway, got most of the sound deadening out, still got more to do tomorrow.  Also went to the yards this weekend and got a lot of black interior peices for less than 30 bucks.  Half off days rock!

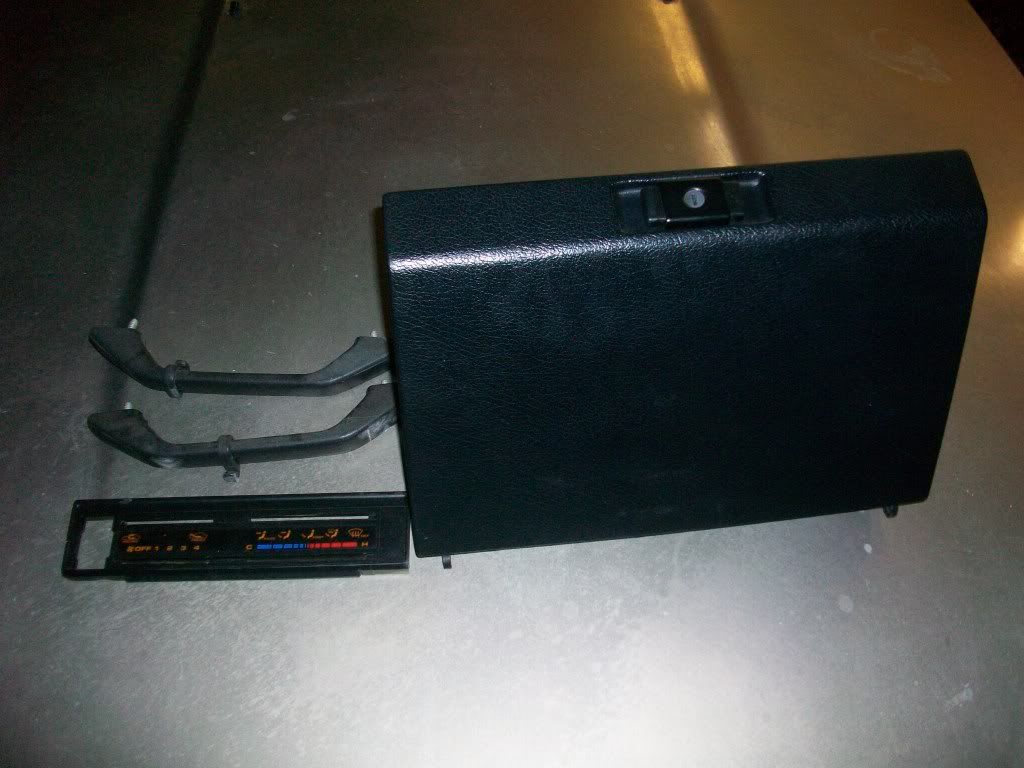
Black glove box, rear handles, and AC Controls
posted image
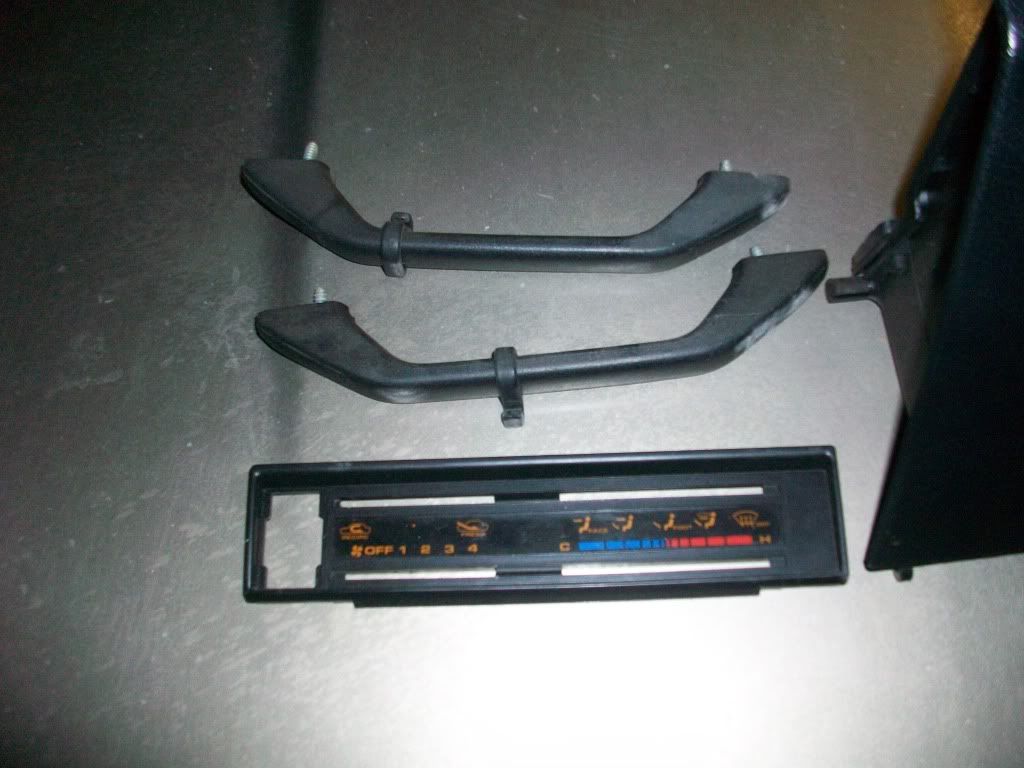
Close up of handles and AC Controls
posted image
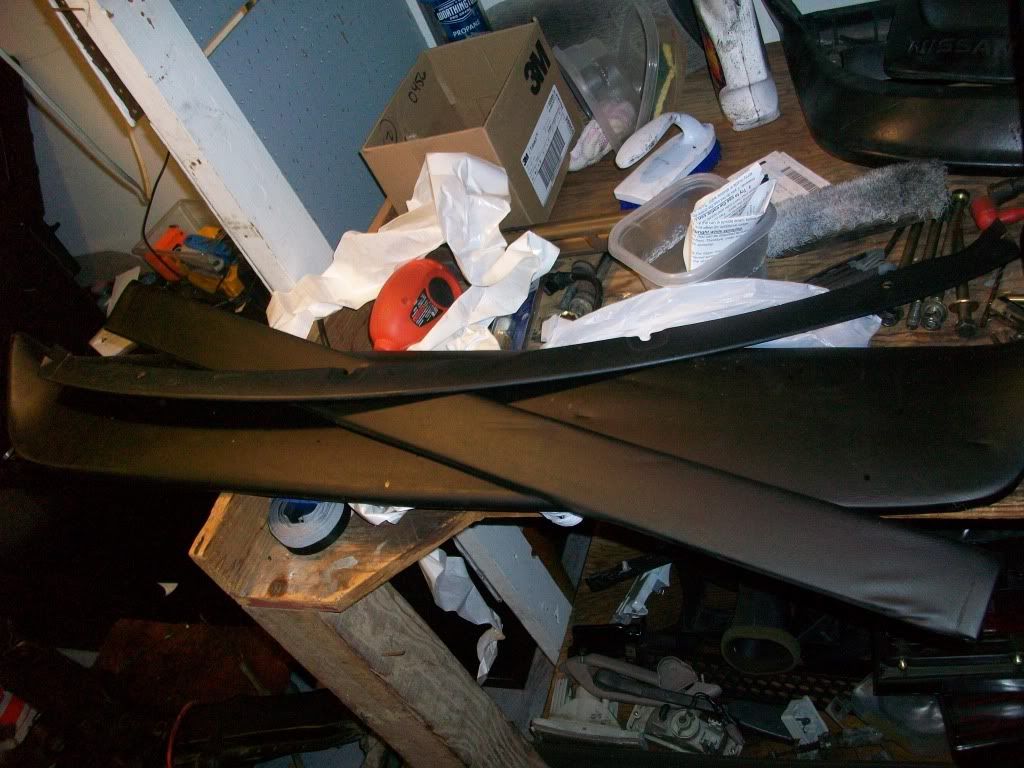
These peices are the leather covered interior thats mounted between the hatch and the roof.  The thinner peice is the metal bar that mounts the roof lining to the roof next to the front window.
posted image

I also scored this FLAWLESS AMAZING black headliner.  No pics yet, its still at Gustards awaiting me to go back and pic her up.

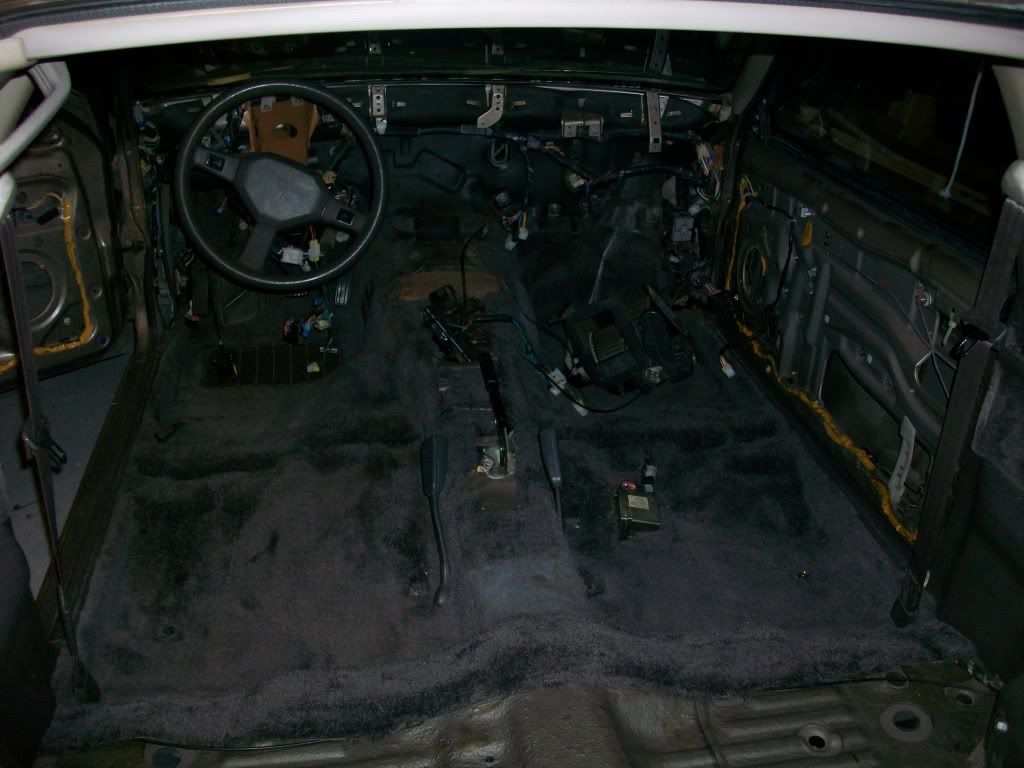
...And it starts
posted image
posted image
posted image
posted image
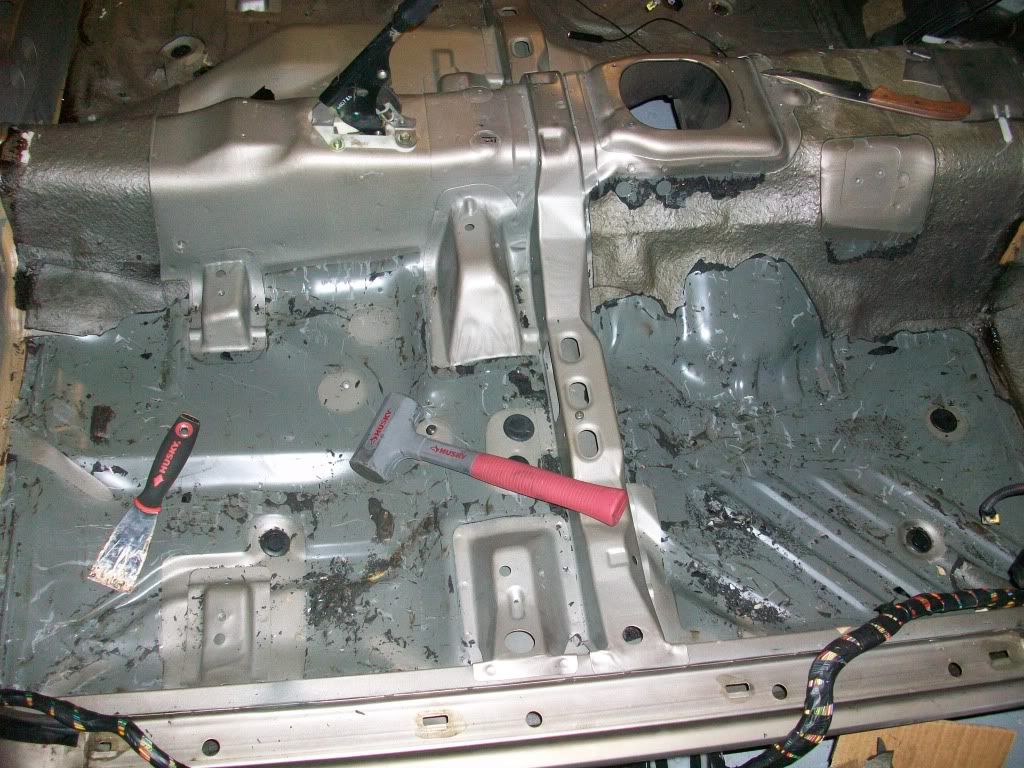
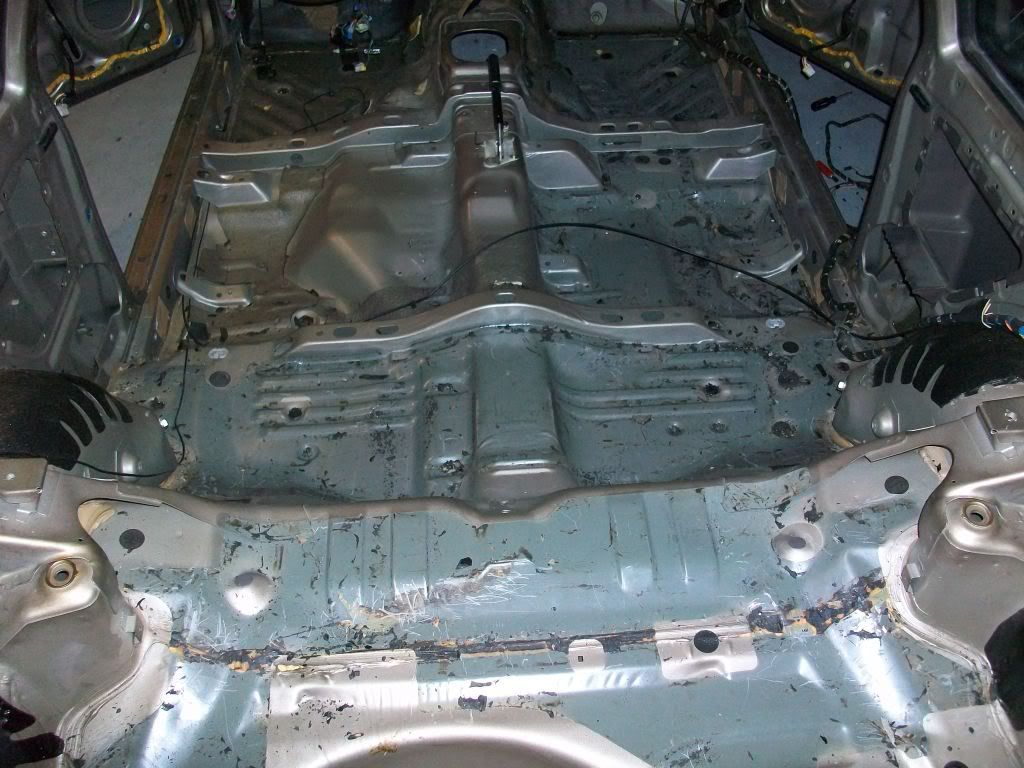
This is after I vacuumed all the remaining little stuff up. 
posted image

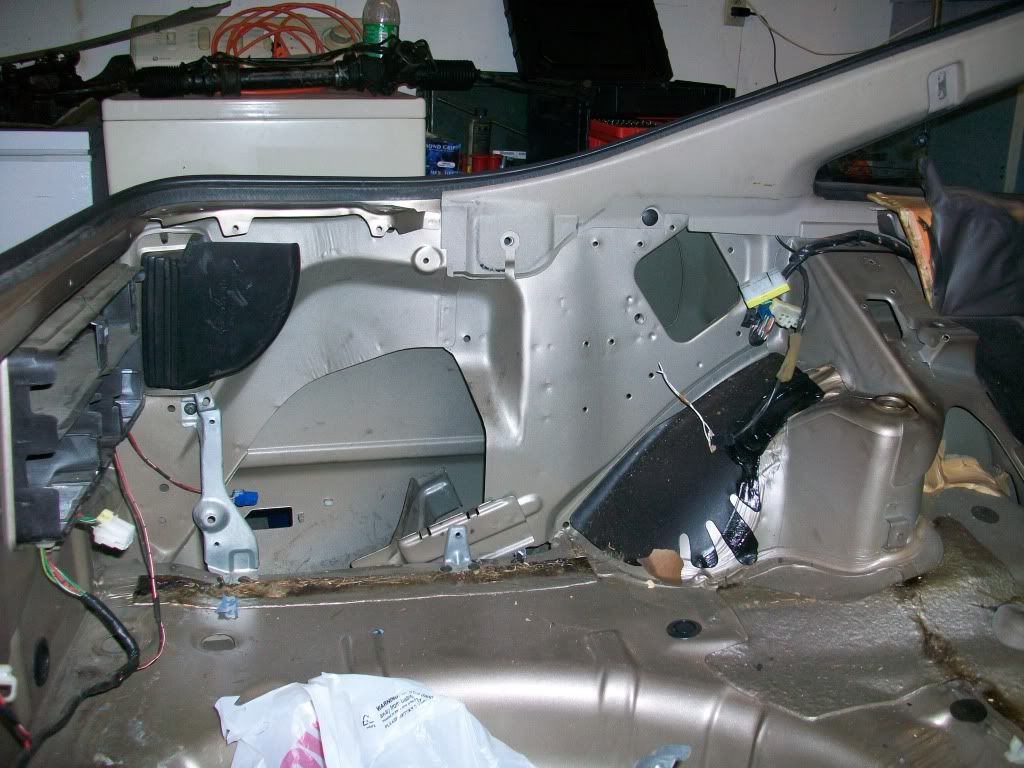
Still need to get the black stuff off the rear wheel wells (ideas?) and finish the drivers side and firewall.  Another night though...  THANK YOU, YOUVE ALL BEEN GREAT AND GOOD NIGHT!
tommyJul 4, 2011, 8:23 am · #46

Just use a scrapper and finish up with varsol or any other thinner, that's what I did,

Actually, I only used a scraperand thinner to remove all the sound deadning inside and under the car (no dryice), as well as strip all the undercoating from under the car... it's not so much of a chore, you just need some time, took me 3 full days (but I also had 1/4inch thick antirust grease under the whole floor and trunk area as well as inside the trunk...

this is the nasty stuff that you're happy not to have on your car...
posted image
this is just the truck area, the whole car would've filled the whole bucket, maybe more

ProlowtoneJul 4, 2011, 9:51 am · #47

Damn.. thats alot of shit

DirtyGazeJul 4, 2011, 10:48 am · #48

Hahaha oh god, looks like what I throw up after a rediculous night.  Thats just gnarly.

Wolf DilworthJul 4, 2011, 12:24 pm · #49

I am just curious why you are removing all the sound deadening when you appear to be installing a full interior?  If you are going to "track" the car why bother with an interior.  If you plan to Daily Drive as well, then you should have left the stuff there, not really saving much weight and your passengers would have appreciated it.  "Dual-Duty" cars are usually not very good at either.

But hey, that is just the old fart talking again...

Peace.

seishukuJul 4, 2011, 12:51 pm · #50

Fuck passengers, if they want a comfortable ride, they shouldn't be in an 80's car in the first place!

Not much weight savings? I pulled out well over 50LBS of sound deadening out of my S12, that's a good chunk IMO. 50LBS I didn't have to lose! :P
Besides, there are better and lighter sound suppression material out there, like Lizard Skin.